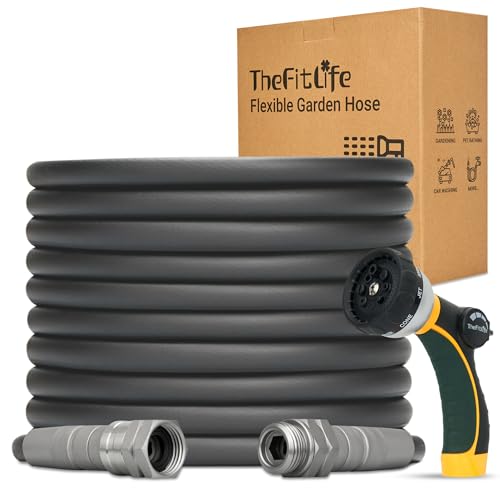


Begin by gathering the right equipment: a high-pressure cleaning unit, appropriate nozzles, and protective gear including gloves and safety goggles. Choose a nozzle that delivers a concentrated stream of water, ideally a 15-degree or 25-degree tip, to effectively eliminate stubborn grime.
Next, prepare the environment. Remove any furniture or coverings from the area to ensure complete access to the surfaces. It’s wise to wet the area before applying the cleaner to prevent discoloration and ensure even application. After this initial wetting, apply a suitable outdoor cleaning solution to enhance removal of dirt and stains.
Once the solution has had time to work–usually around 5-10 minutes–begin operating the cleaning apparatus. Hold the nozzle at a uniform distance of about 30cm from the surface, using steady, sweeping motions to avoid damaging the stone. Pay attention to corners and joints where debris tends to accumulate, making sure to follow a systematic approach.
After the main dirt and stains are gone, rinse the area thoroughly. This step washes away any remaining cleaning solution and ensures no residue is left behind, which can cause slippery patches when wet. Allow the area to dry completely before replacing any furniture or decor.
Effective Techniques for Revitalising your Outdoor Stone Surfaces
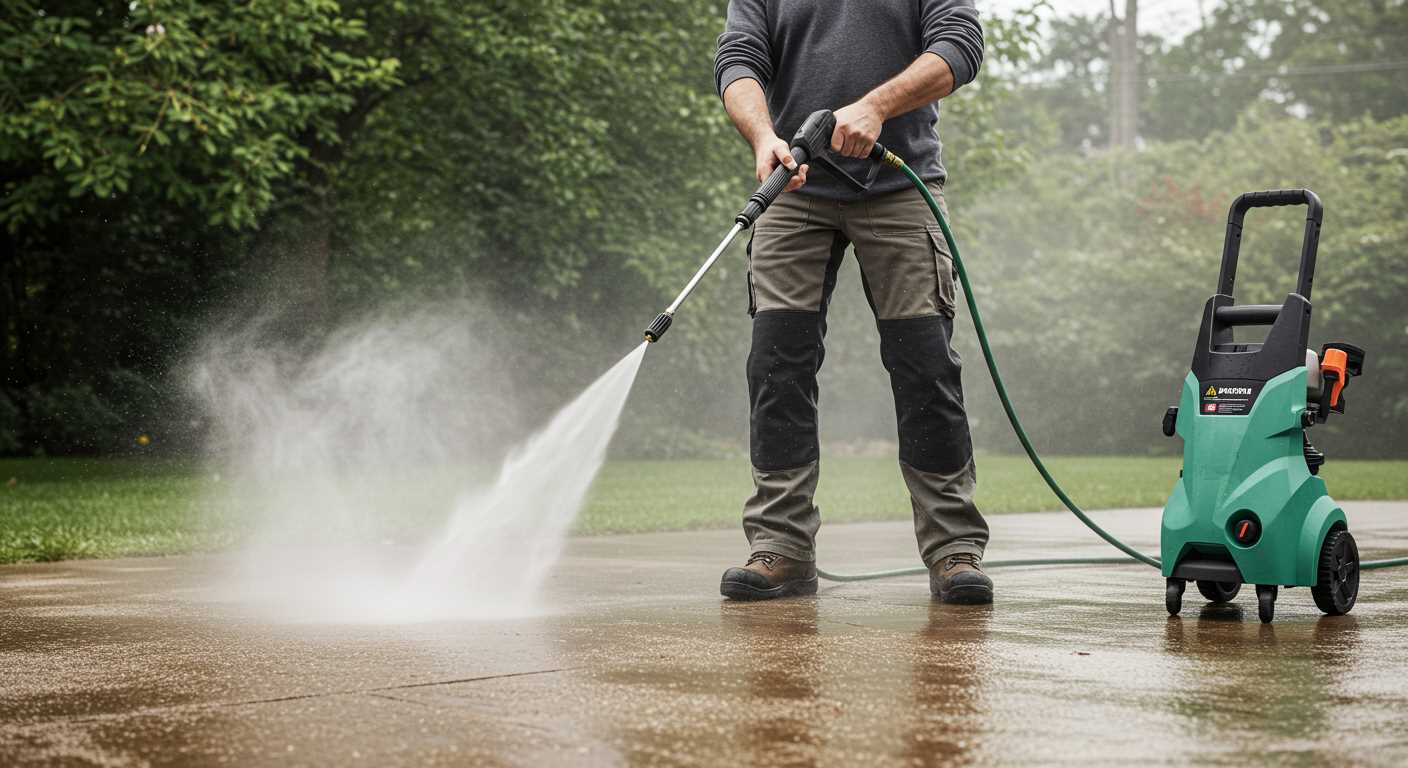
Select a unit with at least 1500 PSI for optimal results. This pressure easily eliminates dirt and grime without damaging the stone. Ensure the nozzle is set to a wider spray; a 25-degree setting works well for this type of surface, distributing the flow evenly.
Prior to starting, remove any loose debris using a broom or leaf blower. Always wet the surface before applying any detergent. This pre-soaking helps the solution to adhere better and enhances its effectiveness. Apply a dedicated stone cleaning detergent using a downstream injector or a separate detergent tank found on some models.
Let the cleaner sit for 5–10 minutes, but avoid allowing it to dry out. Then, rinse thoroughly, holding the nozzle at a distance of about 12 to 18 inches to prevent any harm. Move the sprayer in a sweeping motion, ensuring to overlap each pass slightly for a consistent finish.
A helpful tip: work in sections to maintain control and visibility of your progress. After rinsing, assess the areas that may require a second treatment for stubborn stains or algae. For particularly tough spots, consider using a rotating surface cleaner attachment that connects directly to the pressure equipment, allowing for more efficient coverage.
After completing the process, it’s advisable to wait until the surface dries completely before placing any furniture or décor back in its place. Regular maintenance can prolong the lifespan of your stone surfaces and keep them looking their best.
Choosing the Right Pressure Washer for Patio Cleaning
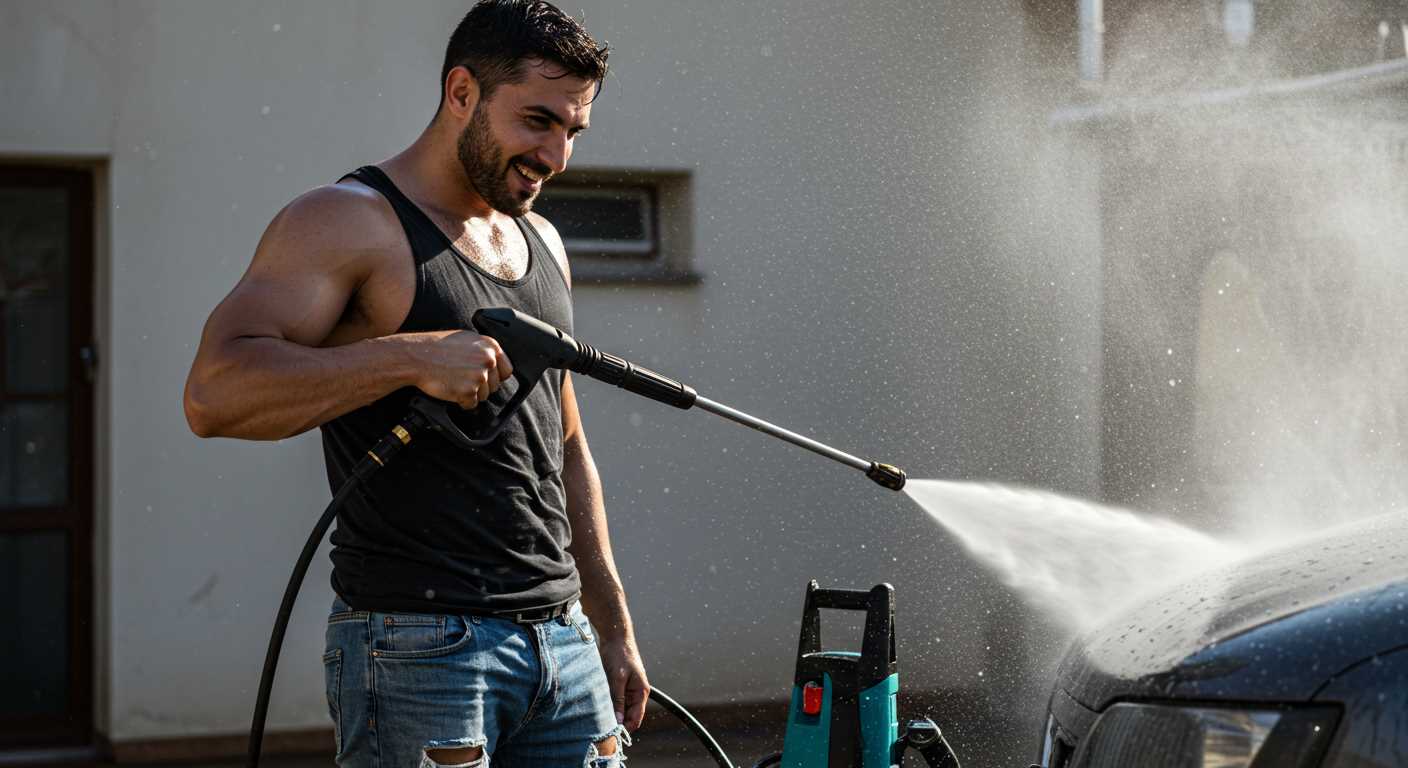
Opt for a unit with a minimum of 130bar pressure for optimal results. This range ensures that tough grime and stains are effectively removed without risking damage to the surface. Look for models featuring an adjustable nozzle; this versatility allows you to control water intensity based on the area treated.
Electric vs. Petrol-Powered Machines
Electric cleaners are ideal for residential tasks, offering quieter operation and lower maintenance requirements. They are suited for smaller areas and lighter debris. Petrol units, on the other hand, deliver higher pressure, making them appropriate for extensive clean-ups or stubborn marks. Evaluate the scale of your project to determine which power source complements your needs best.
Portability and Storage
Consider the weight and manoeuvrability of the equipment. A lightweight design facilitates easy handling, while wheels enhance mobility across larger surfaces. Compact models are advantageous for storage, especially in limited spaces, allowing for convenience when not in use.
Preparing Your Outdoor Area for High-Pressure Cleaning
Clear the space thoroughly. Remove all furniture, plants, and decorative items to prevent any accidental damage during the process. Take special care with fragile ornaments, ensuring they are relocated safely indoors or to a secure location.
Inspect the surface for any cracks or loose stones. Address these imperfections before applying high-force water. Filling cracks with appropriate fillers can prevent further damage or water intrusion.
Cover delicate plants and flower beds with plastic sheeting. This prevents water and detergent from harming their natural beauty. Secure the coverings with weights to ensure they remain in place.
Ensure access to water supply and power source for the cleaner. A nearby tap is essential, and check that all hoses are in good condition to avoid leaks. Consider using an extension cord that is rated for outdoor use if necessary.
Safety Precautions
Wear appropriate personal protective gear: sturdy footwear, gloves, and eye protection. High-pressure water can cause harm if it makes contact with skin or enters the eyes.
Prior to operating the equipment, read the manufacturer’s instructions carefully. Familiarise yourself with safety guidelines specific to the model you will be using.
Table of Recommended Preparations
| Preparation Step | Details |
|---|---|
| Clear the Area | Remove all items to create a safe working environment. |
| Inspect Surface | Check for cracks or damage; repair as needed. |
| Cover Plants | Protect delicate flora using plastic sheeting. |
| Check Supplies | Ensure access to water and power sources are functional. |
| Wear Safety Gear | Use gloves, eye protection, and sturdy footwear. |
| Read Instructions | Familiarise yourself with the equipment guidelines. |
A successful washing session begins with thorough preparation. Dedicate time to these steps for optimal results and safety.
Selecting the Appropriate Cleaning Solution
Opt for a biodegradable solution that effectively targets grime and algae without harsh chemicals. Look for options specifically formulated for outdoor surfaces, as they typically include surfactants that enhance adhesion to dirt particles, facilitating their removal.
Common Ingredients
Sodium hypochlorite is a powerful ingredient for tackling mould and mildew, while citric acid can break down mineral deposits. Products containing sodium carbonate are effective for general debris. Always ensure compatibility with the type of surface being treated to avoid damage.
Application Tips
Dilute the chosen cleaner as per the manufacturer’s instructions. Use a garden sprayer for even distribution, allowing it to sit on the surface for the recommended time before washing off with water. Test a small area first to gauge results without risking the overall finish.
Setting Up the Pressure Washer Correctly
Before initiating the task, ensure your device is positioned on a stable, dry surface and the power supply is adequate. Verify the following steps for optimal arrangement:
- Check the water source connection; it must be secured to prevent leaks.
- Adjust the pressure settings according to the type of surface you are addressing.
- Ensure that the nozzle is appropriate for the task, typically a tapered or fan nozzle is best for removing dirt effectively.
- Connect the required hoses firmly to avoid any disconnections during operation.
- Ensure that the cleaning agent reservoir is filled with the chosen solution.
- Test the trigger mechanism without activating the machine to verify responsiveness.
- Prior to usage, run water through the system to eliminate air and ensure a steady flow.
Meticulously following these steps will facilitate a smoother operation and aid in achieving desired results efficiently.
Techniques for Pressure Washing Silver Patio Slabs
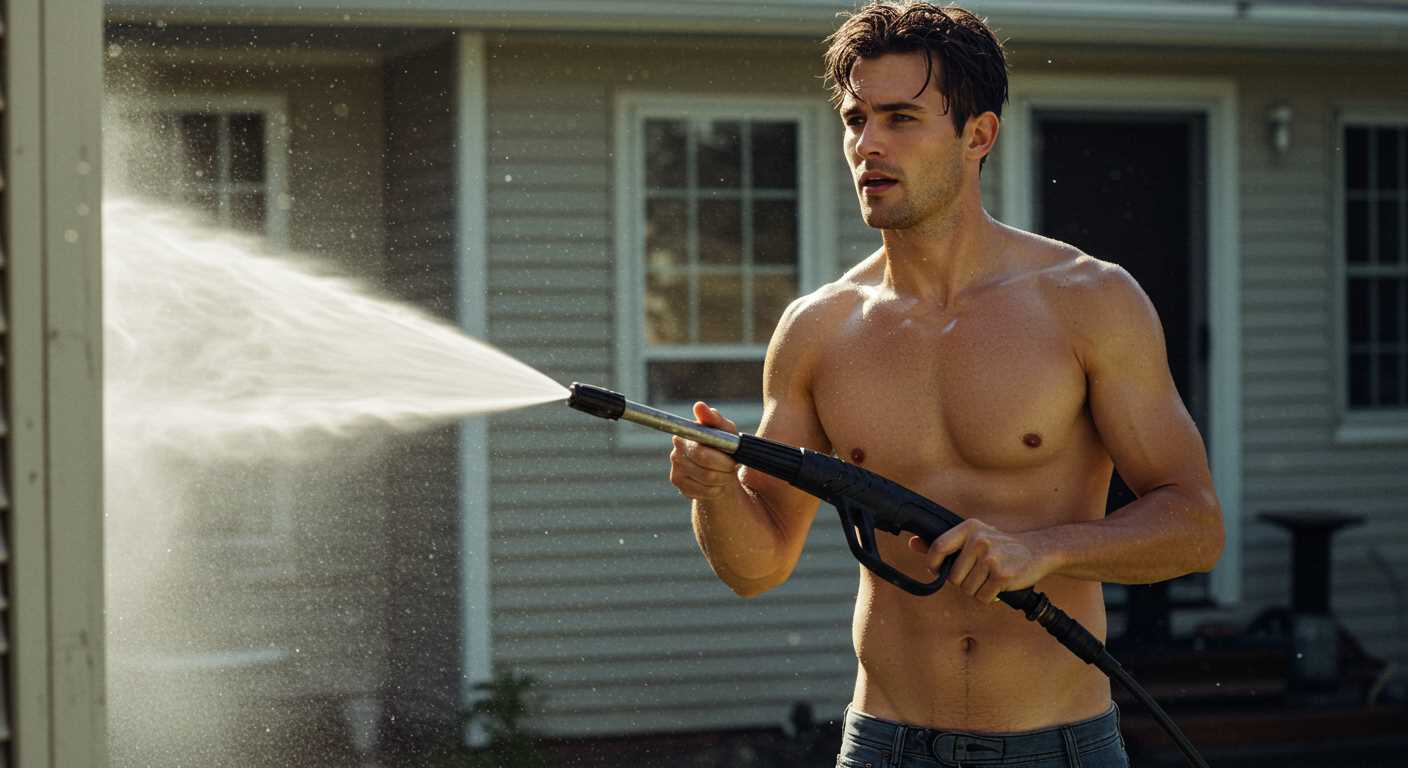
Employ a 25-degree nozzle for effective results, ensuring to maintain a distance of 30 to 36 inches from the surface. This angle provides a good balance between pressure and coverage, avoiding potential damage.
Move the lance in even, overlapping strokes. This technique prevents streaks and ensures uniformity in the cleaning process. Always work from top to bottom, allowing the debris to flow away from the areas already treated.
Using the Right Technique
Adjust the pressure as needed based on the level of dirt accumulation. For heavier buildup, increase the pressure gradually but avoid exceeding the manufacturer’s recommendations for your equipment. Use short bursts for stubborn spots rather than lingering in one area, as this can lead to surface etching.
Post-Washing Finishing Touches
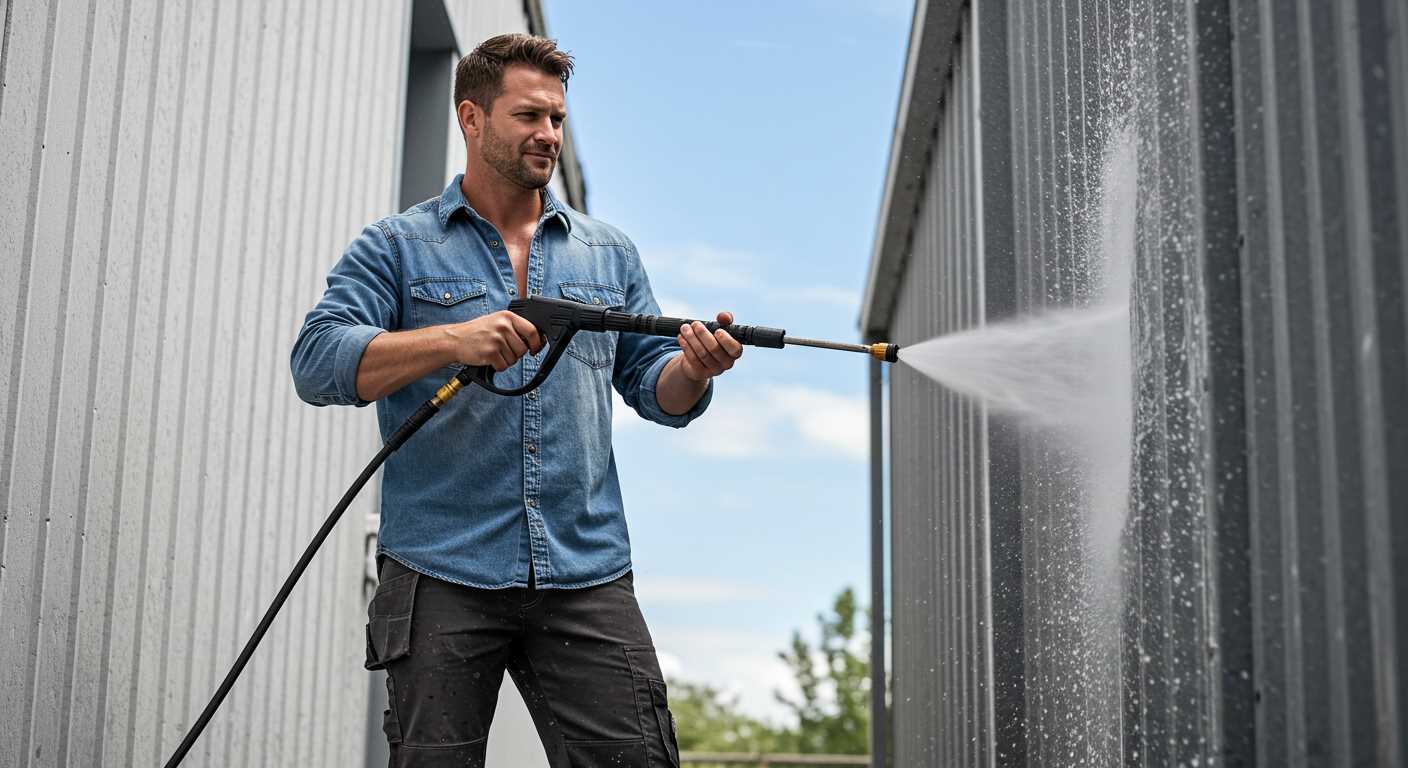
After the initial cleaning, re-inspect the area and repeat the process on any areas that require additional attention. Rinse thoroughly to ensure no detergent residue remains, which could attract dirt over time. Let the surface dry completely to assess the final results before sealing or applying any protective treatments.
Post-Cleaning Care and Maintenance for Patio Slabs
Once the rejuvenation process is complete, implement the following measures to preserve the condition of your surfaces.
- Sealant Application: After allowing the area to dry thoroughly, apply a high-quality sealant specifically formulated for your type of surface. This will protect against stains and moisture infiltration.
- Regular Sweeping: Maintain a consistent cleaning routine by sweeping away leaves, dirt, and debris. This prevents mildew growth and keeps the area looking tidy.
- Immediate Stain Treatment: Address spills promptly. Use mild detergents and soft cloths for spot cleaning; avoid harsh chemicals that could damage the surface.
- Periodic Deep Cleaning: Schedule a deep cleaning every 6-12 months, depending on the environment. This helps to remove deeper grime and restore the surface’s original appeal.
- Check for Damage: Regularly inspect for cracks or loose tiles. Early detection of issues allows for timely repair, preventing more extensive damage.
- Minimise Heavy Furniture: Use protective pads under furniture legs to prevent scratching. Consider rearranging heavy items occasionally to avoid uneven wear.
By adopting these practices, you can ensure the longevity and aesthetic appeal of your outdoor surfaces for years to come.

