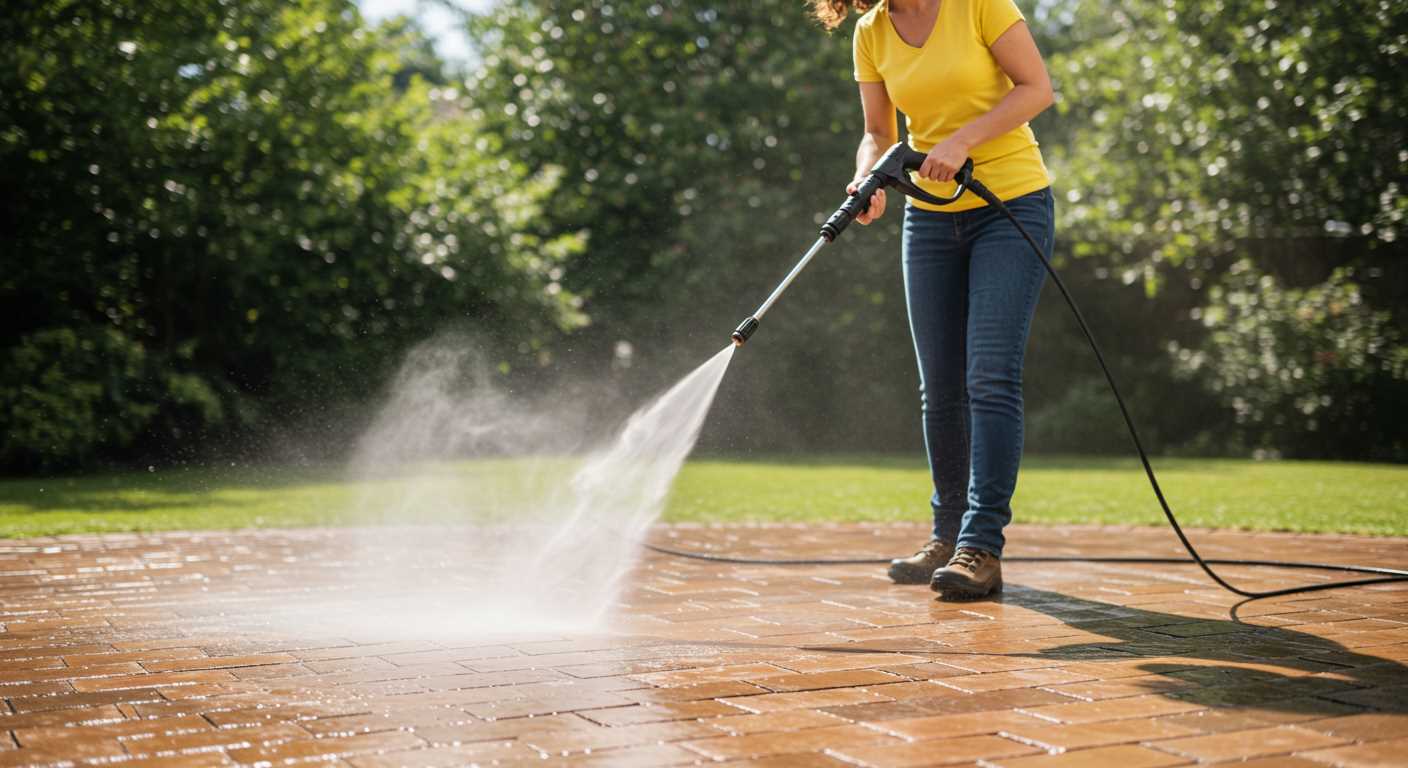


For optimal results, utilise a fan spray nozzle to effectively remove accumulated dirt and debris from your house’s under-eaves. The wide spray pattern allows you to cover expansive areas while minimising the risk of damage to surrounding surfaces. Select a pressure setting between 1500 and 2000 psi to effectively tackle dirt without causing harm.
Prior to commencing the task, conduct a thorough assessment of the materials around the eaves. Ensure that any loose or damaged elements are addressed to avoid complications during washing. A pre-treatment with a suitable cleaning solution can further aid in breaking down stubborn grime.
Start from the highest point of the fixture and gradually work downwards to avoid streaking and ensure a uniform finish. Maintain a safe distance, generally around 12-18 inches, to prevent etching or leaving marks on the surfaces. Rinse thoroughly after the cleaning process to clear away any remaining cleaning solution and dirt residue.
Consistency in maintenance will prolong the life of your home’s exterior and enhance its overall appearance. Regular checks will also help identify problems before they escalate, saving time and effort in the long run.
Effective Techniques for Cleaning Soffit Areas Using a Pressure Cleaner
Position the nozzle at an angle of 45 degrees to the surface. This allows water to flow efficiently and reduces the chance of water intrusion into the building. Maintain a distance of about 2 to 3 feet from the surface initially; this prevents damage while allowing you to gauge how the equipment performs.
Switch to a fan spray pattern for wider coverage, ensuring a thorough rinse without concentrating on a single spot for too long. Be mindful of the pressure setting; a lower PSI (around 1500-2000 PSI) is often sufficient. Higher pressures might strip paint or damage a surface.
Incorporating Cleaning Solutions
Mix a suitable detergent specifically designed for exterior surfaces, if necessary. Apply it before rinsing, allowing it to sit for 10-15 minutes to break down grime. Always follow the manufacturer’s guidelines for dilution rates. Rinse off the cleaning solution starting from the top and working downwards. This method helps to avoid streaks and ensures that all residue is removed.
Final Steps and Safety Precautions

Always wear protective eyewear and ensure there’s no power line directly overhead. Secure any loose items or debris in the vicinity before you begin. After completing the task, inspect the area for remaining spots and repeat the washing process on stubborn areas if needed. Regular maintenance can significantly reduce the frequency of deep cleanings in the future.
Choosing the Right Pressure Washer for Soffits
I recommend selecting a unit with a pressure rating between 1500 to 2500 PSI for optimal results. This range delivers sufficient force to remove dirt and grime without the risk of damaging material.
Look for electric models if ease of use is a concern or if you’re working in an area without convenient access to fuel. Electric units tend to be quieter and require less maintenance compared to their gas counterparts.
If mobility is a priority, gas-powered machines usually provide more power and flexibility. Models equipped with wheels and lightweight frames make manoeuvrability easier, especially for reaching elevated surfaces.
Consider a wide spray angle nozzle to cover more area and reduce the amount of time spent cleaning. An adjustable nozzle adds versatility, allowing me to switch between various spray patterns based on the condition of the surfaces.
For optimum results, I opt for a model featuring a detergent tank. This allows the integration of cleaning solutions, boosting the cleaning process and saving time.
Finally, compare warranty options and check reviews. Reliability during extensive tasks is paramount, so I prefer brands renowned for durability and customer support.
Preparing the Area Before Cleaning
Safety is paramount. Prior to starting any task, ensure to clear the vicinity around the work area. Remove any furniture, potted plants, or other items that could obstruct your movement or get damaged by water or debris.
Next, inspect the surface closely. Look for loose panels or hanging elements that might pose a risk during the cleaning process. Any loose sections should be secured or removed if necessary to prevent accidents.
Protect adjacent surfaces. Cover windows and nearby landscaping with tarps or plastic sheeting to shield them from overspray and chemical residues. This precaution helps maintain the condition of your property.
Evaluate power sources. Make sure outlets are dry and functioning properly before plugging in any equipment. Extension cords should be rated for outdoor use and kept away from any water sources.
Secure pets and children. It’s advisable to keep the area clear of pets and young ones. A safe distance ensures that no one gets accidentally sprayed or interferes during operations.
Lastly, adjust your equipment settings based on the material you’ll be working on to avoid causing damage. Thorough preparation leads to an efficient task and helps maintain the integrity of your property.
Identifying Suitable Cleaning Solutions
Select an appropriate solution based on material compatibility and specific stains. For organic grime, a mixture of warm water and mild detergent often suffices. For tougher build-ups like mould or mildew, consider a solution containing bleach or a commercial mould remover. Ensure that all cleaning agents are safe for your surface and do not contain harmful chemicals.
Recommended Solutions

| Stain Type | Recommended Solution |
|---|---|
| Organic Grime | Warm water + Mild detergent |
| Mould/Mildew | 1 part bleach + 3 parts water |
| General Dirt | Specialised outdoor cleaner |
| Stubborn Stains | Enzyme-based cleaner |
Test any solution on a small, inconspicuous area to assess compatibility before proceeding. Adjust the concentration of the mixture according to the severity of the stains. Always follow manufacturer instructions outlined on cleaning products for best results. Safety precautions are essential; wear protective gear as necessary, especially when handling strong chemicals.
Setting Up the Pressure Washer Correctly
Begin by ensuring all components are securely connected. Check that the water supply hose is firmly attached and free from kinks. Position the unit on a stable surface, allowing for easy access to the controls.
Adjusting the Pressure

- Refer to the manufacturer’s guidelines to find the appropriate PSI settings for exterior fixtures.
- For sensitive areas, consider using a lower pressure to prevent damage.
- Test on an inconspicuous spot to find the optimal pressure setting.
Setting the Nozzle
- Select the right nozzle type. A wide-angle spray can be ideal for large areas, while a narrow nozzle works better for targeted spots.
- Make adjustments based on the level of dirt and debris. A rotating nozzle can help tackle tough grime effectively.
Before starting, conduct a final check on all safety features. Ensure the safety lock is engaged and wear appropriate protective gear, such as gloves and safety goggles. This preparation paves the way for a smooth and safe experience while operating your cleaning machine.
Techniques for Cleaning Different Soffit Materials
For vinyl surfaces, I recommend using a fan spray pattern to avoid damaging the material. Keep the nozzle at a distance of about 18 inches to prevent water from infiltrating joints or seams. A mild detergent can effectively lift grime without harming the finish.
Aluminium Considerations
When addressing aluminium, a slightly higher pressure can be effective, but caution is necessary. Use a 25-degree nozzle and maintain a distance of around 12 to 16 inches. An acidic solution can help dissolve oxidation; just ensure to rinse thoroughly to avoid residue.
Wood and Composite Guidelines
For wood or composite materials, a low-pressure setting is best. Use a 40-degree nozzle, holding it at least 24 inches away. A specific wood cleaner mixed with water can aid in removing mildew and staining. Always follow the wood’s grain for optimal results.
Safety Precautions During the Cleaning Process
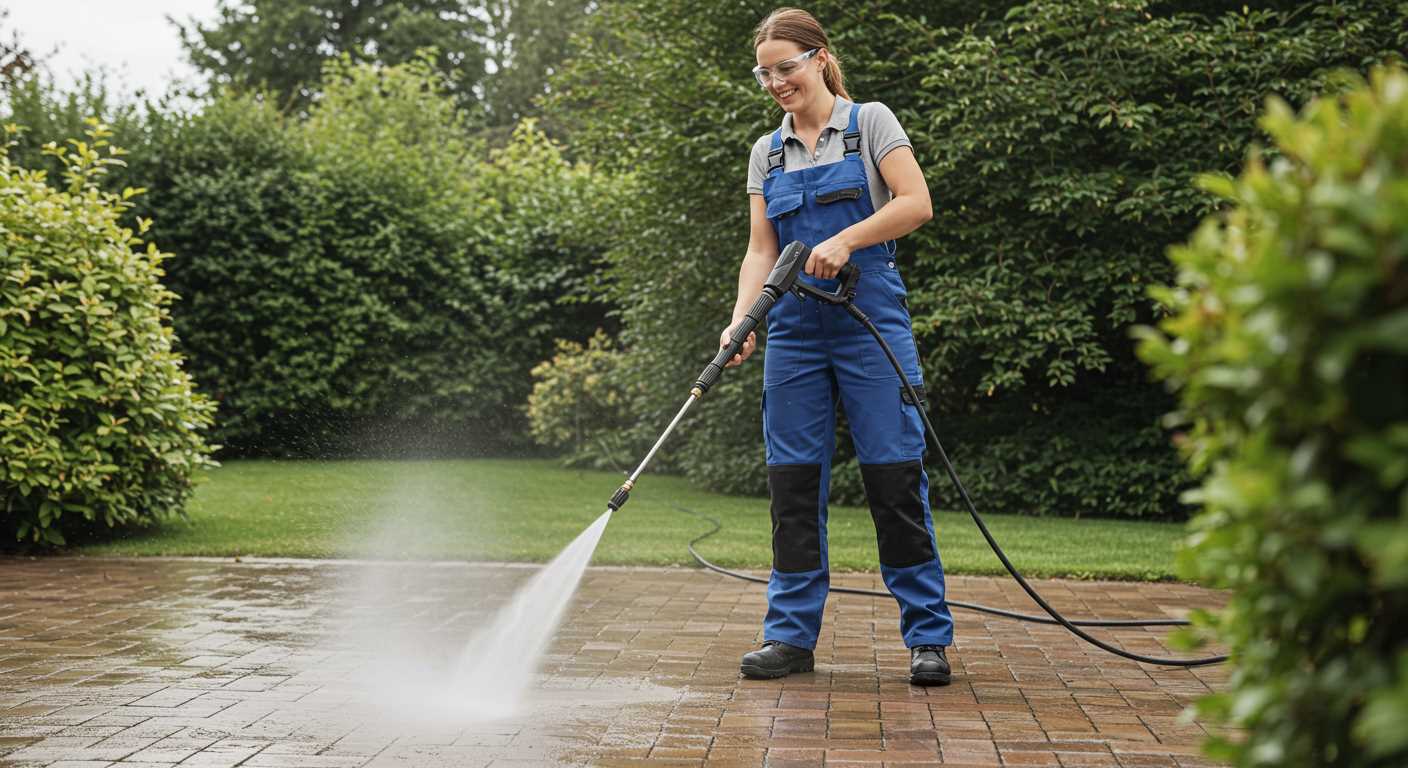
Always wear appropriate personal protective equipment (PPE) such as safety goggles, gloves, and sturdy footwear to prevent injuries from debris or high-pressure water jets. A full-length apron can be a good addition for extra protection against splashes and contaminants.
Prior to starting, check the worksite for hazards like power lines or unstable surfaces. Ensure the area is clear of objects that can become projectiles. Using the equipment on a stable ladder or scaffold may be necessary, but always maintain three points of contact for balance and safety.
Electrical Precautions

Be mindful of any nearby electrical outlets and appliances. Use a Ground Fault Circuit Interrupter (GFCI) outlet to avoid electric shocks. Keep the electrical cords dry and well-insulated, and do not operate the apparatus in wet conditions unless it is rated for such use.
Equipment Handling
Inspect all connections, hoses, and nozzles for wear or damage. Ensure that the water supply is free of obstructions before activating the machine. Maintain a firm grip on the handle during operation to control any recoil from the high-pressure stream.
When switching nozzles, turn off the unit and relieve pressure to avoid accidental discharges. Familiarise yourself with the equipment’s safety features, such as the trigger lock and pressure release valve, before starting the task.


