
Utilising a mixture of water and specialised detergent can significantly rejuvenate your exterior finish. Start by combining warm water with a pH-neutral cleaner designed for masonry surfaces in a bucket. Ensure the solution is well mixed before applying it to the affected areas with a soft-bristle brush. Scrubbing in circular motions not only dislodges dirt but also avoids scratching the surface.
For stubborn stains, a paste of baking soda and water can work wonders. Apply this mixture directly to the stained areas and allow it to sit for about 15 minutes before scrubbing with a brush. The gentle abrasiveness of baking soda helps lift stains effectively, making it a great non-invasive option.
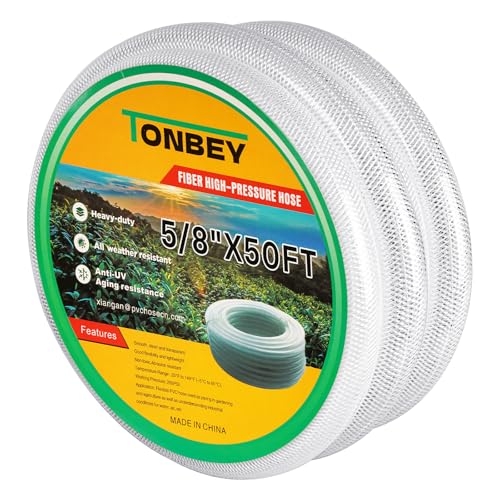
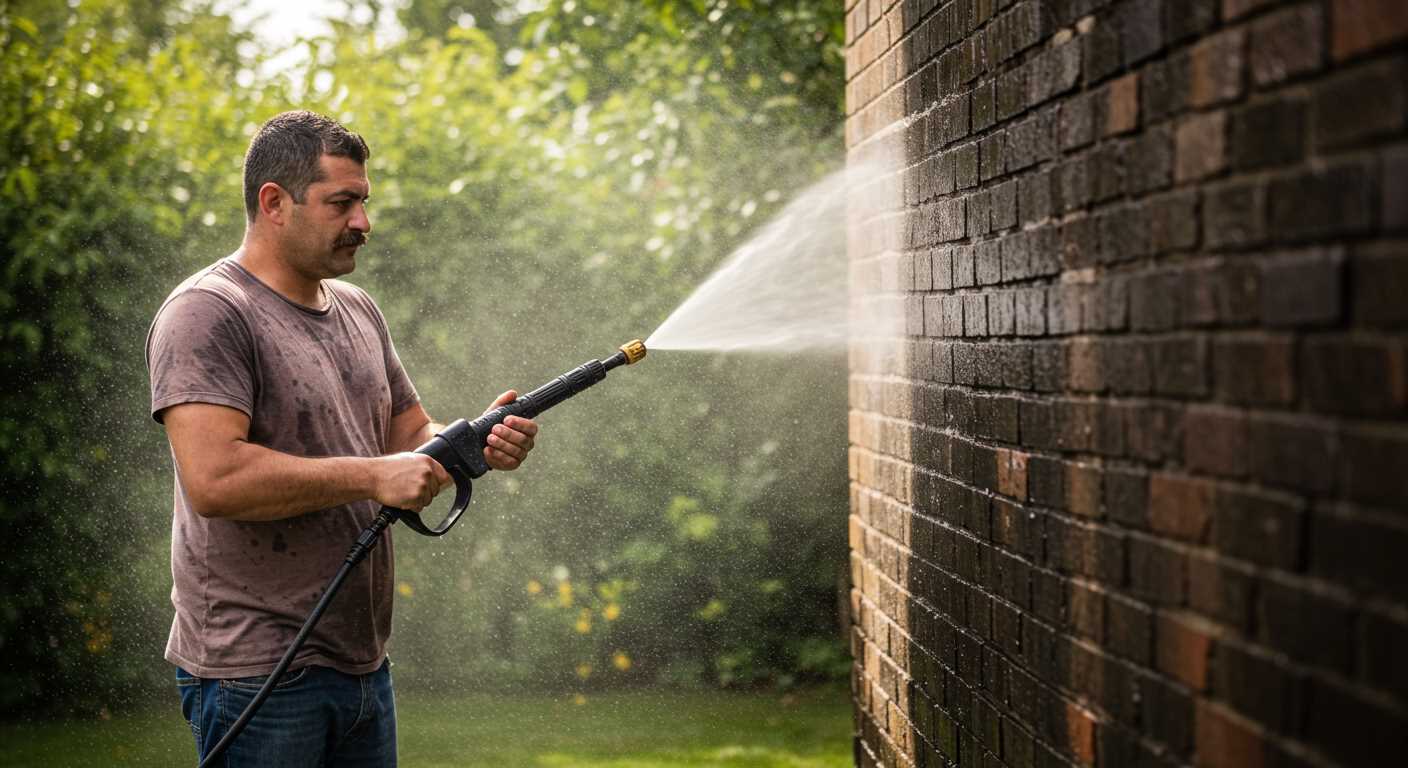
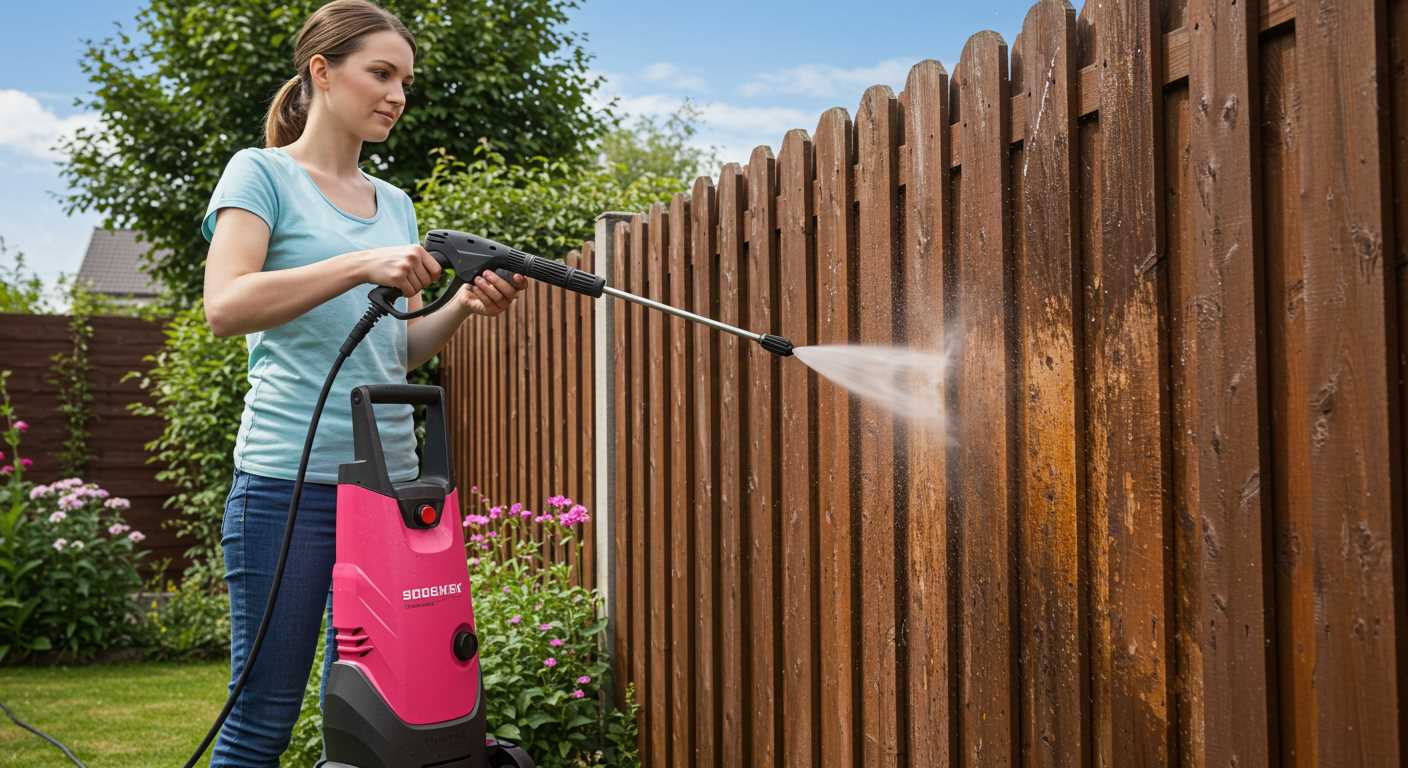
Rinsing is crucial after applying any cleaning solution. Use a garden hose with a spray nozzle rather than high pressure; this controls the flow of water and ensures it reaches all cleaned surfaces adequately. Aim the nozzle at a 45-degree angle to avoid forcing water into any cracks or openings.
Regular maintenance, such as a thorough wash every six months, can prevent significant build-up and reduce the need for intensive cleaning. This proactive approach keeps your exterior in excellent condition, enhancing the overall appearance of your home.
Cleaning Options for Textured Exterior Walls
.jpg)
Utilising a garden hose with a spray nozzle is a simple yet effective method for this task. Adjust the nozzle to produce a narrow stream, which enables you to direct water precisely onto the surface. Begin at the highest point and work your way down to prevent streaks, ensuring that debris is washed away effectively.
Supplies You’ll Need
Gather a soft-bristle brush, mild detergent, a bucket, and safety gear such as gloves and goggles. Mix the detergent according to the instructions. Ensure you select a non-abrasive cleaner to avoid damaging the texture of the walls.
Step-by-Step Process
First, wet the surface thoroughly with the hose to loosen dirt. Apply the detergent mixture using the brush, scrubbing gently in a circular motion. Rinse thoroughly with water from the hose to remove any cleaner residue. Repeat as necessary, especially on areas with stubborn stains.
Preparing Your Cleaning Solution at Home
Start with a simple mixture of warm water, white vinegar, and a mild detergent. This combination effectively combats dirt and grime. Aim for a ratio of one part vinegar to four parts water, adding about a tablespoon of detergent to the mix.
Basic Ingredients

| Ingredient | Measurement |
|---|---|
| White Vinegar | 1 part |
| Warm Water | 4 parts |
| Mild Detergent | 1 tablespoon |
For stubborn stains or mildew, consider adding baking soda to the mixture. This can enhance the formula’s effectiveness. Use about half a cup of baking soda for an average-sized bucket of water.
Customising the Solution
If you prefer a fragrance or extra cleaning power, essential oils like tea tree or lavender can be added. Just a few drops will suffice. This not only refreshes the scent but may also provide additional antimicrobial properties.
Stir the solution thoroughly before application. This ensures the ingredients are well combined to optimise performance during usage. Store any leftover mixture in a sealed container for future use, ensuring it remains effective for subsequent cleaning tasks.
Choosing the Right Tools for Manual Cleaning
For successful upkeep of textured walls, having the right equipment is paramount. Here’s what I recommend based on extensive trial and error with various brands and materials.
- Soft-Bristled Brush: Opt for a durable brush that won’t damage the surface. A long-handled design offers better reach and reduces strain.
- Buckets: Use multiple buckets for clean and soapy water. This helps maintain a clear separation during the rinsing process.
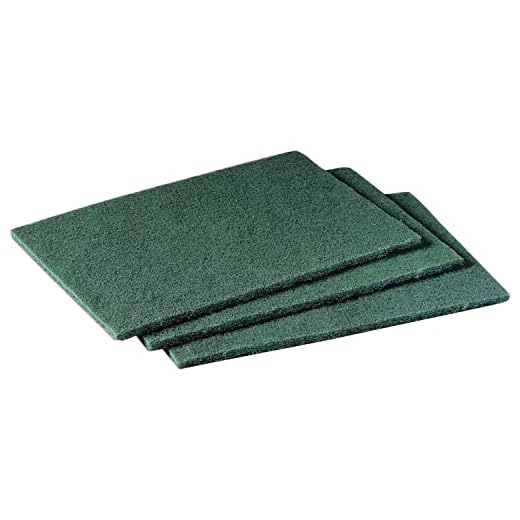
- Scrubbing Pad: Look for non-abrasive options, specifically designed for delicate surfaces. Ensure it fits comfortably in your hand for better control.
- Garden Hose: A standard garden hose with a spray nozzle provides a gentle yet effective rinse. Look for one that can reach higher areas easily.
- Protective Gear: Rubber gloves, goggles, and a mask safeguard you from any cleaning agents. Also, consider using knee pads if working on lower areas.
Each tool plays a crucial role in ensuring a thorough wash that maintains the integrity of the surface while enhancing its appearance.
- Extension Ladder: For height access, a sturdy extension ladder is ideal. Ensure it’s well-placed and stable before use.
- Microfiber Cloths: These are excellent for drying surfaces and capturing any leftover debris without scratching.
- Scraper or Putty Knife: A plastic option can assist in removing stubborn spots or peeling paint without harming the finish.
Investing in these tools can greatly improve the process, making it smoother and more efficient for achieving desired results. Regular maintenance also prolongs the lifespan of the texture, avoiding more challenging restorations later on.
Techniques for Safe Scrubbing of Stucco Surfaces

Begin with a soft bristle brush, ensuring the bristles are gentle enough to avoid damage. This method allows for effective removal of dirt without harming the finish. Use long, even strokes to apply even pressure across the surface.
Utilising a Bucket and Sponge
A bucket filled with your chosen cleaning mixture can be an efficient alternative. Dip a clean sponge into the solution, wring it out to avoid excess moisture, and apply gently in circular motions. Rinse the sponge regularly to prevent spreading dirt around.
Employing Rags for Detail Areas
For intricate areas or tight corners, soft rags work wonders. Soak a rag in the cleaning solution and wring it out, using it to carefully wipe down detailed textures. This method ensures you reach crevices that brushes might miss.
Identifying and Treating Stains on Stucco
Begin by closely examining the surface for various types of discolouration. Yellow or brown spots may indicate rust, often from nearby metal fixtures, while white patches can indicate efflorescence, a common issue caused by moisture. Greenish stains typically result from mould or algae, while dark spots might be dirt or organic residues.
For rust stains, a mixture of water and mild acidic solutions, such as vinegar or lemon juice, can be effective. Apply the solution gently, letting it sit for a few minutes before scrubbing with a soft-bristled brush. Rinse thoroughly with water to remove any residue.
Efflorescence requires a different approach. Prepare a solution of warm water and a few drops of dish soap. Use a scrub brush to remove the white powder, followed by rinsing with clean water to ensure all traces are gone. If stains persist, a commercial efflorescence remover may be necessary, always following the manufacturer’s directions.
To tackle mould and algae, combine equal parts of water and bleach in a spray bottle. Lightly mist the affected area, allowing the mixture to sit for approximately 10-15 minutes. Afterward, scrub gently before rinsing off the solution. This should eliminate the growth effectively.
Dirt and organic stains can usually be managed with a straightforward solution of warm water and mild detergent. Use a soft scrubbing pad to lift stains, then rinse thoroughly to restore the surface’s appearance.
Be observant during these treatments; some stains may require repeated applications, particularly if they’ve penetrated deeply. Patience is key to achieving a truly restored look for your textured surface.
Impact of Weather Conditions on Cleaning Process
.jpg)
Temperature plays a significant role in the overall success of your cleaning task. Ideally, a mild day between 10°C to 20°C is best for optimal results. Abrupt heat can lead to rapid drying of your solution, making it less effective and potentially damaging surfaces.
Humidity levels also influence the procedure. High humidity may inhibit drying times for the cleaning solution, while low humidity can cause water to evaporate too quickly, interfering with dirt and grime removal. Adjust your techniques based on current moisture content in the air.
Wind conditions may affect your approach as well. Strong winds can cause airborne particles to settle back onto surfaces shortly after application. It may be wise to avoid cleaning on particularly blustery days to ensure that results are lasting.
Rain can complicate the task as well. It’s advisable to wait until 24 hours after rainfall for surfaces to dry thoroughly. Wet conditions can lead to slippery surfaces and potentially hazardous situations, not to mention diluting your cleaning agents.
Pay attention to the season, too. In winter, freezing temperatures could cause cleaning agents to lose effectiveness, while summer might see increased effectiveness but risks of damage to surfaces due to scorching sun exposure. Timing your efforts according to the season will greatly enhance your strategy.
Monitoring these weather variables can mean the difference between a satisfactory outcome and a prolonged or failed cleaning experience. Adapt your methods accordingly for the best results.
Maintaining Cleanliness After Initial Cleaning
Regular maintenance plays a vital role in preserving the appearance of exterior surfaces. Implementing a few best practices can significantly reduce the frequency of deep cleaning sessions.
- Routine Inspections: Schedule inspections every few months to identify any dirt buildup or staining before it becomes problematic.
- Light Spraying: Use a garden hose to gently spray the surfaces to remove surface dust and debris. This keeps them looking fresh.
- Spot Treatment: Address any stains immediately with your homemade cleaning solution. This prevents discolouration and permanence.
- Preventive Measures: Trim back vegetation and overhanging branches to limit organic debris accumulation. Furthermore, install gutters or re-direct water drainage to minimise dampness.
- Pest Control: Keep an eye out for insect infestations, as they can contribute to staining and degradation of surfaces over time.
Consistent upkeep ensures your exterior surfaces remain in optimal condition, prolonging their lifespan and maintaining aesthetic appeal. Prioritising these practices helps reduce long-term maintenance costs and efforts.


