
Utilising a simple mixture of warm water and mild detergent can effectively restore the surface. I recommend using a stiff-bristled broom to remove loose debris before applying the solution. This combination dislodges grime while being gentle on the material.
For persistent stains, a solution made of vinegar and baking soda works wonders. Apply it directly to the affected area, let it sit for a few minutes, then scrub with a brush. This method not only lifts marks but also neutralises odours.
To give a polished look, consider using a sealant specifically designed for your surface type. After thorough cleaning and drying, applying the sealant ensures longevity and enhances appearance. This protects against future wear and tear.
Effective Techniques for Surface Maintenance

To achieve a refreshed appearance for your asphalt surface, mix a solution of warm water and mild dish detergent in a large bucket. This combination effectively breaks down stubborn grime. Apply it using a heavy-duty bristle broom, scrubbing the surface thoroughly. Work in sections, rinsing the broom in clean water periodically to maintain its cleaning ability.
For stains that prove resistant, consider using a paste made from baking soda and water. Apply the paste directly on the affected area and let it sit for at least 30 minutes to allow the baking soda to absorb the stains. Afterward, scrub gently and rinse off with clean water using a garden hose.
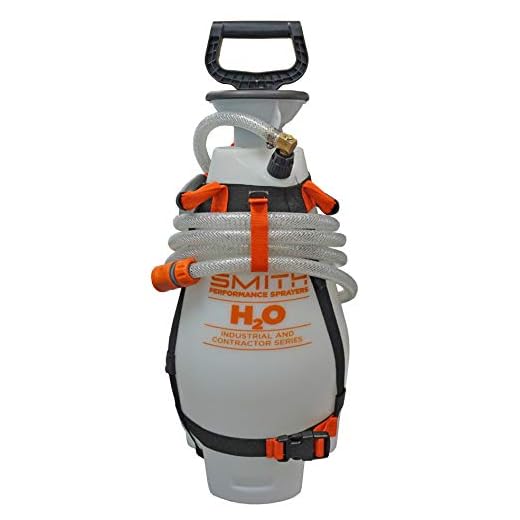
Leaf blower or a sturdy broom can help eliminate loose debris before scrubbing. This step ensures dirt is removed, enhancing the effectiveness of the cleaning solution. Additionally, a garden sprayer can be handy for applying detergent mixtures evenly and covering larger areas efficiently.
If oil spills are an issue, sprinkle some cat litter on the stain and leave it for several hours or overnight. This absorbs the bulk of the oil. Sweep up the litter and follow up with the baking soda paste method for remnants.
Regular maintenance is crucial for prolonging the lifespan of your surface. Scheduling clean-ups every few months will prevent buildup and help preserve its condition. Using sealants post-cleaning can protect from future staining and wear.
Gathering the Right Cleaning Supplies
Begin with a broom or stiff-bristled brush for removing loose debris. A thorough sweep is crucial to avoid scratching the surface during the following steps.
Next, obtain a bucket for mixing cleaning solutions. Choose a suitable detergent specifically formulated for asphalt surfaces, as standard household cleaners can often lead to damage.
Consider adding these items to your arsenal:
- Sponges or soft cloths for applying the cleaning solution.
- A garden sprayer or spray bottle for even distribution of the cleaning mix.
- Long-handled scrub brushes to reach larger areas without straining your back.
- Protective gloves and eyewear to keep yourself safe from chemicals.
If there are specific stains, include a stain remover targeted at oil or grease, ensuring it is compatible with asphalt. Rinsing can be accomplished using a hose with a nozzle attachment for controlled water flow.
Gather these supplies before commencing; it will save time and enhance your cleaning process.
Choosing a Suitable Cleaning Solution
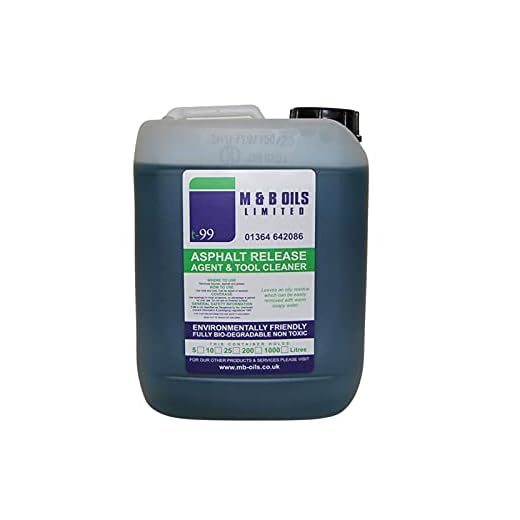
Opt for a degreaser or a specialised surface cleaner designed for asphalt. These formulations break down oils and stubborn residues, ensuring a thorough approach. Look for solutions that are biodegradable and safe for pets and plants.
For lighter stains, a blend of vinegar and water can serve as a natural alternative. Use a 50/50 ratio, applying it generously to the affected areas. Allow this mixture to sit for several minutes before scrubbing. This can be particularly effective for everyday dirt and grime.
For tougher spots, consider using baking soda mixed with water to create a paste. Apply the paste directly onto the stain and let it rest for about 30 minutes. The abrasiveness of baking soda aids in lifting the residue when scrubbed away.
Additionally, dish soap diluted in warm water works well for general maintenance. Combine a few drops of a gentle dishwashing liquid with water in a bucket. This solution is easy to prepare and helps lift light debris and dirt effectively.
Always test any solution in a small, inconspicuous area first. This ensures compatibility with your surface and prevents potential damage.
Preparing the Surface for Cleaning
Before initiating the cleaning process, ensure the surface is clear of debris such as leaves, dirt, and stones. These materials can interfere with the effectiveness of the chosen cleaning agents.
Follow These Steps:
- Remove any large items, such as toys or furniture, from the area.
- Utilise a broom or a stiff brush to sweep away loose dirt and residues.
- Inspect for stains or areas needing special attention, like oil spills or paint marks.
- For stubborn debris, consider using a garden hoe or a scraper to dislodge it.
- Rinse the surface lightly with a hose to eliminate remaining loose materials, if necessary.
Ensure that the area is not wet before applying any cleaning solution. A dry surface allows for better absorption and effectiveness of the cleaning agents.
If nearby plants or vegetation are present, cover them with plastic sheeting to prevent potential damage from cleaning solutions.
Final Checks:
- Examine the surface for any existing damage; cracks or potholes can complicate the process.
- Consider the climate; choose a day that is cloudy or mildly breezy to prevent swift drying of cleaning agents.
Following these preparation steps will enhance the outcome and efficacy of the cleaning process. Proceed carefully to achieve the best results.
Applying the Cleaning Solution Properly
Ensure the surface is dry before application. Use a garden sprayer or a large brush to distribute the cleaning mixture evenly across the area. Start at one end and work towards the other, overlapping each stroke slightly to guarantee complete coverage.
For tough stains, let the solution sit for 10-15 minutes to penetrate the grime. Avoid allowing it to dry on the surface, as this can create unwanted residues. If you notice areas that appear to be soaked in the cleaning solution, make a note to return and scrub those spots manually.
Application Techniques
There are multiple effective techniques for applying the solution:
- Using a brush: A stiff-bristled brush works well for scrubbing stubborn spots. Apply firm pressure while scrubbing in circular motions.
- Garden sprayer: This method offers continuous application and is best for larger areas where manual scrubbing may not reach every corner.
Rinsing Process
Once the solution has worked its magic, it’s crucial to rinse thoroughly. Use a hose or bucket to remove the residue. Ensure no cleaning solution remains, as this can lead to slippery conditions.
| Technique | Description |
|---|---|
| Brush Application | Use circular motions with a stiff-bristled brush for deeper stains. |
| Sprayer Application | Good for applying solution evenly over large areas. |
| Manual Scrubbing | Focus on stubborn spots after applying the solution. |
Adhering to these tips will enhance the overall results of your cleaning effort. Following this methodical approach leads to a refreshed and restored surface without the need for heavy machinery.
Scrubbing Techniques for Tarmac Cleaning
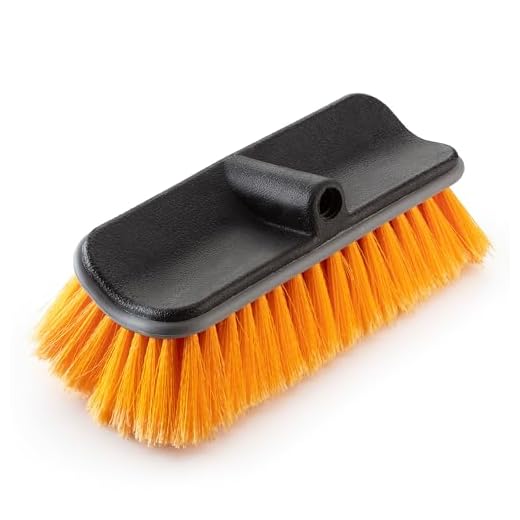
Utilise a stiff-bristled broom or a deck brush to agitate the surface effectively. Apply moderate pressure while sweeping in circular motions to lift dirt and grime.
Utilising Manual Tools
A hand-held scrubber with a long handle allows for easier reach and reduces strain on your back. For deeper stains, select a brush with firmer bristles. This provides better penetration into the porous surface, ensuring a thorough cleaning.
Stain Removal Tactics
For persistent spots, mix baking soda with water to create a paste. Apply it directly to the stain and scrub vigorously for several minutes. Rinse the area with clean water to remove residue. For oil stains, a small amount of washing-up liquid combined with hot water can break down the grease. Always rinse thoroughly to prevent any residue from settling back into the surface.
Lastly, patience is key. While this method may require more effort compared to machines, the results are often just as rewarding when done correctly.
Rinsing and Drying the Surface
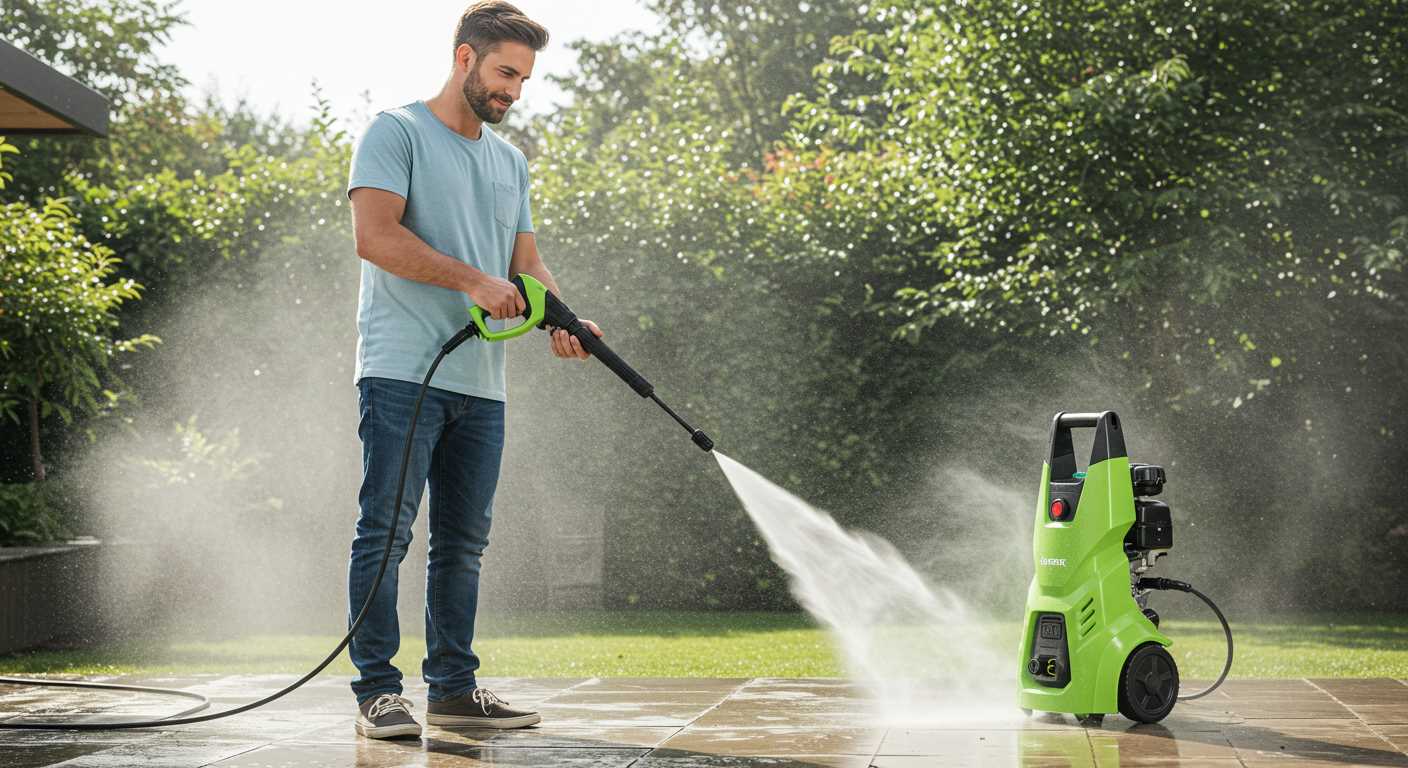
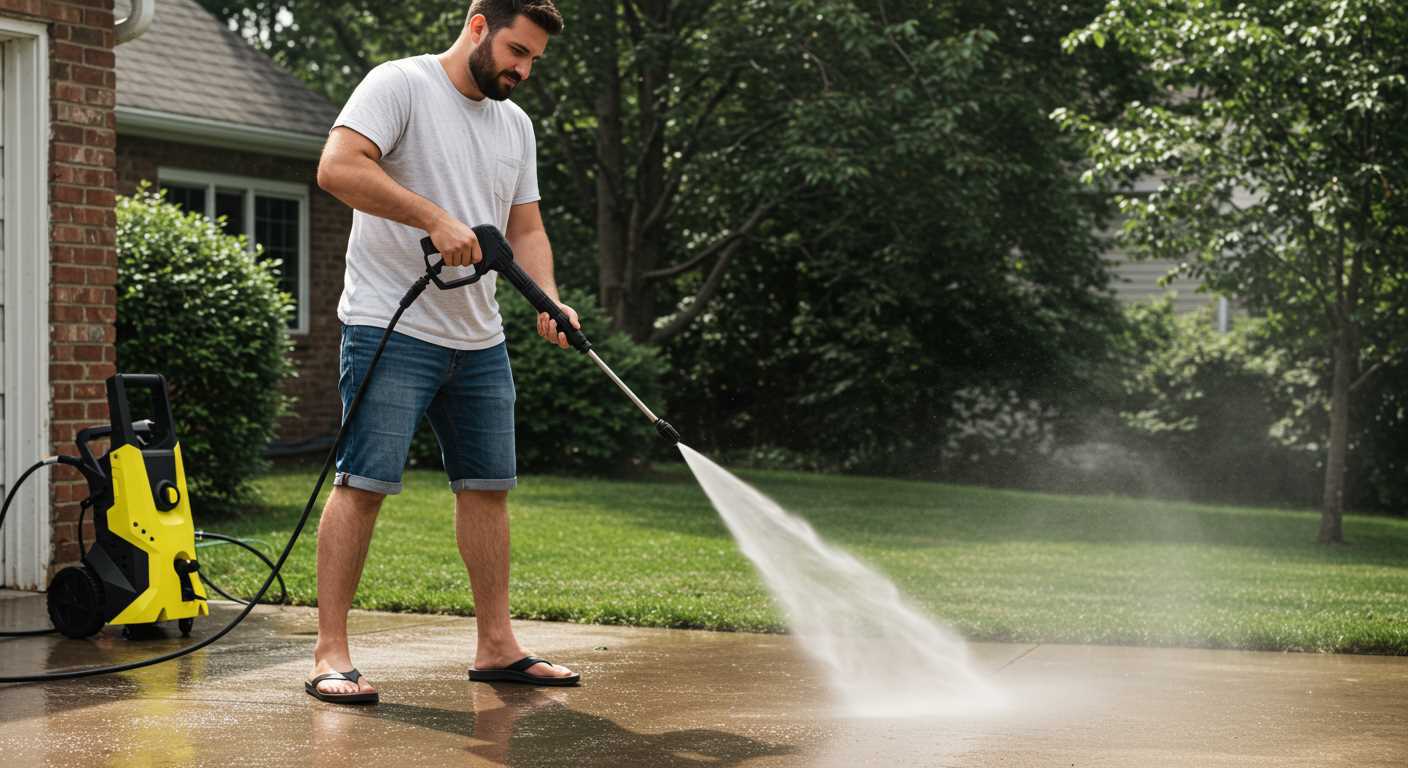
After applying the chosen cleaning agent and allowing it to act as recommended, the rinsing process begins. Use a garden hose with a spray nozzle attachment to control water flow. Aim for a gentle but thorough rinse to remove residue from the cleaning solution and any loosened dirt.
Start from one corner and systematically work your way across the area, rinsing in sections. This method ensures no spots are missed and helps to prevent any streaking or residue buildup. Adjust the nozzle to create a wide spray pattern for quicker coverage, avoiding concentrated streams that may disrupt the surface.
Once the rinsing is complete, allow excess water to drain away properly. For optimal drying, consider a few strategies. Firstly, if there’s ample sunlight, the heat will aid in drying the surface naturally. Additionally, using towels or squeegees can expedite the process if immediate use of the area is necessary.
In more humid conditions, increase airflow around the area by using fans. This helps to reduce drying time and prevent water spots. Keeping the space free from debris or traffic during drying is also advisable to maintain the integrity of the surface.
| Method | Description |
|---|---|
| Garden Hose | Use a spray nozzle to rinse thoroughly, starting from one corner and moving systematically. |
| Sunlight | Allow natural heat to aid in the drying process. |
| Towels/Squeegees | Wipe down the surface to hasten drying if immediate access is required. |
| Fans | Increase airflow in humid conditions to facilitate quicker drying. |
Ensure that the surface is completely dry before allowing any traffic to avoid trapping moisture that may cause damage over time. Following these rinsing and drying steps will leave the area clean and in excellent condition.
Maintaining Clean Tarmac After Washing
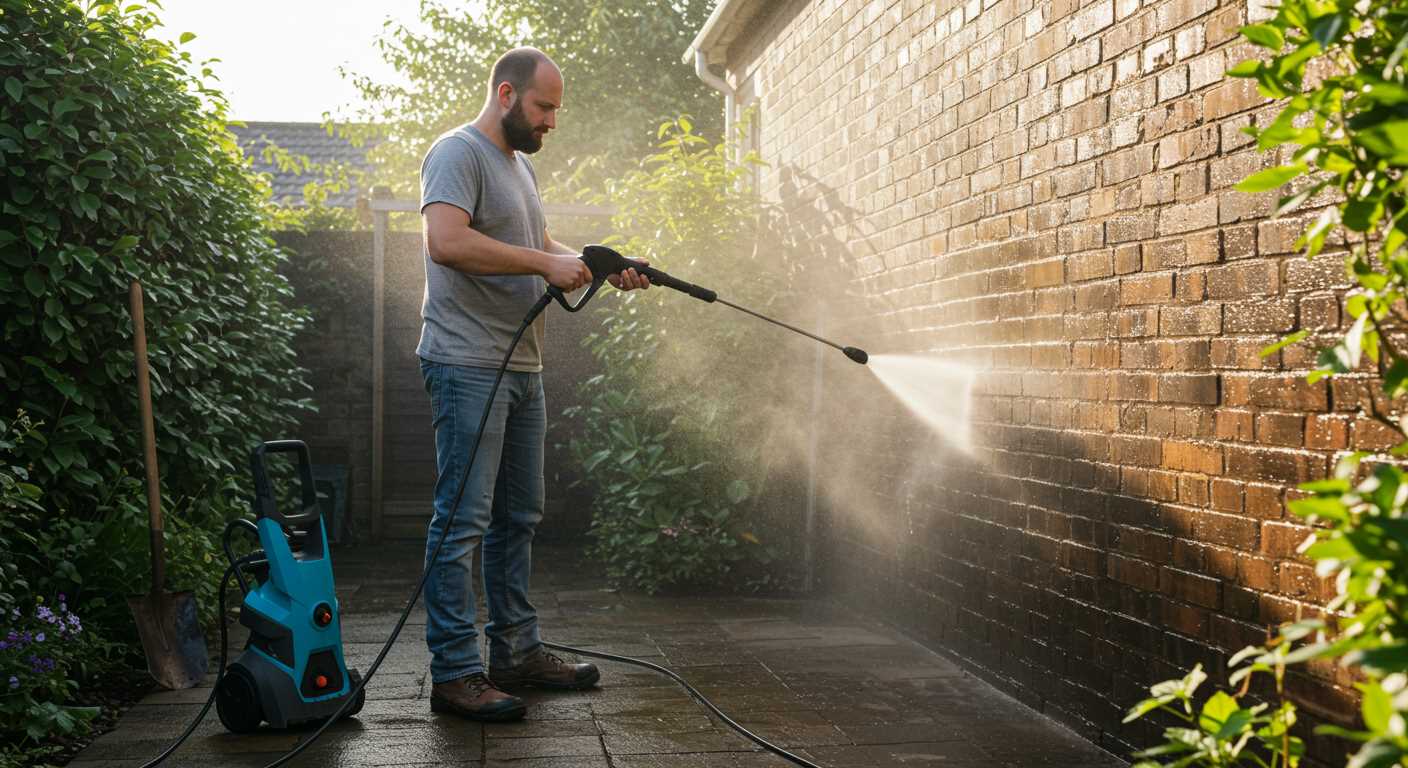
To prolong the fresh appearance of your surface, regularly sweep away debris and dirt. This prevents build-up and minimizes the need for intensive scrubbing sessions.
Using a mild biodegradable soap mixed with water, I recommend applying it once every month during periods of heavy use or seasonal changes. Keep the mixture light to avoid any residue.
Addressing Stains Promptly
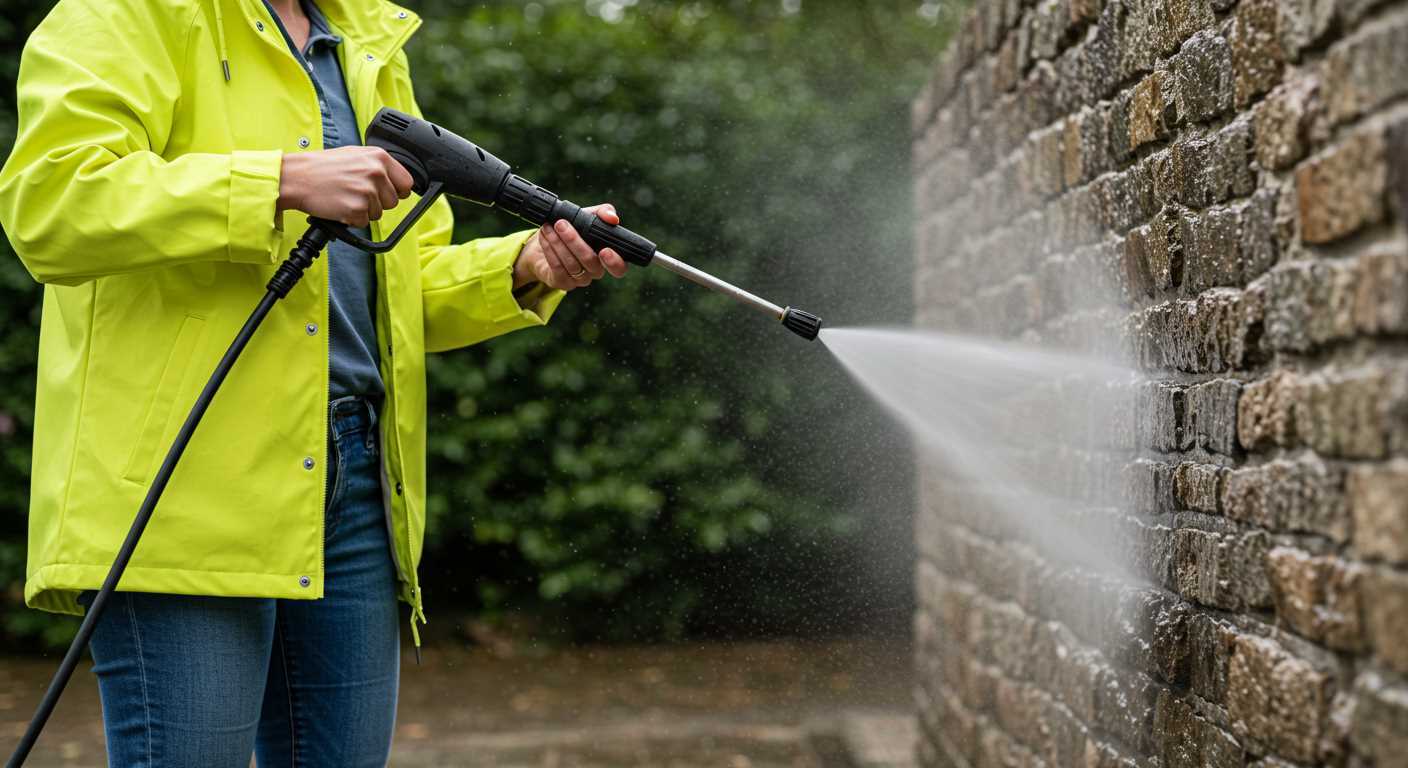
Address oil or fuel stains immediately with absorbent materials such as cat litter or sawdust. Allow it to sit for a few hours before gently sweeping away the remains. For persistent marks, a dedicated cleaner suitable for your surface is advisable.
Protective Sealant Application
Consider applying a sealant every couple of years. This forms a barrier against UV rays and stains, enhancing durability. Prior to application, ensure the area is free from debris and completely dry.
In the winter months, be cautious with de-icing products. Opt for alternatives less harmful to your surface. Regularly clearing snow prevents staining and unsightly marks.
FAQ:
What are some effective methods to clean tarmac without using a pressure washer?
There are several alternative methods to tackle tarmac cleaning without resorting to a pressure washer. One straightforward approach is to use warm, soapy water combined with a stiff broom or brush. This can help remove dirt and debris. For more stubborn stains, a mixture of vinegar and baking soda can be applied; let it sit for a bit before scrubbing. A more aggressive option is to use a tarmac cleaner designed for outdoor surfaces, which can be applied with a mop or brush. Finally, a garden hose with a spray nozzle can be used to rinse off any remaining cleaner or debris.
How often should I clean my tarmac surface, and what signs indicate it needs cleaning?
The frequency of cleaning tarmac can depend on various factors, including location and weather conditions. Generally, it is advisable to clean your tarmac surface at least once or twice a year. Signs that cleaning is needed include visible dirt buildup, stains from oil or other substances, and the surface appearing faded or dull. If you notice increased algae or moss growth, this is also a strong indicator that it is time for a clean.
Can I use household products to clean my tarmac, and what should I avoid?
Yes, many household products can be effective for cleaning tarmac. Mild dish soap mixed with warm water is a safe option for regular cleaning. Vinegar is also useful for tackling stains when mixed with baking soda. However, it is important to avoid harsh chemicals or acidic substances, such as bleach or strong solvents, as these can damage the tarmac surface over time. Always test a small area first to ensure the product does not cause adverse effects.


