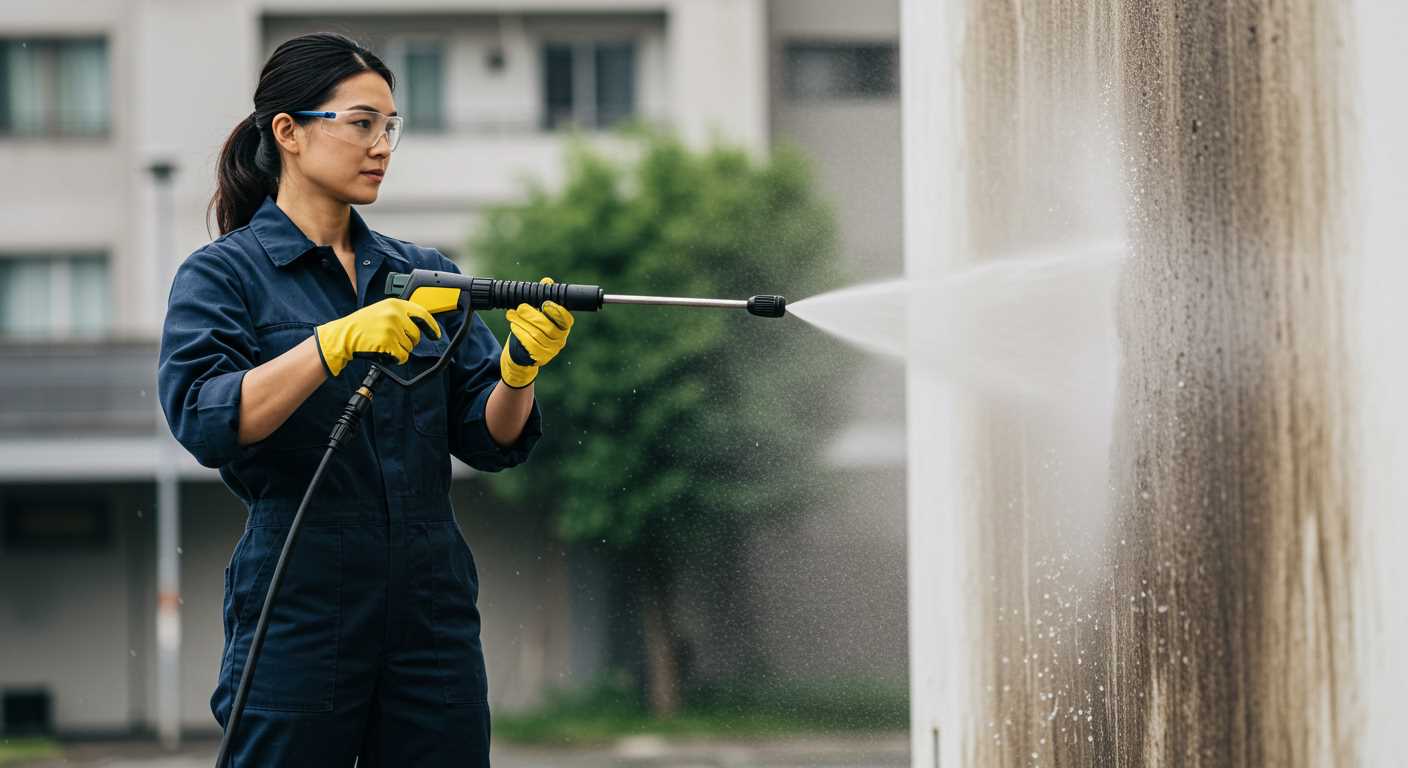


Using a high-pressure cleaning unit can transform a grimy refuse receptacle into a spotless asset. It’s a straightforward process that relies on your approach and the right tools. Ensure you have a nozzle capable of delivering a concentrated jet for precision work, improving efficacy against stubborn residues.
Prior to commencing, gather the necessary equipment: gloves, safety goggles, and a suitable detergent designed for tough grime. Prepare the environment; position your waste container on a stable surface away from delicate plants or structures that could be damaged by the water spray. This pre-cleaning phase is essential to create an optimal working space.
Once you have set up your gear, fill the receptacle with warm water and add a qualified cleaning solution. Allow this mixture to soak briefly as it aids in loosening dirt and reducing the effort needed during the washing process. After soaking, switch your focus to the washing unit. Adjust the pressure setting lower at first to avoid damaging any components of the container. Gradually increase as needed.
Begin at the top and work your way down, maintaining a steady movement to prevent water pool formation. Pay close attention to the rims and corners where dirt tends to accumulate. Following this method not only enhances the overall effectiveness but also ensures thorough coverage.
Once completed, rinse any remaining detergent with clean water, ensuring no residue is left behind. Allow the container to air dry fully before returning it to service. This clear and methodical approach guarantees your refuse container remains hygienic and visually appealing.
Effective Cleaning Technique
Begin by ensuring the equipment is positioned at a safe distance, around 1 to 2 metres away from the container. This allows for optimal water pressure while avoiding damage to the surface. Use a nozzle that creates a focused jet stream, ideally a 15 or 25-degree tip, for tackling stubborn grime.
Preparation Steps
Before commencing, remove any contents and check for residual debris. Wearing gloves is advisable to maintain hygiene. An optional pre-treatment solution can be applied to enhance the cleanliness, especially for odorous residues. Allow it to sit for several minutes to break down dirt before rinsing.
Technique and Tips
Gradually move the nozzle in a sweeping motion from the top down, ensuring thorough coverage. Maintain a consistent speed to prevent streaking. Pay special attention to corners and the bottom area, as these often collect more waste. After the initial wash, inspect for missed spots, adjusting the pressure as needed for tough stains.
Finally, allow the container to air-dry before replacing it. This step significantly reduces the risk of unpleasant odours and lingering bacteria.
Regular maintenance is recommended; a monthly wash can help prevent build-up and unpleasant smells.
Choosing the Right Cleaner for Waste Container Maintenance

Opt for a model with at least 130 bar of pressure; this level ensures efficient removal of built-up grime and bacteria. Power matters–selecting a machine with a minimum flow rate of 6-9 litres per minute gets the job done quickly and effectively.
Types of Cleaners

Electric devices are usually quieter and suitable for residential use. However, if you require mobility or higher power, consider petrol models. These often provide greater pressure, making them ideal for tougher stains.
Accessories and Attachments
Utilise a rotating nozzle attachment. This accessory increases the cleaning effectiveness by concentrating water flow into a smaller area, perfect for stubborn dirt. Additionally, invest in a dedicated cleaning brush to agitate and lift debris, enhancing overall results.
Remember to assess the weight and portability of the unit, especially if you’ll be maneuvering it frequently. A lighter model allows for easier handling, reducing strain during the process.
Lastly, check user reviews and ratings to gauge real-world performance and reliability. It’s often enlightening to learn from the experiences of others who have tackled similar tasks.
Preparing the Bin for Cleaning

Remove all contents from the container prior to commencing the washing process. Ensuring no residual waste remains is critical for an effective result.
Inspecting for Damage
Examine the exterior and interior surfaces for any cracks or damage. Repair any issues to prevent further deterioration during the cleaning session.
Gathering Supplies
Collect the following items before starting:
- Protective gloves
- Safety goggles
- Mixing container for cleaning solutions
- Stiff brush for scrubbing
- Hose attachment compatible with the sprayer
Mix an appropriate cleaning solution according to the manufacturer’s guidelines. This should be effective yet safe for the material of the container.
Choose a location for the task that allows for adequate drainage and easy access to water. A spacious outdoor area is preferable to avoid mess indoors.
Once everything is in place, assessing the ideal distance for the nozzle will enhance effectiveness without damaging the surfaces. Always prioritise safety throughout this process.
Selecting the Appropriate Cleaning Solutions
Choose formulas specifically designed for outdoor refuse containers. These options typically contain enzymes or surfactants that target organic residues and odours. Look for biodegradable variants to ensure environmental friendliness. Avoid abrasive substances that could scratch or damage surfaces.
Recommended Ingredients
Oxygen bleach is a safe alternative to harsh chemicals. It breaks down stains and eliminates bacteria effectively. A mixture of vinegar and baking soda provides a natural approach, combating unpleasant smells without toxic residues. Additionally, some products contain citrus extracts for their pleasant fragrance and additional deodorising properties.
Application Methods
Mix your chosen solution in a bucket, ensuring it reaches a solution strength recommended on the label. Always apply according to the product instructions, allowing adequate time for the formula to break down stubborn grime. Rinse thoroughly, ensuring no residue remains to prevent build-up in future cleanings.
Techniques for Safe and Thorough Washing

Ensure all safety gear is worn before operating equipment. Use goggles, gloves, and non-slip footwear to protect against water and debris hazards.
Select an area with proper drainage to avoid water pooling, and keep nearby surfaces clear of obstacles. Position the appliance away from power sources, ensuring the electrical connections are safe from moisture.
Begin from the top of the receptacle, directing the spray downwards. This prevents debris from flowing down onto already cleaned sections. Ideal nozzle choices include the fan spray for broad coverage or the narrower jet for stubborn stains. Always test the chosen nozzle on a less visible area first.
Adjust PSI Settings
Regulate the pressure settings based on the task. For light build-up, a lower setting suffices. Higher pressure is necessary for tougher grime. Keep the spray distance consistent–approximately 30-36 inches away–to avoid damaging surfaces while achieving effective results.
Rinse and Repeat
After the initial wash, inspect for remaining dirt. A second pass may be necessary for complete removal. Follow up with a thorough rinse to ensure all cleaning agents are washed away. Lastly, allow sufficient time for the receptacle to dry before replacing it in its designated spot.
Post-Cleaning Care for Your refuse container
After washing your refuse container, it’s essential to ensure its longevity and hygiene through proper upkeep. Begin by thoroughly rinsing the exterior to remove any residual detergent. Allow it to dry completely in a well-ventilated area, preferably outdoors, to prevent any dampness which could lead to unpleasant odours or mildew.
Maintenance Tips
Consider applying a protective coating once the surface is dry. A silicone-based spray or a dedicated plastic protectant can help repel dirt and grime. This makes future maintenance easier and keeps the container looking new for longer. Additionally, regularly inspect for any cracks or signs of wear, as these can trap waste and become breeding grounds for pests. If damage is found, repair or replace promptly.
Storage Recommendations

If possible, position your container in a shaded area to minimise sun exposure, which can degrade plastic over time. If you’re storing your container in a garage or shed, ensure it’s not placed on a damp surface. To further enhance hygiene, consider placing odour absorbers or baking soda inside the container when not in use.
| Care Task | Frequency |
|---|---|
| Exterior Rinse | Weekly |
| Protective Coating Application | Every 3-6 months |
| Inspection for Damage | Monthly |
| Odour Absorber Replacement | Every 1-2 months |
Following these steps will help maintain your refuse container in optimal condition, ensuring it serves its purpose effectively while minimising unpleasant odours and potential pest attraction.
Preventative Measures to Reduce Future Dirt Build-Up
Regularly lining your refuse container with an odour-absorbing material, such as baking soda or activated charcoal, can significantly minimise unpleasant smells and deter grime. This simple step absorbs moisture and neutralises deposits before they accumulate.
Consider investing in an enclosure for your refuse receptacle, such as a dustbin shelter. This can protect it from the elements and debris, helping to keep the surrounding area tidy and reducing exposure to dirt.
Implement a consistent rubbish disposal schedule. Adhering to a routine not only keeps the interior refreshed but also reduces the chance of organic waste decomposing and attracting pests.
Encourage proper disposal practices among household members. Using sealed bags to contain food scraps ensures that leaks are minimised, protecting the interior surfaces from being soiled.
Lastly, periodic inspections are beneficial. Assess the state of your receptacle regularly, looking for potential issues such as cracks or damage that may lead to leaks. Addressing these problems promptly ensures longevity and lessens the accumulation of waste.


