


For optimal results, begin with a mixture of warm water and white vinegar. This natural cleaner effectively breaks down grime and unpleasant odours. Combine equal parts vinegar and water in a bucket, then use a sponge or cloth to scrub the interior surfaces thoroughly.
Next, consider a baking soda treatment to tackle stubborn stains. Sprinkle a generous amount of baking soda throughout the interior. Let it sit for at least 30 minutes to absorb smells before scrubbing it off with a damp cloth. This method not only helps with stains but also leaves a fresh scent.
After scrubbing, rinsing is crucial. Use a garden hose to flush away the residue, ensuring no cleaning agents remain. If a hose isn’t available, a bucket of clean water can suffice. Pour the water gradually to avoid overwhelming the container. Once finished, leave the lid open for several hours to allow proper ventilation and drying.
If you’re dealing with persistent odours, a few drops of essential oils can be a pleasant addition. Using oils like eucalyptus or lavender, place a couple of drops at the bottom of the empty container before sealing it again. This simple trick can help keep unpleasant scents at bay.
Effective Approaches to Maintaining Your Refuse Container
A mixture of hot water and biodegradable soap can be particularly helpful. Pour the solution into the receptacle, allowing it to sit for around 30 minutes. This aids in breaking down stubborn residues and eliminates unpleasant odours.
Utilising a long-handled brush will assist in reaching all corners. Scrub thoroughly using the soapy water, focusing on areas with noticeable grime. For persistent stains, sprinkle some baking soda on them before scrubbing; its abrasiveness can be beneficial.
After scrubbing, rinse with clean water from a hose or bucket. Ensure that all soap and residue are removed completely. To avoid future odours, consider placing a few citrus peels in the container after it has dried. The peels will help to keep it smelling fresh.
If you face a particularly tough stain, a diluted vinegar solution, combined with baking soda, can provide additional cleaning power. Apply the mixture directly, let it fizz for a few minutes, then scrub and rinse.
Leave the receptacle open to air dry completely before securing the lid. This can prevent moisture buildup, which leads to unpleasant smells or mould. Regular maintenance every few weeks will simplify the cleaning process significantly.
Choosing the Right Cleaning Supplies
Invest in a robust brush with strong bristles. This helps tackle stubborn grime and is effective on various surfaces. Select one that fits comfortably in your hand to ease those scrubbing sessions.
Detergents and Solutions
Opt for biodegradable cleaners that cut through grease and organic waste. Ensure the product is safe for use outdoors and is non-toxic, especially if pets or children are nearby. Baking soda and vinegar serve as natural alternatives, providing a powerful yet gentle cleaning method.
Protective Gear
Wear gloves and a mask. Gloves shield your hands from harsh chemicals, while a mask protects against any unpleasant fumes or dust. Ensure your footwear is sturdy, as you may encounter slippery surfaces during the process.
Don’t underestimate the power of a garden hose with a good spray nozzle. It allows for effective rinsing after applying your cleaning solution, ensuring all residues are washed away.
By thoughtfully selecting these items, you’ll achieve impressive results without the need for specialised equipment. Remember, preparation is key to a successful task.
Preparing the Bin for Cleaning

Begin by emptying the receptacle entirely. Make sure no waste remains, as residual materials can hinder the cleaning process. Next, inspect for any cracks or damage; this is crucial for addressing any potential issues before starting.
Next, gather your tools: a sturdy spatula or scraper can help dislodge stubborn debris stuck to the interior surfaces. Wear gloves to protect your hands from any sharp edges and unpleasant residues.
Rinsing the Interior
Use a garden hose to perform a preliminary rinse. This will help remove loose dirt and particulates, preparing the surface for more effective treatment. Ensure that you cover all corners and crevices to maximize the initial cleaning. This step is vital as it minimizes the effort needed later with cleaning agents.
Assessing the Location
Select a suitable area for this task. A flat, outdoor space is ideal, allowing for proper drainage and avoiding the risk of soil contamination. Ensure the environment is safe from nearby plants to prevent damage from cleaning solutions.
Creating a Homemade Cleaning Solution
For an effective mixture, combine equal parts of white vinegar and baking soda. This creates a potent cleaning agent that breaks down stubborn grime and neutralises odours. Pour a cup of vinegar into your container, followed by a cup of baking soda. The reaction produces fizzing, which assists in loosening dirt. Allow it to stand for about ten minutes before using.
Additional Ingredients for Enhanced Cleaning
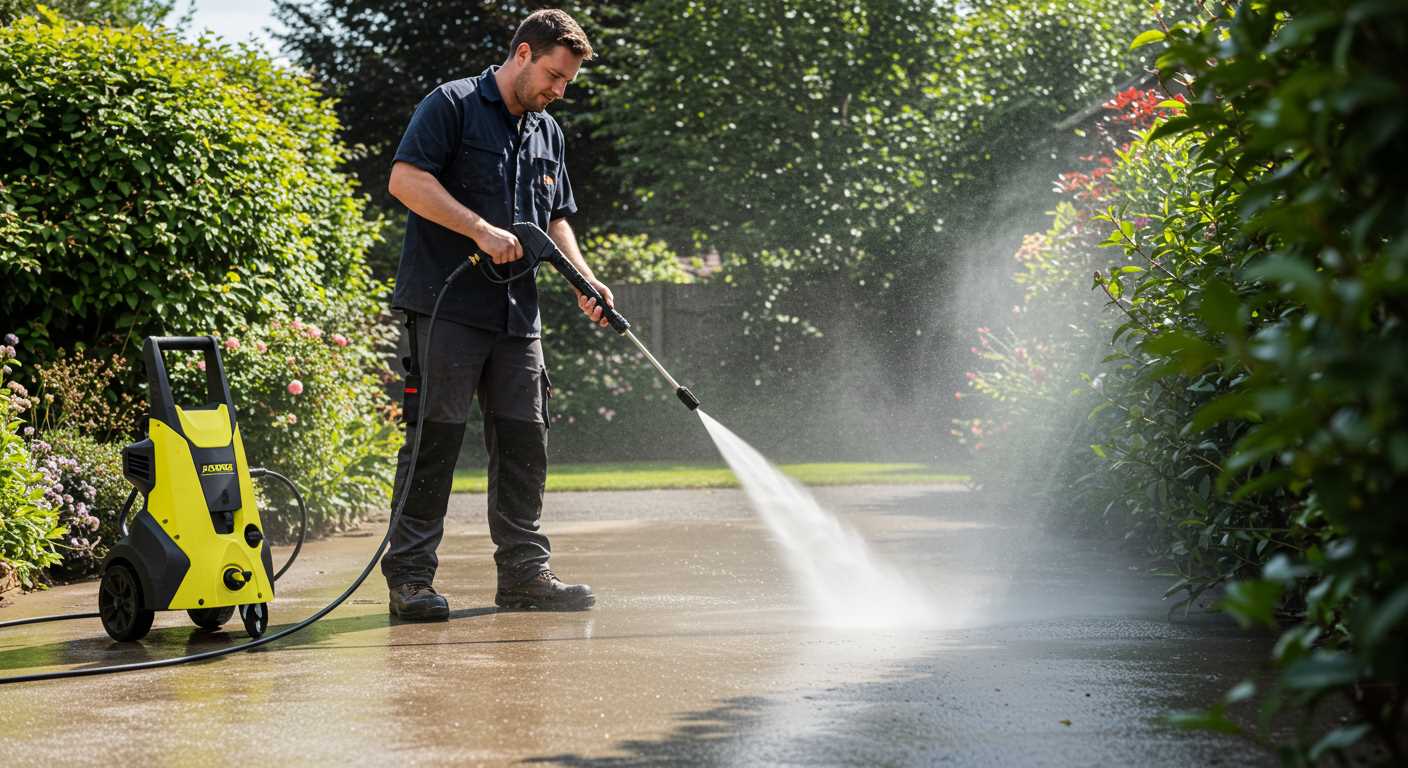
To improve the solution further, introduce a few drops of dish soap. This addition helps lift grease and solid residue. If mildew is a concern, consider adding a small amount of hydrogen peroxide, which acts as a natural disinfectant and brightener. Always be cautious with quantities to avoid an overpowering reaction.
Application Technique
Employ a sponge or scrub brush to apply the mixture generously to all surfaces. Focus on areas with heavy staining or lingering deposits. Let the solution sit for several minutes before rinsing well with clean water. Repeat as necessary for particularly tough spots. For best results, I recommend performing this task in cool weather to prevent the mixture from drying too quickly.
Best Practices for Scrubbing and Rinsing
Use a long-handled brush for effective scrubbing, allowing you to reach deep into corners and crevices with ease. This provides leverage and reduces strain on your back. Opt for brushes with stiff bristles to tackle stubborn stains and build-up efficiently.
When rinsing, aim for a steady stream of water rather than high pressure. A standard hose with a spray nozzle works perfectly. Start from the top of the container and work your way down, ensuring that residual cleaning agents and debris are thoroughly washed away.
Cleaning Technique
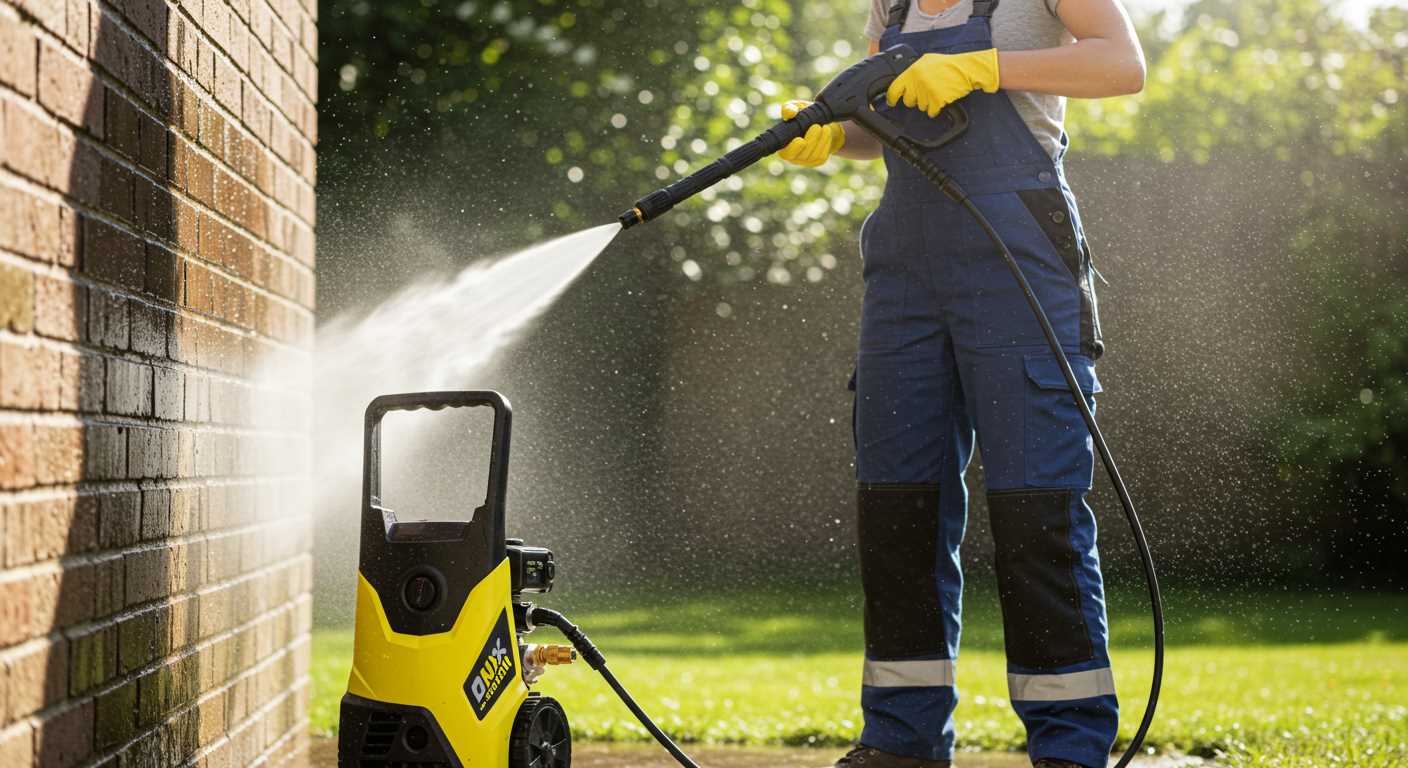
Begin by applying your homemade cleaning solution directly onto the surface, allowing it to sit for a few minutes. This gives the mixture time to break down dirt and grime. Next, using the brush, scrub the sides vigorously in circular motions. Pay extra attention to areas that are commonly neglected, such as the bottom and edges.
After scrubbing, rinse the container using the hose from the top down, ensuring all cleaning solution is removed. A complete rinse not only helps in maintaining hygiene but also prevents any chemical residue that could lead to unpleasant odours.
Additional Tips
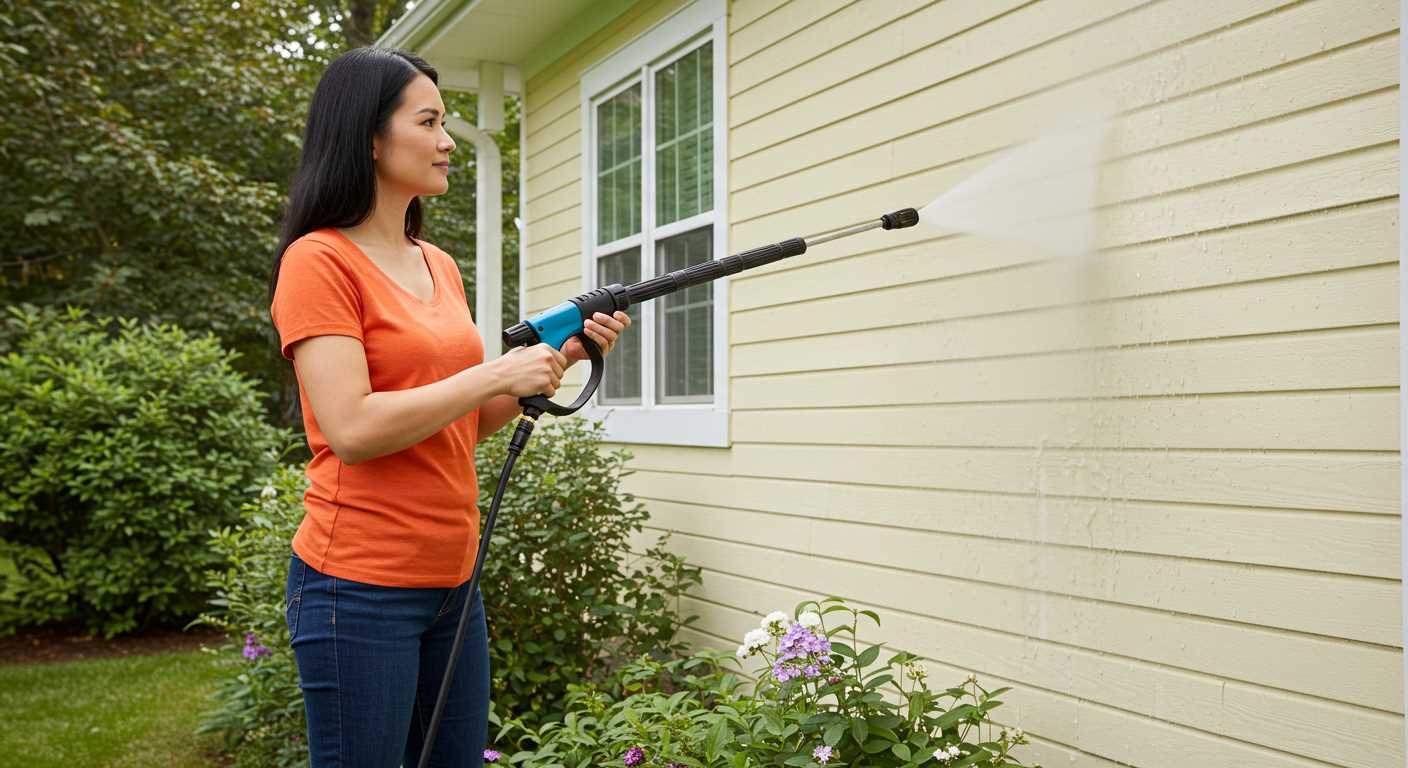
Consider opening the lid during the rinsing process to allow moisture to escape. If there are persistent stains, repeat the scrubbing and rinsing steps. For dried-on waste, soaking those areas with additional solution for several moments can provide extra assistance.
| Action | Details |
|---|---|
| Brush Type | Use a long-handled brush with stiff bristles. |
| Scrubbing Technique | Use circular motions, focusing on corners and edges. |
| Rinsing Method | Start from the top, using a steady water stream. |
| Persistence | Soak for a longer time if stains are tough. |
These steps ensure thorough cleanliness and a fresh environment, effectively maintaining the longevity of your waste receptacle.
Deodorising Your Wheelie Bin After Cleaning
Using natural ingredients can effectively neutralise unpleasant smells emanating from your refuse container.
Consider these options for a fresh scent:
- Baking Soda: Sprinkle a generous amount of baking soda inside the container. Leave it for several hours or overnight for maximum absorption of odours. Following this, simply sweep out any remaining powder.
- Vinegar: After rinsing the container, spray white vinegar on the interior surfaces. Let it sit for about 30 minutes before rinsing again. Vinegar not only deodorises but also acts as a mild antibacterial solution.
- Citrus Fruits: Discarding citrus peels, like lemon or orange, in the container will impart a fresh fragrance over time. The oils in the peels can help mask unwanted smells.
- Essential Oils: Adding a few drops of essential oils, such as tea tree, eucalyptus, or lavender, onto a cotton ball and placing it inside the bin can help maintain a pleasant aroma.
Additionally, to prevent future odour buildup:
- Ensure proper sealing of bags to avoid leaks and spills.
- Regularly rinse the insides, ideally after each emptying.
- Place newspaper or paper towels at the bottom to absorb moisture before disposing of waste.
Consistency in these practices not only keeps your container smelling fresh but also extends its lifespan significantly.
Maintaining a Clean Wheelie Bin Long-Term

Regular upkeep is key to ensuring hygiene and odour control. Schedule a routine cleaning every month to prevent grime buildup. Use a calendar reminder to make this habit stick.
Store the receptacle in a shaded area if possible, ideally away from direct sunlight. Heat can exacerbate the decomposition of waste, leading to stronger odours and pest attraction.
Place a few layers of newspaper or old cardboard at the base; this absorbs moisture and aids in preventing residue from adhering to the interior. This simple trick can minimise the effort needed during your monthly maintenance.
Consider using a fabric spray or dusting powder specifically designed for sanitisation. Sprinkle it inside and allow it to sit before the next scheduled clean to neutralise odours. Products containing bicarbonate of soda can work wonders.
Be mindful of how you dispose of waste. Try to separate organic materials from other refuse. Using bags for food scraps can reduce mess and make it easier to manage within the container.
Keep a check on the wheels and lid seals. If they become damaged, replace them to maintain closure and prevent leaks, which can lead to unpleasant conditions.
If it’s feasible, use a natural antibacterial solution comprised of diluted vinegar or tea tree oil as a maintenance spray between thorough washes. A quick spritz after each emptying can help keep things fresh.


