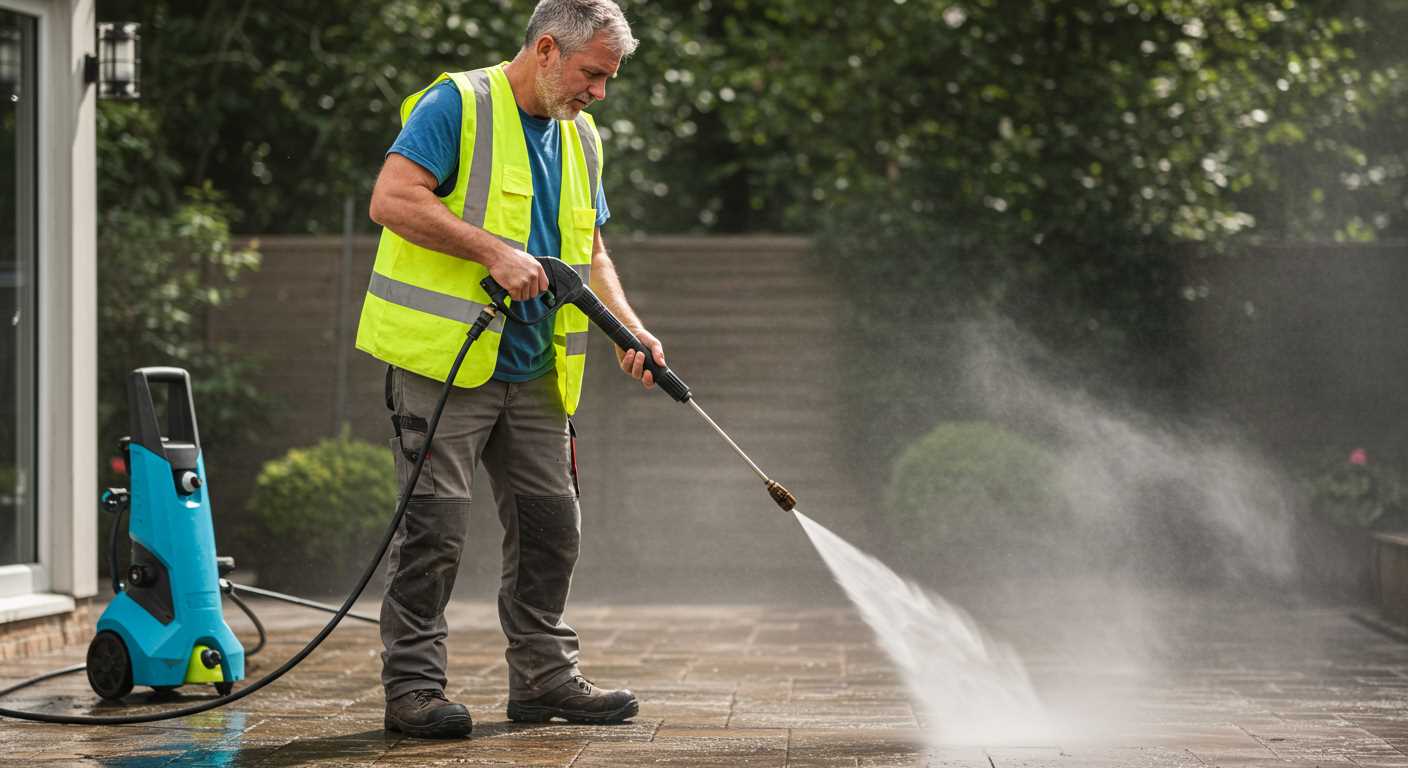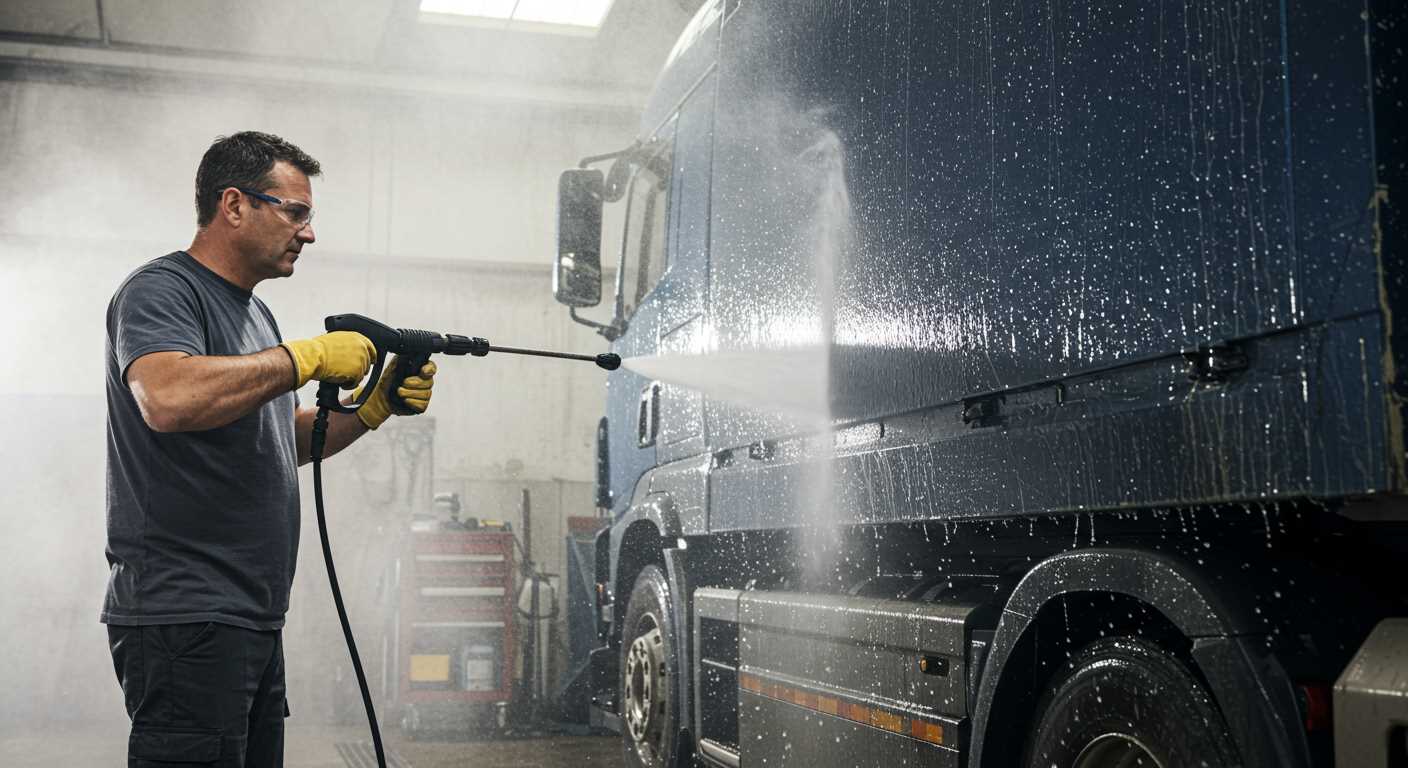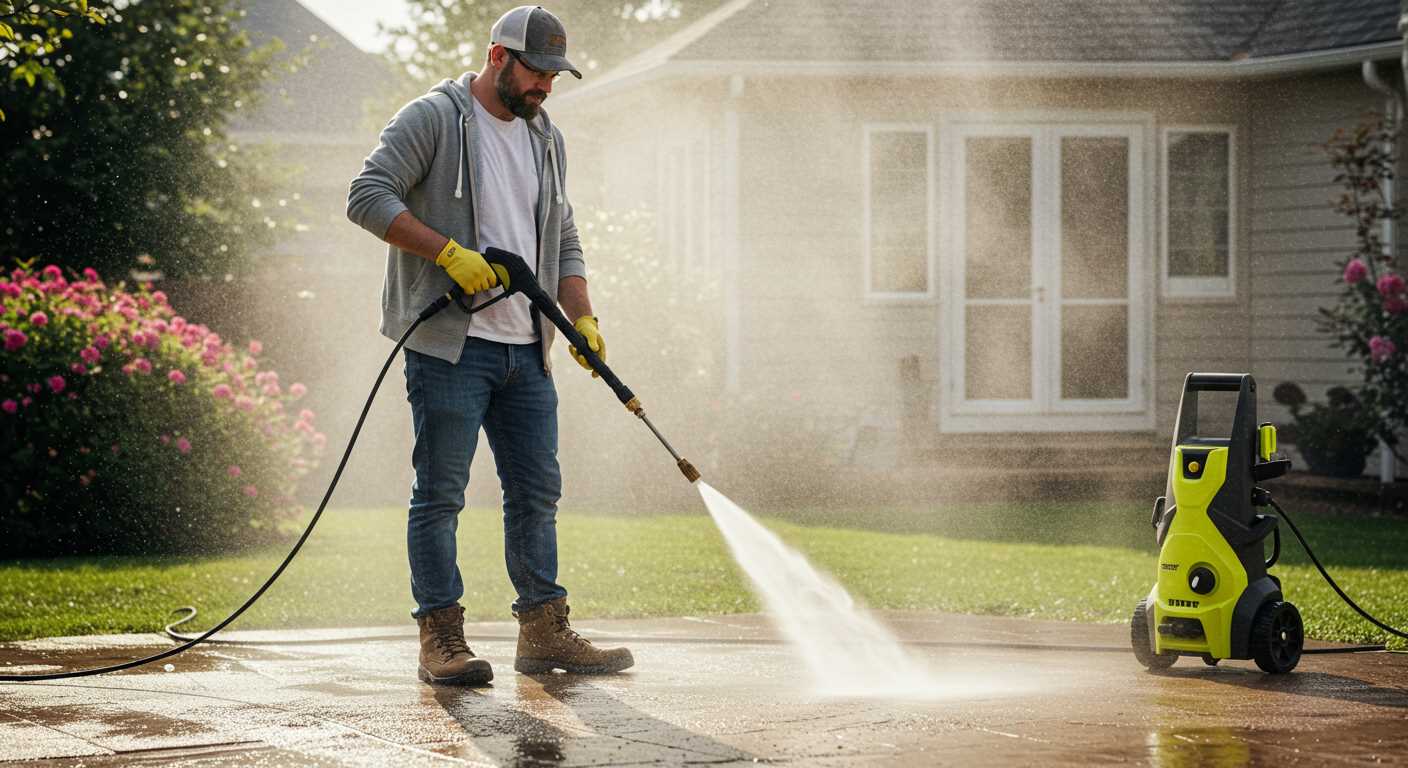


Begin by selecting a robust device tailored for outdoor applications. Look for a model with adjustable pressure settings, ideally ranging from 1500 to 3000 PSI, as this will allow for versatility depending on the level of grime accumulated on your structure.
Prior to commencing the task, gather essential supplies: a suitable nozzle–typically a 25-degree or 40-degree tip works best–and a biodegradable cleaning solution specifically designed for PVC materials. Mixing this solution according to manufacturer guidelines will enhance the cleaning process without risking damage to your protective barrier.
Attach the nozzle and solution container to your apparatus, ensuring connections are secure. Before applying pressure, conduct a test spray on an inconspicuous section to confirm compatibility and avoid unintentional harm to the surface. Once you’ve established the settings and confirmed performance, proceed methodically, applying the cleaning agent from the base upwards to minimise streaking.
Employ a sweeping motion, keeping the nozzle approximately 12 to 18 inches from the surface for optimal results. For stubborn stains, allow the cleaning agent to dwell for a few minutes before rinsing. Follow up with thorough rinsing at a lower pressure to remove any residue, keeping the nozzle at a similar distance.
Effective Techniques for Maintaining Your Vinyl Barrier

Begin by selecting a nozzle with a spray angle of 25 or 40 degrees. This will provide sufficient power without risking damage to the surface. An adjustable nozzle can greatly enhance versatility for reaching different heights.
Before initiating the process, test the water pressure, ensuring it remains between 1300 and 2500 PSI for optimal results. Higher settings may lead to deterioration, while lower settings may be inadequate.
Your cleaning solution should contain a mixture of warm water and a mild detergent specifically designed for the task. Avoid bleach-based products as they can cause discoloration over time.
Apply the solution generously using a low-pressure setting; this will help saturate the dirt and grime. A soft-bristle brush can assist in agitating stubborn stains before rinsing.
The rinsing stage is critical. Maintain a distance of at least 12 inches from the fence surface to prevent etching. Move the nozzle in a steady, sweeping motion to ensure even coverage.
After rinsing, visually inspect for any remaining marks. If necessary, repeat the treatment on stubborn spots. Allow the surface to air dry completely, giving it a chance to regain its original brilliance.
Keep a maintenance schedule. Regular upkeep will prevent the buildup of dirt and mildew, making future cleaning sessions more manageable.
| Task | Frequency |
|---|---|
| Initial Cleaning | Once a year |
| Maintenance Clean | Every 3-6 months |
| Inspect for Damage | Twice a year |
Following these techniques ensures the longevity and aesthetic appeal of your fencing solution. Adhering to the right practices saves time and effort in the long run. The results will speak for themselves.
Gather Necessary Supplies and Equipment

Before tackling the task, ensure you have the right tools ready. This will streamline the process and yield the best results.
- Pressure Cleaner: Select a model with adjustable pressure settings. A minimum of 1500 PSI is recommended for optimal efficacy.
- Nozzle Selection: Use a fan tip nozzle (usually 25-40 degrees) to avoid damaging the surface while ensuring a thorough wash.
- Cleaning Solution: Choose a biodegradable detergent suitable for composite materials. Look for options that break down grime effectively without being harsh.
- Bucket: A standard bucket will help mix the cleaning solution with water properly.
- Sponge or Soft Brush: For areas that require more attention, these will help lift stubborn stains.
- Protective Gear: Include goggles and gloves to safeguard yourself from debris and cleaning chemicals.
- Garden Hose: Ensure you have a garden hose to connect the pressure cleaner, making setup straightforward.
Gathering these items in advance will make the process smoother and increase efficiency. Ensure each item is in good working condition before proceeding.
Prepare the Surface Before Washing

Ensure the area around the structure is clear. Remove any furniture, potted plants, or other obstacles that might hinder access. This allows for a thorough approach and prevents damage to surrounding items.
Inspect the material for signs of mould, mildew, or stains. If any areas require additional attention, pre-treat these spots using a suitable cleaner applied generously. Allow the product to sit for the recommended time to loosen dirt and debris.
Check for Damage
Examine the entire structure for cracks, holes, or loose sections. Address repairs beforehand to prevent further issues when using high-pressure tools. Ensure that any loose boards or panels are securely fastened to avoid accidents or debris becoming dislodged during operation.
Protect Surrounding Areas

Cover nearby plants, walls, or outdoor fixtures with plastic sheeting or old tarps to prevent overspray damage. This simple step can save time cleaning up after the task is complete.
Confirm the water supply is adequate and free of debris before starting. A steady flow will support effective cleaning and reduce downtime. Following these steps will set the stage for optimal results later.
Select the Right Pressure Washer Settings
Set the pressure to a range of 1200 to 1900 PSI for optimal results. This level is sufficient to remove grime without causing damage to the surface.
Choose a fan spray nozzle, ideally between 25 and 40 degrees, as this will distribute the water over a wider area and reduce the risk of etching or streaking. A more concentrated spray can cause harm, so avoid narrow nozzles.
For detergent application, employ a low-pressure setting. Use the soap nozzle to ensure even distribution while allowing the cleaning solution to penetrate effectively. Ensure that the soap is compatible with the material to avoid adverse reactions.
Maintain a safe distance of 2 to 3 feet from the surface during the process. This helps to avoid any damage while ensuring thorough coverage of the area.
Finally, adjust the settings gradually while testing small areas. This approach ensures that you can adapt if needed, preventing any unexpected issues.
Choose the Appropriate Cleaning Solution
Select a formula specifically designed for plastic surfaces to avoid damage. I recommend using a mix of mild dish soap and warm water for standard maintenance. This blend is gentle and effective, removing dirt without causing harm. For tougher stains like mould, opt for a diluted solution of bleach and water, approximately one part bleach to three parts water. Always test this mixture on a small, inconspicuous area first to ensure safety.
If you prefer commercial options, look for products labelled as safe for use on synthetic materials. Many brands offer concentrate cleaners that target stubborn grime. Follow the manufacturer’s instructions for dilution and application to achieve optimal results.
Avoid acidic or abrasive cleaners, as these can lead to discolouration and scratches. Additionally, steer clear of solutions containing petroleum-based components, as they may damage the vinyl finish. Always remember to wear appropriate protective gear, such as gloves and eyewear, when handling cleaning chemicals.
Technique for Pressure Washing White Vinyl Fences
Utilise a sweeping motion while holding the nozzle between 30 to 45 degrees from the surface. Maintain a distance of approximately 2 to 3 feet to avoid damage. Starting from the top and working downward ensures that dirt flows away from already cleaned areas.
Adopt a systematic approach, tackling one section at a time. This helps to effectively manage debris and maintain consistency. If persistent stains linger, pause to apply the chosen cleaning solution directly to the affected area before resuming your wash.
Utilise overlapping strokes to ensure thorough cleaning. Each pass should slightly overlap the previous one, preventing streaks and ensuring an even finish.
- Adjust the nozzle tip based on the severity of dirt. A 25-degree tip works well for general washing, while a 15-degree tip provides more intensity for stubborn spots.
- Incorporate a rotating nozzle for larger areas; this increases efficiency while reducing the risk of surface damage.
- Consider utilizing a fan spray pattern for wider coverage, especially on flat surfaces.
Take breaks to inspect your work regularly. This lets you identify areas needing extra attention. After completing the cleaning process, rinse the surface thoroughly to remove any leftover residue from the cleaning solution.
Lastly, allow the surface to dry fully before applying any additional treatments or sealants. This ensures maximum effectiveness and longevity of your efforts.
Post-Cleaning Inspection and Detailing
.jpg)
After rinsing, inspect the surface closely for stubborn stains, spots, or glossy marks. Use a soft brush with a mild solution for any residues that remain. Pay attention to corners, seams, and areas that often trap dirt.
For a thorough assessment, walk along the entire length, checking for discolouration or damage. If you spot any imperfections, address them at once. A simple technique involves using a sponge or cloth soaked in the chosen detergent to tackle persistent blemishes.
Once the inspection is complete, consider applying a protectant to maintain the finish. This will provide an additional layer of defence against dirt and environmental factors. Make sure it’s compatible with the materials you’re working on.
Finally, step back and admire your handiwork. A clean surface not only enhances the aesthetic appeal but also prolongs the life span of your structure. Make it a routine to inspect and maintain regularly to keep everything looking pristine.
Regular Maintenance Tips for Vinyl Fences
Inspect your barrier at least twice a year for signs of wear or damage. Look for cracks, warping, or areas where dirt has accumulated. Prompt repairs can prevent minor issues from escalating into significant problems.
Apply a mild detergent solution to remove surface dirt regularly. Using a soft cloth or sponge, gently scrub any tough spots. Avoid abrasive materials that could scratch the surface.
Make sure to trim nearby vegetation to prevent it from coming into contact with your structure. Encroaching plants can hold moisture against the surface, leading to mildew or stains.
Seal any cracks or openings immediately with an appropriate vinyl repair adhesive. This will protect against water ingress and help maintain the structural integrity over time.
In winter, use a plastic shovel to remove snow rather than metal tools. Metal can scratch and damage the surface, while plastic is less likely to cause harm.
Consider seasonal pressure washing every 1-2 years to maintain your installation’s pristine appearance. This reduces the need for frequent intensive scrubbing and keeps your exterior looking fresh.
Apply a surface protectant designed for vinyl materials to enhance durability and resistance to UV rays. This step is particularly beneficial in areas with intense sunlight.
Always ensure that the surrounding area is clear of debris, which may inadvertently scratch or mark the surface during maintenance activities.


