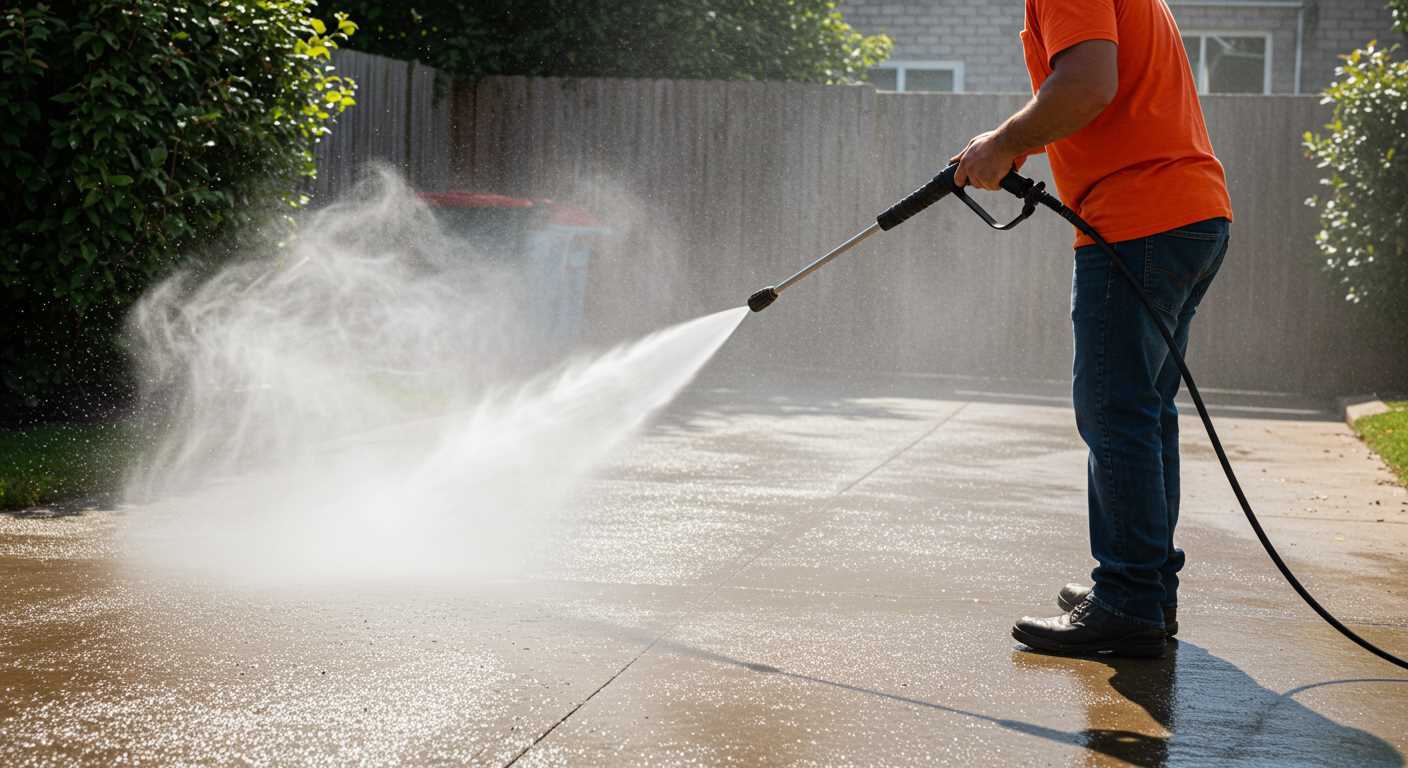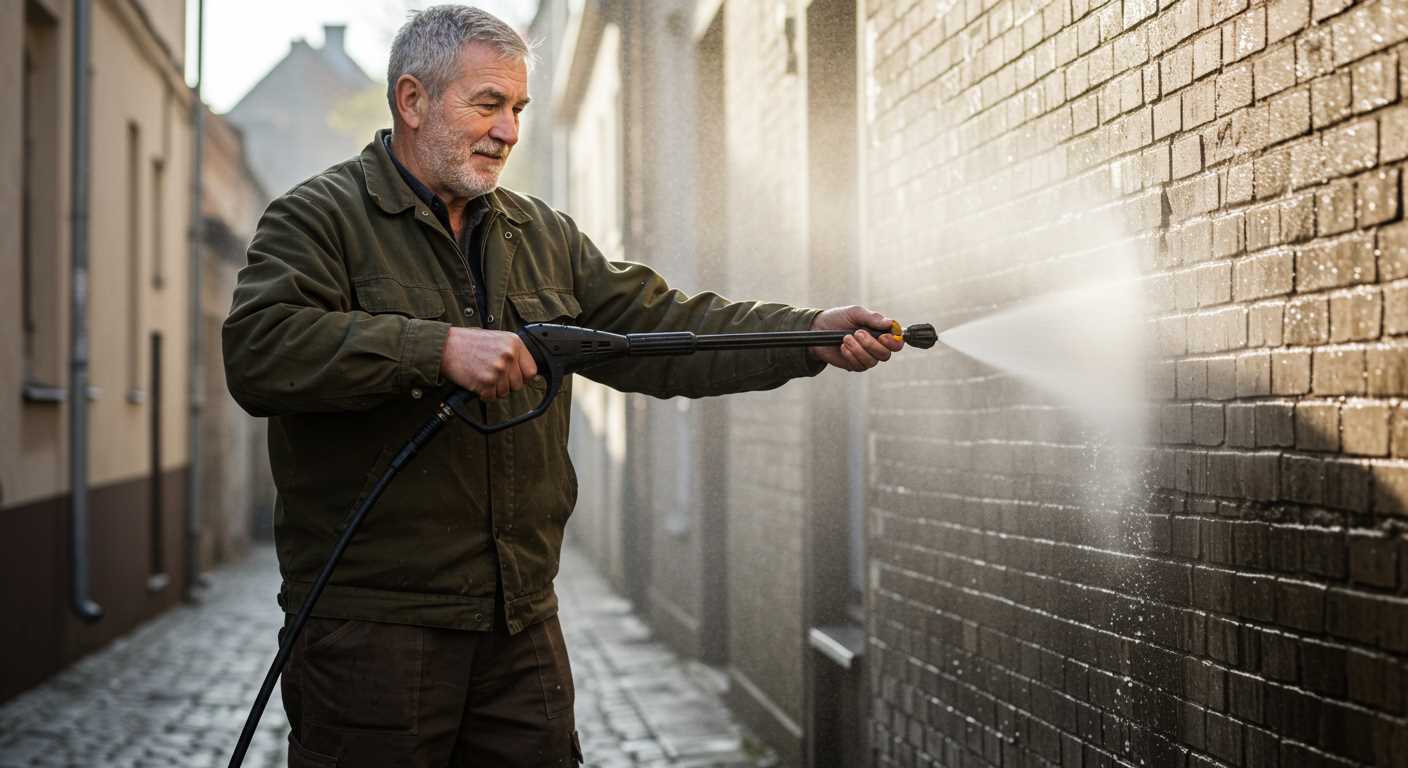


Begin with a nozzle suitable for delicate surfaces, often labelled as “wide fan” or “low pressure.” This choice prevents any risk of damage while still delivering a robust stream of liquid. Assess the distance, keeping the spray approximately two to three feet away from the glass to avoid etching or breakage.
Prior to initiation, ensure all surrounding areas are clear. Close windows and doors, and remove nearby furniture to avoid unintended splashes or debris settling on sensitive surfaces. Mixing a dedicated cleaning solution with water can amplify results; many brands offer options designed specifically for glass, enhancing clarity and shine. Maintaining a proper ratio is vital for optimal performance.
Commence the task by wetting the surface first, allowing grime to loosen. Apply the cleaning mixture evenly across the surface using a sweeping motion. After application, let the solution sit briefly to dissolve stubborn contaminants.
Proceed with the high-pressure cleaning equipment, ensuring consistent movement to prevent streaking. Rinse thoroughly afterwards to remove any residue. Finally, wipe down edges and any remaining drips with a microfibre cloth for a flawless finish. This approach ensures sparkling clarity and prolongs the life of your glazing.
Cleaning Windows with a Pressure Sprayer
For optimal results, use a 25-degree nozzle, which offers an ideal balance between pressure and coverage. Start by adjusting the sprayer to the lowest pressure setting, allowing for better control and reducing the risk of damage.
Before proceeding, apply a pre-treatment solution to break down grime and dirt. This step enhances the overall efficiency of the rinsing process. Allow the solution to sit for a few minutes, then proceed with the sprayer.
Position the nozzle approximately two feet from the glass. Maintain a steady, sweeping motion, moving top to bottom or side to side to ensure even distribution of water. Avoid concentrating the spray in one area for too long to prevent potential breakage.
After rinsing, consider using a squeegee to remove excess water for a streak-free finish. Begin at the top of the pane, dragging the squeegee down in a straight line, wiping the blade after each pass to avoid redistributing dirt.
Always inspect for remaining spots or streaks before completing the task. If necessary, a gentle scrub with a dedicated glass solution can assist in removing stubborn marks. Follow up by rinsing briefly to remove any residues.
Lastly, restrict usage on windy days or during direct sunlight to prevent quick drying, which can leave unsightly marks. Plan your cleaning around optimal weather conditions for the best results.
Selecting the Right Pressure Washer for Window Cleaning

Choose a unit with a PSI rating between 1300 and 2000. This range offers adequate force for removing dirt and grime without risking damage to delicate glass surfaces.
Power Source
A gas-operated machine typically delivers higher pressure but is less convenient for residential use than its electric counterpart. For standard domestic tasks, an electric cleaner is usually sufficient and more user-friendly.
Nozzle Types
Utilise a wide-angle nozzle, ideally 25 to 40 degrees. This design disperses water effectively and softens the output, making it safer for sensitive areas. Avoid narrow jets, as they can cause chips or cracks in the glass.
Check for adjustable pressure settings. Flexibility allows me to tailor the output according to the cleaning task at hand, ensuring I get optimal performance without risking damage.
Lastly, consider the weight and manoeuvrability of the equipment. A lightweight design is preferable for reaching heights, and wheels can assist in transporting the unit easily around the property.
By focusing on these elements, I ensure that my choice aligns with my specific needs, resulting in satisfactory outcomes. The right equipment simplifies the job, making it both manageable and effective.
Preparing Windows and Surroundings Before Cleaning

Ensure all surrounding surfaces are free of obstacles. Move plants, furniture, and any decorative items away from the areas where operations will take place. This prevents damage and creates ample space to manoeuvre.
Inspect the glass surfaces thoroughly. Look for cracks or chips that may be aggravated by high-pressure streams. If any are found, consider repairing these imperfections before proceeding.
Use a soft brush to remove loose dirt and debris. This not only protects the glass but also enhances the washing effectiveness. Pay attention to the frames and sills, ensuring they are clear of build-up, as debris can lead to water pooling and complications.
Cover nearby electrical outlets, light fixtures, and any other sensitive equipment with waterproof materials or plastic sheeting to protect them from potential water exposure during the cleaning process.
Check the weather forecast. Optimal conditions would be overcast or mild, avoiding direct sunlight, which can cause soap or cleaning solutions to dry too quickly on surfaces.
Establish a controlled area for the water runoff. Use tarps or barriers to redirect excess water away from any landscaped features or areas prone to flooding.
Ensure access to a suitable power source for equipment. Verify that extension cords and connections are safe and in good condition, using outdoor-rated materials to mitigate hazards.
Prepare your chosen cleaning solution, if applicable, in accordance with the manufacturer’s guidelines. This step ensures compatibility and efficiency while safeguarding both the glass and surrounding materials.
Choosing the Appropriate Nozzle for Window Washing
Selecting the right nozzle is vital for effective cleaning without damaging surfaces. For optimal results, I recommend using a fan spray nozzle with a wide angle, as it disperses water evenly and reduces pressure concentration.
- 25-Degree Fan Nozzle: This is ideal for most non-invasive cleaning tasks. The wider spray pattern allows for safe application on glass while removing dirt and grime efficiently.
- 15-Degree Fan Nozzle: Use this for tougher stains. It produces a concentrated stream, suitable for removing sticky residues but requires careful handling to avoid surface damage.
- Soap Nozzle: If you need to apply a cleaning solution, the dedicated soap nozzle is designed to mix detergent properly. Ensure this is followed by a rinse with a fan nozzle to eliminate any residue.
Avoid zero-degree nozzles as their narrow spray can cause damage. Always test on a less visible area first to confirm compatibility. Adapting your nozzle choice based on the specific conditions aids in achieving the best results efficiently.
Remember to maintain a safe distance, typically around 12 to 24 inches, helping to manage pressure while enhancing cleaning efficacy. Frequent checks on the output will also ensure the nozzle is performing optimally throughout the task.
Safety Tips When Using a Pressure Cleaning Device
Before operating any high-pressure cleaning equipment, ensure you wear appropriate safety gear. This includes goggles to protect your eyes from debris, gloves to shield your hands, and sturdy footwear to prevent slips.
Preparation Steps
- Clear the area of any obstructions or fragile items that may be damaged during the process.
- Check for overhead power lines and maintain a safe distance to avoid electrical hazards.
- Inspect hoses and connections for leaks or damages before starting the machine.
Operating the Equipment

- Always direct the nozzle away from yourself and others while operating. Keep bystanders at least 10 feet away.
- Do not aim the spray at any person, animal, or electrical equipment.
- Maintain a firm grip on the handle to prevent the unit from slipping or jerking unexpectedly.
- Use the lowest pressure setting necessary to achieve the cleaning goal; higher pressures can cause injury or damage.
After concluding the task, ensure the device is turned off, and any residual pressure is released before disconnecting hoses or nozzles. Store equipment properly to maintain safety for future use.
Using the Pressure Washer Technique for Streak-Free Results
To achieve a flawless finish on glass surfaces, maintain a distance of 3 to 4 feet while directing the stream at a 45-degree angle. This technique minimises the risk of streaking and ensures even coverage.
Start from the top and work downward, allowing the cleaning solution to flow downwards naturally. This prevents dirt and grime from re-adhering to already cleaned areas.
| Action | Details |
|---|---|
| Angle | 45 degrees |
| Distance | 3 to 4 feet |
| Direction | Top to bottom |
Using a sweeping motion rather than a concentrated stream prevents water pooling, which reduces streaking. Consider overlapping each pass slightly to guarantee thorough coverage around the edges.
To finish, if streaks remain, a rinse with a clean water source at a lower pressure can help to eliminate any leftover residue. This final rinse should be done quickly and gently to maintain clarity.
Post-Cleaning Inspection and Touch-Up Methods
After the washing session, conduct a thorough examination of the glass surfaces. Look for any inconsistencies such as streaks or residual spots. I suggest utilizing a bright light source to highlight these imperfections effectively.
If any marks persist, use a soft microfiber cloth dampened with a small amount of cleaning solution to focus on affected areas. This method ensures that you don’t create new scratches while addressing flaws.
For hard-to-reach spots or corners, I recommend a gentle scrubbing tool designed for delicate surfaces. Avoid abrasive materials which could damage the glass finish.
Emphasize checking the surrounding frames, too. Ensure no dirt or grime has been displaced during the cleaning process. A soft brush or cloth is advisable here, as it will prevent potential scratches.
After inspecting and making necessary touch-ups, consider sealing the surface with a protective coating. This will make future maintenance simpler, keeping glass looking pristine. Apply according to the product instructions for optimal results.
Lastly, document the overall condition of the surfaces post-cleansing. This will aid in tracking any recurrent issues that may arise over time. A simple checklist can be beneficial for systematic inspections in the future.
Maintaining Your Pressure Washer for Future Use
To ensure the longevity of your cleaning machine, regularly check for any signs of wear and tear. Inspect the hoses for cracks and leaks; replace them if needed to prevent pressure loss.
Drain any water left in the system after each session. This prevents freezing in colder climates and avoids mineral build-up. Store the machine in a cool, dry location, ideally upright to avoid damage to the internal components.
Clean the filter regularly. A clogged filter reduces performance, so rinse it under running water and let it air dry before reinstallation. Lubricate key components, such as the pump, according to the manufacturer’s specifications. This ensures smooth operation and prevents internal wear.
Utilise the right detergents to avoid damage. Products not designed for your equipment can lead to corrosion or undue strain. Always consult the user manual for recommended cleaning agents and avoid mixing chemicals.
Perform periodic inspections of the nozzles. They should be cleared of any obstructions to maintain optimal spray patterns. If you notice a decrease in efficiency, consider replacing worn nozzles for the best results in your next project.
Lastly, schedule an annual professional maintenance check if possible. Experts can spot potential issues early and perform necessary repairs, keeping your equipment in top condition for future tasks.


