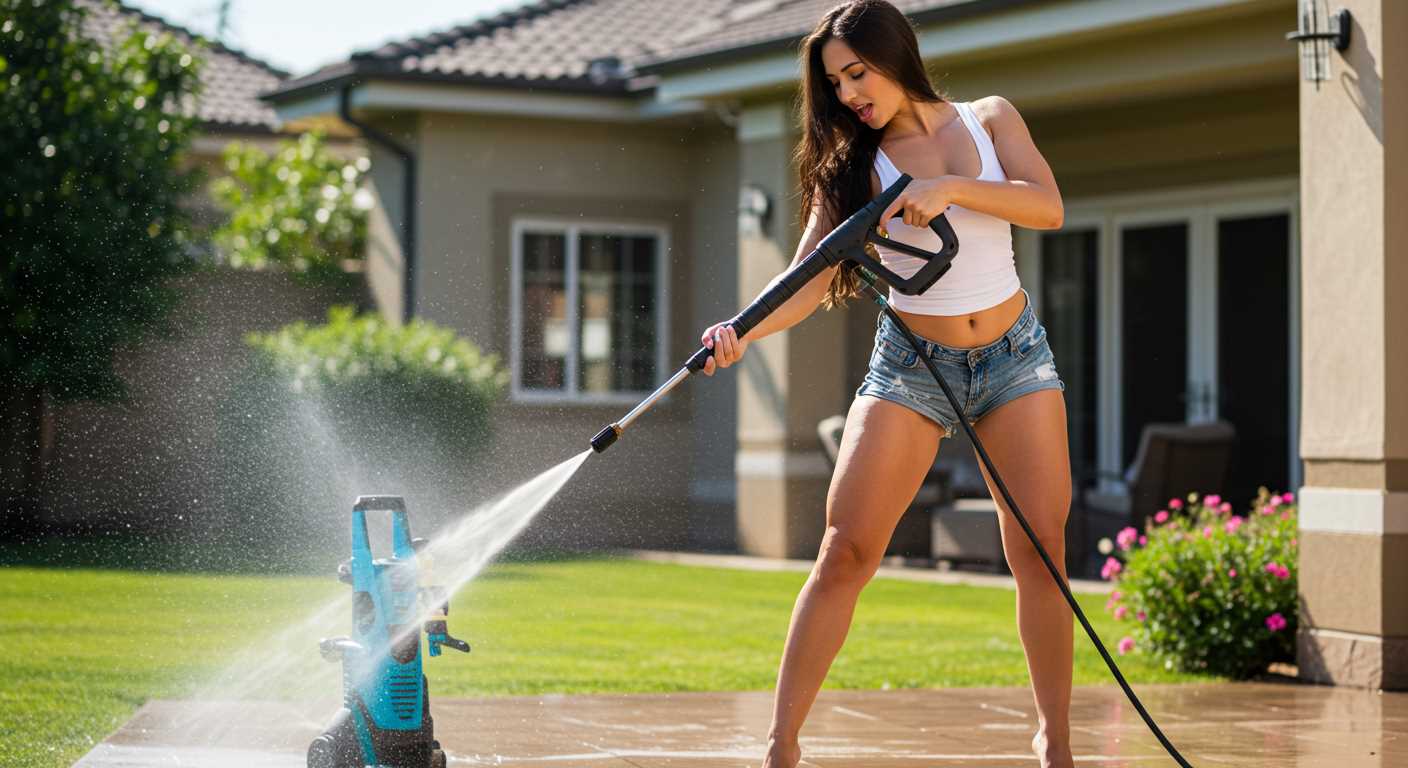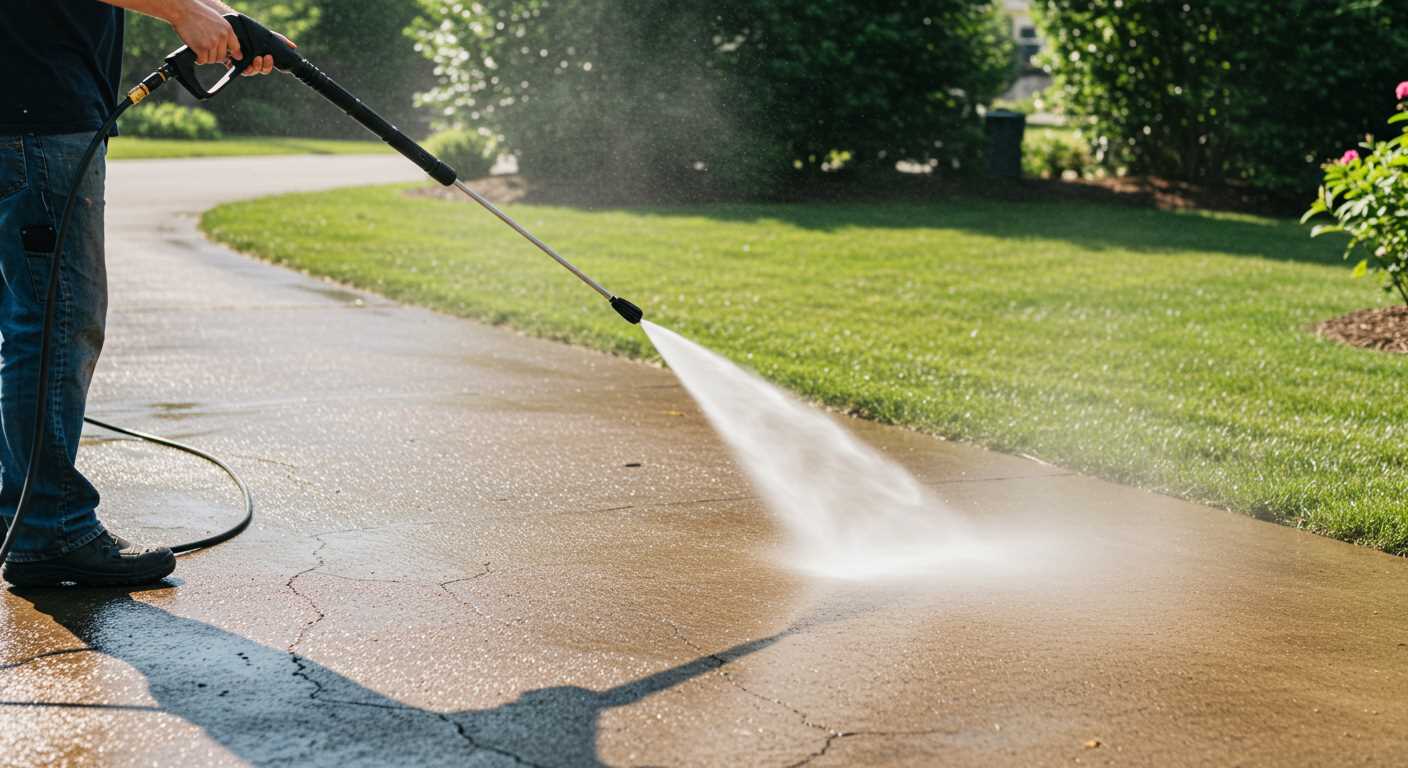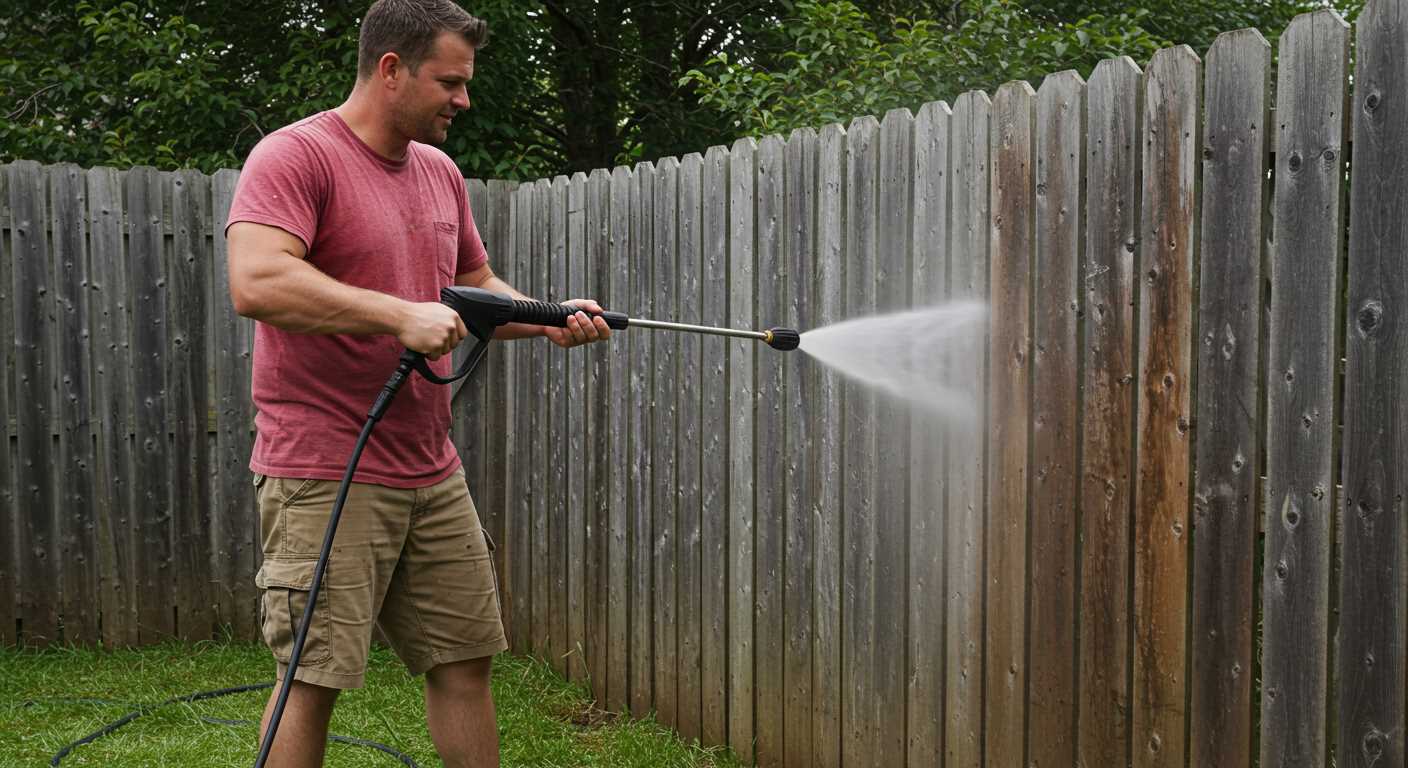


Utilise a fan nozzle attachment for optimal results. This type of nozzle creates a wide spray pattern, allowing you to cover a larger area effectively, thereby reducing the time spent on each section. Maintain a distance of approximately 2 to 3 feet from the surface to prevent damage while still achieving a thorough wash.
Before proceeding, ensure to assess the condition of your glass panels and frames. If there are cracks or loose seals, address those issues first, as applying a strong stream may exacerbate existing problems. A gentle pre-rinse is advisable, removing any loose dirt or debris that could lead to scratches when pressure is applied.
Utilise a mixture of water and a mild detergent to enhance the cleaning solution’s effectiveness. Apply this mixture evenly using the pressure tool’s spray function. This will aid in breaking down stubborn grime and build-up. Keep a microfiber cloth or soft brush on hand for any areas that require extra attention–using this after the initial wash will ensure optimal clarity.
Lastly, after completing the treatment, ensure that all surfaces are dried thoroughly. This prevents streaks and enhances the overall sheen. Consider using a squeegee for best results, especially on large glass areas. By following this method, you’ll achieve remarkable clarity in no time.
Techniques for Streak-Free Glass

For optimal results, angle the nozzle at approximately 30 degrees against the surface. This position allows effective dirt removal while reducing water pressure’s risk of damage to the frames or seals.
Utilising a fan tip nozzle can help cover a larger area efficiently. Make sure to maintain a distance of around 3 to 4 feet from the glass to prevent any potential breakage.
Before starting, ensure all debris, such as leaves or dirt, is removed from the window sills. Neglecting this step can lead to unnecessary scratches or scuffs.
Always use a dedicated detergent designed for glass surfaces, diluted in a bucket as per the manufacturer’s instructions. After applying the solution using a low-pressure setting, give it a few minutes to penetrate any grime.
Once the detergent has set, firstly rinse thoroughly at a low pressure, then gradually transition to a higher pressure to eliminate remaining residues. End the process with a final rinse to remove any soap leftovers, ensuring a clear surface.
Consider the following table for recommended pressure levels based on the dirt type:
| Dirt Type | Recommended Pressure (PSI) |
|---|---|
| Light Dust | 1200-1500 |
| Grease Stains | 1500-2000 |
| Heavy Soil | 2000-2500 |
| Mold and Mildew | 2000-2500 |
Finally, to manage streaks effectively, wipe down the surface with a microfiber cloth immediately after washing. This technique ensures any remaining moisture and bubbles are eliminated, leaving a crystal-clear finish.
Choosing the Right Equipment for Window Cleaning
For achieving optimal results, selecting the proper appliance is paramount. Focus on models that offer adjustable pressure settings. Lower PSI (pounds per square inch) is preferable for delicate surfaces and will help prevent damage. Generally, a setting around 1300-1600 PSI is suitable for fragility.
Key attributes to consider:
- Temperature Control: Electric machines usually operate with cold water, which is effective for regular tasks. For stubborn grime, a unit that supports hot water will be beneficial.
- Weight and Portability: Lightweight models are easier to manoeuvre, reducing fatigue during extended use. Look for ones with durable wheels for added convenience.
- Attachments: Compatibility with various nozzles is vital. A 25-degree nozzle is ideal for broad coverage, while a rotating attachment can tackle dirt on tough spots.
- Hose Length: Extended hoses minimise the need for repositioning. A length of at least 25 feet is recommended for advantageous reach.
Investing in quality brands is essential. Renowned manufacturers typically offer reliable warranties, indicating confidence in their products. Always assess user reviews and ratings to gauge efficiency and performance.
Keeping these factors in mind will ensure you select an appliance that meets your specific requirements, ultimately enhancing your results during the cleaning process.
Preparing Your Windows Before Pressure Washing
Ensure the area is free from any obstructions. Remove planters, furniture, and decorations near the surface to give yourself adequate space to work effectively.
Inspect the Surface
- Check for cracks or chips that could worsen during the cleaning process.
- Look for any loose seals around panes and address them, as water pressure can seep through and cause damage.
Gather Necessary Materials

- Fill a bucket with soapy water and prepare a gentle brush for pre-treatment of stubborn spots.
- Gather rags or microfiber towels to wipe down areas post-clean.
The optimal cleaning solution is vital. Choose a mild detergent that won’t harm adjacent surfaces or plants.
Consider the weather conditions. Avoid operating on windy days or when there is a chance of rain, as this can affect the results and created safety hazards.
Plan your approach by determining the best angle to maximise water flow without facing spray back towards you. This planning helps achieve thorough results while maintaining safety.
Adjusting Pressure and Nozzle Selection for Delicate Surfaces
Set your device to a low pressure setting, typically around 1000-1500 PSI, to prevent damage to fragile materials like glass or painted surfaces. High intensity can lead to cracks or peeling, so err on the side of caution.
Opt for a nozzle that offers a wide fan spray pattern, such as a 25-degree or 40-degree nozzle. This reduces the force of the water stream, allowing for a gentler wash while covering more area effectively.
Before the actual operation, test the settings on a small, inconspicuous area to confirm no adverse reactions occur. If the surface appears undamaged, proceed slowly, keeping the nozzle at least two feet away from the surface being treated.
Maintain a consistent movement, avoiding direct, concentrated streams on any single spot for an extended duration. This technique helps mitigate any risks while ensuring thorough removal of dirt and grime.
In scenarios where even lower pressure is needed, consider using an adjustable nozzle or using a soap attachment that allows for a more controlled application. This can enhance cleaning power without compromising the integrity of the surfaces.
Safety Precautions to Take

Wear protective gear, including safety goggles and gloves, to shield yourself from flying debris and high-pressure water. These simple items can prevent injuries and ensure a safer experience.
Environment Assessment
Evaluate the work area for hazards such as power lines, loose objects, and slippery surfaces. Clear the vicinity of any items that could be damaged or cause accidents during the operation. Ensure that bystanders are at a safe distance, particularly children and pets.
Equipment Setup and Maintenance

Before use, check hoses, nozzles, and connections for wear and tear. A faulty component can lead to unexpected malfunctions. Always follow the manufacturer’s instructions for setup and operation, adjusting gear settings as necessary to maintain stability while working at height. Avoid using power sources that are not suitable for the equipment to reduce the risk of electric shock.
Techniques for Achieving a Streak-Free Finish
Using a structured approach is vital for attaining a flawless look. Begin by rinsing the surface thoroughly to remove dust and debris. This initial step helps prevent particles from scratching the glass during the washing process.
Optimal Sequence and Patterns
Apply the solution in a systematic manner. Start from the topmost area and work downwards, ensuring that water does not pool. I prefer a side-to-side motion for even coverage. This method effectively reduces the likelihood of streaks forming.
Final Rinse and Drying Techniques
After applying the cleaning solution, it’s essential to thoroughly rinse the surface. Opt for a fan spray nozzle to disperse water evenly without causing disturbance. Finally, using a microfiber cloth or squeegee aids in removing excess moisture. Wipe horizontally to prevent streaks and achieve a crystal-clear finish.
Tackling Hard-to-Reach Windows with Extension Wands

Utilise extension wands to access elevated panes effectively. Choose a wand that fits your equipment, typically ranging from 24 to 48 inches, ensuring adequate reach without compromising control. For optimal results, ensure your wand is equipped with a compatible nozzle, preferably a rotating or adjustable one, allowing flexibility in spray patterns.
Secure the base of the wand firmly to maintain stability while working at heights. This not only enhances safety but also improves efficiency. It’s critical to assess the angle of the wand; maintain a slight downward angle to guide water and cleaning solution towards the ground, preventing excessive splash back.
For those particularly stubborn spots, consider employing a soft-bristle brush attachment to agitate grime without risking damage to delicate surfaces. Always apply the cleaner before employing the washer; let it sit for several minutes to break down dirt without needing excessive pressure.
Balance your stance while operating the wand, ensuring that your centre of gravity remains low, which mitigates the risk of losing your footing. Test the spray progressively, starting from a greater distance and gradually moving in closer to gauge the intensity required.
Finally, conduct a thorough inspection of your work once you’re done. If any streaks are present, use a microfibre cloth on the attachment to gently buff them out while the surface is still damp. This routine will deliver crystal-clear finishes even on elevated structures.
Post-Cleaning Care for Windows and Equipment

Immediately after the task, inspect the surfaces to ensure no residual detergent or streaks remain. A soft, lint-free cloth is ideal for wiping down any streaks that may appear, providing a polished appearance. Avoid rough materials that could scratch or damage the glass.
Equipment Maintenance
Rinse the nozzle and lance thoroughly to remove any detergent or debris. Store them in a clean, dry place to prevent clogs and prolong their lifespan. Detach the hose and drain it entirely to prevent water from freezing inside during colder months. Periodically check the pressure unit for any signs of wear or damage, particularly the seals and hoses, ensuring effective performance in future tasks.
Safety Precautions
After using the machinery, conduct a thorough check for leaks or faults. Always refer to the manufacturer’s guidelines for maintenance schedules and tips. Ensuring the equipment is in top condition will safeguard your work environment and improve results on your next project.


