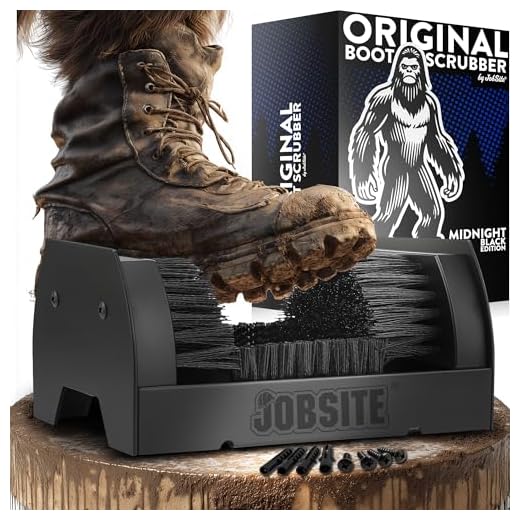
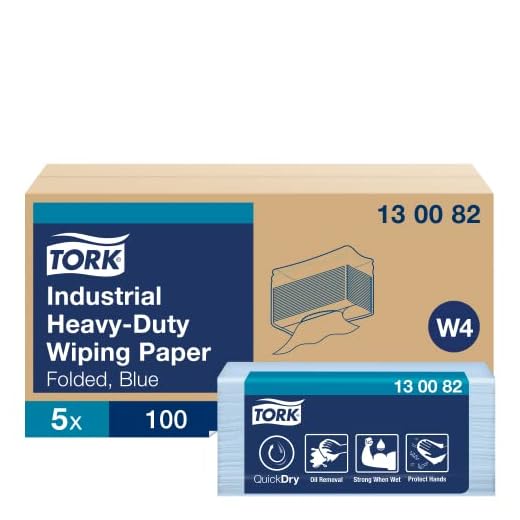
The first step to reviving your outdoor wooden area is to gather the right supplies. A durable broom is essential for removing loose dirt and debris from the surface. Follow this with a stiff-bristled brush for scrubbing away more stubborn grime, ensuring you don’t damage the wood. A solution of warm water and mild soap can be incredibly effective for this method.
Utilising a mixture of vinegar and water provides a natural alternative. This solution not only fights mildew but also deodorises the area. Prepare a 1:1 ratio, apply it with a spray bottle, and let it sit for about 10 minutes before scrubbing it off with your brush.
Rinsing is crucial after any cleaning method, so a hose with a spray nozzle will work well for this task. Make sure to thoroughly wash away all residues of soap or vinegar to maintain the wood’s integrity. For tougher stains, a paste made from baking soda and water can be applied directly to the spot, left to sit, and scrubbed away later.
Lastly, always allow the area to dry completely before applying any protective coating. This step will extend the life of your wooden surface and keep it looking fresh for years to come.
Maintaining Your Outdoor Surface with Care
For effective removal of grime, begin by mixing a solution of warm water and mild detergent. A bucket will suffice for this task. Use a stiff-bristled broom or a scrub brush to apply this mixture, ensuring that you tackle one section at a time. This method allows for focused attention on any stubborn stains while preventing the solution from drying out before being distributed.
Addressing Stubborn Stains

For those particularly challenging marks, a paste made of baking soda and water can be advantageous. Apply it directly onto the stain and give it a gentle rub with a cloth. Let it rest for approximately 10 minutes before scrubbing again with the brush. Rinsing thoroughly with clean water is critical to prevent any residue from remaining.
Long-Term Preservation Tips
After the initial scrubbing, consider treating your surface with a sealant or protective oil. This not only enhances the aesthetic but also acts as a barrier against future dirt accumulation. Reapply this treatment annually to maintain the integrity of your outdoor area. Regular sweeping and spot cleaning will further extend the lifespan of your surface.
Gathering the Right Cleaning Supplies
Focus on collecting the following items for an efficient clearing process:
- Broom or Brush: Choose one with stiff bristles for tackling dirt and debris effectively.
- Buckets: Have at least two buckets handy–one for your cleaning solution and another for rinsing.
- Cleaning Solution: Opt for a mild detergent or specifically formulated cleaner designed for outdoor surfaces. Avoid harsh chemicals that may damage the finish.
- Scrub Pad or Sponge: A non-abrasive scrub pad will aid in lifting stains without scratching the surface.
- Garden Hose: A standard hose will suffice. Ensure it has a good nozzle for controlling water flow.
- Mop or Microfibre Cloth: Useful for drying and buffing the surface after washing.
- Protective Gear: Wear gloves and possibly goggles to protect your hands and eyes from cleaning solutions.
- Optional Accessories: A deck scrubber or a stiff-bristle brush can help for particularly tough areas.
Once you have these items ready, you’re equipped to maintain the appearance and longevity of your outdoor structure.
Preparing the Deck for Cleaning
Remove all furniture, planters, and other items from the surface to prevent obstruction during maintenance. Take care to check for any loose nails or splinters that could cause injury while working.
Clear away debris such as leaves, dirt, and dust using a broom or a stiff-bristled brush. Ensure that the gaps between the boards are free from clogging materials–this enhances the effectiveness of the upcoming treatment.
Inspect the area for any signs of mould or mildew. If detected, it’s beneficial to treat these spots with a suitable solution first, allowing it to sit for the recommended time before the primary washing process begins.
Rinse the surface lightly with water using a garden hose, ensuring that no standing water collects in spots. This initial dampening helps in softening grime, making it easier to lift during the scrubbing phase.
Lastly, consider weather conditions before commencing. A dry day is ideal, as this ensures that specific solutions can adhere properly to the surface without dilution or rapid evaporation.
Choosing the Suitable Cleaning Solution
I recommend starting with an environmentally friendly option that won’t harm your surfaces or surrounding plants. A mixture of warm water and mild dish soap is effective for general grime removal. For tougher stains, consider white vinegar mixed with water in a 1:1 ratio. This natural solution effectively breaks down dirt and mildew without harsh chemicals.
Commercial Products
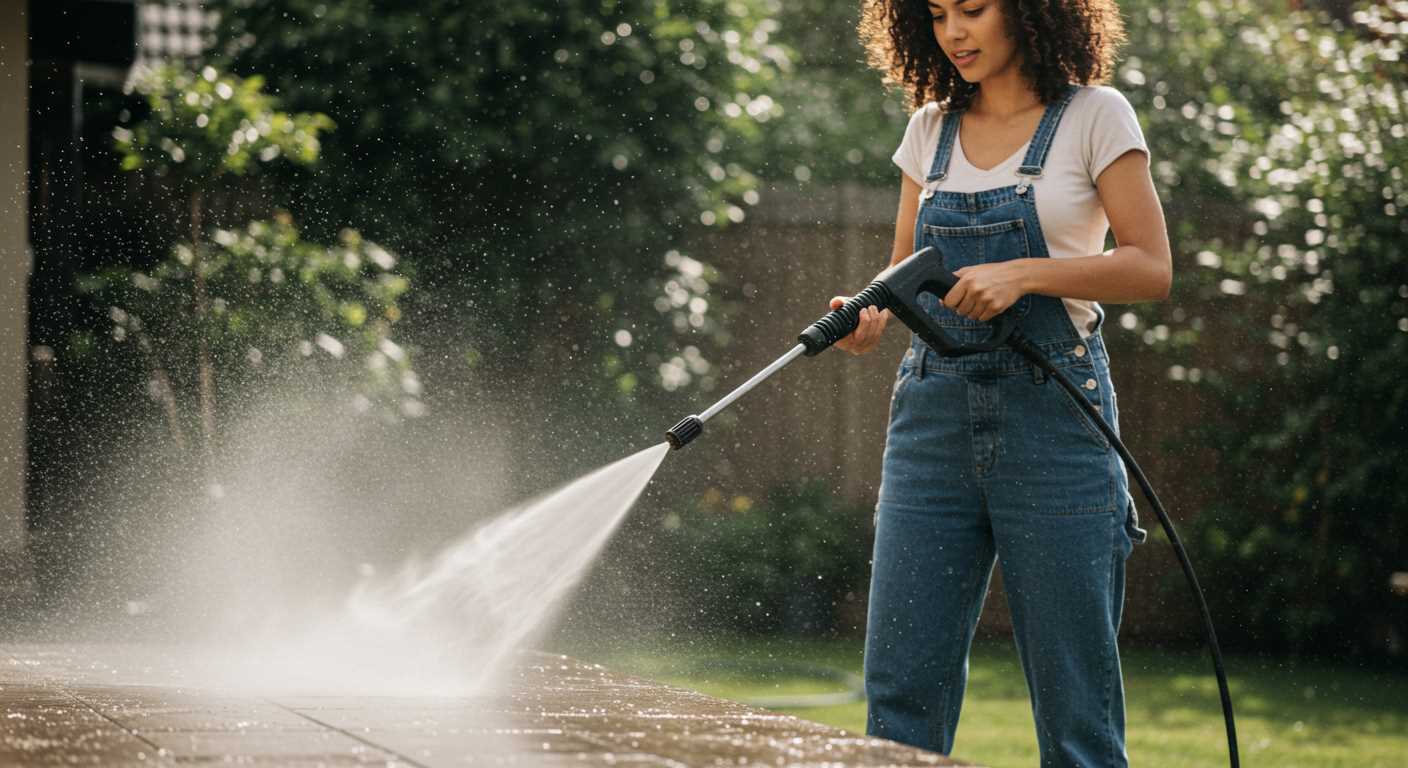
If a more robust solution is necessary, look for commercial cleaners specifically designed for outdoor surfaces. Ensure the label indicates it’s safe for your type of flooring. I’ve tested various brands and found those containing oxalic acid work well for removing dark stains. However, always conduct a patch test before large-scale application.
DIY Alternatives
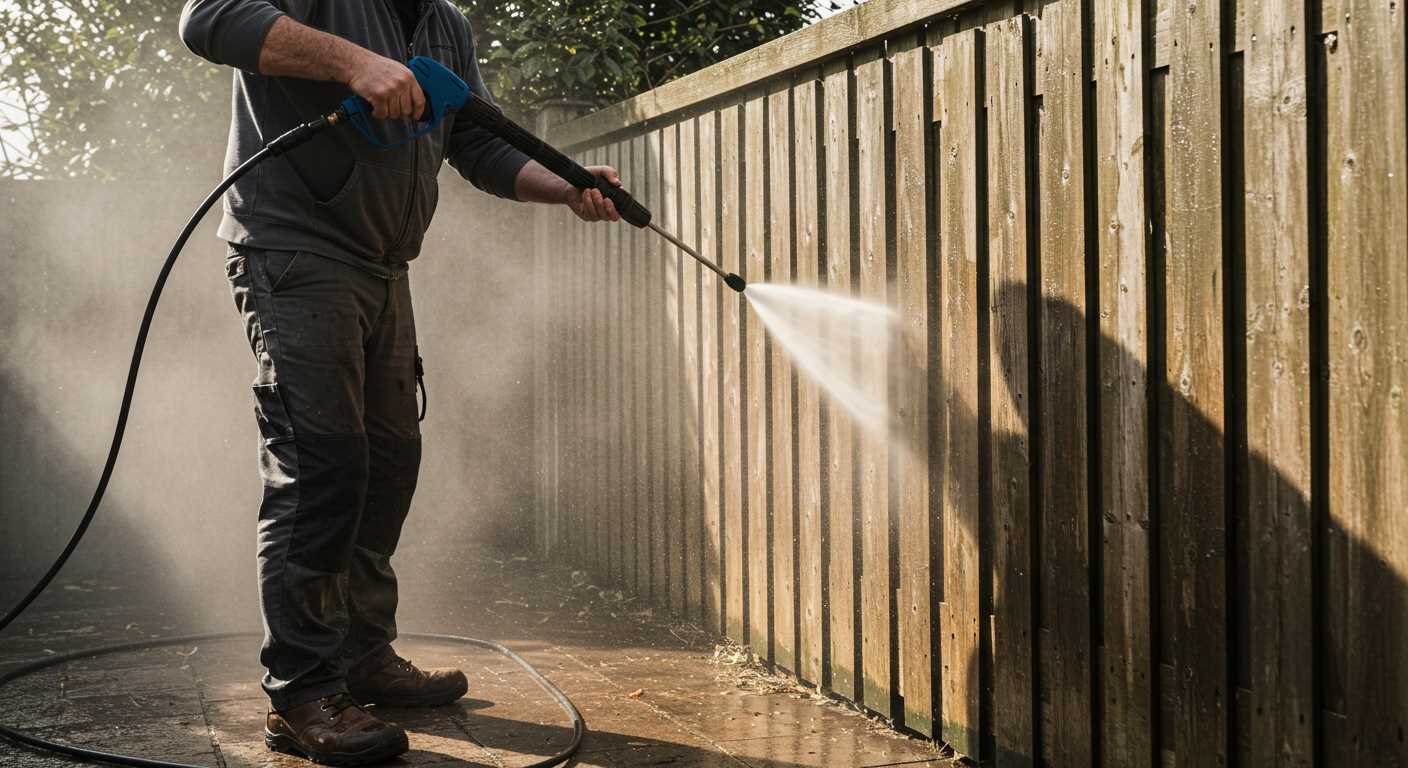
For a stronger DIY approach, combine baking soda and vinegar to create a paste. It provides an abrasive quality that can lift stubborn dirt. Apply it directly to the stained areas, allow it to sit for several minutes, then scrub gently with a soft brush. Rinse thoroughly to prevent residue buildup.
In all cases, focus on rinsing the area completely after treatment to avoid leaving any cleaning solution behind, which could lead to further staining or damage over time. Select solutions based on the specific type of grime you’re tackling, and always prioritise safety for both the surface and the environment.
Scrubbing Techniques for Stubborn Stains
Utilise a stiff-bristle brush when tackling tough marks. The bristles provide ample friction to dislodge embedded dirt and grime. Apply consistent pressure and scrub in the direction of the grain to avoid damaging the surface.
Recommended Scrubbing Approaches
- Spot Treatment: For concentrated stains like oil or sap, apply your chosen solution directly to the area. Let it sit for a few minutes, then scrub vigorously with the brush.
- Circular Motion: In cases of persistent staining, use a circular scrubbing action. This technique can help loosen dirt more effectively than linear strokes.
- Dual Brush Method: Consider using one brush for heavy scrubbing and another for finer detail work. This approach allows you to adjust your technique based on the stain’s severity.
Maintaining Replacement and Care
- Regularly inspect brushes for wear. A worn-out brush loses its effectiveness and may scratch the surface.
- Rinse brushes thoroughly after use to remove residue that can harden and lessen their usefulness.
Always stay mindful of the condition of the material you are cleaning, ensuring that scrubbing is powerful yet gentle enough to preserve its integrity.
Using a Garden Hose for Rinsing
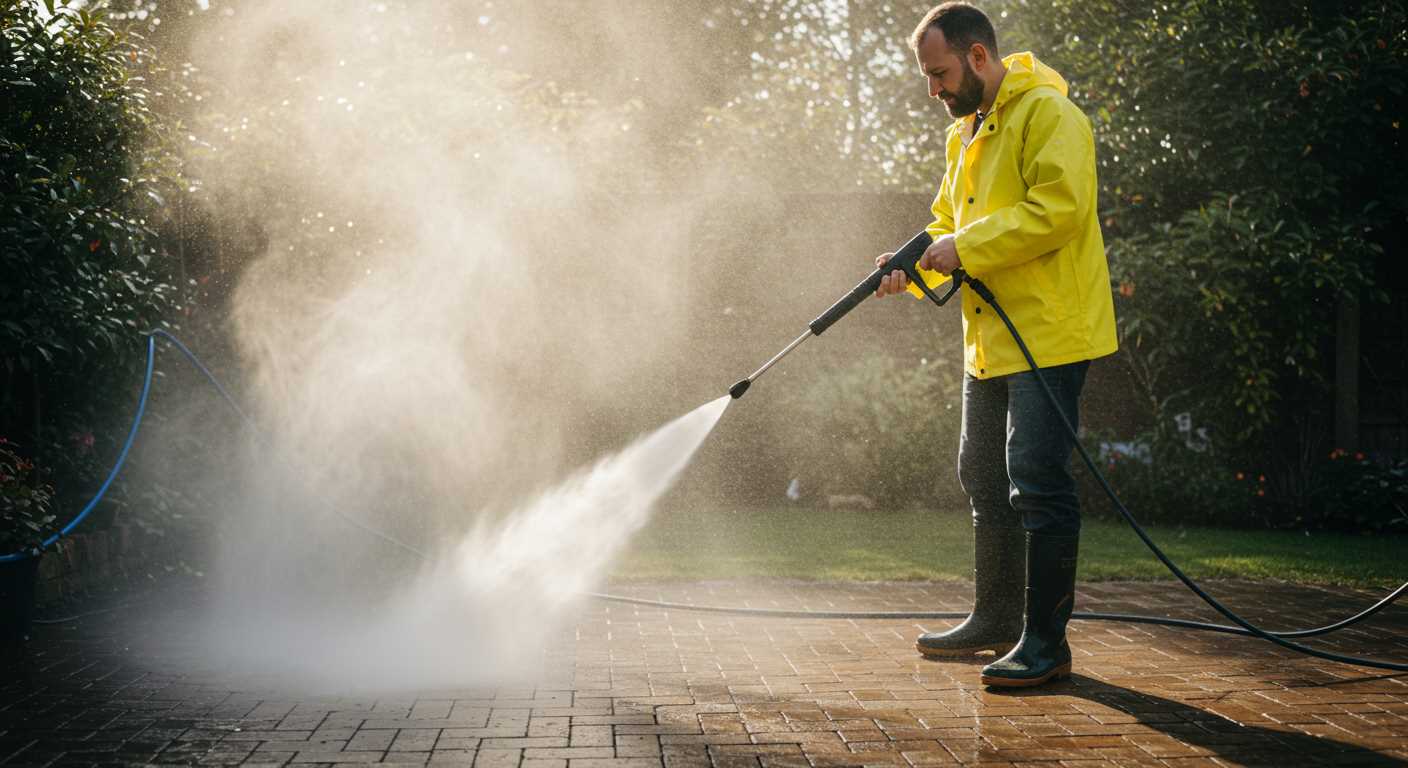
Utilising a garden hose is an effective method for rinsing surfaces. I recommend using a nozzle with adjustable settings to increase water pressure when needed. Start at the farthest corner and work your way towards an exit point to prevent stepping on freshly cleaned areas.
For optimal results, a spray pattern that disperses water evenly will help avoid pooling. Ensure that the hose is long enough to reach all corners of the area; if necessary, use an extension. Direct the water towards the grain of the material for thorough rinsing, allowing dirt and detergent to flow away.
After applying a cleaning solution and scrubbing, take care to rinse thoroughly. Pay extra attention to edges and seams, as these can trap residue. Rinsing in sections can also prevent soap from drying on the surface, which might require additional effort to remove later.
Consider the weather when rinsing. A clear, dry day is preferable; however, rinsing earlier in the day allows for surfaces to dry before evening. This simple technique maintains the integrity and appearance of your outdoor installation.
Drying the Surface Properly After Cleaning
Ensure the area dries completely by allowing ample airflow. Open windows and doors nearby, and if possible, position a fan to enhance ventilation. Sunlight also plays a crucial role in the drying process; if the weather permits, having the surface exposed to direct sunlight will significantly speed up evaporation.
Tips for Efficient Drying
Monitor humidity levels. If it’s particularly humid, the drying process may take longer. In such cases, avoid walking on the surface until fully dry to prevent traction issues. If time is of the essence, consider using a towel or absorbent cloth to assist in removing excess moisture from corners and joints.
| Drying Method | Advantages | Considerations |
|---|---|---|
| Natural Airflow | Energy efficient, promotes even drying | Dependent on weather conditions |
| Fans | Speeds up drying time | Requires electricity |
| Sunlight | Effective in warm conditions | Not suitable for rainy weather |
| Absorbent Towels | Quick removal of excess moisture | Manual effort needed |
After drying, inspect the surface for any remaining stains or areas requiring attention. Regular maintenance and prompt drying can extend the life of your outdoor space, ensuring it remains inviting for years to come.
Preventative Maintenance Tips for Wood Decking
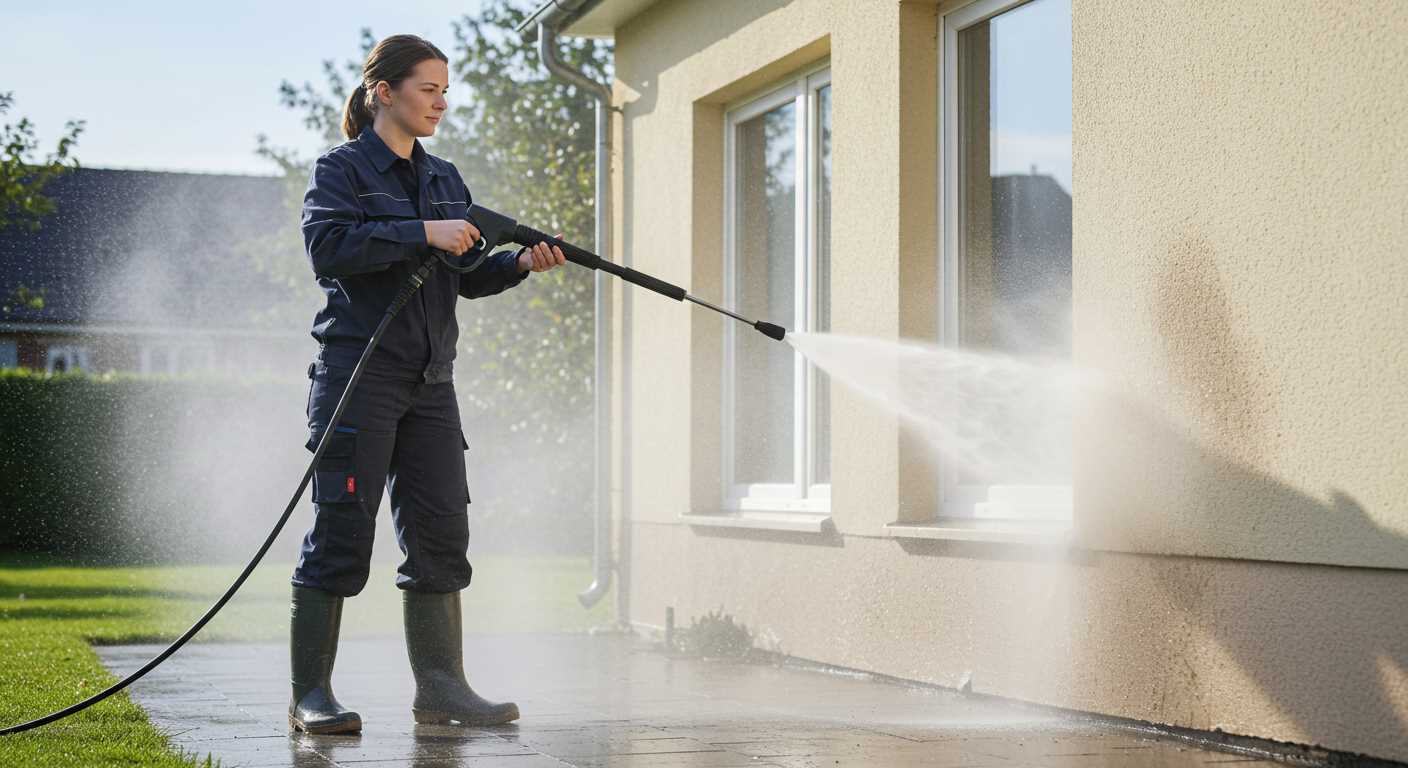
Regularly applying a protective sealant extends the lifespan of your outdoor surface. Ideally, reapply the sealant every one to two years, depending on the climate and usage. Look for products that provide UV protection to prevent fading and discolouration.
Routine Inspections
Conduct inspections at least twice a year. Look for signs of wear, such as splintering, cracks, or loose boards. Promptly repairing any issues prevents further damage and saves you money in the long run.
Debris Management
Frequent removal of leaves, dirt, and other debris minimises the risk of mould and mildew growth. Use a broom or blower rather than a rake to avoid scratching the surface. Ensure that water drains off efficiently, as standing water can lead to rot.
| Tip | Description |
|---|---|
| Sealant Application | Apply every 1-2 years to protect against UV damage. |
| Regular Inspections | Check for splinters, cracks, or loose boards bi-annually. |
| Debris Removal | Remove leaves and dirt regularly to prevent moisture retention. |
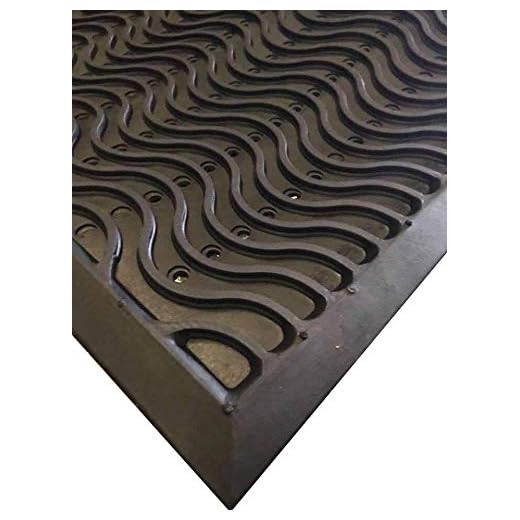
Consider using mats or rugs in high-traffic areas to protect the surface from scratches and excessive wear. Choosing outdoor furniture that is lightweight prevents damage to the surface when moved.
By implementing these preventative measures, you can maintain the appearance and functionality of your outdoor area for years to come.


