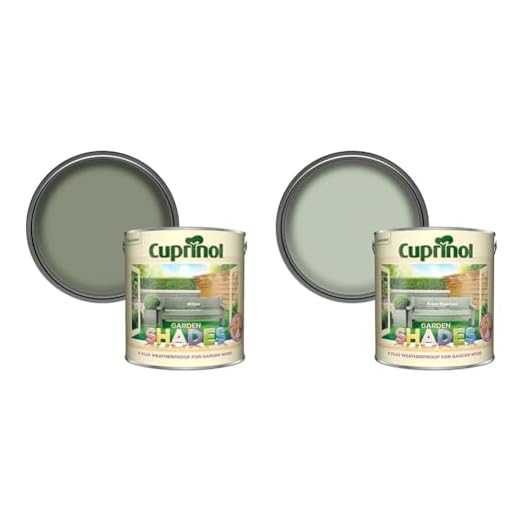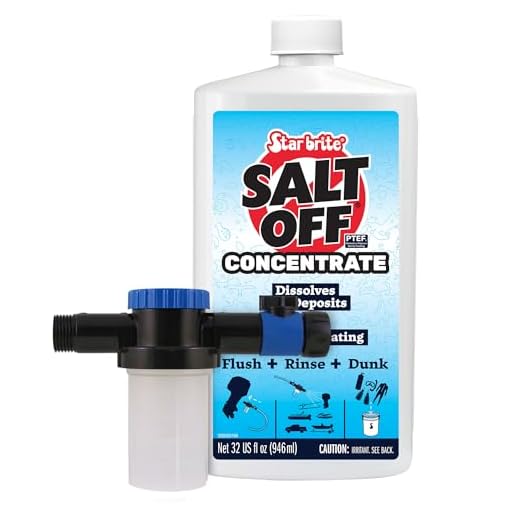
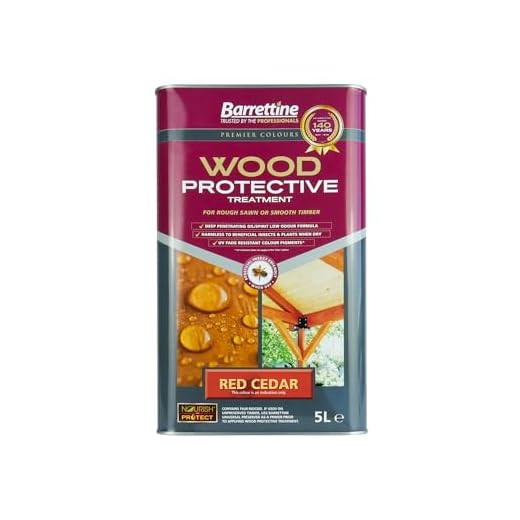

Begin with sweeping the surface to remove loose debris, dirt, and leaf remnants. A stiff broom or a hard bristle brush will work wonders. This simple yet effective step lays the groundwork for deeper care.
Next, create a solution using warm water and a mild detergent. Mix it thoroughly in a bucket, ensuring that the detergent is suitable for timber. Using a stiff brush, apply the mixture to small areas at a time, scrubbing in the direction of the grain. This technique prevents scratching and helps maintain the wood’s natural beauty.
For stubborn stains or algae, a paste made from baking soda and water may be beneficial. Apply it to affected areas and let it sit for a few minutes before scrubbing again. Rinse thoroughly with clean water once the stains lift.
A final rinse is crucial. Using a watering can or a garden hose with a spray nozzle, ensure all cleaning residue is washed away. Allow the surface to dry completely before any further treatment or resealing. Regular maintenance will not only enhance the appearance of your outdoor space, but it will also prolong its life.
Effective Methods for Maintaining Your Outdoor Surface
Opt for a simple mixture of warm water and a mild detergent. Combine approximately 200 ml of liquid soap with 4 litres of water. Use a stiff-bristled brush to scrub the surface thoroughly, paying close attention to corners and grooves. This technique effectively removes dirt and grime without damaging the finish.
Consider utilising white vinegar as a natural alternative. Mix equal parts of vinegar and water in a spray bottle. Apply it to any stained areas and let it sit for around 15 minutes before scrubbing with your brush. This method is particularly useful against mildew and stubborn stains.
Maintaining Longevity of the Finish
After scrubbing, thoroughly rinse the area with clean water using a hose or a bucket. This step ensures all soap and vinegar residues are removed, preventing slip hazards. Allow the surface to dry completely before applying a wood protective oil or sealant to preserve its appearance and protect against the elements.
Regular Upkeep Routine
Implement a routine maintenance plan, ideally cleaning your outdoor area every six to twelve months, depending on environmental conditions. Regular sweeping to remove debris will minimise buildup and prolong the life of the finish. Keeping the surface free from leaves and dirt will prevent moisture retention and reduce the risk of rot.
Gathering the necessary cleaning materials
.jpg)
Start by collecting a sturdy broom or brush to remove loose dirt and debris from the surface. A stiff-bristled brush works well for this task, allowing for effective sweeping without damaging the surface. Next, obtain a bucket for mixing your cleaning solution.
For the solution, use warm water combined with a gentle, biodegradable detergent. This ensures both safety for the environment and efficacy in breaking down stubborn stains. Look for a product specifically formulated for timber, as it will not contain harsh chemicals that can cause damage.
Additionally, a sponge or soft cloth will be essential for applying the cleaning mixture and wiping the surface. Consider also having a garden hose on hand, as it will aid in rinsing away residues after cleaning.
Wearing protective gloves is advisable to safeguard your skin from chemicals, even those that are considered mild. If you have any mould or mildew issues, consider including a vinegar solution, which is effective and natural. A spray bottle can facilitate its application.
Finally, gather some old towels or rags for drying the area post-cleaning; this step helps prevent moisture-related issues like warping or rot. With these items ready, you will be well prepared to restore your outdoor flooring to its former glory.
Preparing the Surface Before Cleaning
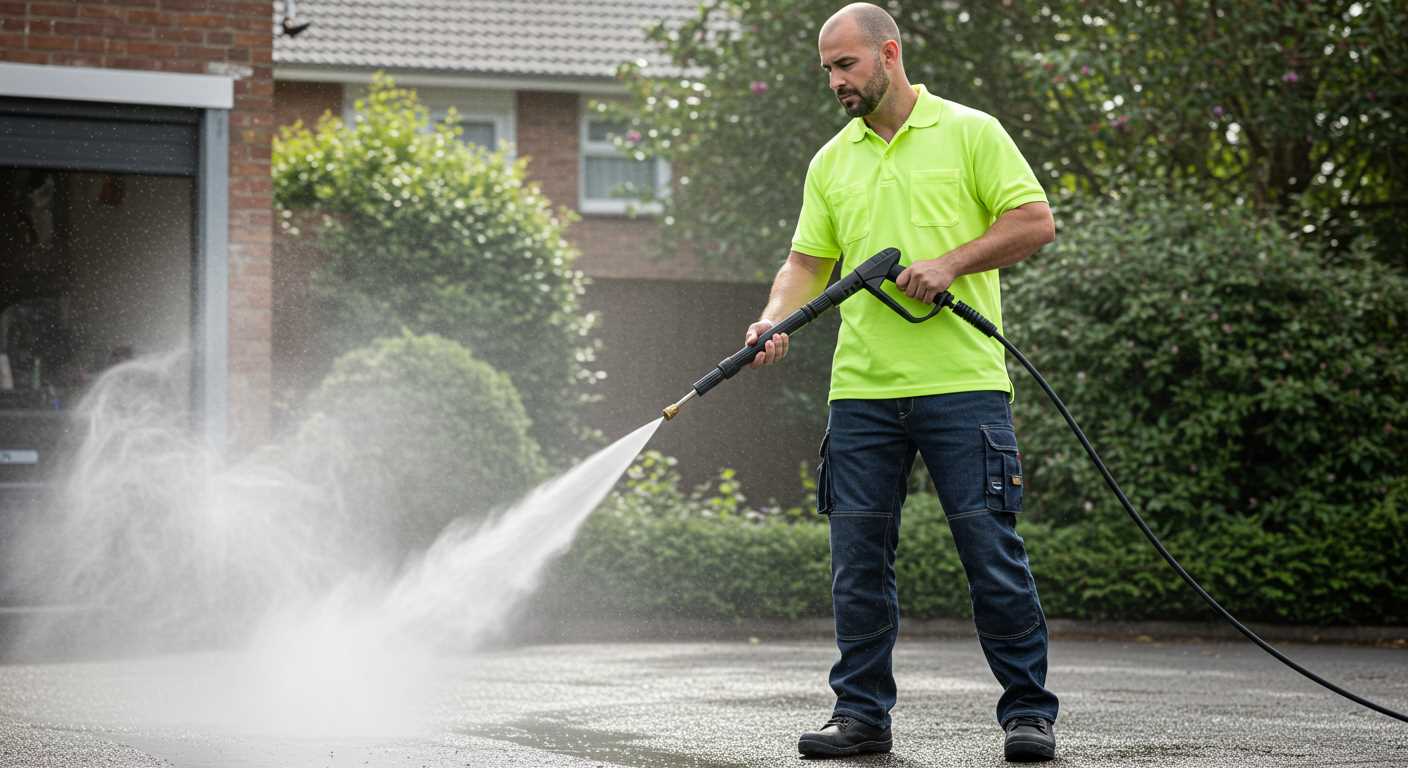
Clear the area of all furniture and potted plants to ensure unrestricted access to the entire space. This step prevents any obstructions during the maintenance process.
Remove Debris
Use a broom or a leaf blower to eliminate dirt, leaves, and other debris from the surface. This avoids scratching while maintaining the appearance of the boards.
Inspect for Damage
Examine each plank for cracks, warping, or other signs of wear. Identifying issues early ensures proper treatment before starting the maintenance routine.
Safety Preparations
- Wear gloves to protect your hands from potential irritants in cleaning solutions.
- Ensure adequate ventilation if using any chemical cleaners to avoid inhaling fumes.
Following these steps lays a strong foundation for achieving optimal results. When the surface is free from obstacles and inspected for damage, the subsequent cleaning process can proceed smoothly and effectively.
Choosing the right cleaning solution for wood
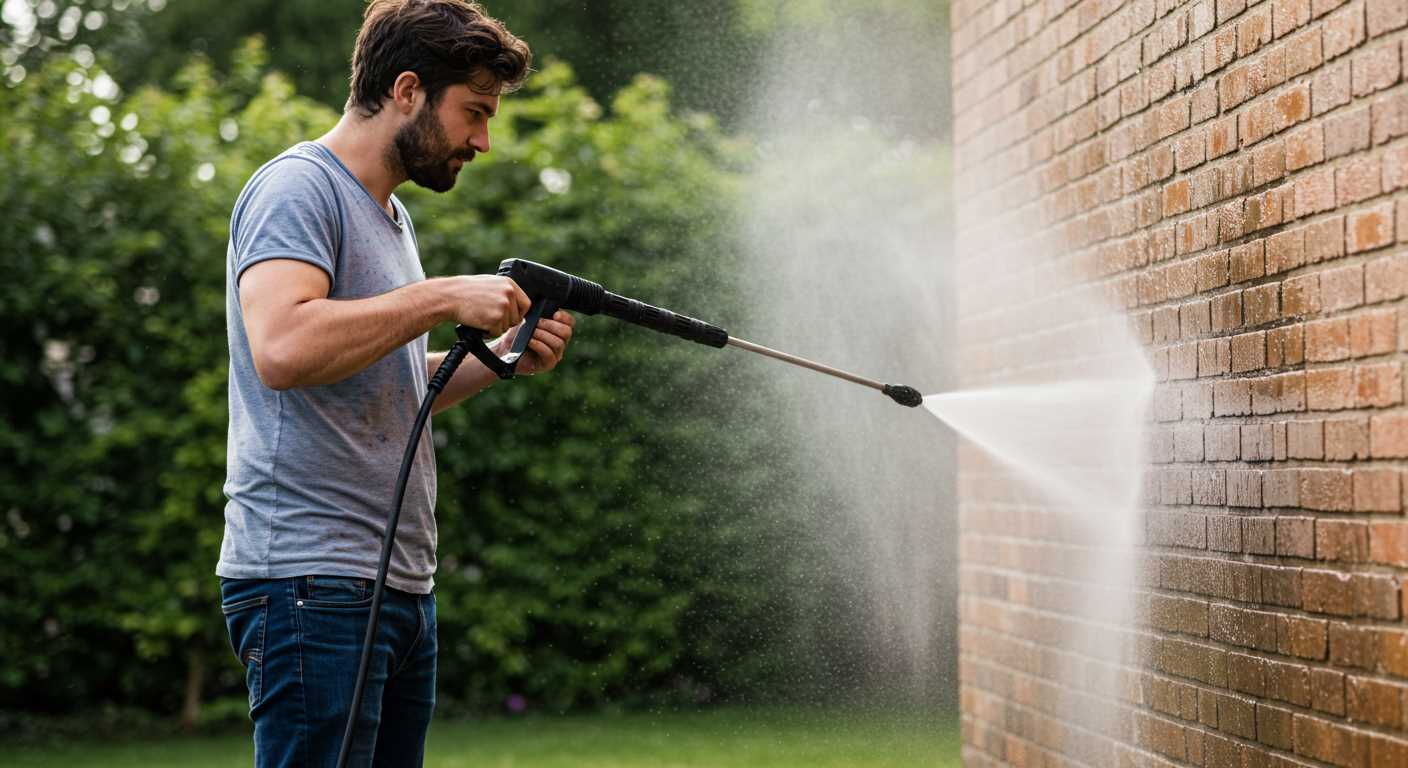
For optimal results, select a solution specifically formulated for timber surfaces. Look for eco-friendly options with biodegradable ingredients, which are less likely to harm the surrounding flora.
Oxygen bleach is a safe and effective choice, as it lifts stains without damaging the fibres. It’s ideal for combating mould, mildew, and dirt accumulation. Follow the manufacturer’s instructions for dilution and application.
Another effective product is a dedicated wood cleaner that contains surfactants, designed to break down grime and restore the natural beauty of the timber. Make sure to verify that it is safe for the specific type of wood you have.
If interested in a homemade solution, a mixture of vinegar and water can provide a natural alternative. This combination helps in removing light stains and freshening up the surface. Use equal parts of each and apply with a soft brush.
For heavily soiled surfaces, consider a solution containing sodium percarbonate, which can aid in deep cleaning while being safe for the environment.
Before implementing any cleaner, test it in a discreet area to check for adverse reactions. This precaution helps ensure the longevity and appearance of your timber.
Using a broom to remove debris and dirt
I recommend using a stiff-bristled broom for your task. Begin by sweeping the surface thoroughly to gather any loose dirt, leaves, or debris. Ensure you apply sufficient pressure, which will help dislodge particles stuck in the grooves of the planks. Sweep in a consistent direction to avoid scattering dust back onto the area you have already addressed.
Pay attention to corners and edges, where dirt tends to accumulate; a smaller hand broom can be handy for these spots. If you notice stubborn dirt, consider dampening the broom slightly. This can help in lifting some of the more tenacious debris without soaking the surface.
A regular sweeping schedule will prevent the buildup of grime and ensure that your space remains visually appealing. Incorporating this simple task into your routine can significantly enhance the longevity of the materials.
Applying the Cleaning Solution to the Wooden Surface
The application of the chosen cleaning mixture is crucial for effective removal of stains and grime. Begin by pouring the solution into a suitable container–preferably a bucket with a handle to facilitate easy transport. Use a mop or long-handled brush to apply the mixture evenly across the boards. Start at one end and work towards the other to avoid stepping on freshly treated areas.
It’s vital to apply the solution generously, ensuring that each plank is adequately covered. Focus on areas with heavy discolouration or build-up, allowing the mixture to penetrate for a few minutes. If the solution dries too quickly, mist the surface lightly with water to maintain effectiveness.
Techniques for Application
For optimal results, consider using a scrub brush with stiff bristles for areas that require extra attention. This type of brush can effectively lift stubborn dirt and moss. Always follow the wood grain during scrubbing to avoid damaging the fibres. Rinse the brush frequently in the cleaning solution to prevent the spread of dirt.
| Step | Action |
|---|---|
| 1 | Pour cleaning solution into a bucket. |
| 2 | Use a mop or long-handled brush to apply evenly. |
| 3 | Focus on discoloured areas and allow it to soak. |
| 4 | Use a scrub brush for stubborn stains, scrubbing with the grain. |
| 5 | Rinse the scrub brush often to avoid spreading dirt. |
Ensuring proper application of the cleaning solution not only enhances the appearance of the timber but also prolongs its lifespan. After sufficient soaking, be ready for the next phase–rinsing the surface thoroughly to remove any residue.
Scrubbing techniques for stubborn stains
For persistent marks, employ a stiff-bristled brush in conjunction with a suitable cleaning solution. Apply the mixture generously to the affected area and let it sit for several minutes to allow the solution to penetrate. This softening period makes scrubbing more effective.
When scrubbing, use circular motions to work the solution into the surface. Increase pressure gradually for tougher stains but avoid excessive force to prevent damaging the wood. Focus on one small section at a time to ensure thorough treatment.
For really tough spots, consider using a scraper or putty knife to lift away the top layer of grime. Be cautious to angle the tool correctly to prevent gouging the surface. After lifting the stain, return to the stiff-bristled brush to clear away remnants.
Rinse the area well with clean water regularly during the process to assess progress and prevent any residue from drying out. This method not only removes the stain but also revitalises the wood’s natural appearance.
For particularly troublesome substances, like grease or mildew, a combination of sodium bicarbonate and vinegar can work wonders. Create a paste, apply it to the stain, and scrub after a brief soaking. This natural approach often yields remarkable results without the need for harsh chemicals.
Rinsing the Surface Thoroughly After Maintenance
It’s vital to ensure all residues from the chosen cleaning agent are completely removed. Use a hose with a standard nozzle attachment to provide a gentle yet thorough flow of water. Holding the nozzle at a slight angle will help direct the water effectively along the planks and into any grooves. Start from one end and systematically work your way across to the opposite side, preventing any standing water from settling.
Techniques for Effective Rinsing
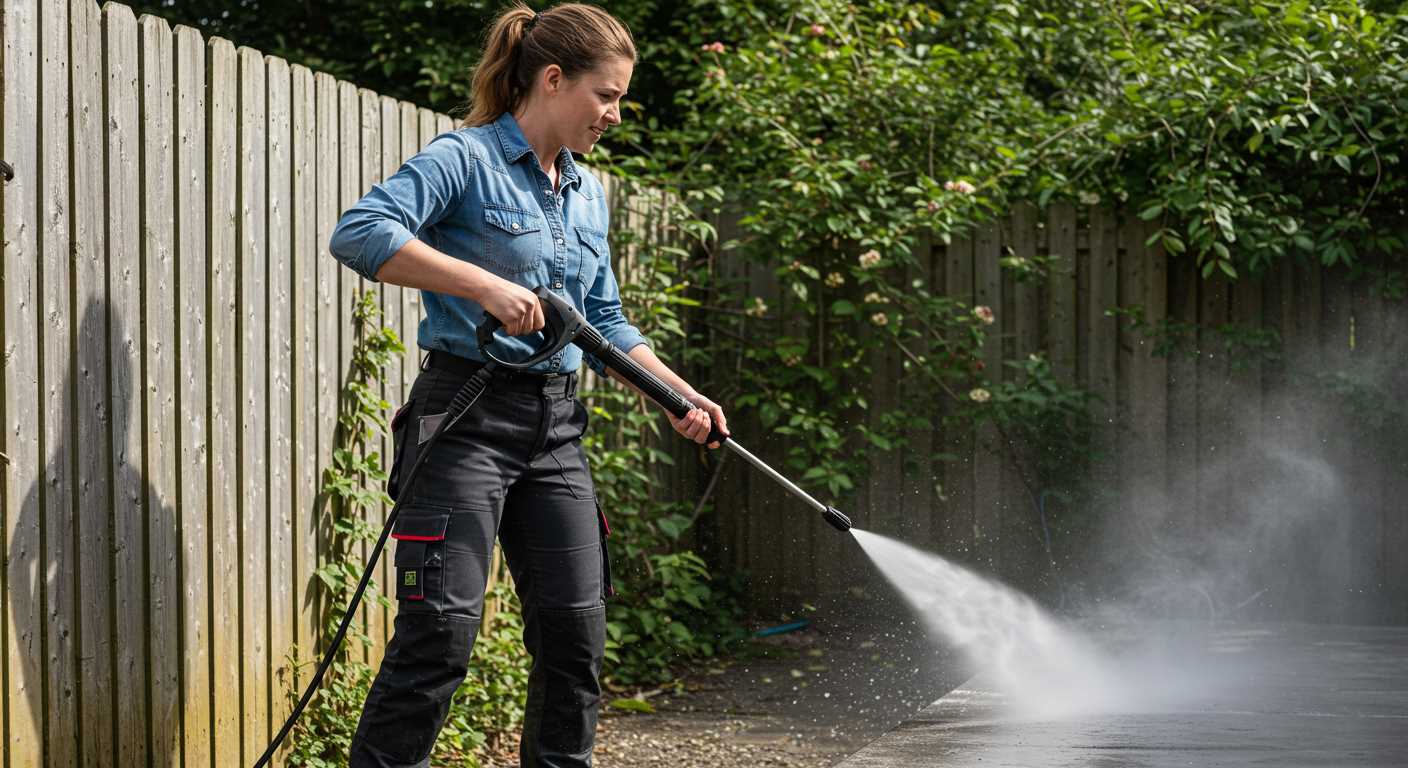
To achieve optimal results, rinse in sections, allowing the water to carry away any loosened dirt and residue. If any areas seem particularly stubborn, you may want to gently scrub them again with a soft brush before repeating the rinsing process. Pay special attention to the corners and grooves, as dirt tends to accumulate there. Ensuring these areas are free of debris will contribute to the longevity of the surface.
After finishing the rinsing, inspect the surface to verify that no soap suds linger; if they do, it’s important to rinse those off as well. This final check ensures that the character of the surface remains intact and prevents any potential deterioration from leftover residue.
Maintaining your wooden surface for the future
Prioritise regular inspections to catch issues early, such as signs of wear or weather damage. Check for cracks, splinters, or loose boards regularly to prevent further deterioration.
Apply a protective coating every couple of years to help shield against moisture and UV rays. Choose products specifically designed for preserving timber; oils or sealants can prolong life significantly.
Implement a seasonal maintenance routine:
- Spring: Inspect for any winter damage and clean thoroughly.
- Summer: Reapply protective coatings if necessary.
- Autumn: Clear fallen leaves and debris to prevent moisture build-up.
- Winter: Ensure proper drainage and remove snow to avoid water retention.
Consider using a dedicated brush rather than a broom for tighter spots, allowing for a thorough clean in grooves and joints. This small change can enhance the upkeep.
Store furniture properly when not in use to limit wear from the elements. Employ protective covers where possible to minimise exposure.
Following these steps diligently can significantly extend the lifespan of your external timber. The result will be a beautiful and lasting outdoor space you can enjoy for years to come.
FAQ:
What are the best methods to clean wooden decking without using a pressure washer?
Several effective methods exist for cleaning wooden decking without a pressure washer. A popular option is to use a mixture of warm water and a few drops of mild dish soap. Apply this solution with a stiff-bristled brush, scrubbing the surface gently to remove dirt and grime. Another method is to create a solution of equal parts white vinegar and water. This natural cleaner can help eliminate mould and mildew. After applying either solution, rinse the decking thoroughly with clean water using a hose. Always test your cleaning solution on a small, inconspicuous area first to avoid any potential damage to the wood.
Can I use bleach to clean my wooden decking, and what should I consider before doing so?
While bleach can be used to clean wooden decking, it’s important to exercise caution. If you choose to use bleach, mix it with water in a ratio of one part bleach to three parts water. This solution can help remove darker stains and prevent mould growth. However, consider that bleach may strip the wood of its natural oils and can discolor the surface over time. It’s advisable to thoroughly rinse the area after applying the bleach solution and to wear protective gear, such as gloves and goggles, to prevent skin and eye irritation. Always ensure proper ventilation if you’re working in a confined space.
How do I maintain my wooden decking after cleaning it?
Maintaining your wooden decking after cleaning is vital for its longevity and appearance. One effective way to care for your decking is to apply a good quality wood protector or stain after it has dried completely from the cleaning process. This helps seal the wood, preventing moisture from entering and reducing the risk of rot and decay. Regularly sweep the decking to remove debris and leaves, as these can trap moisture. Additionally, consider applying a wood preservative annually to protect against insects and fungal growth. Keeping an eye out for any signs of wear or damage and addressing these promptly will also extend the life of your decking.


