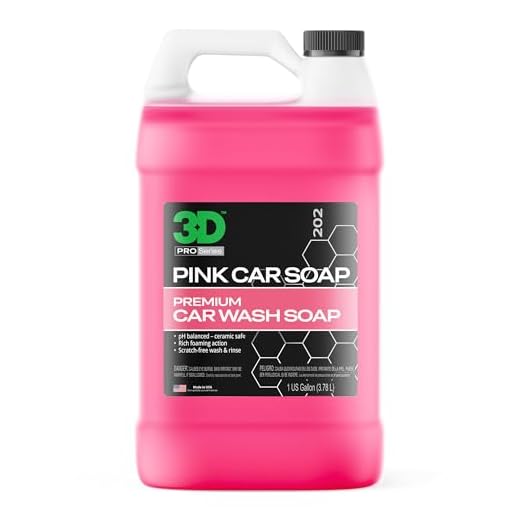


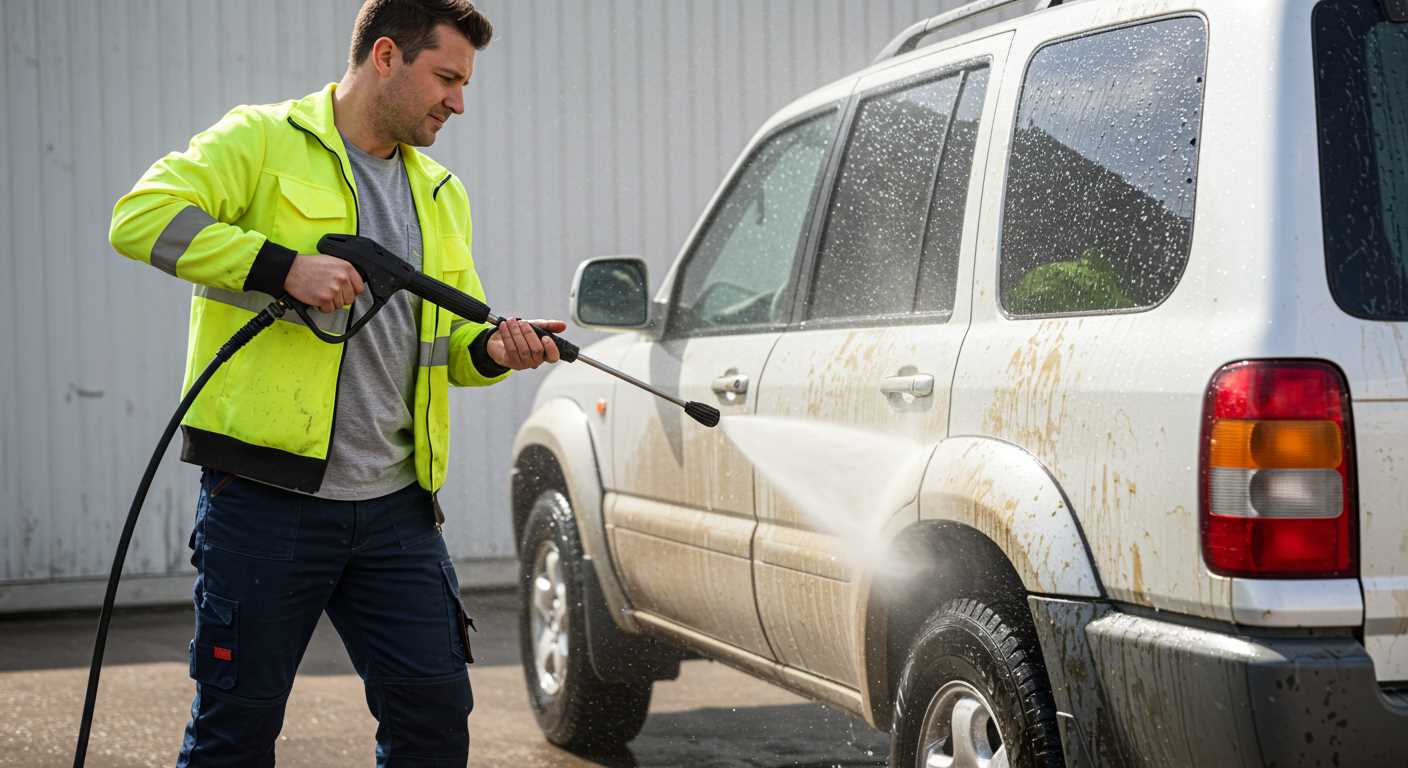
Begin with the correct nozzle; a 25-degree spray pattern is ideal for removing dirt and grime without damaging surfaces. Adjusting the distance from the vehicle will also make a difference. Maintain a gap of approximately 2 feet initially, gradually decreasing as needed for stubborn spots.
Always rinse from the top down. Start with the roof and work your way downwards, ensuring that muddy water flows away from cleaner areas. This method avoids re-depositing dirt and allows for a more thorough wash.
To enhance results, pre-treat areas with heavy build-up using a suitable detergent. Apply it before engaging the sprayer, allowing the solution to sit for a few minutes to break down tough residues effectively.
After rinsing off, consider using a foam cannon attachment. This tool creates a thick foam that clings to surfaces and aids in lifting dirt for easier removal. Follow up by repeating the rinsing process to wash off any remaining foam.
Finally, keep an eye on sensitive areas, such as windows and seals. Use lower pressure settings around these spots to prevent damage. This careful approach not only maintains aesthetics but also prolongs the lifespan of the vehicle.
Effective Techniques for Your Vehicle with a High-Pressure Cleaner
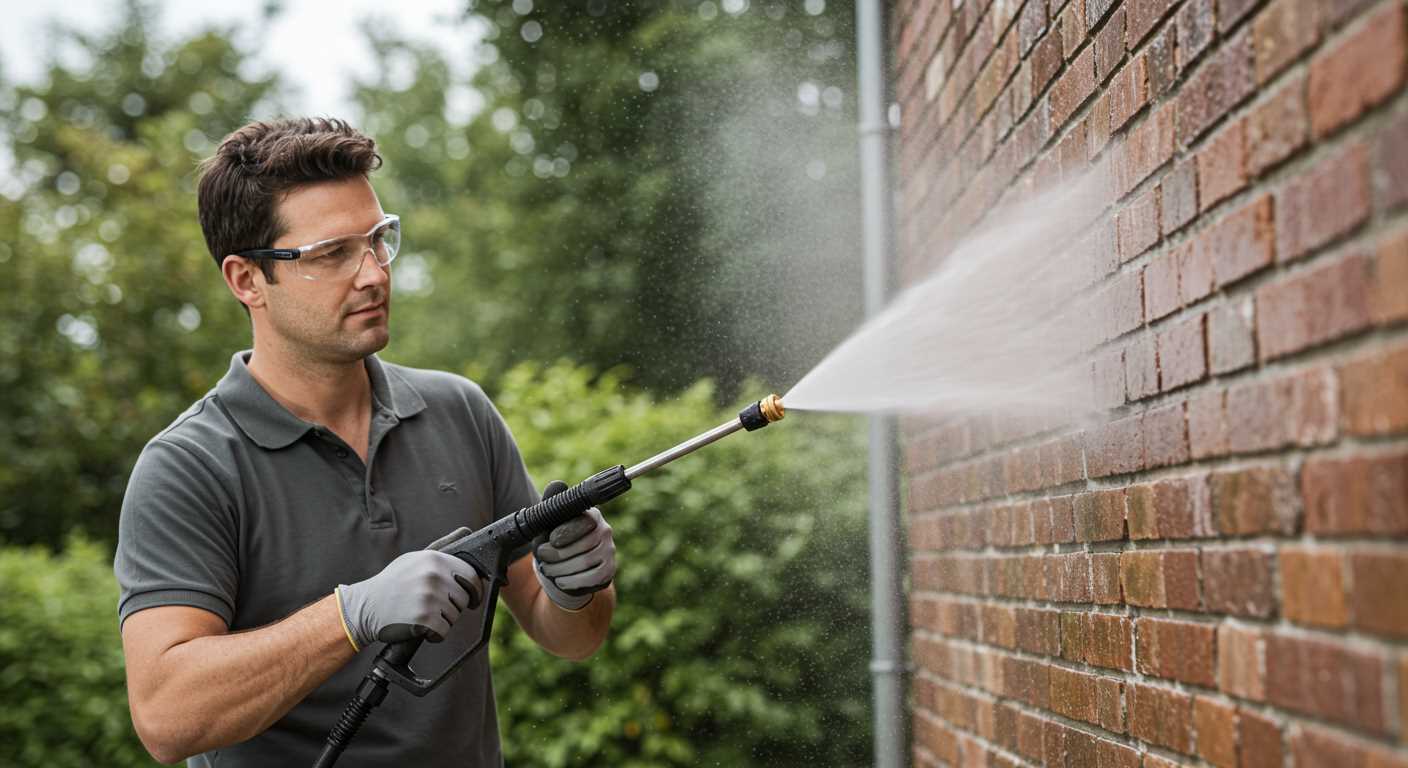
For optimal outcomes, begin by selecting the appropriate nozzle. A 25-degree nozzle provides a balanced spray that effectively removes dirt without damaging surfaces. Adjust the distance between the nozzle and the vehicle, keeping it at least 30 cm away to prevent scratches.
Consider the following sequence: rinse the exterior to eliminate loose debris, progressing from the top downwards. This method ensures that grime flows downward, preventing re-soiling of cleaner sections. Use a circular motion and avoid focusing on one spot for too long, which might lead to paint damage.
Specific Areas to Concentrate On
Pay special attention to wheel arches and undercarriage; these areas accumulate considerable mud and salt. Angle the spray to reach difficult spots effectively. For wheel rims, a dedicated cleaner applied before rinsing achieves better results.
Once the main wash is complete, apply a wax or sealant to protect the surface and enhance shine. This step aids in repelling dirt, making future maintenance easier.
Safety Precautions
Always wear appropriate protective gear, including goggles and gloves. Ensure that surrounding areas are clear of obstacles and bystanders. Avoid pointing the spray directly at electrical components or windows to prevent damage.
By applying these practical measures, you enhance both the appearance and longevity of the vehicle, making cleaning more manageable in the long run.
Selecting the Right Pressure Washer for Vehicle Maintenance
.jpg)
Choose a unit with a PSI between 1200 to 1900 for safe and effective results. Higher values could risk damaging paint and delicate components.
Key factors for selection:
- Water Flow Rate: Opt for models with a GPM (gallons per minute) of 1.4 to 1.6. This range ensures adequate rinsing without excessive pressure.
- Motor Type: Electric motors are often quieter and more suitable for residential areas, while gas motors provide more power for larger tasks.
- Weight and Portability: A lighter model is easier to manoeuvre. Look for units with wheels and an ergonomic handle for convenience.
- Accessories: Nozzles are crucial for adjusting spray width and pressure. A rotating nozzle can tackle stubborn dirt without causing damage.
- Durability: Check materials used in construction. A robust design will extend the life of the appliance and withstand regular use.
Before making a choice, consider brand reputation and customer reviews. Certain brands have a long-standing track record for reliability and support. Some models may also offer warranties, providing peace of mind with your investment.
Lastly, invest in a reputable detergent designed specifically for vehicles. Using the right cleaning agents will enhance the effectiveness of the tool and protect the finish.
Preparing Your Vehicle for High-Pressure Cleaning
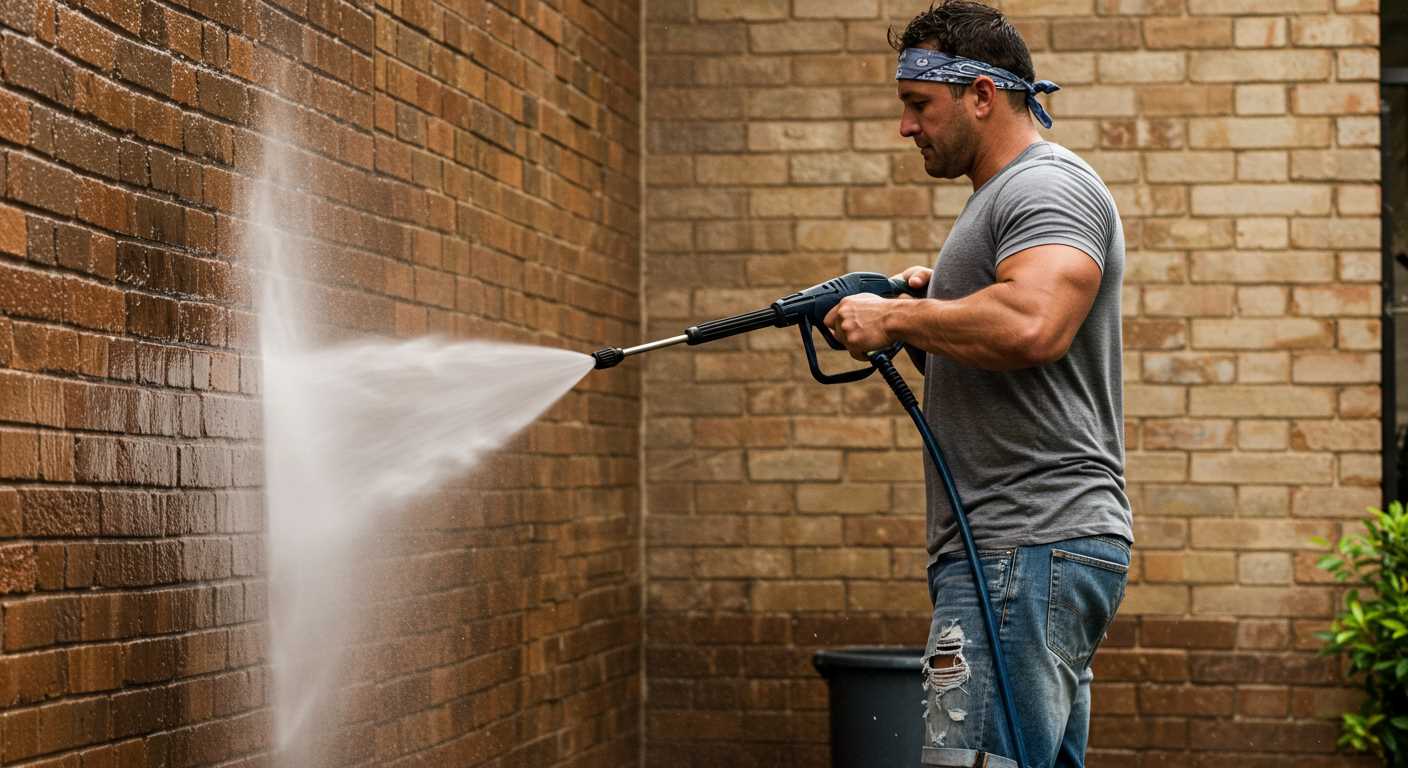
Ensure all windows and sunroofs are completely closed to prevent water ingress. Remove any personal items from the interior, including mats and seat covers, to avoid damage or mould growth.
Before commencing, inspect for surface imperfections like scratches or dents. Address these areas with appropriate polishing compounds to ensure the distinct layers of the paint are not damaged during the process.
Protect Sensitive Parts
Cover delicate components such as the exhaust, electrical connections, and air intakes with plastic or waterproof covers. This step prevents potential water intrusion that could lead to electrical failures.
Pre-Wash Inspection
Check for loose fittings or trim; securing these parts will avoid any dislodged elements during the washing experience. Consider rinsing the underside of your vehicle as well to eliminate accumulated grime.
Choosing the Best Detergents and Cleaning Solutions
Opt for pH-balanced products specifically formulated for automotive surfaces. These detergents minimize the risk of damaging wax and sealants while effectively removing dirt and grime.
Consider biodegradable options. They are environmentally friendly and ensure you won’t cause harm to local ecosystems during the rinsing process.
Avoid household cleaners like dish soap. While they might seem convenient, they can strip away protective coatings and lead to oxidisation.
Check for compatibility with the equipment. Many cleaning solutions come in concentrated forms to mix with water, so ensure they are suitable for high-pressure devices to maximise efficacy.
Look for products with added agents that target specific contaminants, such as tar removers or bug dissolvers. These help tackle stubborn stains more effectively than standard soap.
Review user testimonials and product ratings to gauge performance. Personal recommendations often highlight real-world effectiveness.
Test small areas before full application. This step ensures that the selected detergent reacts well with your vehicle’s paint and materials.
Always follow the manufacturer’s instructions regarding dilution rates and application methods to achieve optimal results without risking any surface damage.
Techniques for Safe High-Pressure Washing
Maintain distance from the surface, ideally 2 to 3 feet, to prevent damaging paint or sensitive components. Always use an appropriate spray nozzle; a wider angle, such as 25 or 40 degrees, reduces intensity and mitigates risk to delicate areas.
Ensure the vehicle is cool before starting. Hot surfaces can lead to paint damage when combined with high-force water. Work from top to bottom, allowing debris and soap to flow downwards, which aids in thorough rinsing and minimises streaking.
Utilise an even, sweeping motion while applying the jet. Avoid holding the nozzle in one place, as this can create concentrated pressure that harms surfaces. Keep the nozzle moving to deliver uniform results and prevent the risk of etching.
Be mindful of sensitive areas such as electrical components, windows, and seals. Avoid direct pressure on these points; instead, use a gentler spray or soft cloth for cleaning around them.
Consider employing a low-pressure setting for initial rinsing and soap application. Save high-pressure for tougher grime. This layered approach reduces wear on surfaces and achieves better overall results.
Finally, don’t forget to regularly check and maintain the equipment. Inspect hoses for leaks and ensure that nozzles are clean and free from clogs. Proper maintenance prolongs the life of the equipment and enhances safety.
| Technique | Description |
|---|---|
| Distance | Maintain 2 to 3 feet away from the surface. |
| Nozzle Selection | Choose wider angle nozzles (25 or 40 degrees). |
| Surface Temperature | Avoid washing hot surfaces to prevent damage. |
| Sweeping Motion | Apply an even motion to avoid etching. |
| Sensitive Areas | Use low pressure and avoid direct shots. |
| Regular Maintenance | Inspect hoses and nozzles for optimal performance. |
Avoiding Common Mistakes While Using a Pressure Washer
Always maintain a safe distance from the surface being treated. Keeping the nozzle too close can cause damage. Aim for a distance of at least 12 inches from the surface, increasing it if using higher PSI settings.
Monitor the pressure settings carefully. Using excessively high pressure can strip paint or damage delicate components. Adjust settings according to the task; starting with a lower setting allows for better control.
Choose the right nozzle for different areas. A fan spray nozzle is versatile, while a rotating brush attachment can effectively remove stubborn grime. Switching between nozzles optimises the process.
Check water source connections thoroughly. Any leaks can reduce performance and lead to potential damage over time. Ensure all fittings are secure before beginning work.
- Avoiding electric shock hazards is crucial for safety. Ensure power cords are dry and away from water sources.
- If using detergents, follow the manufacturer’s instructions diligently. Over-diluting may reduce effectiveness, while under-diluting can damage surfaces.
- Preserve the environment by opting for biodegradable cleaning solutions. Non-biodegradable products can pollute water sources and harm wildlife.
- Plan the washing direction strategically. Begin from the top and work downwards to prevent dirt from dripping onto cleaned areas.
Keep an eye on the equipment’s condition throughout the procedure. Regularly inspect hoses and connections for wear and tear. Replace any outdated components to ensure optimal performance.
Finally, allow the vehicle to dry thoroughly before applying any wax or sealants. This step ensures proper adhesion and longevity of the protective layer.
Post-Wash Maintenance and Drying Tips
Immediately after rinsing, dry the surface to prevent water spots. Microfibre towels are ideal for reducing scratches while absorbing moisture efficiently. For larger areas, consider a vinyl squeegee for quick water removal on flat surfaces.
Proper Drying Techniques
Start from the top and work downwards. This method allows contaminants to flow downwards, minimising the risk of re-depositing dirt on cleaner areas. Frequently wring out towels to ensure effective moisture removal.
Detailing After Wash
Once the automobile is dry, apply a protective wax or sealant. This enhances shine and provides a barrier against environmental damage. Choose a product suitable for your vehicle’s finish and follow the manufacturer’s instructions for the best results.
| Step | Action | Notes |
|---|---|---|
| 1 | Initial Drying | Use microfibre towels or a squeegee |
| 2 | Top-Down Method | Minimise re-depositing of dirt |
| 3 | Apply Wax/Sealant | Protect finish and enhance shine |
Check seals and rubbers for any signs of wear, as these components need regular attention. Replace them if necessary to maintain overall functionality and appearance.
Regular maintenance extends the life of the vehicle’s exterior. Committing to these practices will result in a cleaner and well-protected finish.
Additional Accessories to Enhance Your Cleaning Routine
A foam cannon significantly boosts the pre-wash stage by creating a thick, clinging layer of soap, ensuring thorough coverage. This accessory allows for better penetration of grime, making subsequent rinsing simpler and more effective.
Consider a rotary nozzle. This tool increases cleaning power by combining both fan spray and concentrated jet streams, allowing for tackling stubborn dirt and contaminants with ease while minimising the risk of damage to sensitive surfaces.
A surface cleaner attachment is also worthwhile. It provides an even wash over larger areas, reducing streaking and allowing for swift cleaning of flat surfaces like wheels or lower body panels without needing to switch nozzles constantly.
Invest in a quality set of brushes with varying firmness. A softer brush for delicate paint and more robust ones for tougher surfaces will help address different sections without compromising the finish.
Don’t overlook a high-quality hose reel. Keeping hoses organised not only extends their lifespan but also prevents kinks and tangles, allowing for seamless operation while washing.
Lastly, protective gear such as goggles and gloves is essential. These ensure personal safety while working with chemicals and high-pressure jets, allowing you to focus on effectiveness without worry.


