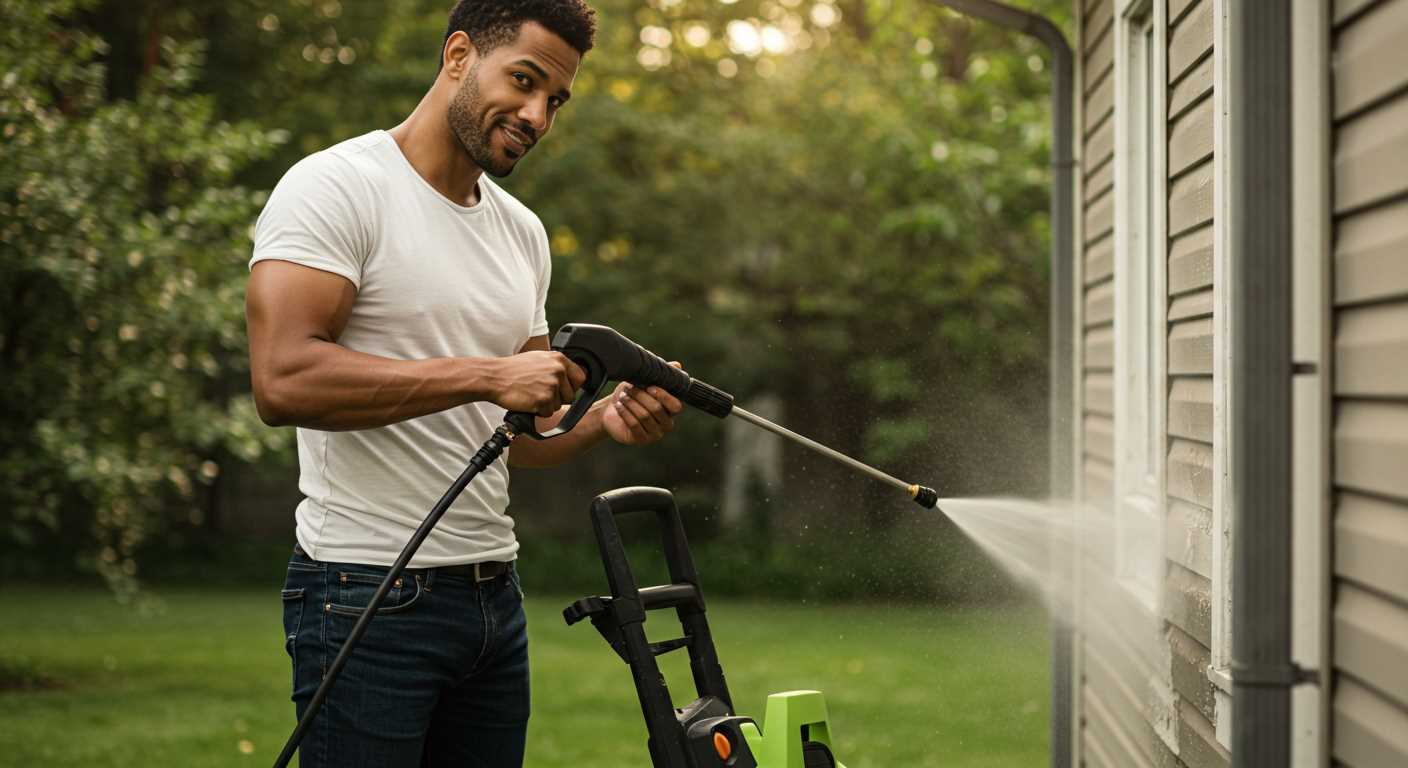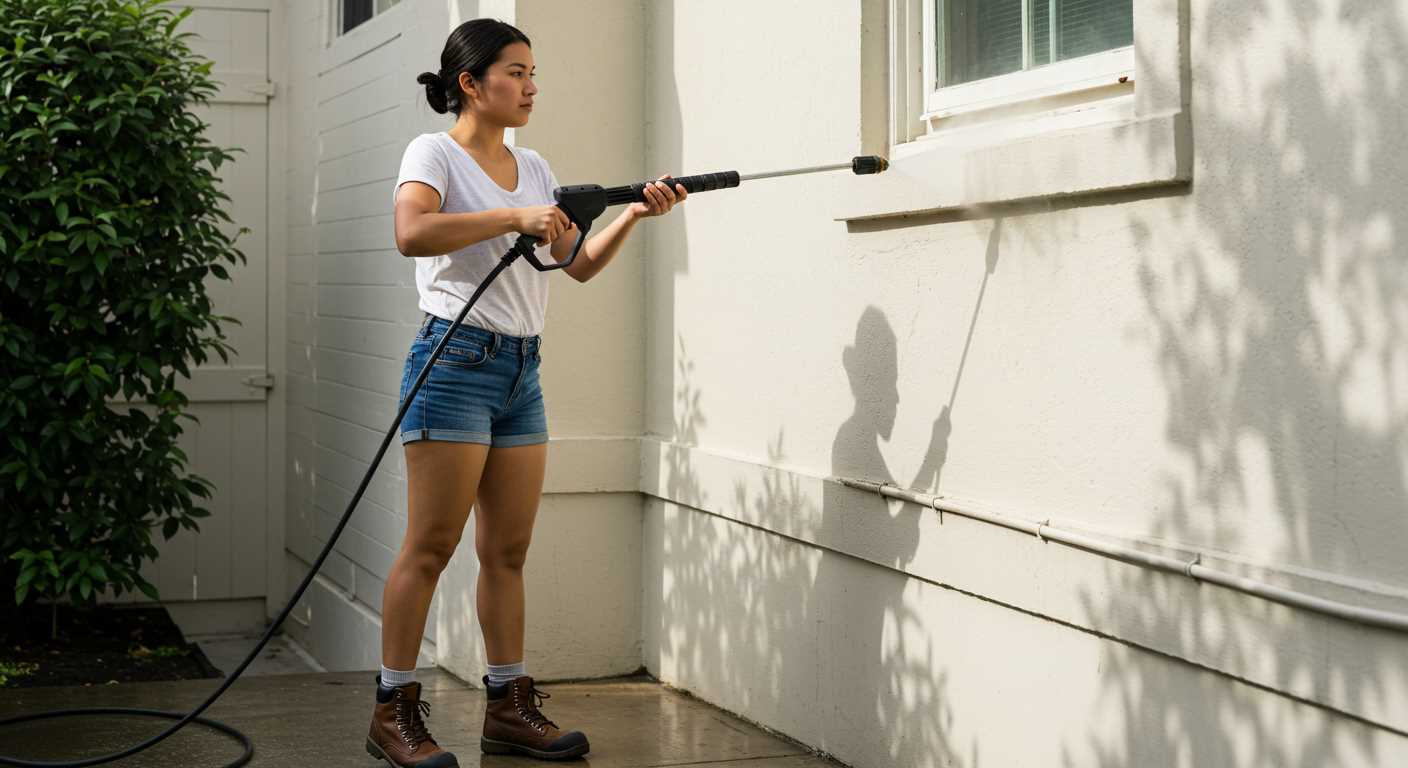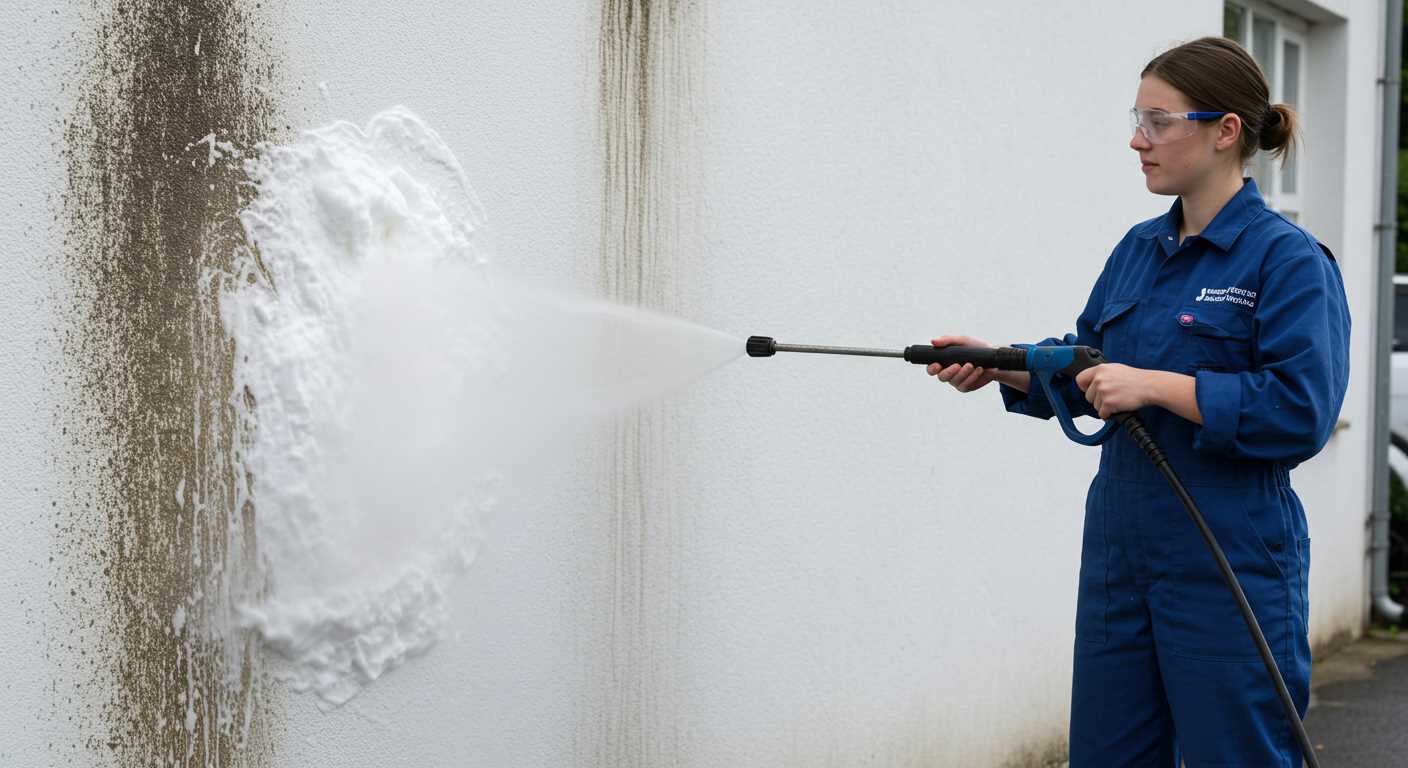


Begin by selecting the correct nozzle for the high-pressure sprayer; a 25-degree or fan nozzle is typically ideal for most surfaces. This option strikes a balance, delivering enough power to eliminate grime while preventing potential damage to delicate areas. Maintain a distance of 30 centimetres between the nozzle and the surface to avoid wear.
Preparation is key. Remove any furniture, plants, or accessories that may obstruct the cleaning process. Clearing these items not only protects them but also ensures a thorough job. Additionally, sweeping the area of loose debris beforehand can improve efficiency and results.
Prior to activating the equipment, assess the state of the surface. Apply a specialised cleaner if necessary to tackle stubborn stains effectively. Allow a few minutes for the cleaner to penetrate before rinsing it away with the sprayer, ensuring that the nozzle is set to a suitable pressure.
While you’re working, utilise a sweeping motion to cover the surface evenly. This technique helps to avoid streaks and ensures that each part receives adequate attention. For particularly stubborn spots, you may need to revisit them with a more focused approach, adjusting the pressure as necessary.
After finishing the cleansing process, inspect the area for any missed spots or remaining residue. A second pass may be required in some instances to achieve the desired clarity. Finally, consider resealing your surface once it dries to protect against future build-up.
Tips for a Patio Refresh

Begin by clearing the area of furniture, plants, and debris. This allows for an unobstructed view and functionality during the process. Next, apply a suitable surface cleaner specifically designed for outdoor materials. Allow it to sit according to the manufacturer’s instructions, enhancing the dislodging of grime and stains.
Optimal Equipment Settings
Adjust the nozzle to a fan spray for larger surfaces. For ingrained dirt, a narrower jet might be necessary, but be cautious; using too intense a stream on delicate surfaces can cause damage. Maintain a distance of around 25–30 centimetres for best results, gradually moving closer if needed.
Technique for Maximum Impact
Work in small sections, starting from one corner and moving systematically across the area. This prevents overlapping and ensures thorough coverage. Employ a sweeping motion, maintaining a constant speed to enable even cleaning. For stubborn areas, pause longer and consider a pre-treatment for those patches. After completing the task, rinse thoroughly, ensuring no residues remain. A post-cleaning inspection helps identify any missed spots, preventing a return to dirtiness too soon.
Finally, allow the surface to dry completely before replacing furniture. This helps prevent any future staining or mildew growth, leaving the space rejuvenated and ready for use.
Choosing the Right Pressure Washer for Your Patio
Select a unit with a minimum pressure of 1500 PSI and a flow rate of 1.5 GPM for optimal results. Higher pressure can be useful for stubborn stains but ensure it is within the machine’s maximum limit to prevent surface damage.
Consider the type of surface; for tiles or concrete, a more powerful model may be necessary, whereas wood requires a gentler approach. Opt for adjustable pressure settings or interchangeable nozzles for versatility.
Electric options are quieter and lighter, perfect for smaller spaces, while gas-powered machines provide more power for extensive areas and tougher grime.
Evaluate the ease of mobility. Look for features like wheels and a lightweight build to manoeuvre around obstacles comfortably.
Check for additional functionalities, such as detergent tanks or surface cleaners, which can enhance efficiency. A machine with a built-in detergent injector simplifies the process when dealing with tougher dirt.
Prioritize brands known for reliability; read reviews to identify long-term performance and customer satisfaction. Consider warranty options that ensure coverage for repairs or replacements.
Lastly, ensure that the hose length meets your needs. A longer hose enhances reach without the need to reposition the equipment frequently.
Preparing Your Space for Cleaning
Before engaging in the task, it’s crucial to remove all items from the area. This includes furniture, plants, and decorative objects. If possible, relocate them to a nearby location away from the projected spray area.
Clearing the Surface
- Check for larger debris such as leaves, twigs, and dirt. Use a broom or leaf blower to remove them efficiently.
- Look for stains or marks. Determine if they require special treatment prior to commencing washing.
- If the surface is uneven, ensure the gaps are free from rock or gravel to avoid damage during operation.
Safety Measures
- Inspect for nearby electrical outlets and disconnect any plug-ins to prevent accidents.
- Wear protective eyewear and gloves to shield against flying debris.
- Secure pets and children away from the vicinity to prevent them from wandering into the area.
By following these preparatory steps, the area becomes ready for a thorough cleaning session. Make sure everything is in place before proceeding to maximise results.
Selecting the Appropriate Nozzle for Different Surfaces
Opt for a 25-degree nozzle for standard surfaces like concrete. This angle balances pressure and coverage, effectively removing grime without causing damage.
If tackling delicate areas such as wood decking, a 40-degree nozzle is ideal. The wider spray disperses the water pressure, preventing potential splintering or surface wear.
Specialty Nozzles
Consider a turbo nozzle for stubborn stains. This type oscillates, combining a concentrated stream with broader coverage, making it perfect for tough jobs while still being mindful of the surface.
For vertical surfaces like walls or fences, a 15-degree nozzle can provide the targeted power needed to reach higher areas while managing runoff effectively.
General Recommendations
Always test on a small, inconspicuous section first. This approach verifies compatibility and helps avoid any unexpected issues. Adjust the nozzle based on the material’s resilience and the level of dirt. Proper selection ensures optimum results and prolongs the lifespan of the surfaces being treated.
Using Detergents and Cleaners Safely
Before using any cleaning agent, check the label for compatibility with surfaces. Different materials react differently to specific products, so ensure the chosen detergent won’t cause damage. Always conduct a spot test in a discreet area to observe the reaction over a short duration.
Personal Protective Equipment
Wear gloves and goggles throughout the process. Many cleaning solutions contain chemicals that can irritate skin or eyes. It’s advisable to use a mask if fumes are strong or if the product is particularly caustic.
Application Tips
Apply solutions according to the manufacturer’s instructions. Generally, it’s best to dilute concentrated products with water to reduce their strength before application. Use a low-pressure setting on your equipment to avoid splattering the detergent, which can lead to mishaps with unwanted spots or damage to plants and furniture nearby.
Here’s a quick reference for detergent types and their applications:
| Detergent Type | Surface Compatibility | Common Uses |
|---|---|---|
| Alkali-based | Concrete, Brick | Heavy stains, grease |
| Acid-based | Stone, Tiles | Mineral deposits, rust |
| Biodegradable | Wood, Composite | Light cleaning, organic stains |
| Specialized | Painted surfaces, metals | Specific stains, coatings |
After applying detergent, allow it to sit for a few minutes to break down grime, but do not let it dry out. Following this, rinse thoroughly to remove any residue, as leftover detergent can attract dirt and create a sticky surface.
Store any leftover detergent properly, keeping it sealed and away from direct sunlight. Dispose of any waste as recommended, avoiding harmful effects on the environment.
Step-by-Step Guide to Pressure Washing Your Patio
First, ensure all furniture and décor are moved off the surface. This prevents any damage and allows full access to the area. Remove any loose debris such as leaves and dirt using a broom or blower.
Next, connect the equipment to a suitable water supply and ensure the machine is set up properly according to the manufacturer’s instructions. Check the hose and fittings for any leaks.
Adjust the pressure settings to match the surface type you’re dealing with. For most hard surfaces, a medium pressure setting is sufficient. Test the pressure on a small, inconspicuous area to determine if it’s appropriate.
Begin by applying detergent if necessary. This should be done from the lowest point and working upwards to avoid streaking. Allow the cleaning solution to sit for a few minutes, but do not let it dry completely.
Afterward, use a wide spray pattern nozzle to wash away the detergent. Stand at least two feet away from the surface and maintain a steady, sweeping motion. Keep the wand moving to avoid damaging any areas.
For stubborn stains or mildew, switch to a narrower nozzle for targeted cleaning. Always ensure you’re maintaining a safe distance to prevent surface damage.
Once the washing is finished, rinse the area thoroughly with clean water. Repeat the process if needed for heavily soiled sections. After cleaning, allow the area to dry completely before replacing any items.
Finally, dispose of any waste materials responsibly and store the equipment properly for future use. Consistent maintenance ensures longevity and cleanliness of your outdoor space.
Common Mistakes to Avoid When Pressure Washing
Using an incorrect nozzle can lead to damage. Always match the nozzle type to the surface you are treating. A narrow nozzle may cause etching on softer materials like wood, while too wide a spray can leave dirt untouched.
Ignoring the distance between the nozzle and the surface can result in uneven results. Maintain a consistent distance to ensure thorough removal of grime without causing harm.
- Neglecting to test a small area before comprehensive treatment can lead to surprises. Always test on a non-visible spot to gauge the effect.
- Failing to prepare the area is critical. Clear furniture, plants, and debris to prevent potential damage and ensure complete coverage.
- Using excessive power isn’t always better. High pressure can be counterproductive; reduce the setting for delicate surfaces.
Overlooking Safety Precautions
Not using personal protective equipment is a common oversight. Always wear goggles, gloves, and sturdy footwear to protect yourself from flying debris and harmful chemicals.
Skimping on equipment maintenance may lead to reduced performance. Regularly check hoses, nozzles, and connectors for blockages or wear.
Choosing the Wrong Detergent

Utilising inappropriate detergents can damage surfaces or plants. Ensure the cleaner is safe for the material you are treating and follow the manufacturer’s guidelines.
Mixing different cleaning products can be hazardous and produce harmful reactions. Stick to one product at a time for safe and effective results.
Post-Cleaning Care and Maintenance Tips
Inspect the surface thoroughly after the wash. Look for any remaining stains or areas that may need extra attention. It’s the perfect time to address these spots before they harden and become more difficult to manage.
Sealing and Protection
Once completely dried, consider applying a sealant. This step helps protect the surface from future stains and weather damage. Choose a product compatible with the material at hand, ensuring longevity and maintaining its appearance. Be sure to follow the manufacturer’s instructions regarding application and drying times.
Regular Upkeep

Schedule routine maintenance to keep the area looking pristine. Depending on the environment, a quick rinse or sweep every few weeks can prevent dirt and debris build-up. Stay vigilant during seasons with heavy foliage or pollen, as these elements can accumulate quickly. Additionally, plan for a comprehensive wash twice a year to ensure effective long-term care.


