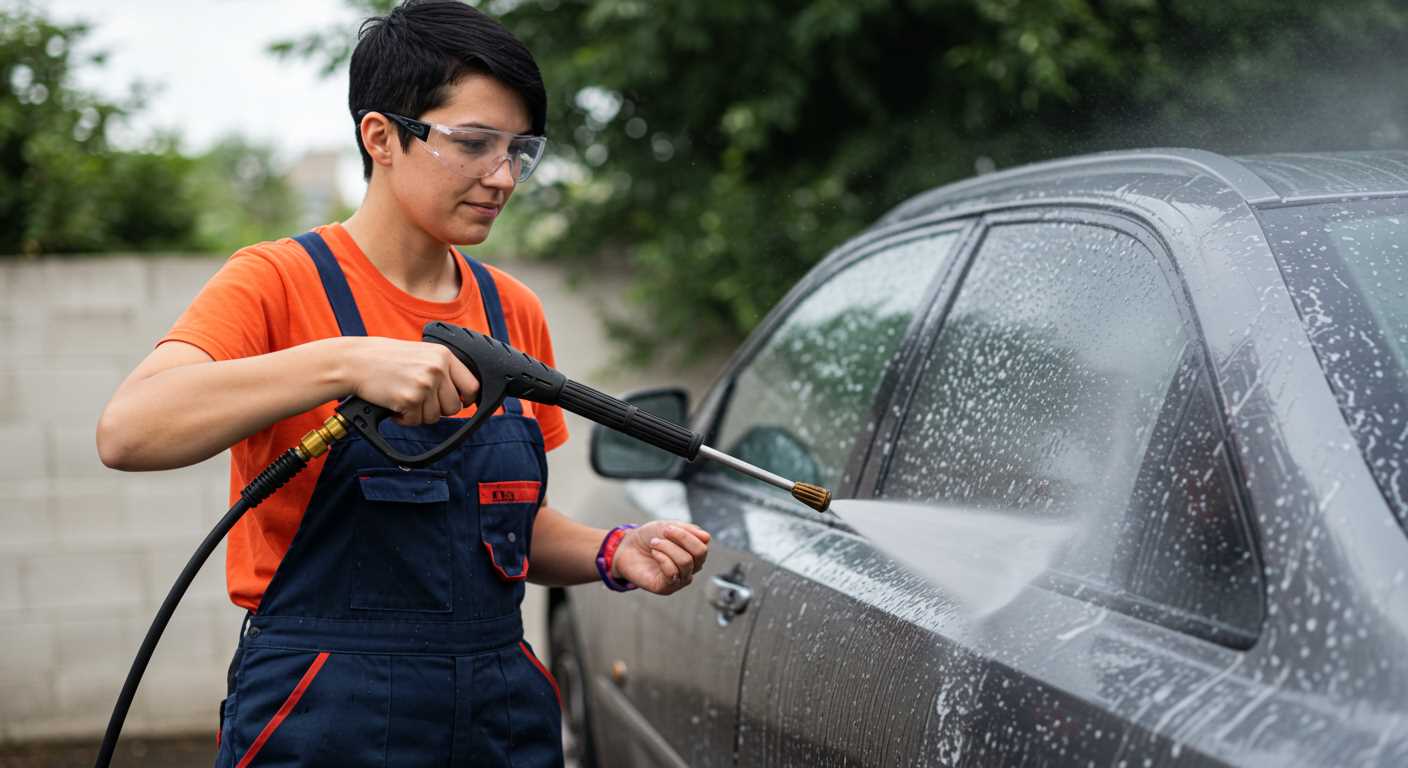
Start with a mixture of warm water and mild detergent, which can effectively lift dirt and grime. Using a scrub brush with sturdy bristles, apply this solution to surfaces, ensuring to cover every inch, especially in corners and crevices where debris tends to accumulate. Rinse thoroughly with clean water to remove all soap residues.
For stubborn stains like mildew or mould, a blend of white vinegar and baking soda works wonders. These natural substances break down stains, making scrubbing easier. Apply the paste generously to affected areas and allow it to sit for about 30 minutes before attempting to scrub. The reaction between the vinegar and baking soda boosts cleaning efficiency.
Investing in a quality hand broom can significantly enhance your efforts. Regular sweeping not only prevents the build-up of dirt but also keeps your area looking tidy. Consider using a soft-bristle broom for flat surfaces and a stiff-bristle variant for textured materials.
To tackle tougher tasks, a steam cleaner is a powerful ally. This tool emits high-temperature steam that sanitises and dislodges grime without harsh chemicals. Move systematically, ensuring you cover all nooks and crannies to achieve the best results.
Finally, finish with an application of a sealant or outdoor-safe protective coating. This step not only enhances the appearance but also aids in future maintenance, making it harder for dirt and stains to adhere to surfaces.
Efficient Techniques for a Thorough Clean
Start by gathering a bucket, soft-bristle brush, and gentle detergent. Fill the bucket with warm water and add a few drops of mild soap. Dip the brush into the solution and scrub surfaces in sections, focusing on corners and edges where grime accumulates. Rinse each section with clean water using a hose or another bucket to prevent soap residue from drying.
Natural Solutions for Stains
For stubborn spots, mix equal parts white vinegar and water in a spray bottle. Apply the mixture directly onto the affected area and let it sit for 10–15 minutes before scrubbing again. This method works well on wood and composite materials without damaging the surface.
Maintenance Tips
Regular upkeep involves sweeping debris and checking for mould or mildew. I recommend using a broom with stiff bristles for daily clearing. Consider sealing the surfaces annually to protect against weathering and stains, prolonging the life of outdoor spaces.
Selecting the Right Cleaning Solutions for Your Porch

For optimal results, choose cleaning solutions that suit the materials of your area. Consider the following options:
- For Wood: Use a mild soap mixed with water or a specially formulated wood cleaner to avoid damage. Avoid harsh chemicals that can strip the finish.
- For Composite Materials: A solution of vinegar and water effectively removes stains without causing discolouration. Commercial composite cleaners are also available, designed to be safe for these surfaces.
- For Concrete: A mixture of baking soda and water is gentle yet effective for lifting grime. Alternatively, a dedicated concrete cleaner can be used for tougher stains.
Homemade Solutions
Mixing household items can yield excellent cleaning agents:
- Baking Soda Paste: Combine baking soda with water to form a paste that tackles stubborn spots. Apply, let it sit, then scrub off.
- Vinegar Solution: Equally mix vinegar with water for an eco-friendly cleaner that fights mildew and freshens up surfaces.
- Dish Soap: A few drops of dish soap mixed with water works wonders for routine maintenance. It can effectively break down grease without damaging materials.
Commercial Products
If preferring a store-bought alternative, select products that are designed specifically for the type of material present:
- BIO-based cleaners: These biodegradable products are gentle on surfaces and the environment.
- Stain removers: Opt for spot-specific removers, particularly for oil or rust stains.
- Disinfectants: Choose a disinfectant that’s safe for outdoor use to eliminate bacteria without harming plants.
Always perform a spot test with any product on an inconspicuous area before full application. This precaution will help ensure compatibility with the surface material and prevent unwanted damage.
Preparing Your Porch for Cleaning: Essential Steps
Remove all furniture, plants, and decorative items. This will ensure no obstacles impede the process and protect your belongings from potential damage during the chore.
Next, inspect the surface for any visible debris, such as leaves, dirt, or cobwebs. Sweep thoroughly using a broom with stiff bristles to gather larger particles before moving on to finer cleaning.
Check for any loose boards or structural issues that may need repair. Addressing these before starting will prevent injuries and allow for more thorough maintenance.
Gather Required Tools

A bucket, scrub brushes, and a garden hose will be essential tools. Ensure you have a microfiber cloth for drying and polishing surfaces post-cleaning. Also, keep a pair of gloves handy to protect your skin from any potential irritants in the cleaning solutions.
Select Cleaning Solutions
Prepare a mixture of warm water and a mild detergent or vinegar. These alternatives are effective and safe for most finishes, helping to break down grime without causing damage.
For stubborn stains, consider creating a paste using baking soda. Apply it directly, allowing it to sit for a while to enhance its effectiveness on tough marks.
Removing Dirt and Grime with Brooms and Brushes
A stiff-bristled broom proves invaluable for tackling loose debris such as dust, leaves, and any small particles. Begin at one end and sweep systematically towards the other, ensuring that every corner is reached. This initial step helps create a clear workspace.
Choosing the Right Tools
Selecting the proper brush is critical. A long-handled brush allows for comfortably reaching high or difficult areas. For textured surfaces, consider a brush specifically designed for such materials, as it will penetrate into grooves and crevices better than a standard broom.
Implementing Cleaning Solutions
<p.Prepare a cleaning mixture using warm water and a mild detergent or vinegar. Apply this concoction onto the surface using the brush, allowing it to sit for a few minutes to break down stubborn grime. After this, use the broom again to scrub the area in a circular motion to loosen the dirt effectively. Rinse thoroughly with clean water for the best results.
Using Soapy Water: The Best Techniques for Cleaning

To tackle built-up filth and stains, creating a soapy solution is the first step. Mix a few tablespoons of dish soap into a bucket of warm water. This combination is effective in loosening debris while remaining gentle on surfaces.
Application Techniques
Utilise the following methods for optimal application:
- Sponge Method: Soak a sponge in the soapy mixture and wring it out slightly. Start from one corner and work your way across, applying ample pressure to lift grime.
- Cloth or Rag: For stubborn spots, use a cloth soaked in the solution. This allows for more targeted application on concentrated dirt.
- Broom Technique: For larger areas, dip a broom into the soapy water. Sweep the bristles across the surface, ensuring an even distribution of suds.
Rinsing and Drying
After scrubbing, rinse the area thoroughly with clean water to remove soap residues, as they can attract dirt over time. A hose with a spray nozzle works effectively but be cautious not to apply too much pressure. Once rinsed, allow the area to air dry. If possible, use a squeegee to remove excess water for quicker drying.
Employing these techniques will help achieve a pristine appearance without the need for high-powered equipment.
Natural Cleaners: DIY Solutions for Sustainable Cleaning
For an eco-conscious approach, I recommend crafting your own cleaning solutions using ingredients from your kitchen. Combining vinegar and baking soda is a fantastic method for tackling stubborn spots. Mix one cup of vinegar with a quarter cup of baking soda, and apply the paste to affected areas. Let it sit for 10-15 minutes before scrubbing with a brush.
Citrus-Infused Wonders
Citrus peels contain natural oils that effectively combat grease and grime. Collect leftover peels from oranges or lemons, steep them in white vinegar for a week, then strain. Use this mixture as a powerful multi-surface cleaner. It not only provides a refreshing scent but also acts as a disinfectant.
Castile Soap Solution

Another excellent option is Castile soap, a biodegradable soap derived from vegetable oils. Dilute a few tablespoons in a bucket of warm water to create a gentle yet potent mix for scrubbing. This soap is safe for various materials and helps dissolve dirt without harming surfaces.
Always test any solution on a small, inconspicuous area before proceeding, ensuring compatibility with your surface materials. Through these natural methods, maintaining a tidy outdoor space becomes both effective and environmentally friendly.
Dealing with Stains: Specific Methods for Common Issues
For oil stains, it’s effective to sprinkle baking soda directly onto the affected area. Let it sit for about 30 minutes, then scrub with a stiff brush and rinse with warm water. This method absorbs the oil without requiring harsh chemicals.
Rust spots can be tackled with a paste made from equal parts vinegar and baking soda. Apply this mixture to the stain, allow it to sit for 15 minutes, then scrub with a wire brush or abrasive pad before rinsing off with water.
For mildew, a solution of one part bleach to three parts water works wonders. Apply it directly onto the surface and let it sit for 10 minutes. Be sure to rinse thoroughly, as residual bleach can damage other surfaces.
Paint spills necessitate a different approach. If the paint is still wet, quickly blot it with a cloth. For dried paint, you may use a scraper gently, followed by a mixture of warm soapy water to loosen any remaining residue. A dedicated paint remover can be used for persistent stains.
Finally, if there are any organic stains like food or drink, a mixture of dish soap and vinegar can help. Combine these ingredients in a spray bottle, apply them to the stain, and scrub with a soft-bristled brush. Rinse thoroughly with water to ensure all residue is removed.
Finishing Touches: Protecting Your Porch After Cleaning

Applying a protective sealant is crucial after a thorough washing. This layer guards the surface against moisture, dirt, and UV rays. Choose a sealant compatible with your material; for wood, a wood-specific product that repels water works best. For concrete or stone, opt for a penetrating sealer that doesn’t alter the appearance.
Before application, ensure the area is entirely dry. Typically, waiting at least 24 hours after washing will suffice. Follow the manufacturer’s instructions for optimal results. Use a brush or roller for even coverage.
| Material | Recommended Sealant Type |
|---|---|
| Wood | Water-repellent wood sealant |
| Concrete | Pentrating sealer |
| Composite | Composite specific sealer |
| Tile | Tile grout sealant |
Regular maintenance mustn’t be overlooked. Sweep debris, remove stains promptly, and inspect for wear. A light scrub with mild soap every few months can maintain the appearance. Apply additional sealant periodically, depending on the climate and usage.
Incorporate mats at entry points to reduce tracked dirt. Choose materials that won’t fade or degrade in the elements, ensuring longevity and ease of upkeep.
Consider adding a porch-friendly outdoor furniture protection formula. This will prolong the life of your furniture against the elements while enhancing aesthetics. Regularly check furniture for signs of wear or damage, addressing these issues quickly to prevent deterioration.


