

To set up your high-pressure cleaning unit effectively, focus on three key steps: securing the water inlet, attaching the outlet for the cleaning agent, and ensuring the correct power supply is established. First, take the garden hose and attach it firmly to the water inlet. Verify that all connections are tight to prevent any leaks during operation.
Next, position the outlet hose that channels water to the nozzle. Ensure that this connection is also secure, as a loose fitting can cause pressure loss, reducing the efficiency of the unit. Always check for compatibility between the hose and the outlet to maintain performance.
Lastly, confirm that the power source is suitable for the unit’s specifications. Whether you are utilising an electric model or a gas-powered variant, proper voltage and fuel type are critical for optimal functionality. Conducting these steps with precision guarantees a seamless start to your cleaning tasks.
Choosing the Right Pump for Your Pressure Cleaner
Opt for a unit with a minimum flow rate of 1.5 GPM to effectively tackle tough cleaning tasks without straining the motor. Look for models that support adjustable pressure settings, as this versatility allows you to adapt to various surfaces, from delicate paintwork to sturdy concrete.
Consider the construction material; brass and stainless steel components typically offer enhanced durability compared to plastic. This means they are less likely to corrode or degrade over time, extending the lifetime of your machinery.
The horsepower rating is another critical aspect. A motor with 2.5 HP or more will provide sufficient power for heavy-duty applications, ensuring a robust performance when you need it the most.
Ensure compatibility with your existing equipment. Not all motors fit every configuration; verify connector sizes and thread types to prevent last-minute modifications that can disrupt your workflow.
Watch for warranties and customer service policies. A strong warranty suggests the manufacturer’s confidence in their product’s longevity, while responsive customer support can be invaluable if issues arise.
Finally, assess user reviews and expert opinions. Real-world experiences often highlight performance aspects not covered in specifications, guiding you towards a more informed decision.
Tools Required for Attaching the Pump
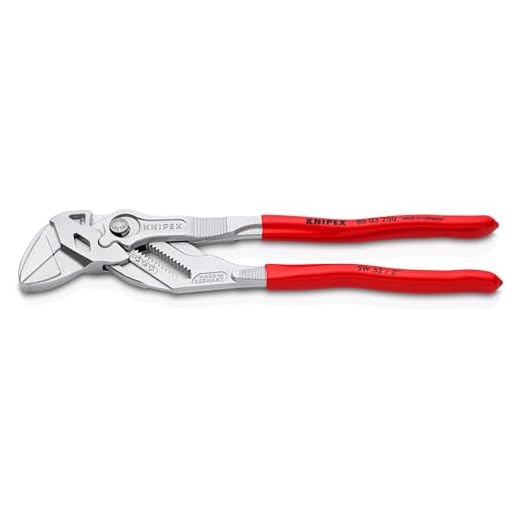
Begin with a basic toolset including a socket wrench set to handle various bolt sizes. An adjustable spanner is also useful for securing pipe fittings tightly.
Additional Essentials
Consider a screwdriver set, both flat-head and Phillips, to manage any panel or cover screws. Having pliers or vice grips on hand can assist in tightening or loosening stubborn fittings, particularly in tight spaces.
A calibrated torque wrench ensures that connections are made to the manufacturer’s specifications, preventing any leaks or damage during operation. Don’t forget a utility knife for removing packaging or old seals.
Safety Equipment
Goggles and gloves should be worn to protect against debris and sharp edges. A pair of sturdy shoes can provide additional safety while working in potentially hazardous conditions.
In any assembly, having a clean workspace and proper lighting can greatly improve efficiency and safety. Being organised with your tools allows for a smoother setup and minimizes frustration.
Preparing the Equipment Before Installation
Ensure that the unit is placed on a stable, flat surface to prevent movement during operation. Check for any residual water or debris in the system, as this can affect performance. Prior to installation, carefully inspect all components for any signs of wear or damage, especially the seals and connectors, which should be in optimal condition to guarantee a tight fit.
Gather Necessary Materials
Before proceeding, assemble all necessary parts such as hoses, fittings, and any seals required for a reliable attachment. Having everything on hand streamlines the process, eliminating interruptions. Lay out the components in an organised manner for easy access.
Review Manufacturer Instructions

Consult the manual for specifics regarding assembly, as different models may have particular requirements. This document contains crucial information regarding torque specifications and recommended assembly order. Familiarising yourself with these details increases the likelihood of a smooth setup.
Double-check that the inlet filter is clean and positioned correctly. A clogged filter can hinder water flow and lead to operational issues. It’s advisable to flush the water system briefly to remove any debris that may have accumulated.
Finally, ensure the connections to the water supply are secure. Test for leaks before engaging the device in full operation. This step helps prevent any potential issues that could arise during usage, providing peace of mind for future cleaning tasks.
Steps to Attach the Pump to the Motor
Ensure both the motor and the water delivery unit are properly aligned before proceeding with the assembly. Follow these steps:
- Positioning: Place the motor on a stable surface, making sure that the mounting holes are accessible.
- Align Driveshaft: Rotate the motor’s output shaft until its alignment matches that of the unit. A precise fit prevents unnecessary strain and wear.
- Secure the Mounting Brackets: Attach the brackets to the base of the motor and the housing of the cleaning apparatus. Use the appropriate bolts and ensure they are tightened securely.
- Connect the Drive Belt: If applicable, position the drive belt over the pulleys. Adjust the tension according to the manufacturer’s specifications to maintain optimal performance.
- Check Alignment: After securing the components, manually rotate the driveshaft to confirm everything spins smoothly without obstructions.
- Seal All Connections: Apply sealing compound to any joints to prevent leaks during operation. Ensure that any gaskets are correctly placed.
- Final Inspection: Inspect all connections and components thoroughly before powering on. Look for any signs of loose fittings or misalignment.
By following these steps, you will ensure a reliable and long-lasting connection between the motor and the cleaning device.
Connecting High-Pressure Hoses and Fittings
Begin with selecting hoses designed specifically for high-pressure applications. Ensure that the diameter matches your system’s outlet; typically, this would be either 1/4 inch or 3/8 inch. Inspect the length of the hose to prevent unnecessary bends which could restrict water flow.
When fitting hoses, utilize quality couplings to avoid leaks. These should be compatible with both the hose and the apparatus. Pay close attention to the threading; clean the threads thoroughly before assembly to ensure an airtight seal. A pipe thread tape can be beneficial here, providing extra security against leaks.
Attach the hose to the outlet port on the motor securely, turning it clockwise until you feel resistance. Take care not to overtighten, as this can damage the threads. Similarly, connect the other end to the spray gun or accessory, ensuring that all connections are tight and leak-free.
After assembling the fittings, perform a pre-use inspection. Before operation, turn on the system briefly to check for any leaks at the connections. If any water escapes, re-tighten the fittings or replace faulty parts as necessary.
Throughout this process, keep in mind the manufacturer’s recommendations regarding compatibility and pressure ratings. Each component must withstand the system’s output to function safely and effectively.
Setting up the water supply for the pump
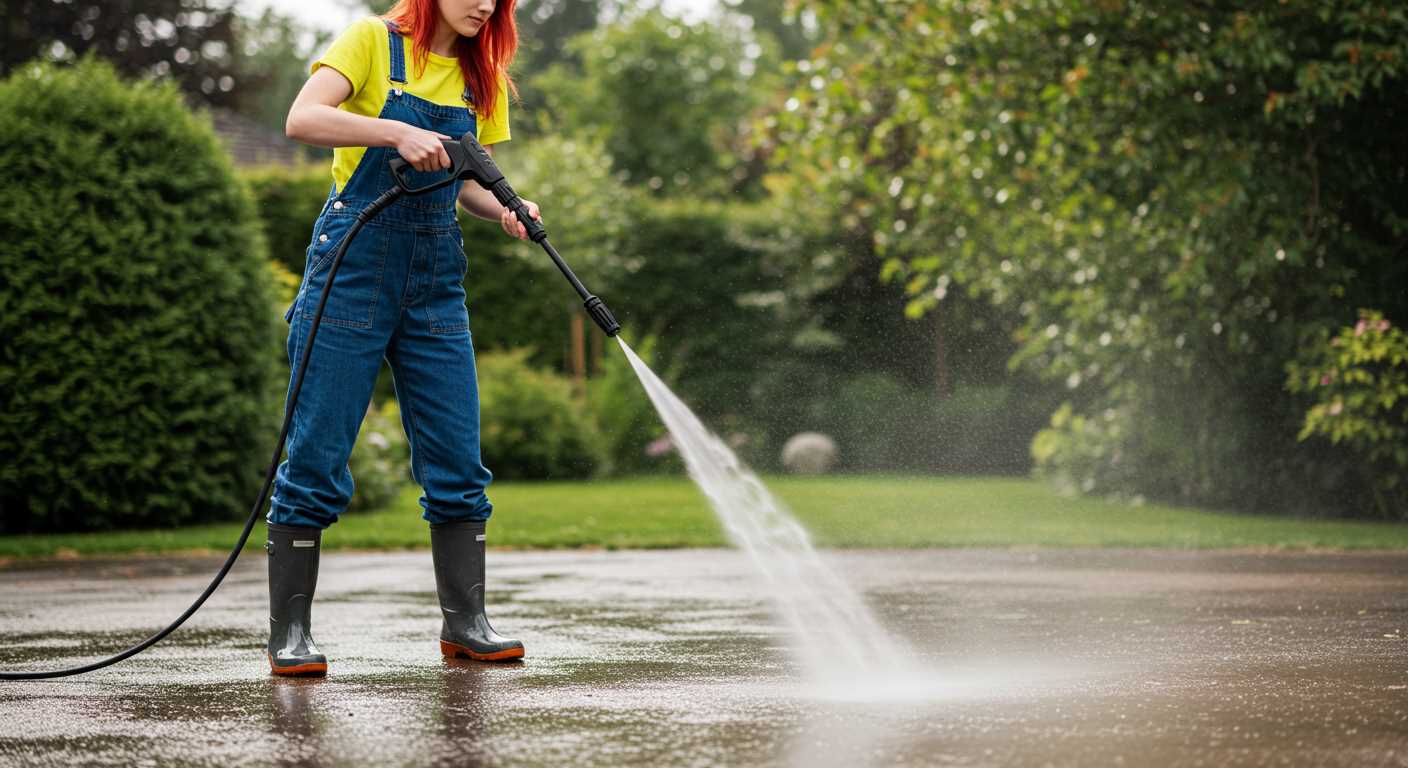
Ensure fresh water flows freely before operation. Use a suitable hose, ensuring no leaks or blockages. I recommend using a hose with a diameter of at least ¾ inch to facilitate adequate water flow.
Check that the water source can supply a minimum of 5-10 litres per minute. For optimal performance, a pressure of at least 20 PSI is preferable. Use a flow rate meter if needed to verify this.
Position the inlet of the pump at least 2 feet above the water source to maintain a consistent supply and avoid air locks. This height helps in maintaining a steady flow and enhances performance.
Always employ a strainer on the inlet side to filter out debris. A simple mesh filter will suffice, preventing any particles from entering the machine and causing damage.
Verify that all connections are watertight. Applying Teflon tape on threaded fittings can help ensure a tight seal, reducing the risk of leaks during operation.
| Tip | Description |
|---|---|
| Hose Size | ¾ inch diameter minimum for optimal flow. |
| Water Flow Rate | 5-10 litres per minute recommended. |
| Inlet Height | Position at least 2 feet above the water source. |
| Use of Strainer | Employ a mesh filter to remove debris. |
| Connection Sealing | Use Teflon tape on threaded fittings to prevent leaks. |
Finally, before starting, run water through the hose to purge any air. A smooth, uninterrupted water supply will ensure smooth operation while reducing risks, ensuring reliability during usage.
Testing the Connection for Leaks and Functionality
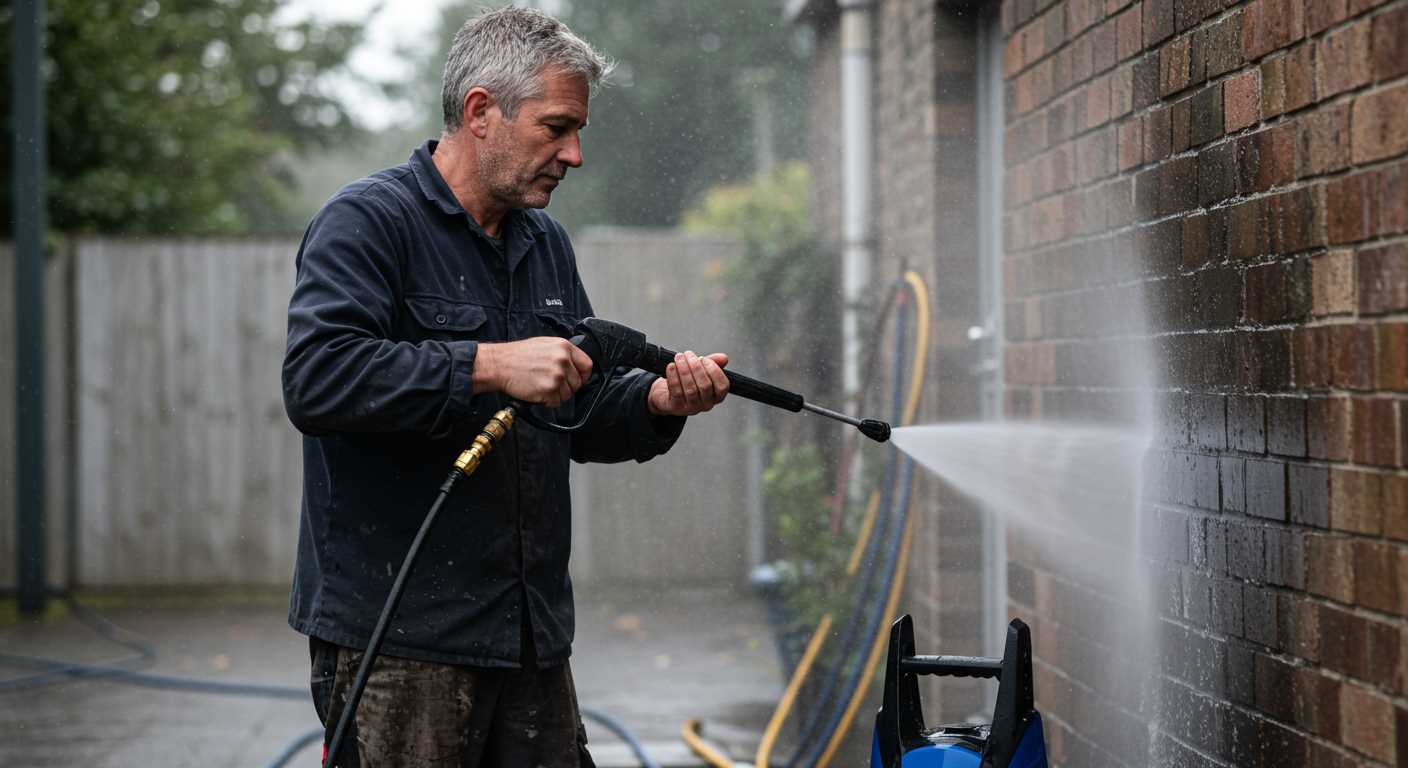
After establishing the assembly between the motor and the water transfer mechanism, it’s crucial to verify the integrity of the setup. Begin by inspecting all connections–ensure they are tightened adequately, but avoid overtightening to prevent damage to the fittings.
Fill the water supply tank, ensuring there are no obstructions in the inlet. Next, turn on the water source and allow it to run for a minute to prime everything. Check for leaks at every connection point; look for dripping water or moisture accumulation. If you notice any leaks, shut everything down and re-tighten the joints as necessary.
Functionality Check
Once leak checks are complete, switch on the motor. Monitor the operation closely. Listen for irregular sounds that may indicate improper assembly or malfunction. If the device produces uneven pressure or lacks the power expected, shut down immediately. Examine all fittings, hoses, and the motor itself for any signs of distress. Rectifying minor issues at this stage can prevent more extensive damage later on.
Finally, let the unit run for a brief period while observing the water flow. A steady, strong stream without interruptions indicates a successful installation. If the output varies wildly, inspect the water intake and confirm the seals are intact. This meticulous process ensures not only operation but longevity of the equipment.
Maintenance Tips for Your High-Pressure Equipment
Regular maintenance is crucial to extend the lifespan of your high-pressure apparatus. Here are specific actions to keep it functioning optimally:
Routine Inspection
- Check for any signs of wear or damage on fittings and hoses.
- Inspect seals and gaskets for leaks or cracks.
- Ensure the motor operates soundly without unusual noises or vibrations.
Cleaning Protocol
- Flush the system with clean water after each use to remove debris and contaminants.
- Clean the inlet filter regularly to maintain adequate water flow.
- Use appropriate detergents and avoid harsh chemicals that may corrode internal parts.
Pay attention to the oil levels if your system requires lubrication. Regularly change the oil as per the manufacturer’s recommendations to promote smooth operation.
Storage Tips
- Store the equipment in a dry environment to prevent rust and corrosion.
- Disconnect all hoses and fittings to avoid pressure buildup inside the system.
- Consider using a protective cover to shield from dust and debris while stored.
Every few months, test all safety features. Reset or replace parts as necessary to ensure safe operation. A careful approach to upkeep will pay dividends in performance and reliability.
FAQ:
What tools do I need to connect a pressure washer pump?
To connect a pressure washer pump, you’ll need a few essential tools. Primarily, a socket wrench set will help you tighten or loosen any bolts. You may also require a screwdriver, depending on the type of connectors involved. Additionally, having a pipe wrench can be beneficial for securing the hose fittings. Lastly, ensure that you have Teflon tape or thread sealant to prevent leaks when attaching hoses.
Can I connect a new pump to an old pressure washer without any issues?
Connecting a new pump to an old pressure washer can be feasible, but there are some factors to consider. First, ensure that the specifications of the new pump match those of the old pressure washer, particularly regarding PSI and GPM ratings. Check compatibility with the current motor and frame. You might need to adjust the mounting brackets to fit the new pump. Additionally, inspect the hoses for wear and replace them if necessary to ensure optimal performance. If everything matches up, the connection should be straightforward, allowing you to enjoy a functioning pressure washer once again.


