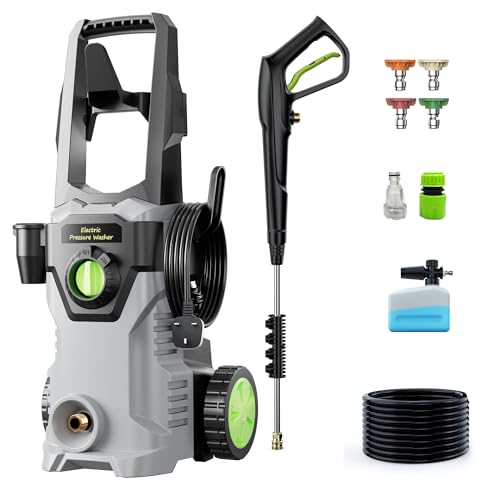
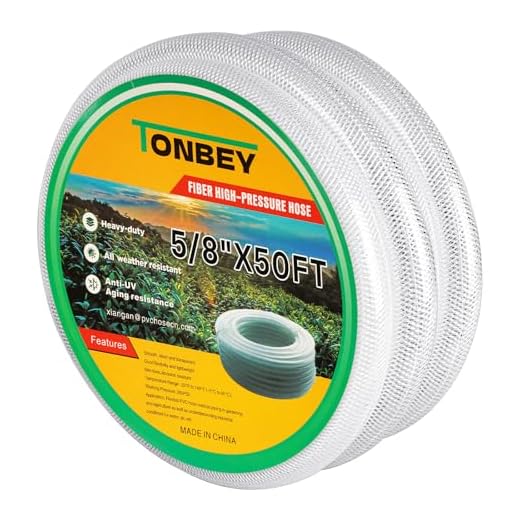

For optimal performance, utilize a garden hose with a diameter of at least 3/4 inch to facilitate water flow from your storage unit. Ensure that the hose is rated for high-pressure applications to withstand the demands of your cleaning equipment.
Attach a suitable adapter to the inlet of your device, allowing for a secure fit. Many outdoor fittings require a quick-connect mechanism, which simplifies the process and ensures a tight seal, preventing any leaks during operation.
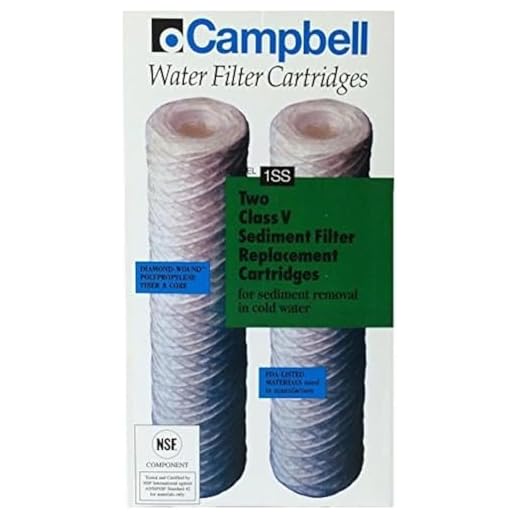
Consider incorporating a filter at the entry point of the water line. This keeps sediments and debris from reaching your equipment, extending its lifespan and maintaining cleaning efficacy. Regularly check and clean the filter to avoid clogs and reduce pressure loss.
Finally, ensure the tank has sufficient capacity. A minimum of 50 gallons is recommended for extended use, allowing for uninterrupted cleansing of larger areas without constant refills. If using a smaller unit, plan your tasks carefully to manage water supply effectively.
Choosing the Right Reservoir for Your Cleaning Equipment
Selecting an appropriate reservoir is critical for optimising performance. I recommend considering size, material, and compatibility with your equipment. A larger capacity is beneficial for extended cleaning sessions, while materials like polyethylene and fibreglass offer durability and resistance to corrosion.
Size Considerations
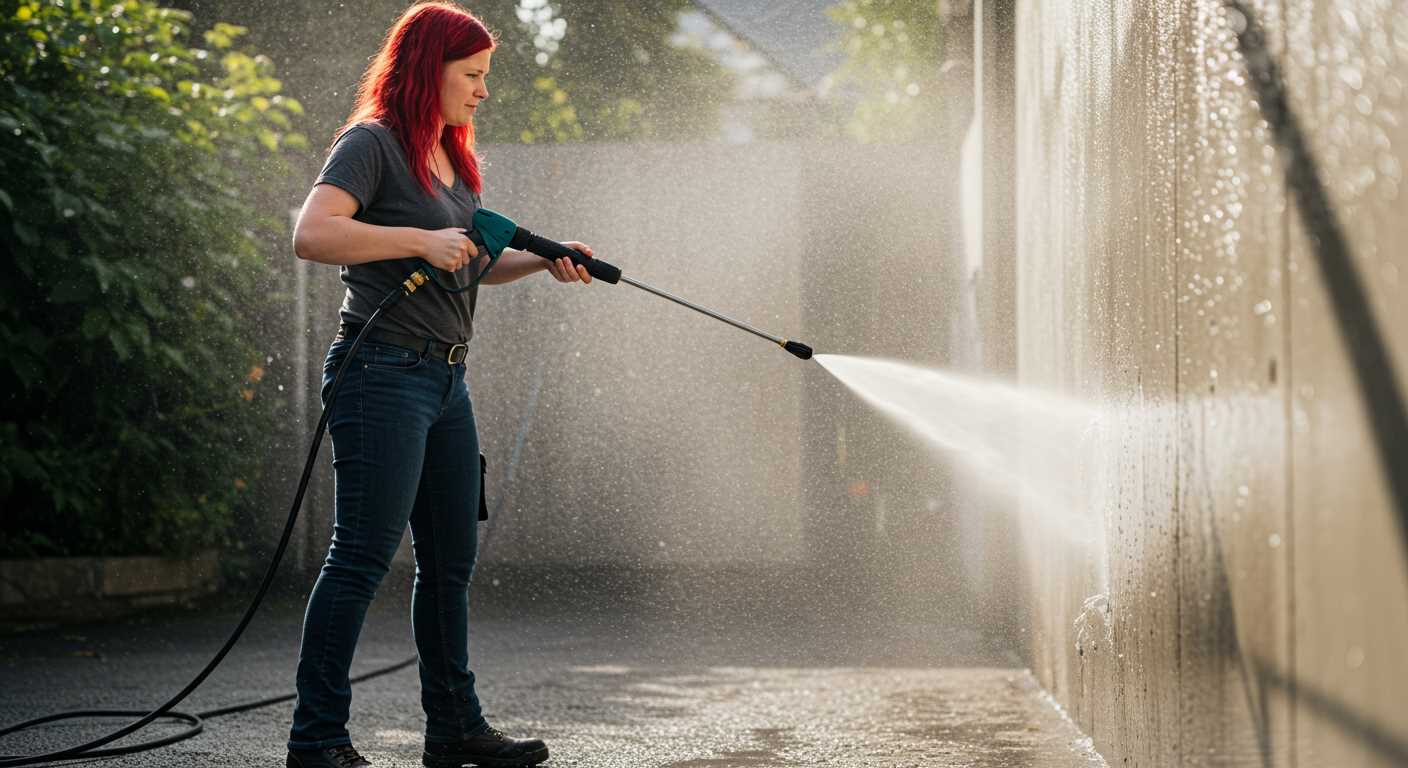
Allocate sufficient space for your reservoir to ensure a steady supply during operation. For residential use, a 250-500 litre container typically suffices. For commercial applications, consider options starting from 1000 litres. Assess your cleaning frequency and area size to determine the best fit.
Material Selection
Material influences longevity and maintenance. Polyethylene is lightweight and resistant to impact, making it ideal for mobility. Fibreglass provides excellent strength and thermal resistance but may require careful handling. Stainless steel is another option, particularly for harsh environments, though it can be pricier.
| Feature | Polyethylene | Fibreglass | Stainless Steel |
|---|---|---|---|
| Weight | Lightweight | Moderate | Heavy |
| Corrosion Resistance | Good | Excellent | Very Good |
| Durability | Flexible | Rigid | Very Sturdy |
| Cost | Economical | Moderate | High |
Lastly, ensure that your chosen reservoir includes appropriate fittings compatible with your apparatus. This will not only ensure optimal performance but also minimise wear and tear on both the reservoir and your device.
Required fittings and hoses for connection
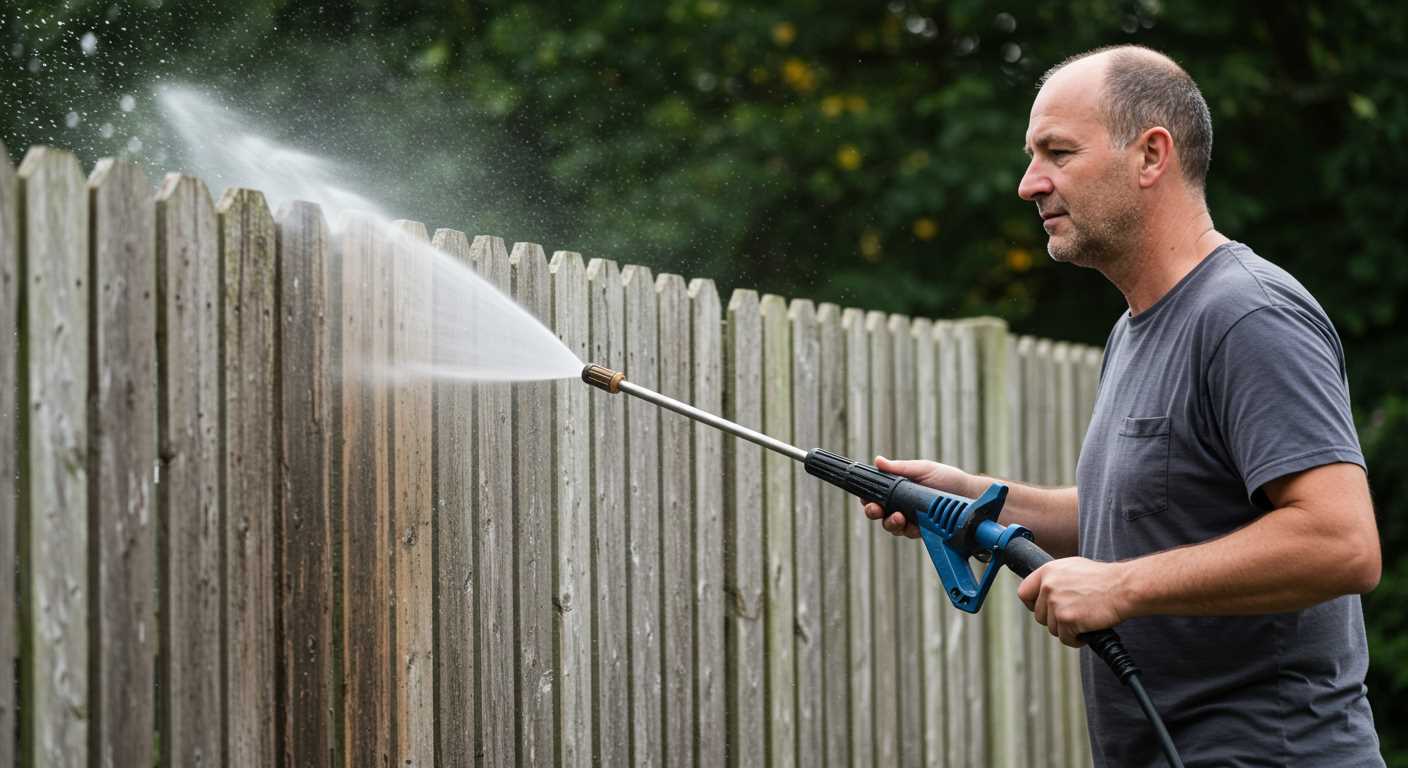
For an optimal setup, selecting the appropriate fittings and hoses is paramount. The components you need include:
Hoses
- High-pressure hose: Typically ranges from 10 to 30 meters in length. Ensure the pressure rating matches that of your device, generally around 200 to 300 bar.
- Suction hose: Ideal for drawing water from a reservoir. Look for one with a diameter around 3/4 inch (19 mm) to ensure adequate flow.
Fittings
- Adapters: Necessary to connect hoses of different diameters. A compatible adaptor between the suction hose and the inlet of your cleaning unit is essential.
- Quick-connect fittings: Facilitate fast attachment and detachment of hoses, saving time during setup.
- Filters: Incorporate a strainer in your suction line to prevent debris from clogging the system.
When selecting these accessories, ensure materials are durable, ideally rubber or PVC for hoses and brass for fittings. Always verify that all components are compatible with each other to maintain system efficiency and prevent leaks.
Setting up the water intake suction system
Ensure the tank is positioned below the pump, allowing for gravity to assist in the flow of liquid. This reduces strain on any equipment used. Use a robust, clear hose to provide visibility of clogs or obstructions.
A filter is non-negotiable; it prevents debris from entering the machinery and causing damage. Common filters can be attached directly at the hose entrance, simplifying maintenance. Choose one with a mesh size suitable for your application, typically 100 to 200 microns.
Consider a footvalve installed at the end of the suction hose. This type of valve prevents backflow, preserving the prime within the hose and ensuring immediate operation when needed. Verify compatibility with your hose size to prevent leaks.
Utilise a one-way valve if your setup involves multiple sources. This aids in directing the flow into the pump without unwanted reverse currents. Opt for valves with high flow rates to ensure efficiency.
Secure all fittings tightly to eliminate potential leaks. Regular inspections are vital; I recommend checking connections for wear or corrosion to maintain optimal performance.
For longer distances, use a hose with a larger diameter to minimise pressure loss. This adjustment may require recalibration of the unit to ensure it operates within its designed parameters.
After assembly, prime the system. Fill the hose with liquid, ensuring it’s free of air before starting the equipment. This step guarantees optimal functionality from the get-go.
Ensuring Adequate Flow and Pressure
For optimal performance, maintaining sufficient flow and pressure is non-negotiable. Begin by verifying the specifications of your cleaning unit regarding the necessary gallons per minute (GPM) and psi. Install a flow meter to monitor the intake, ensuring it meets these demands.
Using a Sufficiently Sized Reservoir
Select a reservoir that can handle the volume of liquid required for prolonged usage. A smaller reservoir may lead to frequent interruptions, as the pump may not consistently draw enough fluid. Aim for a tank size that allows for at least a few hours of continuous operation to avoid downtime.
Checking for Restrictions
Inspect hoses and fittings for blockages or kinks that could impede fluid movement. Ensure the diameter of the hoses is compatible with the inlet specifications of the equipment. Using wider hoses can assist in reducing friction loss, improving flow rates significantly. Regular cleaning and replacement of any worn elements will maintain optimal distribution.
Troubleshooting common connection issues
If there’s no suction, ensure that the intake hose is fully submerged in the liquid reservoir. An incorrect position may lead to air intake, disrupting the draw. Check for any leaks in the hose or fittings that might cause a loss of pressure.
Inconsistent flow often results from a clogged filter. Regularly clean or replace filters to maintain optimal performance. Additionally, inspect hose kinks or blockages that can impede the fluid flow.
If your setup draws air, verify the integrity of all connections. Gaskets and seals wearing down can allow air to enter the system. Replacing these components is a straightforward solution.
When you face difficulty in achieving the desired pressure, assess the diameter and length of the hoses. Using longer or narrower hoses can result in reduced performance. Employ short, appropriately sized hoses for optimal output.
Unusual noise during operation may indicate a problem. The pump could be struggling due to insufficient water intake. Again, confirming the hose position and checking for blockages can resolve this issue.
Should the equipment shut down unexpectedly, confirm that the fluid source is not empty. A low-level shut-off mechanism could be implemented to protect the pump from damage. If the solution isn’t evident, consult the user manual for troubleshooting guidelines specific to your model.
Maintenance tips for long-term use with a water source
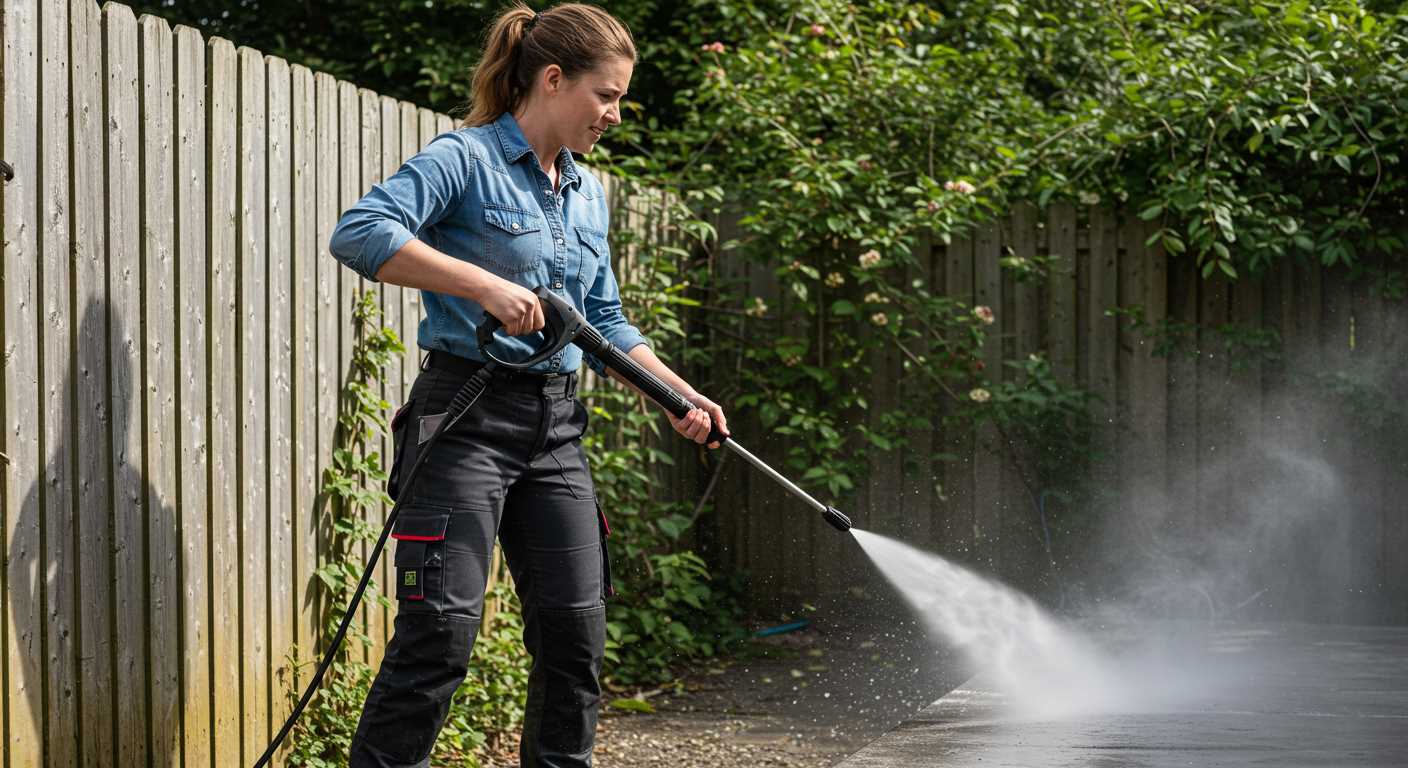
To prolong the lifespan of your cleaning equipment while utilising an external supply, check filters regularly for debris. Clogged filters restrict flow and can damage internal components. Clean or replace them as needed to ensure optimal performance.
Inspect hoses and fittings
Regularly examine hoses for wear or leaks. Any signs of damage should be addressed immediately to prevent further issues. Ensure fittings are tight but not over-torqued; excessive force can lead to cracks, compromising the seal.
Monitor for sediment accumulation
In environments where sediment levels are high, consider installing a sediment filter on the intake. This preventive measure can help protect your device from particulate damage. Regularly flush the system to remove buildup, which could otherwise lead to clogs or reduced efficacy.
Store your equipment in a dry, temperate area to avoid corrosion. If the temperature drops below freezing, ensure all residual liquid is drained to prevent expansion and potential damage.
Keep an eye on the performance of your system. If you notice a drop in efficacy, it might be time to check the supply line. If flow or pressure diminishes, investigate possible sources of restriction or malfunctions.
Following these guidelines will significantly enhance the longevity and effectiveness of your cleaning gear. A little attention to detail can prevent major disruptions down the line.
FAQ:
What do I need to connect a pressure washer to a water tank?
To connect a pressure washer to a water tank, you will require a few essential items: a garden hose long enough to reach from the tank to the washer, a pressure washer adapter or connector that fits your specific model, and appropriate fittings to secure the connections. Additionally, ensure that the water tank is sufficiently filled to provide adequate water flow. If your tank doesn’t allow gravity feed, a pump may be necessary to supply water to the pressure washer.
Can I use a pressure washer directly with a rainwater tank?
Yes, you can use a pressure washer with a rainwater tank, but you must ensure that the water from the tank is clean and free of debris. It’s advisable to use a filter to prevent any solid particles from clogging the pressure washer. Using water from a rainwater tank could be an environmentally friendly choice, but always remember to check local regulations regarding the use of harvested rainwater for such purposes.
What should I consider to ensure my pressure washer operates efficiently with a water tank?
To ensure optimal performance of your pressure washer with a water tank, consider the following factors: First, check the water flow rate — pressure washers typically require a certain minimum flow rate to function effectively. Second, confirm that the pressure washer is compatible with the water supply method from your tank, whether it be gravity feed or through a pump. Lastly, inspect for any leaks in the hoses and fittings, as they can significantly affect pressure and performance. Regular maintenance of both the washer and the water source will also contribute to longer-lasting equipment and consistent operation.


