

I recommend using an appropriate foaming agent specifically designed for these high-efficiency appliances. Look for a product that is compatible with your model to avoid any potential damage. Read the user manual thoroughly to confirm material compatibility and guidelines for usage.
Begin by attaching the detergent tank or foam cannon to the specified input on the unit. Ensure it’s securely fastened to prevent leaks during operation. These attachments often come with their own sets of instructions detailing the correct way to fit them, providing an added layer of convenience.
Next, dilute the cleaning solution as advised on its packaging before pouring it into the reservoir. Concentrated mixtures can produce excessive foaming, which may disrupt the cleaning process. Adjust settings on the appliance to regulate the mixture release, ensuring a balanced flow during use.
After preparation, initiate the appliance at low pressure to test the flow of the solution. This precaution helps prevent any blockages or excess splatter from occurring. Gradually increase the pressure for optimal performance while remaining mindful of the surface you are cleaning to avoid potential damage.
Connecting Cleaning Solution to Your Appliance
Locate the container specifically designed for liquid cleaner, usually situated on the side or rear of your unit. Once identified, fill it with the appropriate type of cleaning agent, ensuring it matches the requirements of the task at hand.
Secure the lid tightly once filled to prevent any leaks during operation. It’s advisable to consult the user manual for any specific mixing instructions, especially regarding dilution ratios.
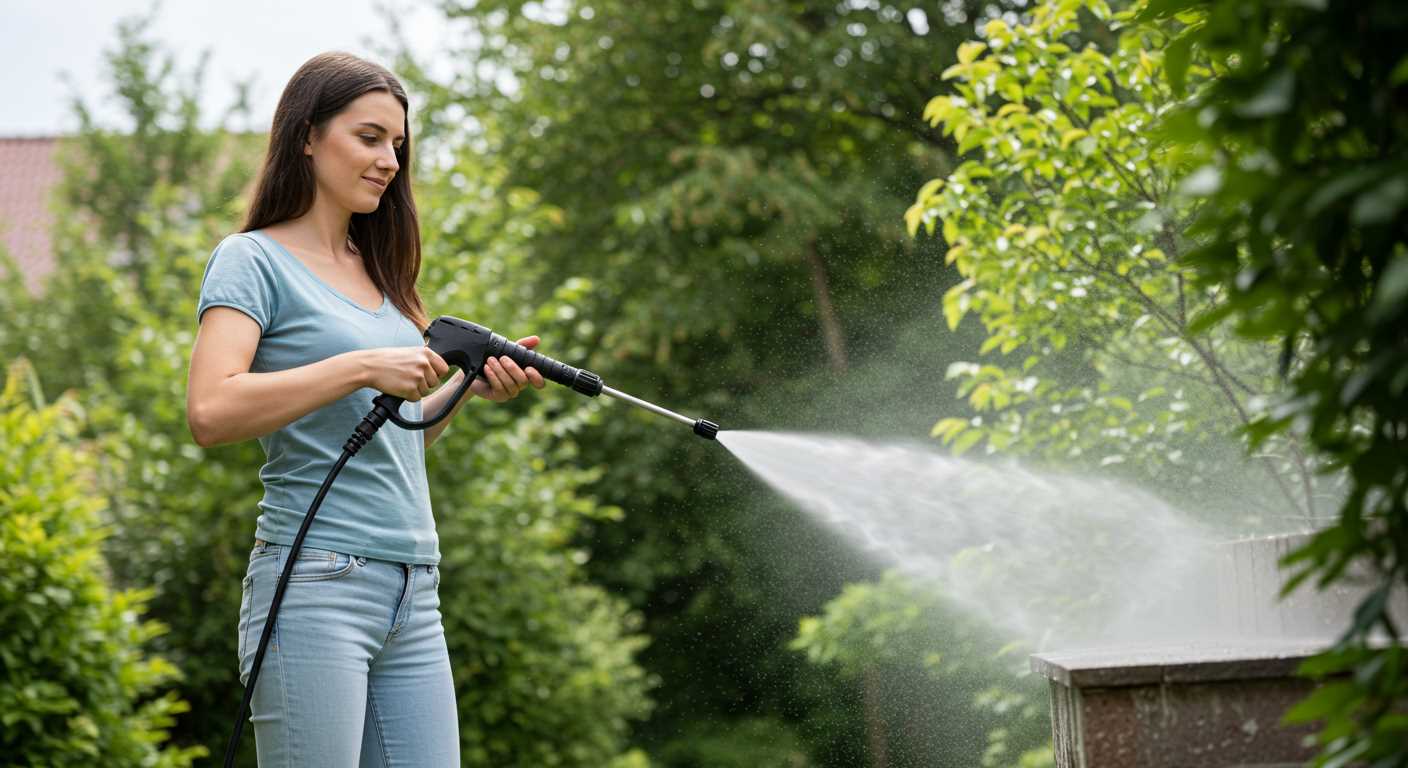
After preparation, I recommend adjusting the nozzle to a lower pressure setting to enhance the distribution of the solution across the surface being treated. Begin applying the mixture from the bottom and work upwards to maximise effectiveness.
On completion, rinse the area thoroughly with clean water to eliminate any residue. A final check of the container and nozzle post-use ensures no leftover solution interferes with future cleanings.
Choosing the Right Cleaning Solution for Your Equipment
Select a cleaning solution based on the surface and the type of grime you’re dealing with. Most often, you’ll encounter three categories of formulations:
- Detergents for Heavy-Duty Cleaning: Ideal for tasks like removing grease, oil, or stubborn dirt from driveways and pavements. Look for industrial-strength products compatible with your device.
- Eco-Friendly Options: These compositions are perfect for users who prefer environmentally safe products. They usually contain biodegradable ingredients and are effective at dealing with stains while being gentle on delicate surfaces.
- Specialty Solutions: Formulations designed for specific applications, such as car washes or patio cleaners. If you’re targeting a niche area, this type tends to yield better results.
Compatibility and Concentration

Check that the cleaning agent is compatible with your machine’s model. Always assess the concentration; concentrated products may require dilution, while ready-to-use solutions are straightforward. The latter typically saves time but ensure you follow the manufacturer’s dilution instructions if needed.
Test Before Use
It’s wise to test a small area before applying the solution extensively. This practice helps prevent any potential damage to surfaces or finishes due to the chemical reaction. Pay attention to reaction times and follow up with rinsing if necessary.
Locating the Detergent Tank on Your Karcher Model
Your first step is identifying the specific model of your cleaning equipment, as the location of the solution reservoir can vary. Most often, the tank is found on the rear or side of the unit. Check the user manual for model specifications if you are uncertain.
Common Locations by Model
- K2 Series: The tank is integrated into the body, typically on the side.
- K3 to K5 Series: Look for a removable tank at the base, making refills straightforward.
- K7 Series: This model usually features a larger, detachable reservoir on the front side.
Make sure the tank is securely attached before loading any cleaning solution. A loose connection can lead to leaks or inefficient performance. Also, keep an eye out for indicators on the tank that show fill levels, enabling you to monitor usage.
Testing the Setup
After locating and filling your tank, power on the device and activate the nozzle to ensure that the mixture is dispensing correctly. Adjust the settings as needed for optimal cleaning results.
Preparing the Solution for Use
Mix the cleaning agent according to the manufacturer’s specifications on the label. Usually, this involves diluting the product with water in a precise ratio; a common mix is 1 part cleaner to 10 parts water, but verify the instructions to ensure optimal results.
Using the Right Equipment
For effective mixing, use a clean container. Ensure the container is capable of holding the total volume of the mixture. Avoid using any previously contaminated vessels, as residues can impact the cleaning efficiency.
Storage and Safety
Once prepared, if you don’t use the solution immediately, store it in a cool, dry place out of direct sunlight. Properly label the container, and make sure it’s out of reach of children or pets. Always wear protective gloves and eyewear when handling concentrated cleaners.
Test the solution on a small, inconspicuous area first to ensure compatibility with surfaces. This step helps avoid any adverse reactions.
Connecting the Detergent Hose Correctly
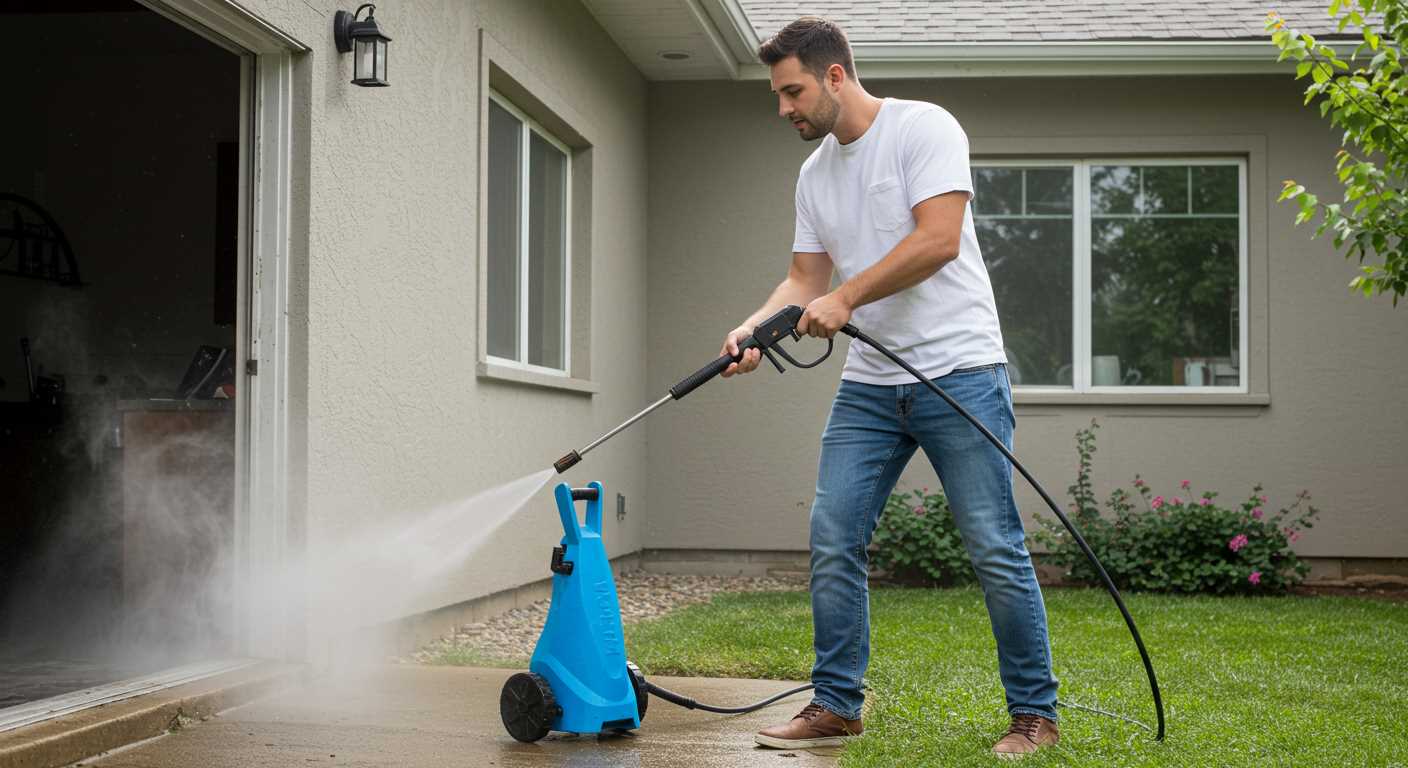
To achieve optimal results, ensure the connector of the soap delivery line fits snugly on the designated inlet of your cleaning unit. This connection typically requires a straightforward push and twist motion to secure it properly. Verify there are no gaps or misalignments which could lead to leakage.
Steps to Ensure a Secure Fit
1. Inspect the seal: Before attaching, check the rubber seal on the hose for any damage or debris. A compromised seal can hinder effective operation.
2. Align the hose: Place the connector aligned with the inlet, ensuring it is straight to prevent cross-threading.
3. Apply slight pressure: Once aligned, insert the hose gently while twisting to facilitate a tighter grip. Avoid excessive force, which could cause damage.
Testing the Connection
After securing the line, turn on the apparatus briefly to test for leaks. Observe the connection point for any signs of dripping or escaping solution, indicating a need for reinsertion. This verification step ensures that the system is potentially ready for your tasks.
Adjusting the Pressure Washer Settings for Detergent Application
Set the nozzle to a low-pressure mode if your unit allows it. This is critical, as higher pressure can cause the cleaning solution to be dispensed improperly, resulting in ineffective application. Use a fan or wide spray setting to ensure even coverage without disturbing surfaces too much.
Inspect the soap setting on your machine, often denoted by a specific dial or switch. Ensure it is activated to facilitate the flow of the cleaning solution. Some models may require you to switch from “high pressure” to “low pressure” to release the cleaning solution correctly.
Calibrate the flow rate if your machine features adjustable output. Reducing the flow can enhance the detergent’s dwell time on surfaces, allowing for better penetration of dirt and stains.
Monitor the output while you work. If you notice that the solution is not being released effectively, check the settings again. You might need to adjust the nozzle or revisit the soap setting.
After you complete the application, return to a high-pressure setting for rinsing. This ensures that all residues from the cleaning solution are thoroughly washed away, leaving surfaces spotless.
Cleaning the Detergent System After Use
After applying the cleaning solution, I always recommend flushing the entire system. This step prevents residue build-up that could hinder performance or damage components. Begin by filling the tank with clean water. Run the equipment at low pressure for several minutes, ensuring that all remnants of the solution are expelled. Make sure to hold the gun away from surfaces to avoid unwanted spraying.
It’s also wise to detach the suction tube from the tank and clean it with warm, soapy water. Rinse thoroughly and reconnect once dry. For models with a dedicated detergent injector, consider following this up with a vinegar rinse; it effectively dissolves any lingering soap deposits and helps maintain the injector’s longevity.
Lastly, check filters for any blockages. Regular maintenance of these components ensures consistent operation during your next cleaning task.
| Step | Action |
|---|---|
| 1 | Fill the tank with clean water. |
| 2 | Run the machine at low pressure for several minutes. |
| 3 | Detachable suction tube should be cleaned with warm, soapy water. |
| 4 | For thorough cleaning, use a vinegar rinse. |
| 5 | Check filters for blockages. |
Troubleshooting common detergent connection issues
Inconsistent chemical flow often stems from a clogged siphon hose. First, detach and inspect the hose for blockages. A thorough rinse can typically resolve minor obstructions.
When facing weak suds, ensure the solution is sufficiently diluted. Using a concentrated formula might impede proper mixing. Follow the manufacturer’s guidelines on dilution ratios for optimal results.
If no soap is drawing from the container, examine the pick-up filter. A clogged filter can prevent proper suction. Remove the filter, clean it under warm water, and reattach it securely.
Verify the settings on the unit. The detergent application mode must be activated for proper flow. If the detergent feature isn’t engaging, confirm that the correct nozzle is in use, as not all nozzles are designed for chemical application.
Persistent air bubbles in the line signal an improper seal. Check all connections and ensure the hose is properly affixed to prevent air from entering the system.
If there is leakage, inspect all seals and hoses for cracks or wear. Damaged components must be replaced to maintain an airtight system.
Should issues persist, consult the user manual specific to your equipment model for tailored troubleshooting steps. If necessary, contact customer service for detailed support.


