
To achieve optimal foam coverage while washing your vehicle or home, it is essential to use a foam lance compatible with your cleaning unit. Begin by locating the adaptor that fits your machine’s spray lance. Most electric devices come with a standard M22 fitting, so ensure you have the right attachment for a secure fit.
Once you have the appropriate adaptor, attach it firmly to the spray nozzle of your device. Next, connect the foam tank to the nozzle, making sure it is tightly secured to prevent any leaks during operation. Fill the tank with a suitable cleaning solution mixed with water according to the manufacturer’s instructions to ensure proper foaming action.
After assembling your equipment, adjust the foam lance settings if available, varying the spray pattern and thickness. Test it briefly on a small area to verify the consistency of the foam created. This method guarantees that you can effectively enhance the cleaning experience, ensuring your surfaces are treated thoroughly for optimal results.
Connecting Your Attachment to the High-Pressure Cleaner
Begin by ensuring your machine is powered off. Identify the lance or nozzle section on your device, typically at the end of the hose. Release the existing attachment by pressing the button or lever, depending on the model.
Take the new accessory and align it with the coupling of the wand on your cleaner. Insert it firmly and ensure it clicks into place, confirming a secure fit. This step is crucial to prevent any accidental disconnection during use.
Next, the detergent solution needs to be filled into the provided container or tank on the attachment. This component often includes a specific line indicating maximum capacity. Avoid overfilling, as this may cause leaks.
Once the cleaning solution is in place, find the adjustable dial or setting on the attachment that allows you to control the mix ratio. Set it according to the manufacturer’s recommendations for the best results.
Now, turn on your high-pressure machine and select the appropriate water pressure setting. It’s advisable to start with a lower pressure before gradually increasing it to avoid any damage to surfaces you plan to clean.
Lastly, test the spray pattern by activating the trigger. Adjust as necessary to achieve an even and consistent coverage. Always remember to follow the safety guidelines provided in the user manual throughout the process.
- Power off the device before attachment.
- Release the previous nozzle.
- Securely attach the new accessory.
- Fill the solution tank carefully.
- Adjust the mix ratio dial for optimal performance.
- Start with a lower pressure setting.
- Test the spray pattern and adjust accordingly.
Check Compatibility of Foam Apparatus with Karcher Models
Start by verifying the model of your cleaning unit. Not all devices are designed to work seamlessly with every foam attachment. Reference your user manual or the manufacturer’s website for a compatibility chart. Various models may require specific connectors or adapters.
Recommended Models
I often recommend the K2 to K7 series as they typically pair well with most foam implements. Look for models equipped with a quick-release mechanism, which makes the attachment process more straightforward. Pay special attention to any details regarding maximum pressure ratings to avoid damaging either the unit or the foam accessory.
Aftermarket Options
Consider purchasing aftermarket foam accessories that state compatibility with Karcher models explicitly. Many brands craft devices designed to match or exceed the performance of OEM products. Always review user feedback to gauge compatibility before purchasing.
Lastly, remember to check any warranty stipulations. Using non-compatible attachments might void your warranty, so it’s best to verify this information to ensure long-term use of your equipment.
Gather Necessary Tools and Materials for Connection
Before proceeding, ensure you have the following items at hand:
- Adaptor compatible with your specific cleaning device and the attachment mechanism of the foam applicator.
- Hose equipped with the appropriate fittings; this should match the specifications of both the cleaning apparatus and the attachment.
- Cleaning detergent designed for the applicator, specifically formulated for safe use on various surfaces.
- Bucket for mixing the cleaning solution if required, along with a measuring cup for precise quantities.
- Wrench or pliers to tighten connections securely while ensuring no leaks occur.
- Protective gear, including gloves and safety glasses, to safeguard against splashes or debris during operation.
Having these tools prepared will streamline the process and enhance safety while achieving optimal performance.
Locate High-Pressure Outlet on Karcher Pressure Washer
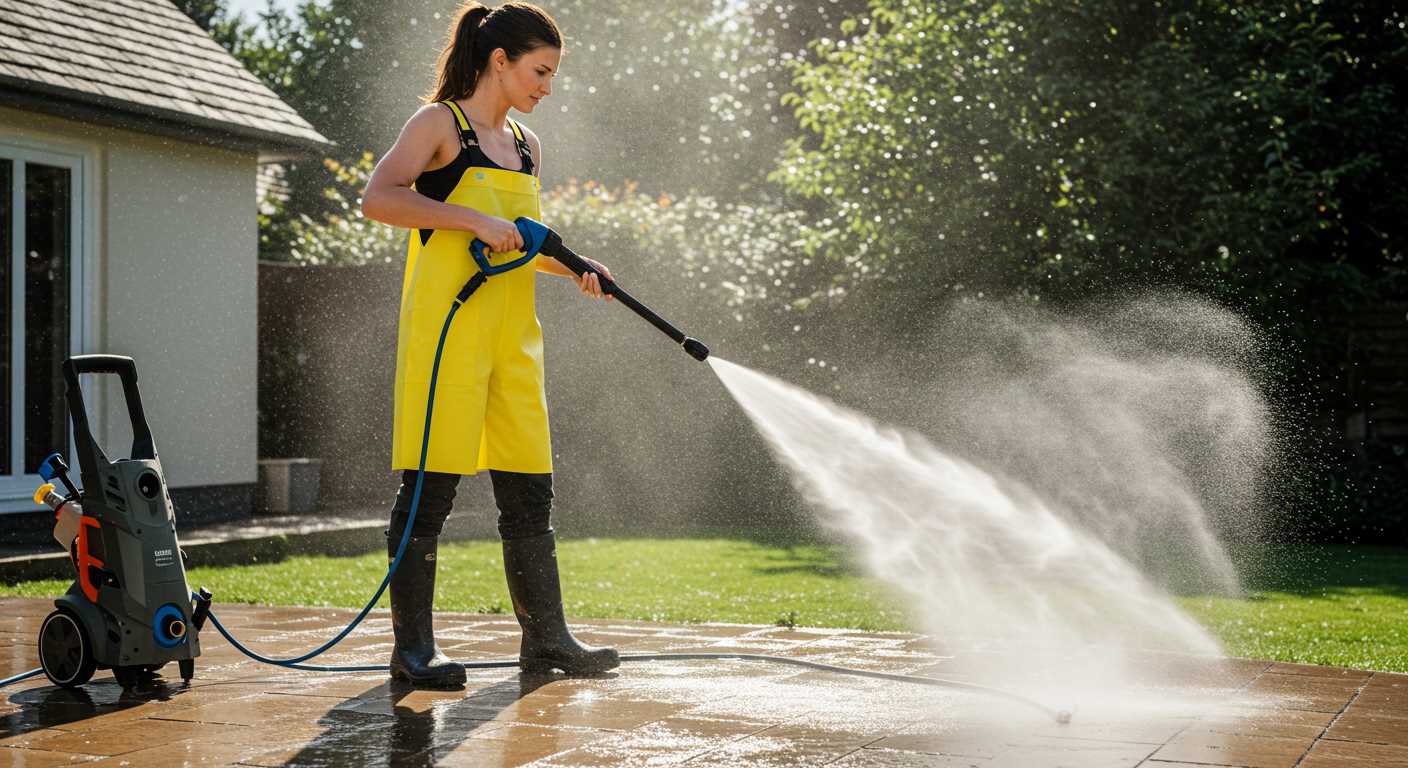
To attach your cleaning accessory, first, find the high-pressure outlet on your device. This component is typically located at the front of the unit, near the base, and is where the hose connects.
Identifying the Outlet
The outlet is usually a plastic or metal connection point, marked with clear labels, such as “High Pressure” or an image of a nozzle. Ensure that the machine is powered off and disconnected from the mains supply to avoid any accidents while locating it.
Visual Check
I recommend inspecting your machine’s user manual for diagrams or pictures that indicate the specific location of the high-pressure outlet. Familiarising yourself with your equipment will simplify the setup process and ensure a smooth experience.
Prepare Accessories for Installation
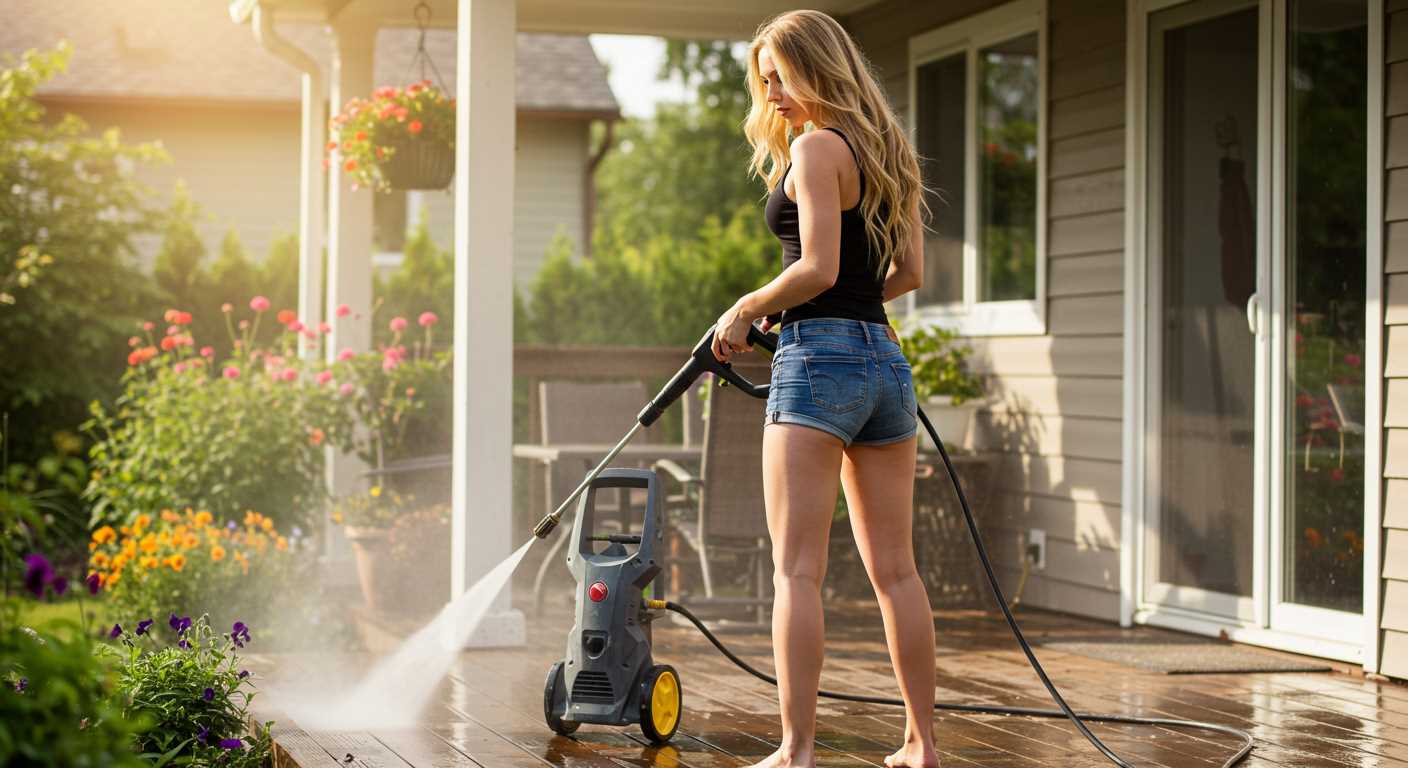
Before I proceed, it’s vital to ensure all components are ready. Start by inspecting the accessory for any visible damage or wear. This guarantees optimal performance during use. If you spot cracks or defects, replace the item instead of risking malfunction.
Check Connection Points
Next, examine the connection fitting on your cleaning machine. Make sure it is clean and free from debris. A tidy fitting allows for a secure attachment and prevents leaks or pressure loss during operation.
Read Manufacturer Instructions
Consult the product manual for specific guidance regarding assembly. Each accessory may have unique requirements for setup. Familiarising myself with these details saves time and enhances the overall experience.
Gather the necessary items such as a wrench or pliers if needed. Having tools at hand simplifies the attachment process. Ensure that the machine is switched off and unplugged while performing these checks.
Thoroughly rinsing any sealing components with water helps clear away dust or grime. Proper maintenance of sealing surfaces promotes a solid fit and prevents any unexpected mishaps. Attention to detail at this stage will contribute significantly to effective cleaning later on.
Attach Foam Apparatus to Spraying Device Without Leaks
Ensure a tight fit by using the correct adapter, as this is critical to prevent any fluid escape during operation. Check the threading on both the nozzle and the high-pressure outlet; they must match precisely. Inspect for any visible wear or damage on the seals; replace if necessary.
Before securing the attachment, apply a small amount of thread seal tape around the male threads. This additional layer aids in achieving a watertight seal, significantly reducing the chances of leaking at the junction.
Begin the installation by screwing the foam apparatus onto the high-pressure outlet. Use your hands to tighten. Avoid using tools that could over-torque the connection, as this can lead to stripping threads or damaging components. A snug fit should suffice.
Once attached, turn on the device at a low setting initially to check for leaks. If any liquid escapes, turn off and re-check the fitting for proper alignment and seal. If necessary, remove and reapply the seal tape, then reattach. This procedure guarantees that the setup functions without undesirable leaks.
| Step | Action | Notes |
|---|---|---|
| 1 | Check Compatibility | Ensure threads match. |
| 2 | Inspect Seals | Replace worn parts. |
| 3 | Apply Thread Seal Tape | Enhances leak resistance. |
| 4 | Tighten Connection | Hand-tighten only. |
| 5 | Conduct Leak Check | Test on low setting. |
This methodical approach ensures a leak-free connection, allowing for effective performance during the cleaning process.
Adjust Pressure Settings for Optimal Foam Delivery
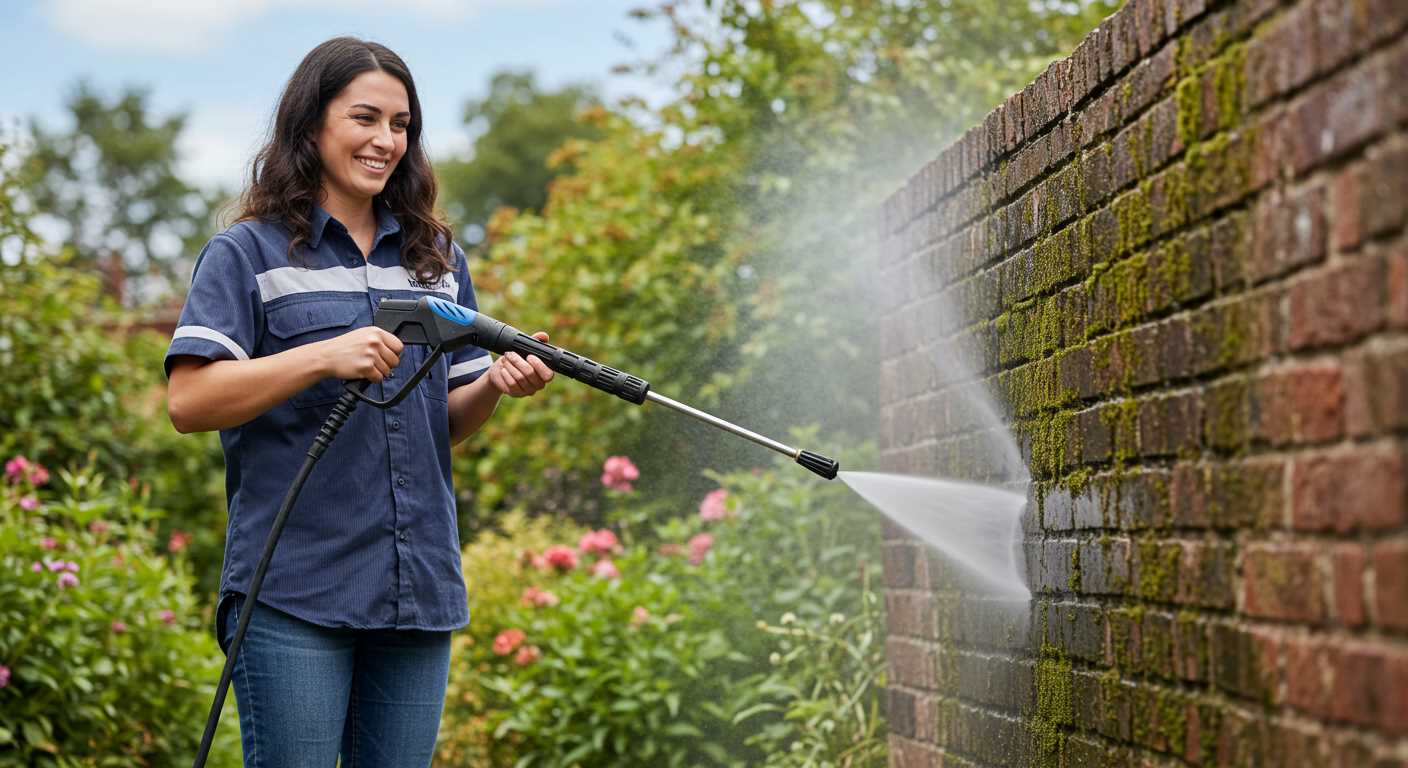
For maximum effectiveness, adjust the settings of your device to achieve the best lather. Begin by using a moderate pressure setting, typically around 100 to 120 bar. This range is ideal for producing thick foam without sacrificing coverage.
Steps to Adjust Settings
- Start the machine and let it run briefly to build up pressure.
- Gradually increase or decrease the pressure using the control knob, observing the foam consistency.
- Test the output on a small area to determine if the foam is adequately thick and adheres well to surfaces.
Monitor the behaviour of the detergent as you fine-tune the device. If the foam appears too watery, lower the pressure slightly or consider using a different nozzle attachment that enhances foaming capabilities.
Fine-Tuning for Different Surfaces
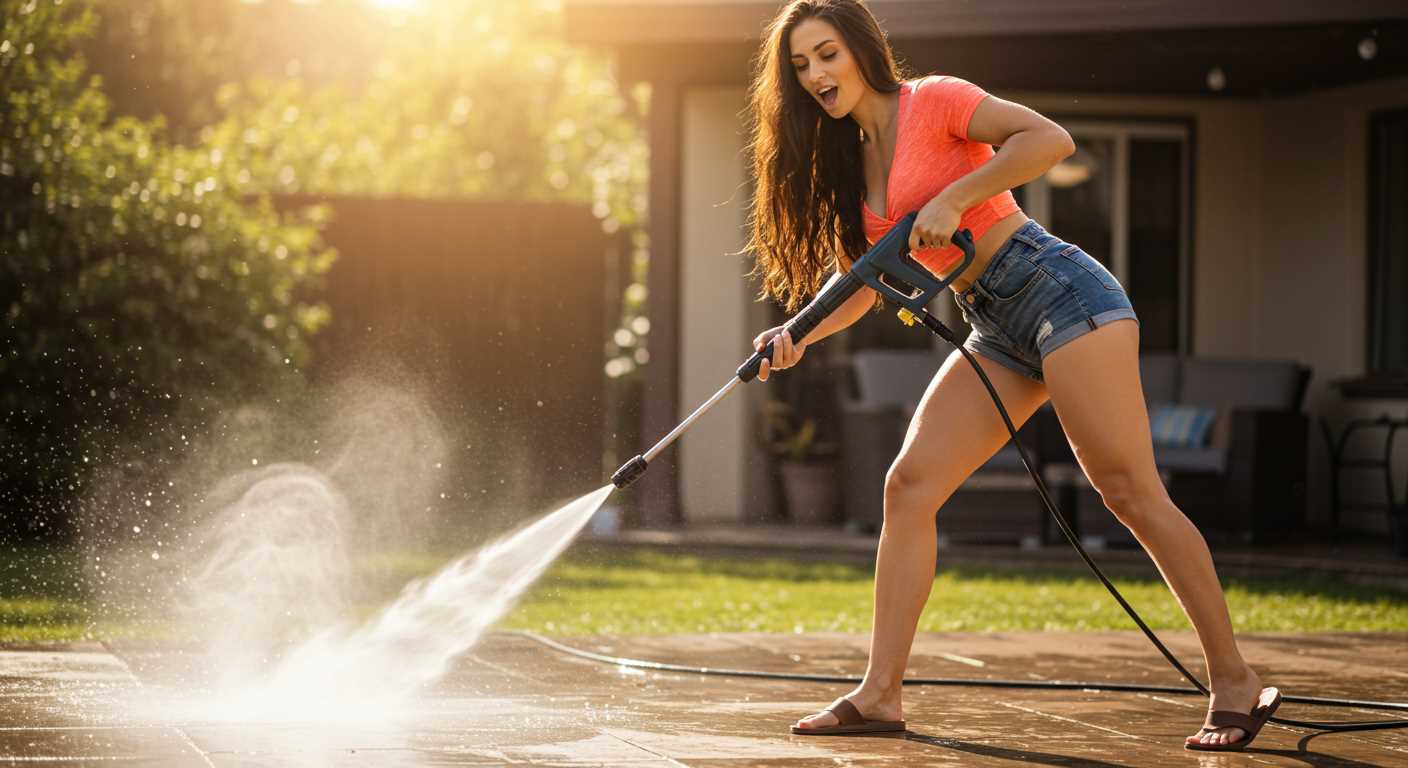
- For delicate surfaces, such as car paint, opt for lower settings to prevent damage.
- For tougher, more resilient surfaces like driveways, a higher setting can be effective.
Adapting these settings enables effective cleaning with optimal foam delivery, ensuring thorough coverage and efficiency. Regularly checking and adjusting the pressure allows for consistent results each time.
Test Connection and Foam Output Effectively
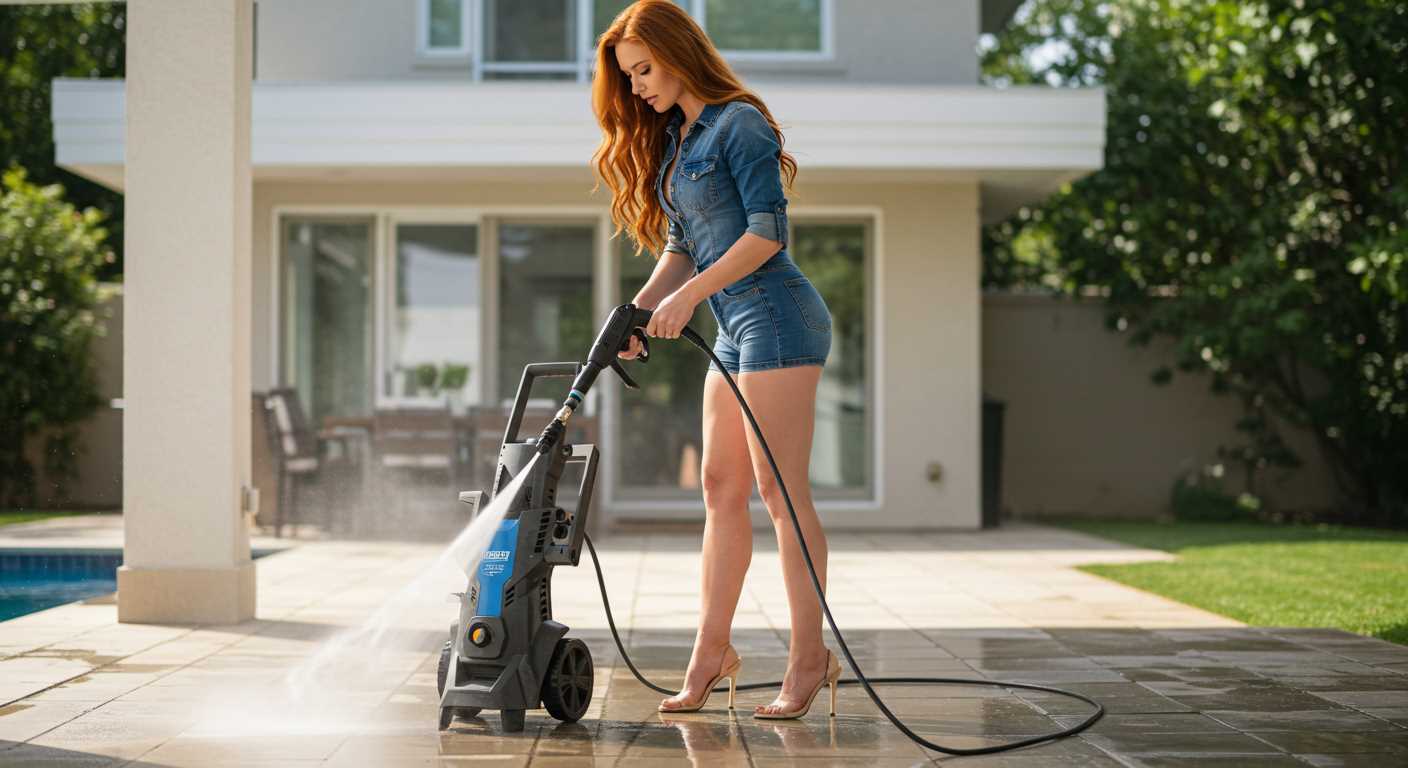
Begin by turning on the unit and setting the pressure to a lower level to avoid excessive force during the initial tests. Hold the sprayer at a distance of around 2-3 feet from the surface to assess the foam coverage. This distance helps in evaluating how well the cleaning solution adheres and spreads without being blown away.
Adjusting and Observing
Observe the thickness and distribution of the suds. If the foam appears too thin or bubbly, consider adjusting the dilution ratio of the cleaner or enhancing the pressure incrementally. Aim for a creamy, thick foam that clings to the surfaces, allowing it to penetrate grime effectively before rinsing.
Perform testing on various surfaces to ensure versatility; different materials may require different approaches. Ensure the unit maintains consistent output without drips or leaks at the connection point. Any leakage can indicate a need for tighter fittings or potential wear on seals.
Final Tests
After adjustments, re-evaluate the operational consistency by spraying for a short duration. Look for any irregular performance, which may signal underlying issues with compatibility or setup. Each test should refine your understanding of how to optimise the cleaning process, ensuring the best possible outcome.
Integrating a thorough testing process saves time and improves efficiency during larger cleaning tasks. Once satisfied with the results, you are ready to tackle your cleaning projects with confidence.
Maintain Spraying Equipment and Cleaning Device for Longevity
After completing your cleaning tasks, always empty the liquid reservoir of your spraying equipment. Residual detergent can clog the system over time. Rinse the interior with clean water to prevent build-up.
Frequent inspections of hoses and nozzles for cracks or wear are important. Replace any damaged components immediately to ensure optimal functioning. Properly coiling and storing hoses can also extend their lifespan.
Keep all connections clean and free from debris. A buildup of dirt around the fittings can lead to leaks or reduced performance. Use a cloth or brush to wipe down contact points before and after use.
Store the cleaning apparatus in a dry, sheltered area. Exposure to extreme temperatures or moisture can compromise the integrity of parts. If possible, use a dedicated storage solution that protects the equipment from environmental factors.
Follow manufacturer guidelines for regular maintenance check-ups. Some units may require specific servicing intervals, especially concerning pumps and motor components. Keeping a service log can help track maintenance schedules and component longevity.
Consider using appropriate lubricants for moving parts as recommended in the user manual. This prevents rust formation and ensures smooth operation. Regular lubrication of valves and seals is advisable to avoid deterioration.
Lastly, familiarise yourself with troubleshooting common issues. Understanding potential problems can save time and prevent costly repairs. Review the user manual for guidance on basic diagnostics to maintain functionality efficiently.


