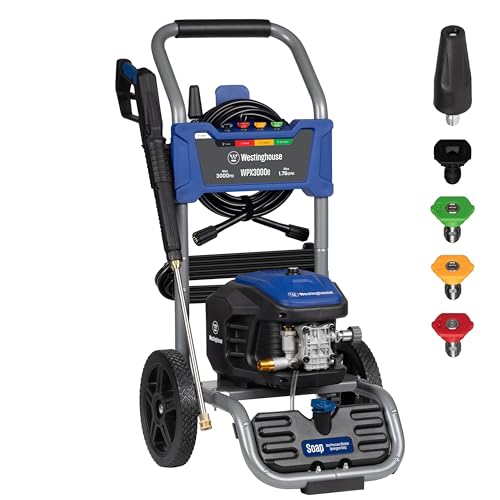
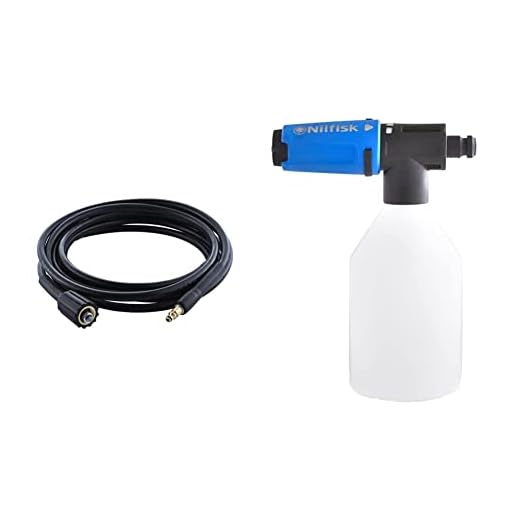
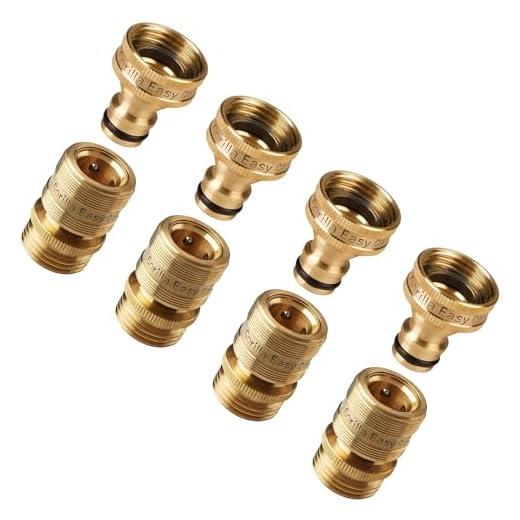

Your first step involves inspecting the inlet for compatibility with your tubing. A standard 3/4 inch garden hose often fits securely without leaks. Ensure that the threaded end of the hose aligns with the fitting on the unit, creating a tight seal. This prevents any mishaps during your cleaning tasks that could hinder performance.
Next, pay attention to the quick-connect feature. Many units feature a simple snap-on mechanism for no-fuss assembly. Align the adaptor with the nozzle and push firmly until you hear a click. This sound indicates a secure lock, crucial for maintaining steady pressure during operation.
The final phase involves securing the outlet hose onto the lance. Ensure the connection is snug; a loose attachment can lead to reduced effectiveness and potential damage. If you encounter resistance, double-check that both ends are clean and free from debris. This simple maintenance step can significantly enhance longevity and reliability.
Connecting Accessories to Your Nilfisk Machine
First, ensure the water inlet is clean and free from debris. Attach the garden hose securely to the water inlet port, ensuring a snug fit to prevent leaks.
Next, focus on the high-pressure connection. Locate the high-pressure outlet on your device, often marked clearly. Align the quick-connect fitting with the outlet, gently pushing it in until you hear a click, confirming a secure attachment.
Accessory Setup
When adding accessories like additional nozzles or brushes, follow these steps:
- Remove any existing attachment from the gun or wand.
- Align the accessory with the attachment point.
- Push and twist to lock it in place, ensuring it’s secure before use.
Final Checks
Before powering on the unit, check for any visible leaks at all connection points. Once confirmed, turn the water supply on and switch on the machine. Test the functionality by pulling the trigger on the wand to clear any air from the system.
After use, detach all accessories and the water supply. Store everything properly to prolong the lifespan of your equipment.
Understanding Nilfisk Pressure Washer Hose Types
Choosing the right tubing is paramount for optimal performance. The common variants include standard, high-pressure, and drain cleaning lines. Each type addresses specific cleaning needs and pressure ratings, ensuring that the equipment operates efficiently without damage.
Standard Tubing
This variant is typically used for general cleaning tasks. It functions well at lower pressures, making it ideal for washing vehicles or light-duty applications. It’s often made from rubber or PVC and is flexible, which aids in maneuverability.
High-Pressure Tubing
Designed for heavy-duty tasks, this hose is constructed to withstand high pressure. It’s reinforced, ensuring durability and safety during intense operations, such as industrial cleaning or removing stubborn dirt and grime. The materials usually include thermoplastics or heavy-duty rubber, providing added longevity.
| Hose Type | Pressure Rating | Best Uses |
|---|---|---|
| Standard | Up to 100 bar | Light cleaning, vehicles |
| High-Pressure | Over 100 bar | Heavy-duty tasks, industrial use |
| Drain Cleaning | Variable | Clearing clogs |
Understanding your specific requirements will guide you in selecting the most suitable line for your cleaning projects. Always refer to the manufacturer specifications for compatibility and safety standards.
Checking Compatibility of Hoses with Your Nilfisk Model
Verify the specifications of your cleaning equipment before purchasing replacement tubing. Each device has designated types and lengths that ensure optimal performance. Consult your owner’s manual for specific details on the required dimensions and features.
When selecting tubing, look for the connection type. Many models from the brand use standard quick connectors, while others may require more specialised fittings. Ensure that the connection mechanism matches your equipment to prevent leaks and ensure a secure fit.
Use genuine or compatible parts from reputable suppliers. Aftermarket options might be less expensive but can compromise functionality or durability. Cross-reference part numbers when seeking replacements.
Evaluate the working pressure rating of the tubing. It should meet or exceed the specifications of your machine to avoid any operational difficulties. A lower-rated option could lead to bursting or reduced effectiveness.
Look for flexibility and material quality in the tubing. High-quality synthetic materials offer better resistance to wear and tear, prolonging the lifespan of the accessory. Consider if you often work in tight spaces, as more flexible options can facilitate ease of use.
Before making a purchase, read customer reviews and expert recommendations. Insights from other users can highlight potential issues and confirm compatibility with your specific model.
Gathering Necessary Tools for Hose Connection
Prior to starting the setup process, assemble these items for a smooth installation: a garden hose, quick-connect fittings, and a pair of adjustable wrenches. Ensure the garden hose is of appropriate length to reach your power source comfortably while maintaining tension-free connections.
Garden Hose
Utilise a quality garden hose, ideally ¼ to ½ inches in diameter. It’s imperative that the hose is free of leaks and kinks to prevent pressure loss. Verify that your hose is compatible with standard fittings for additional flexibility.
Connectors and Tools
Gather quick-connect fittings that correspond to your garden hose and equipment outlet. Adjustable wrenches are useful for tightening connections securely to avoid leaks. Having a screwdriver might also be beneficial for any adjustments that require securing screws or fittings.
Proper Steps to Attach Inlet Hose to Pressure Washer
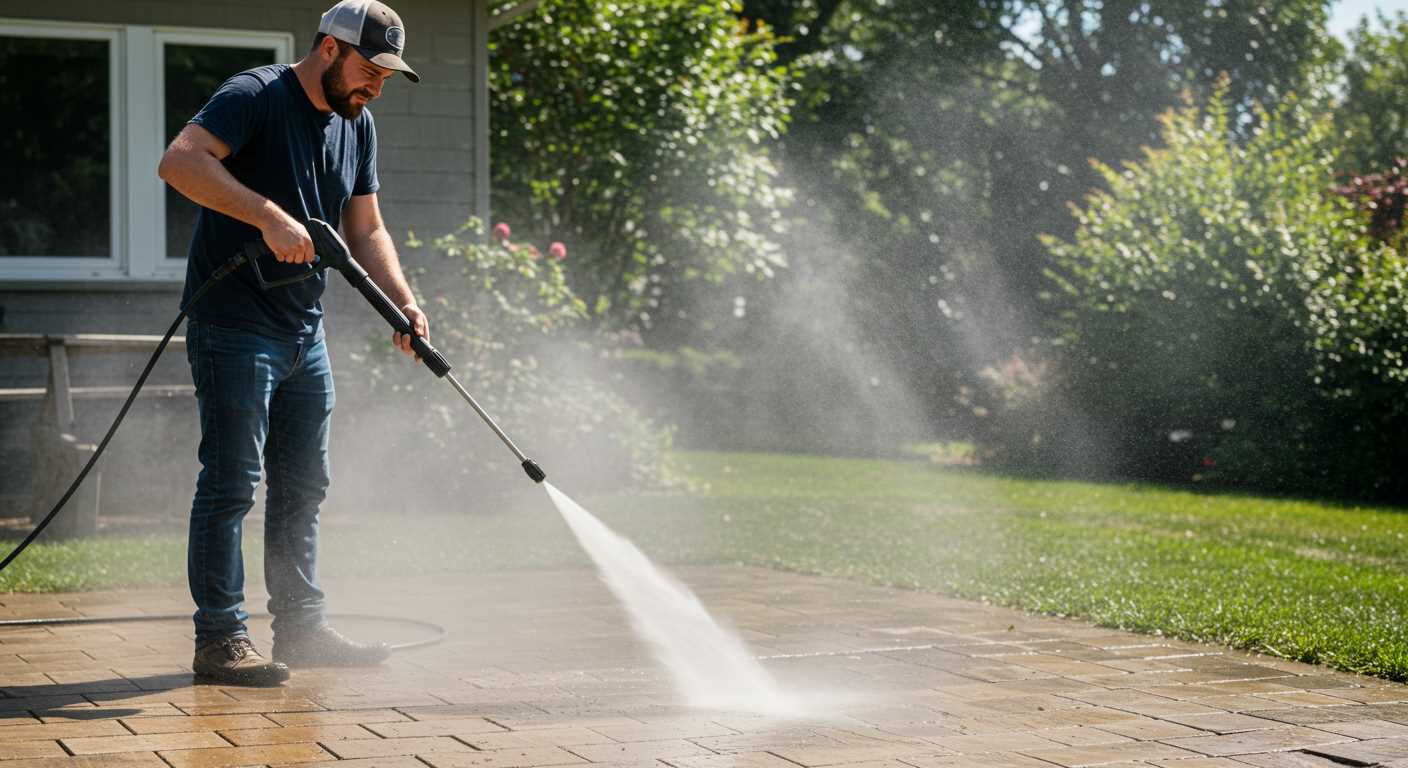
Begin by ensuring that the unit is powered off and unplugged. Locate the inlet connection point on the device. Gently align the end of the inlet tubing with the connection port. Pay attention to the threading; it should be matched correctly to avoid any cross-threading issues. Turn the hose clockwise until it feels securely tightened, but do not over-tighten, as this could damage the fitting.
Checking for Leaks
Once you have secured the inlet tubing, it’s important to inspect for leaks. Turn on the water supply without powering on the motor. Observe the connection area for any signs of dripping or moisture seeping. If leaks are present, recheck the tightness and ensure any rubber seals are in good condition.
Final Inspection
After confirming there are no leaks, make one final check of the hose length and position to prevent any kinks or bends during operation. Now, reconnect the electrical supply and you’re prepared for your next cleaning task with confidence.
Connecting Outlet Hose for Spray Gun Usage
Begin with ensuring that the outlet fitting on your unit is free from debris. This will prevent any obstructions that might impede water flow. Align the end of the spray gun attachment with the outlet and press it firmly into place until you hear a click, confirming that it’s secure.
After securing the gun, check the locking mechanism. Depending on your model, there may be a lever or locking ring that needs to be engaged to prevent accidental disconnection during operation. Ensure this is properly engaged before proceeding.
Testing the Connection
With the spray gun attached, turn on the water supply and power on the machine. Observe for any leaks at the junction where the gun meets the outlet. If leaks are present, turn off the water immediately and recheck the connection. It may require a slight twist or an additional push to ensure a proper seal.
Final Adjustment
Once you confirm there are no leaks, you can adjust the spray nozzle to your desired setting. This allows you to optimise your cleaning tasks based on the surface type. Always remember to check the connection regularly during use to maintain safety and efficiency throughout your cleaning session.
Avoiding Common Mistakes During Hose Connection
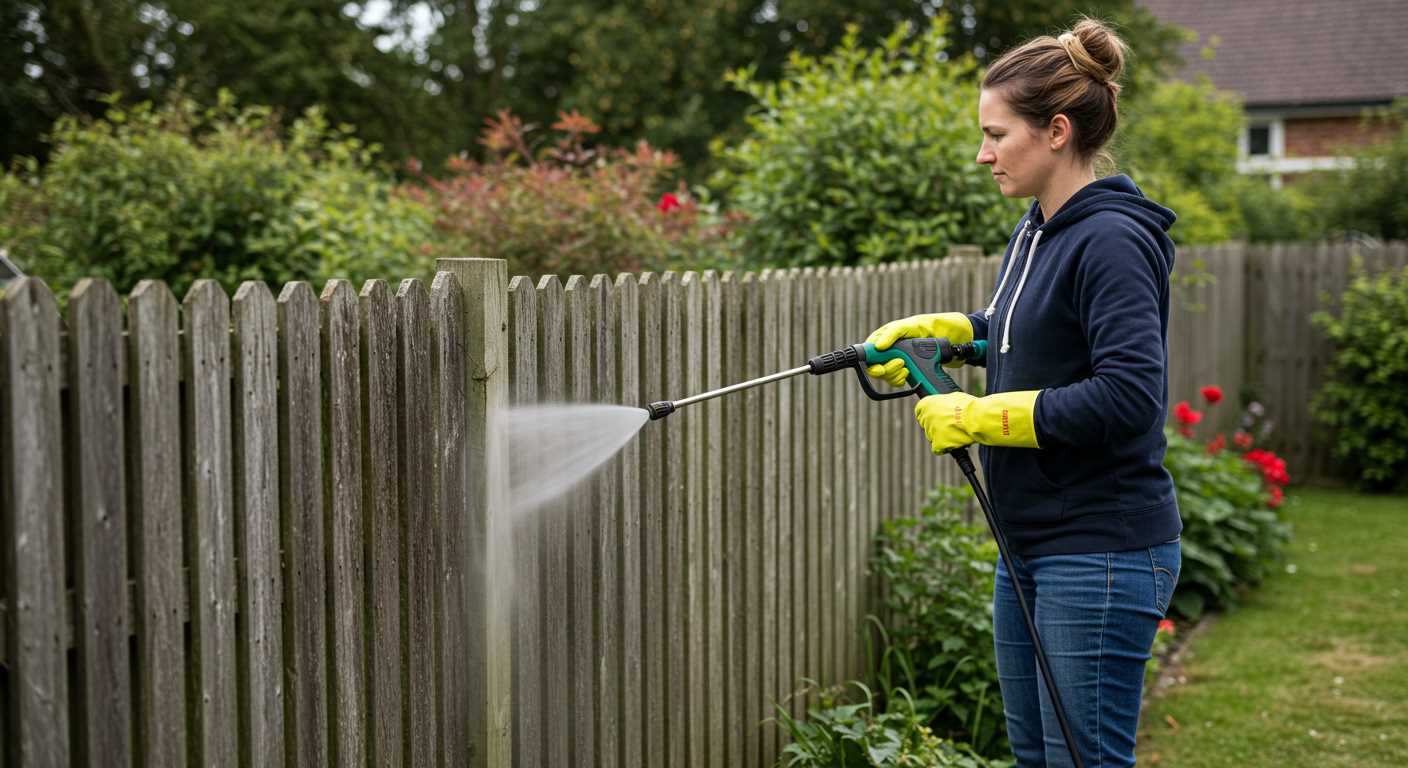
Double-check the compatibility of the fittings before attaching any device. Mismatched sizes can lead to leaks, loss of pressure, or equipment damage. It’s crucial to ensure that all connections are snug but not overtightened to avoid stripping threads.
Inspecting for Damage
Examine each connector for cracks or wear. Often, minor imperfections can result in significant issues during operation. If a connector appears faulty, replace it before proceeding with the setup.
Securing Connections
Once everything is in place, conduct a brief test run while monitoring all joints for leaks. If water seeps from any attachment point, shut down the unit immediately and recheck all connections. This precaution saves time and prevents further complications during use.
Regular Maintenance Tips for Hoses and Connections
Inspect for wear and tear regularly. Look for cracks or abrasions on the surface, as these can lead to leaks. A damaged line can compromise performance and increase water wastage.
Clean the connections after every use. Rinse off any dirt or debris that might accumulate, particularly around the threaded areas, to ensure a proper seal during the next use.
Store the tubing properly. Avoid kinking or coiling tightly, as this could result in permanent deformation. Instead, use a hose reel or loosely wrap the line for storage.
Check the fittings for rust or corrosion. Metal components may corrode over time, impacting the integrity of connections. If rust is present, clean it or replace the fitting as necessary.
- Inspect washers for damage; these rubber components can wear out and cause leaks at connection points.
- Lubricate threaded fittings to prevent seizing, which can make attachments more difficult over time.
- Test all joints for leaks at the start of each season. This can be done by turning on the supply and checking for drips.
- Keep the equipment dry when not in use. Moisture retention can lead to mildew and damage.
- Replace any damaged components immediately to prevent further issues down the line.
By incorporating these practices, you can extend the lifespan of your components and maintain optimal functionality throughout their use.


