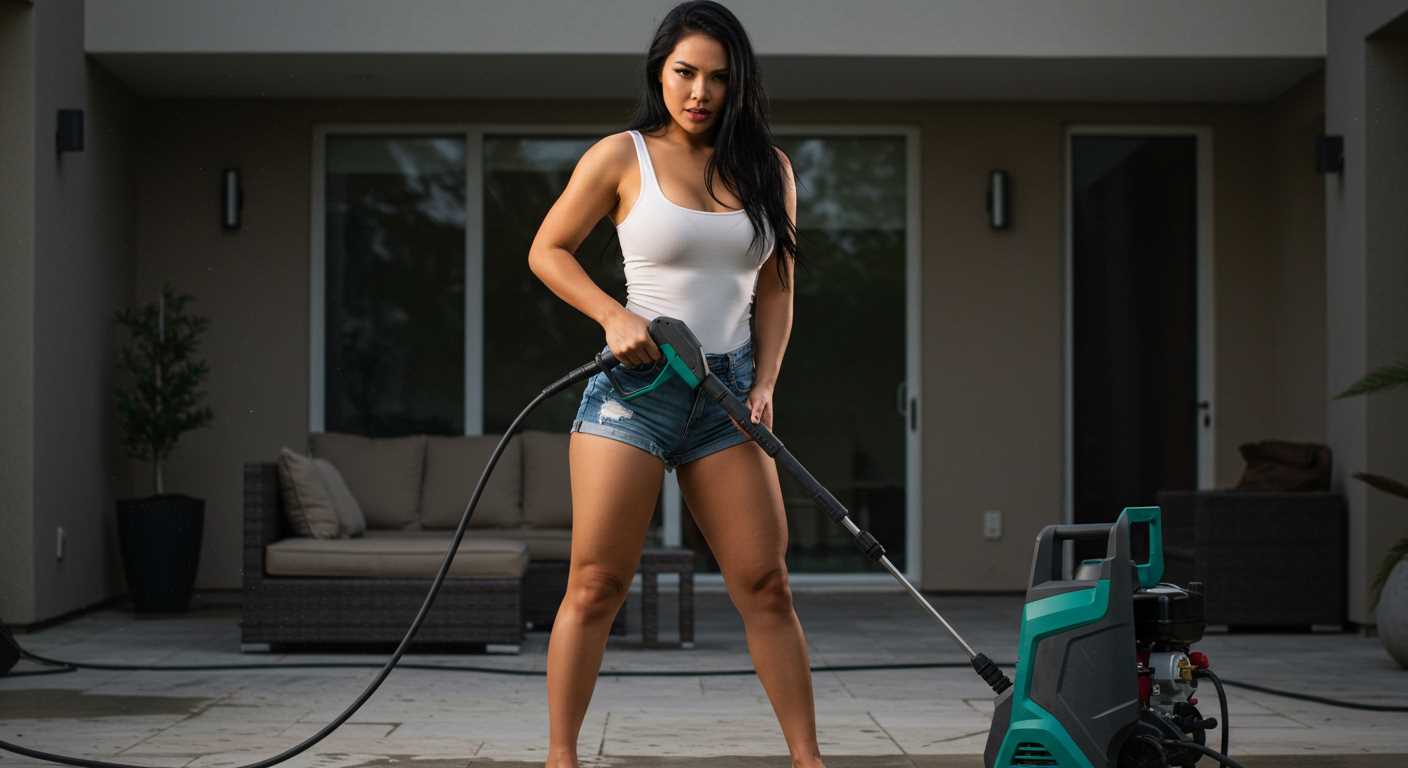

First, ensure that both the spray wand and the tip are clean and free from any dirt or residue. This prevents any blockages and guarantees a snug fit. Most cleaning attachments feature a simple push-and-click mechanism. Align the base of the tip with the wand opening, push until you hear a click, and ensure it’s secure by gently tugging on it.
Next, check for compatibility. Different brands and models may require specific tips designed for their systems. Always refer to the manufacturer’s manual to verify that the selected cleaning attachment will function properly with your model. Using an incorrect tip can lead to inefficiency or even damage.
Once secured, take a moment to test the connection by activating your cleaning machine on a low setting. This initial test ensures that the fitting holds under pressure and that there are no leaks. If everything appears stable, you can switch to a higher setting to begin your task with confidence.
In case the attachment doesn’t fit snugly, examine the locking mechanism for any obstructions or damage. Clean the connection points thoroughly, and try again. If issues persist, consult customer service for advice tailored to your model.
Identifying the Correct Nozzle Type for Your Pressure Washer
Selecting the right tip is crucial for achieving optimal results in your cleaning tasks. Begin by considering the degree of the spray. Tips typically range from 0° to 40°, with lower degrees providing a concentrated, high-force beam, suitable for tough stains on hard surfaces. For softer or more delicate surfaces, such as vehicles, opt for a higher degree, like 25° or 40°.
Colour-coding can help you quickly identify the appropriate tip. Commonly, red signifies 0°, yellow is for 15°, green indicates 25°, and white marks the 40° variety. A soap nozzle, often black, is reserved for applying detergents and should not be used for regular cleaning.
Material composition also plays a role in performance. Nozzles made from brass or ceramic tend to withstand wear better than plastic variants. If you anticipate heavy use, consider investing in durable options.
Lastly, ensure compatibility with your equipment. Not all tips fit every machine, so consult the manufacturer’s specifications. Proper fit guarantees efficacy and protects your machinery from potential damage.
Preparing the Equipment for Nozzle Attachment

First, ensure that the machine is powered off and unplugged. This is crucial to avoid accidental activation while changing attachments. Next, disconnect the water supply hose. Doing this prevents water from spraying unexpectedly during the process.
Once the hose is detached, check that the main unit is clear of any obstructions and that the connection points are free from dirt or debris. A clean connection ensures a secure fit and optimal performance.
Inspect the Connection Point
Examine the area where the attachment will be fitted. Look for any signs of wear or damage. A damaged connection can lead to leaks and reduce effectiveness. If all appears well, proceed to check the compatibility of the attachment you plan to use.
Prepare the Attachment
Before attaching, inspect the new accessory for any debris or defects. Make sure the connector is clean. If required, apply a small amount of lubricant to ensure a smooth attachment. This can help with sealing, which is necessary for maintaining pressure.
Aligning and securing the nozzle properly

Begin by ensuring the attachment point aligns correctly with the corresponding fitting on your washing machine. Gently insert the tip into the connector, checking for a snug fit to prevent leaks or disconnections during operation.
Rotate the nozzle gently if necessary to achieve the optimal alignment, ensuring that any locking mechanisms are positioned properly. Some models incorporate a click or locking sound when the attachment is secured; listen for this cue as confirmation.
Before proceeding, visually inspect the connection for any gaps or misalignments. A properly seated tip is crucial for optimal performance. If you notice any irregularities, realign and reinsert until you achieve a correct fit.
Once aligned, secure the assembly by engaging any locking mechanisms present. This may involve twisting a collar, tightening a clamp, or another method specific to your equipment. Confirm that the locking element is engaged fully to guarantee stability during use.
Finally, give the nozzle a light tug to test the strength of the attachment. If it moves freely or feels loose, repeat the alignment and securing process to ensure a solid connection. This will prevent premature disconnections and enhance safety while operating your equipment.
Testing the Connection for Leaks and Stability
After ensuring a proper fit between the attachment and the device, it’s crucial to perform a leak test. This involves activating the machine at low pressure. Observe the joint closely for any signs of water escaping. If moisture appears around the connection, a reassessment of alignment or gaskets may be necessary.
Stability is equally important. While the unit is operating, gently tug on the attached end. A secure bond should resist significant movement. If there’s any wobble or if the component shifts, it indicates an improper fastening. In this case, a check of the securing mechanism or the seating of the component should be performed.
Additionally, I recommend running the appliance for a few minutes. This allows you to monitor how the attachment performs under actual working conditions. Listen for unusual noises, which can signal misalignment or improper seating. If everything is stable and no leaks are detected, the connection has been successfully established.
Always remember to periodically check the connection for wear or damage after use. Maintaining the integrity of the bond enhances performance and extends the lifespan of your equipment.
Adjusting the nozzle for optimal performance
For the best results, aim to match the spray pattern and pressure to the specific task at hand. Begin with a wider spray angle for delicate surfaces, gradually narrowing if more power is needed.
To adjust the spray pattern, simply twist the nozzle. This feature enables you to transition from a fan to a concentrated jet effortlessly. Verify that the angle aligns with the surface type to prevent damage.
| Surface Type | Recommended Spray Angle | Notes |
|---|---|---|
| Wood Decks | 25° to 40° | Avoid high pressure to prevent splintering. |
| Concrete | 15° to 25° | Effective for tough stains and dirt. |
| Cars | 25° | Use a gentle spray to protect the finish. |
| Brick | 15° | Good for deep cleaning; test first on an inconspicuous area. |
Maintaining a consistent distance from the surface is also critical. Generally, keep the lance about 18 inches away for most applications. Adjust closer for tough grime and further for more delicate tasks.
Finally, experiment with different settings to find what works best for your unique situation. Don’t hesitate to conduct trial runs on less visible areas to perfect your technique before tackling the main job.
Maintaining your nozzle for longevity and reliability

Routine cleaning is essential. After each use, remove residue buildup by rinsing the sprayer head with fresh water. This prevents clogs and ensures unobstructed flow during future applications.
- Inspect for wear. Check the spray tip for signs of abrasion or damage. If you find any, replacement is necessary to maintain optimal performance.
- Store correctly. Keep the sprayer head in a dry, protected area to avoid exposure to moisture and extreme temperatures, which can cause deterioration over time.
- Use compatible equipment. Ensure that attachments are suitable for your model. Using improper parts can lead to malfunction or damage.
Consider applying a light lubricant on the threaded areas after cleaning. This aids in ease of attachment and detachment while preventing rust.
- Check connections before each use. Look for signs of wear or damage, ensuring everything is secure and functional.
- Handle with care. Avoid dropping or striking the head, as physical impact can cause unseen damage.
Finally, consult the manufacturer’s guidelines regularly. They often provide specific recommendations for maintenance schedules and procedures, tailored to your device’s needs.


