

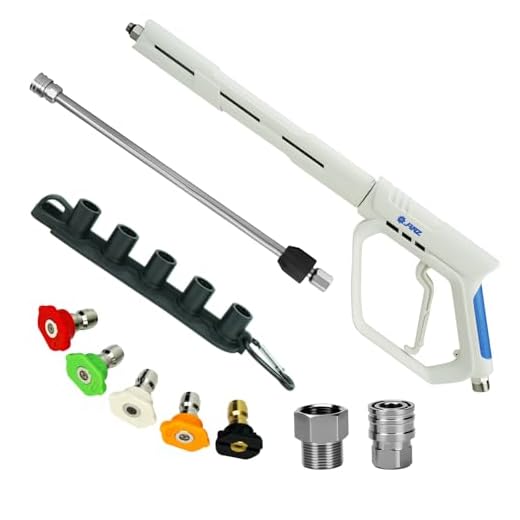
Attach the long reach tool securely to your cleaning machine’s nozzle. Ensure that you align the connection points, pushing firmly until you hear a click, confirming proper engagement. This step is crucial for maintaining optimal pressure and ensuring effective cleaning results.
Check for any debris or obstructions on both the tool and nozzle before proceeding. A clean connection helps avoid leaks, which can significantly diminish performance. Additionally, inspect the locking mechanisms; they should be engaged completely to prevent accidental disconnection during use.
After securing your reach tool, test the water flow by briefly activating the unit. Observing the spray pattern allows you to adjust the angle and height for specific tasks, such as washing vehicles or reaching high areas. Tailoring the configuration optimises your cleaning efficiency.
Keep a close eye on the fittings throughout your cleaning task. Regularly verify that they remain tightly connected, as vibrations can occasionally loosen them. A quick recheck during use can save you from interruptions and maintain a smooth operation.
Identify the pressure washer model and compatibility
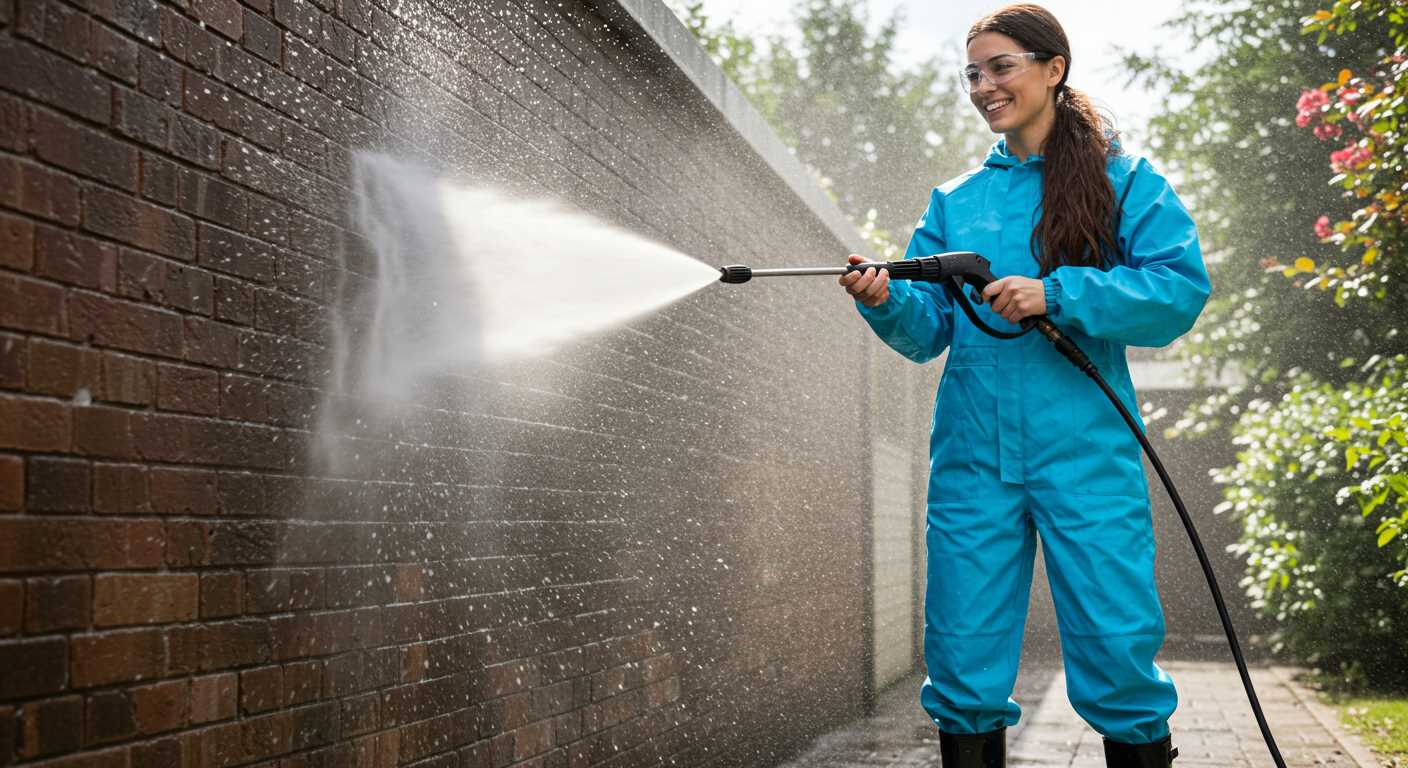
Begin by locating the model number of your cleaning device. This information is crucial for ensuring the attachment fits correctly.
- Check the user manual or the manufacturer’s website for specific details about available accessories.
- Inspect the machine itself, usually found on a label affixed to the body or on the base.
- Make a note of any specifications listed alongside the model number, such as pressure ratings and nozzle types.
Compatibility often varies greatly between manufacturers and models. Here’s how to ensure a seamless fit:
- Visit the manufacturer’s website to find a compatibility chart or ask the customer service department.
- Examine existing attachments; if they fit snugly without gaps or excessive looseness, chances are, the new accessory will as well.
- If possible, handle the attachment in-store or read reviews online from users with the same model to gather insights about potential issues.
Confirm that the accessories you are considering are intended for your specific device, as universal options may not always deliver optimal performance.
Finally, consider reaching out on forums or social media groups dedicated to cleaning equipment. Engaging with other users can provide invaluable advice and alternative recommendations.
Select the right extension wand for your needs
.jpg)
Select a model based on the specific tasks you intend to tackle. For high-reach cleaning, opt for a longer wand. Typically, lengths range from 18 to 36 inches; choose according to the height of your cleaning areas.
Evaluate the material. Aluminium wands are lightweight yet sturdy, ideal for prolonged use, while stainless steel options provide durability but can be heavier. Consider your comfort level during operation.
Check compatibility with cleaning nozzles. Some extensions come with interchangeable heads, allowing you to switch between various nozzle types easily. This feature enhances versatility for different tasks.
For intricate areas, such as tight corners or high ceilings, flexible options with pivoting heads are beneficial. This adaptability ensures thorough cleaning without straining.
If you’ll be working on delicate surfaces, opt for a wand with adjustable pressure. This capability enables you to dial down the intensity, safeguarding surfaces from potential damage.
Finally, examine the connection mechanism. Quick-release fittings streamline setup, allowing for swift transitions between wands and nozzles during projects.
Gather Necessary Tools for the Connection Process
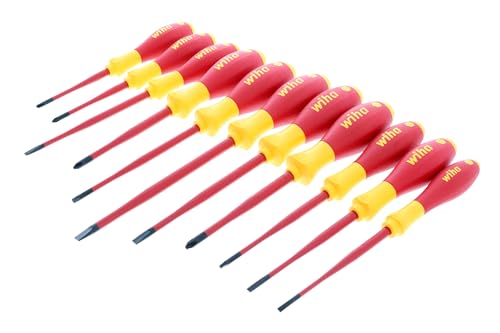
For a seamless assembly, ensure you have the following tools at your disposal: a basic screwdriver set, adjustable wrench, and a pair of pliers. Each of these implements plays a critical role in securing components easily and safely.
Recommended Tools
1. Screwdrivers: Both flathead and Phillips screwdrivers are useful for tightening or loosening screws on fittings or adapters. A magnetic tip can simplify retrieval of small screws.
2. Adjustable Wrench: Ideal for gripping and turning nuts and bolts of varying sizes. This tool is invaluable when dealing with different component sizes.
3. Pliers: A sturdy pair of pliers can assist in manipulating hoses or fittings that need an extra grip to secure properly.
Additional Accessories
Consider having some thread seal tape on hand, which can provide an airtight seal between connections, preventing leaks. Additionally, a bucket or container can be beneficial to catch excess water, ensuring a clean workspace.
With these tools ready, you’ll be set for efficient assembly and use of your new attachments.
Disconnect Existing Attachments from the Pressure Cleaning Machine
.jpg)
Begin by switching off the equipment and disconnecting it from the power supply. This is a critical safety measure to prevent any accidental activation. Following this, press the trigger on the spraying gun to release any residual water pressure inside the system.
To remove the existing accessories, locate the quick-connect fitting or the threaded connection where the accessory joins the cleaning equipment. For quick-connect types, simply pull back the collar while pulling the accessory out. If it’s a threaded connection, you may need to turn it counter-clockwise using your hands or a tool.
Disconnection Steps
- Ensure the device is powered off and disconnected from power.
- Squeeze the trigger handle to release residual water pressure.
- Identify the type of connection for the current accessory.
- Carefully detach the accessory by either pulling or unscrewing.
Examine the removed attachment for wear and tear before storing it. This step ensures optimal performance when using it later. Keep the fittings clean and free of debris to maintain their functionality and ease of future connections.
Quick Reference for Connection Types
| Connection Type | Disconnection Method |
|---|---|
| Quick-Connect | Pull back collar and pull away |
| Threaded | Turn counter-clockwise |
Once all components have been safely detached and inspected, proceed to attach the new wand as per the compatibility requirements. This approach ensures a seamless transition and enhances the overall performance of your cleaning tasks.
Align and Attach the Extension Tool Securely
Ensure the components are perfectly aligned with each other. The attachment area should be free of dirt and debris, providing a clean surface for contact. Hold the main body firmly while inserting the additional piece, making sure it fits snugly into the slot designed for it.
Rotate the item gently until you feel it click into position, which indicates a proper fit. This step is crucial, as an improper connection can lead to leaking or disconnection during use. Once aligned, apply pressure to push the pieces together firmly.
Check for Stability
After successfully joining the parts, give them a gentle tug to confirm they are secured. Any movement indicates a loose fit, which needs to be corrected to prevent failure during operation. If required, consult the manufacturer’s manual for specific locking mechanisms or additional steps to ensure a robust attachment.
Final Inspection
Conduct a visual examination of the joint to verify there are no gaps or misalignments. This inspection will guarantee the equipment’s safe and reliable operation. It’s advisable to perform a brief leakage test; run the cleaner briefly to ensure there are no issues at the joint. If everything appears to be in order, you’re ready to begin your cleaning tasks with confidence.
Check for leaks and proper function after connection

After securing the attachment, it’s crucial to ensure everything is functioning correctly. Begin by turning on the machine with the newly attached tool and monitor for any signs of leaks around the connection points.
Steps to Verify

- Observe the area where the attachment meets the main body for any escaping liquid.
- Pay close attention to the hoses; any dampness might indicate a failure in securing the fit.
- Use a cloth to wipe around the joint and check for fresh moisture shortly after starting.
Next, assess the performance of the new accessory. Engage the trigger to inspect the output stream. A steady and powerful jet signifies a successful setup. If the flow is weak or uneven, disconnect and inspect for proper alignment and seating.
What to Look For
- Ensure the connector is locked tight without any play.
- Listen for unusual noises which may indicate strain or incorrect assembly.
- If there are any vibrations, re-evaluate the security of the connection.
In case of leaks or performance issues, re-check the compatibility of the components you are using, as mismatches can lead to significant operational problems. Always refer to the manufacturer’s guidelines for troubleshooting recommendations tailored to your specific model.
Maintain your extension wand for longer life
Regularly clean the attachment after each use to prevent buildup of dirt and debris. A simple rinse with clean water will suffice, ensuring that no residue remains. Pay special attention to the connection points; a sticky residue can hinder performance and damage seals over time.
Inspect for any signs of wear or damage. Check for cracks, bends, or corrosion. Addressing small issues right away can prevent more significant failures later. If necessary, replace worn components promptly to keep everything functioning smoothly.
Store the tool in a dry environment away from direct sunlight. Exposure can lead to brittleness and weakened materials. Use a protective cover or place it in a storage bag to shield it from dust and moisture.
Occasionally lubricate the connection points with a silicone-based lubricant. This helps maintain the integrity of seals and prevents them from drying out. Ensure that no lubricant contaminates the cleaning process itself, as this could affect the quality of your work.
Lastly, follow the manufacturer’s instructions regarding maintenance. Each model may have specific requirements or recommendations that are crucial for longevity. Keeping a maintenance log can also be beneficial, tracking usage and service intervals to identify patterns that might require your attention.

