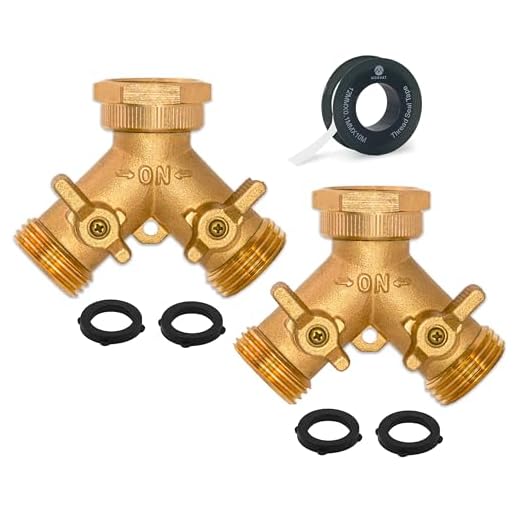

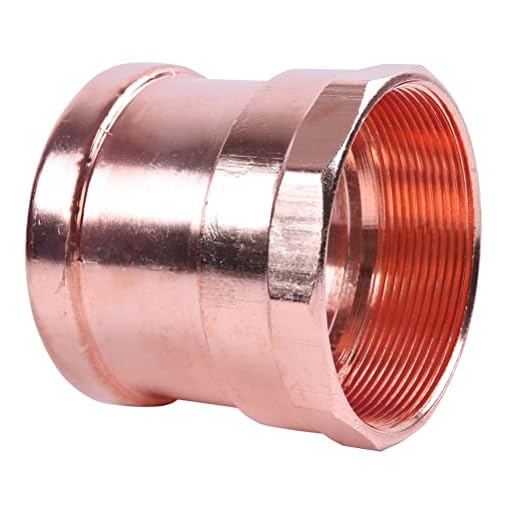

Ensure you have the right connectors for a secure fit between the tubing and the water source. Begin by verifying the diameter of your water spout; most are standard-sized, usually around ¾ inch. If your connector doesn’t match this size, use an adapter to avoid leaks.
Before proceeding, check that both the connector and the water outlet are clean and free from debris, as any particles can prevent a proper seal. After that, simply screw the connector onto the outlet, making sure to turn it clockwise until it’s tightly secured. A wrench can help achieve a snug fit without risking damage.
Once the connection is completed, slowly turn on the water to check for leaks. If you notice any, turn it off and tighten the connector slightly more. This simple procedure guarantees a steady flow, enabling effective operation of your cleaning device. Keeping the setup leak-free is vital for optimal performance and prolonging the lifespan of your equipment.
Choosing the right hose adapter for your tap
For seamless operation, selecting the appropriate connector is paramount. I recommend opting for a universal adapter, which tends to fit most standard fixtures. Verify the size of your water outlet before making a decision.
Common sizes for connectors include 1/2″, 3/4″, and 1″. Measure the diameter of your outlet to ensure compatibility. If your fitting is non-standard, a threaded connector may require an additional gasket or washer for a watertight seal.
Material quality plays a significant role. Brass connectors are generally more durable than plastic options and are less prone to cracking. However, ensure that any plastic parts are high-impact and resistant to UV light for longevity.
| Connector Type | Material | Durability |
|---|---|---|
| Universal Adapter | Brass | High |
| Threaded Connector | Plastic | Medium |
| Quick-Connect Adapter | Aluminium | High |
Additionally, look for models that include rubber seals to enhance leak prevention. If you expect to frequently detach and reattach the setup, a quick-connect option might offer added convenience.
Finally, consider the climate where you’ll be using the device. If exposed to extreme temperatures, a more robust adapter will withstand the elements better.
Preparing the Tap for Connection
Before establishing a link between the cleaning equipment and the water supply, it is crucial to ensure that the outlet is ready. Begin by inspecting the faucet’s threading and condition for any signs of wear or damage. Clean the threads using a cloth to remove dirt or debris that could obstruct a proper seal.
Check for Leaks

After cleaning, turn on the water to verify there are no leaks at the outlet. This step avoids any surprises when the machinery is in use. If water seeps out, replace any faulty parts or seals before proceeding.
Ensure Proper Water Flow
Next, check the water pressure at the spout. A steady and adequate flow is vital for optimal operation of the equipment. If the water flow is weak, consider removing any faucet aerators that could be limiting the output. Ensure valves are fully opened to facilitate maximum water delivery.
Attaching the hose to the tap securely
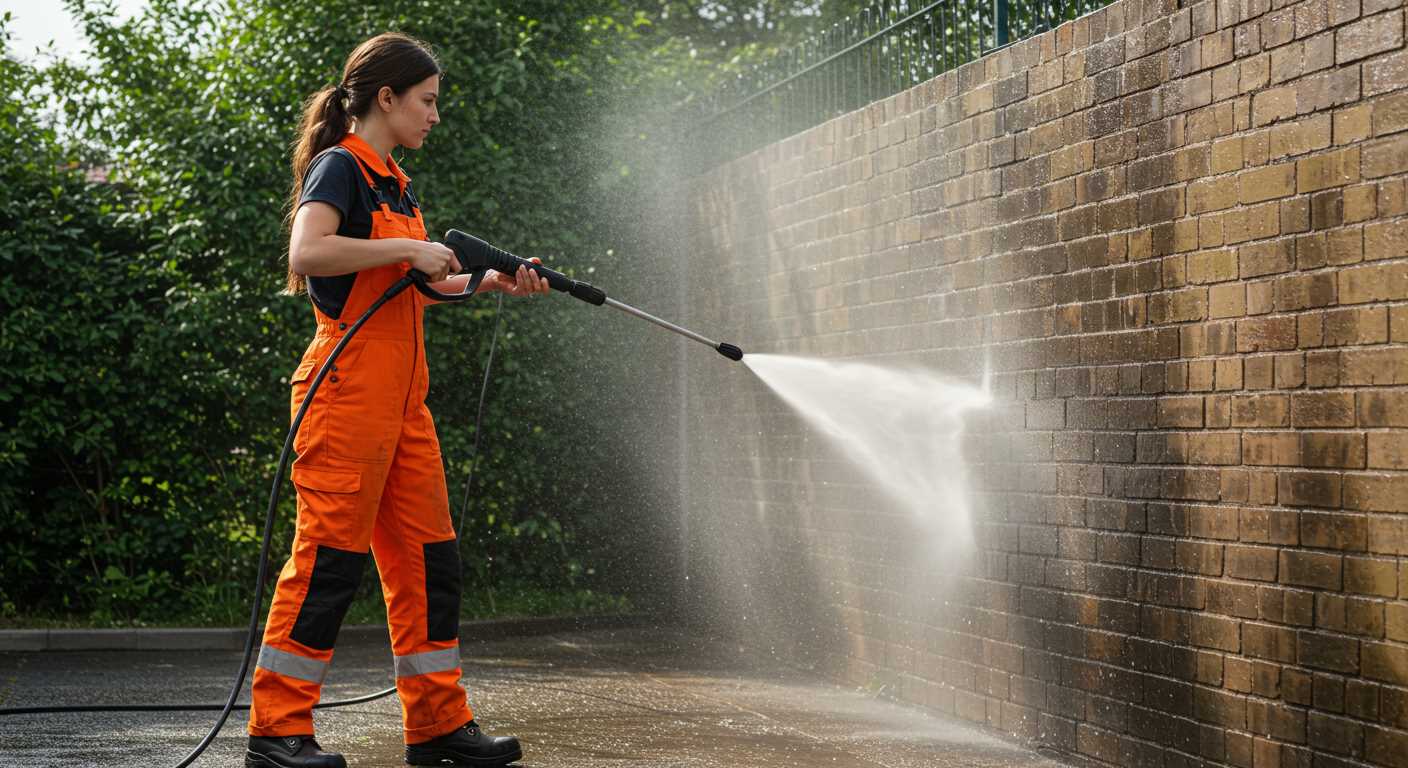
For a leak-free fit, it’s pivotal to ensure that the connection is both tight and stable. Begin by hand-tightening the fittings onto the spout, making sure that the threads engage properly. Do not use excessive force, as this might damage the threads.
A rubber washer is essential; it provides the necessary grip and seals gaps to prevent leaks. If you notice any water escaping during testing, check the washer for defects or misalignment. If the problem persists, replace the washer, as worn-out components often lead to unwanted drips.
Using Teflon tape
Wrapping Teflon tape around the threads can enhance the seal. Apply it clockwise around the threads and ensure it covers the surface evenly. This step provides an additional barrier against leaks and enhances the grip of the fittings.
Final check
After securing everything, turn on the water slowly and monitor for any leaks. If any issues arise, turn off the supply and re-examine the assembly. Confirm that everything is properly aligned and tightened, making adjustments as necessary. This diligent approach will guarantee a reliable connection, allowing for optimal performance during use.
Checking for leaks after connection
After establishing the link between your cleaning equipment and the water source, it’s vital to inspect for any signs of leakage. Begin by turning on the water supply gradually while observing the connection points closely.
Look for any dripping or moisture around the joints where the fittings meet. Use a towel to wipe the area if needed; this will help you detect leaks more easily. Pay special attention to the connection between the adapter and the plumbing fixture, as well as the interface leading to the device.
If leaks are noted, ensure that all components are correctly tightened. Sometimes, simply tightening the fittings by hand can resolve minor issues. If you encounter persistent leakage, consider using a Teflon tape on the threads to enhance the seal. This tape can provide an additional layer of protection against water escape.
For anyone encountering significant drips, it may indicate a faulty or incompatible adapter. In such cases, reassess the components used and verify compatibility with your plumbing setup. Once all fittings are secure and free from leaks, you can confidently proceed with your cleaning tasks.
Using a Quick-Connect Fitting for Convenience
Opt for a quick-connect fitting to streamline the attachment process. This feature allows for effortless engagement and disengagement of the connection with minimal effort. Here’s how to maximize its use:
- Choose a fitting compatible with your existing connectors and equipment specifications.
- Make sure the quick-connect system is rated for your intended water pressure to avoid potential failures.
- Inspect the fitting for any signs of wear or damage before each use to ensure optimal performance.
Advantages
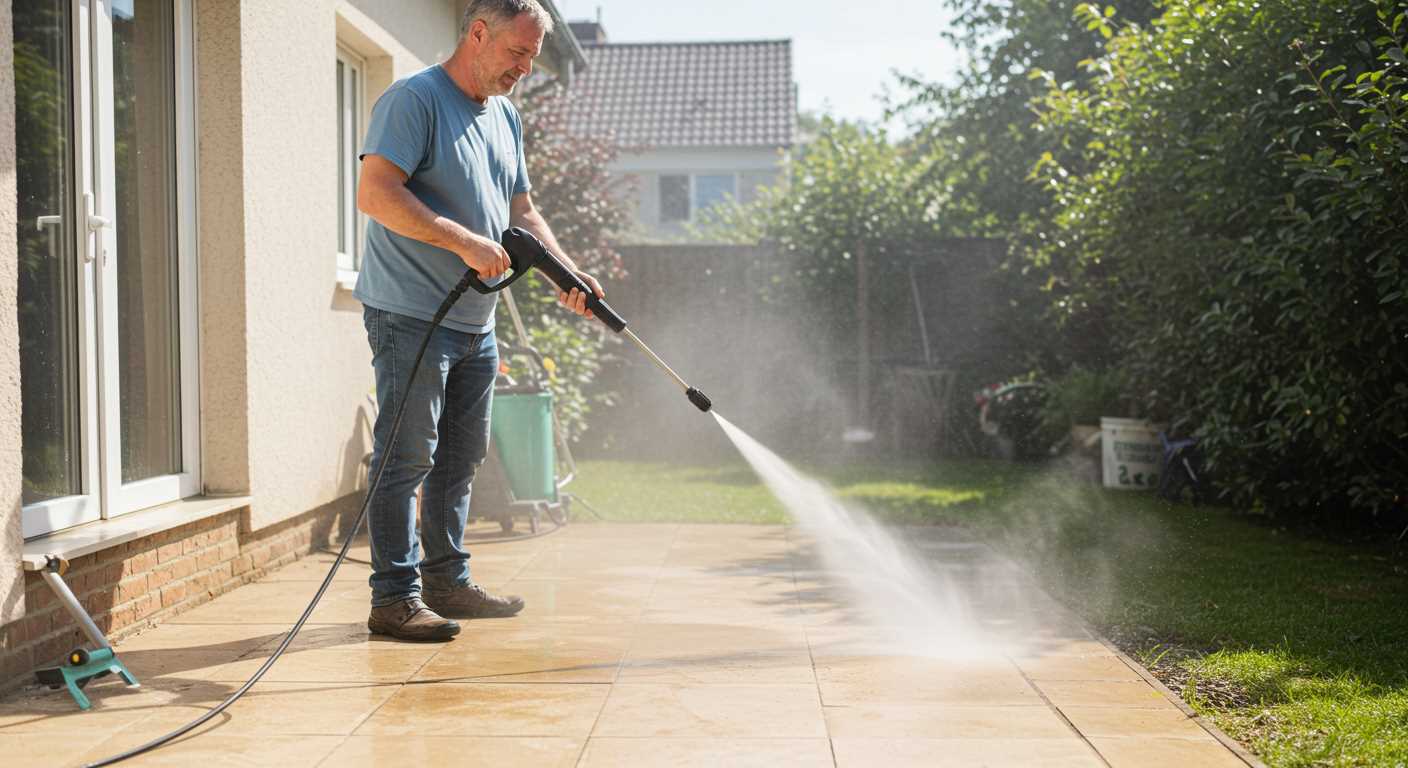
- Reduces time while setting up your equipment.
- Minimizes the need for tools; most connections can be made by hand.
- Allows for quick disconnection, making it convenient for storage and transport.
Maintenance Tips
- Regularly clean the fittings to prevent debris build-up, ensuring a secure seal.
- Lubricate rubber O-rings periodically to prolong their lifespan and prevent leaks.
- Store the fittings in a dry place to avoid corrosion and extend their longevity.
Disconnecting the Hose Safely from the Tap
To safely remove the connection from the faucet, first ensure that the water supply is completely turned off. This step prevents any unexpected spray or leaks during disconnection.
Next, release any residual pressure inside your equipment. This can typically be achieved by squeezing the trigger on the gun or using any release valve present. Allowing all remaining water to escape reduces the risk of splashes.
Once pressure is relieved, use your hand to grip the connection fitting. Carefully twist it counterclockwise to unscrew it from the faucet. Be cautious not to apply excessive force, as this can damage the threads or the fitting.
If you encounter any resistance, check for any kinks or twists in the connection that may be causing it to be stuck. Applying some lubricant to the threads might help if they are particularly stubborn.
After removing the fitting, make sure to clean the threads of the faucet and the connector to prevent dirt and debris from entering the system during future setups.
Finally, store the disconnected components in a dry place to maintain their condition for the next use. This practice extends the life of your fittings and prevents any rust or corrosion from developing.
Maintaining Your Connections for Longevity
I recommend regularly inspecting the fittings and threads of both the flexible conduit and the water source to prevent wear and deterioration. Clean the connection points with warm, soapy water to remove any debris or mineral buildup that can cause leaks.
Routine Checks
- Examine for signs of corrosion or damage once a month.
- Ensure that rubber washers are intact and free of cracks.
- Inspect for water stains around the joint, indicating a potential leak.
Proper Storage Practices
- Store connections in a dry, shaded area away from direct sunlight to avoid material degradation.
- Avoid kinking or looping the conduit tightly to maintain the integrity of the hoses and fittings.
- Utilise covers or storage bags to protect connections during periods of inactivity.
Applying a small amount of thread seal tape can be beneficial when tightening joints, enhancing the seal and preventing leakage. Always twist fittings gently and avoid excessive force to prevent stripping the threads.
Practising these maintenance habits can significantly extend the lifespan of connections, ensuring they remain reliable during use.


