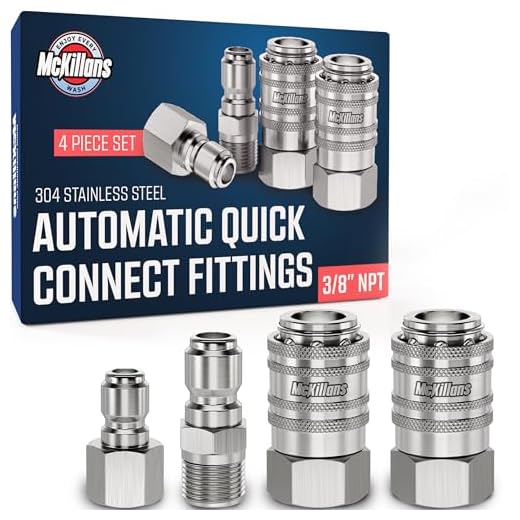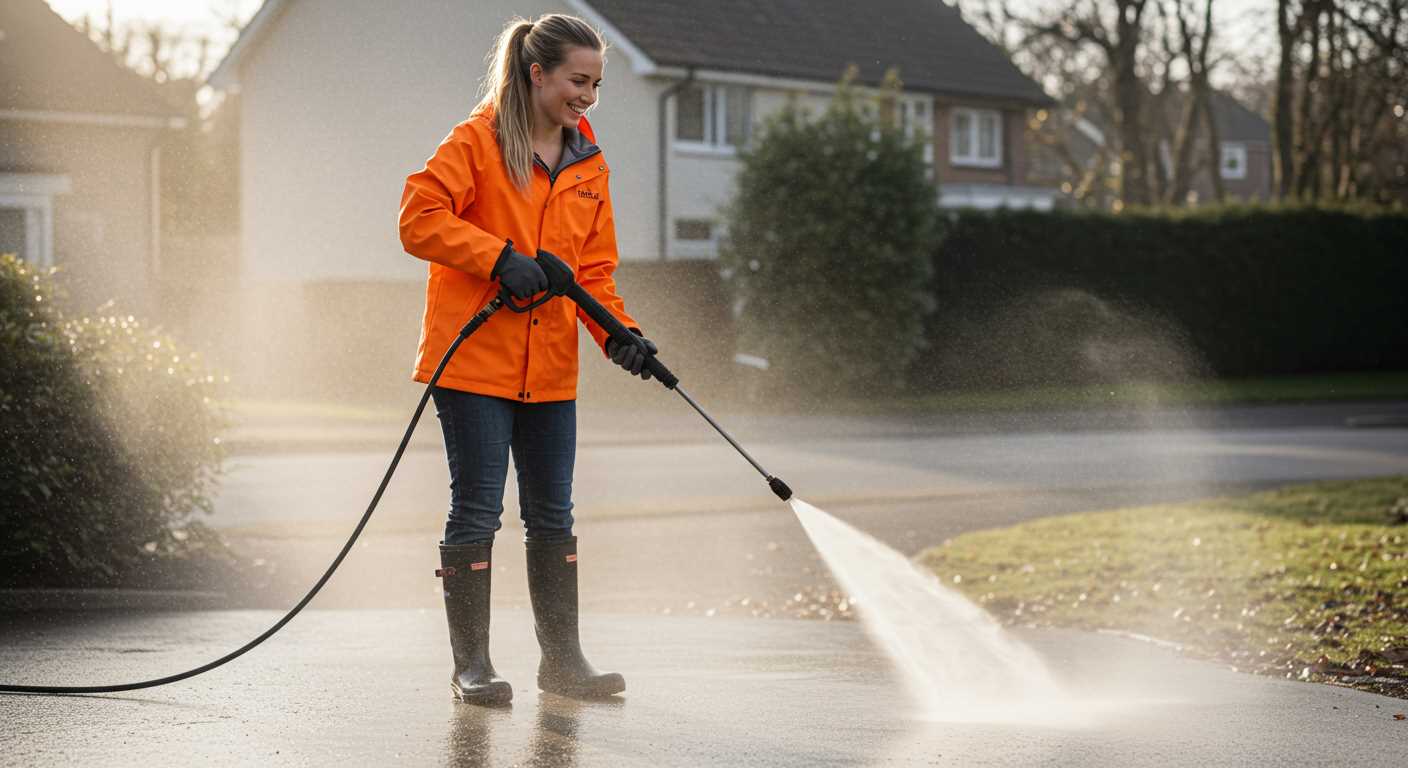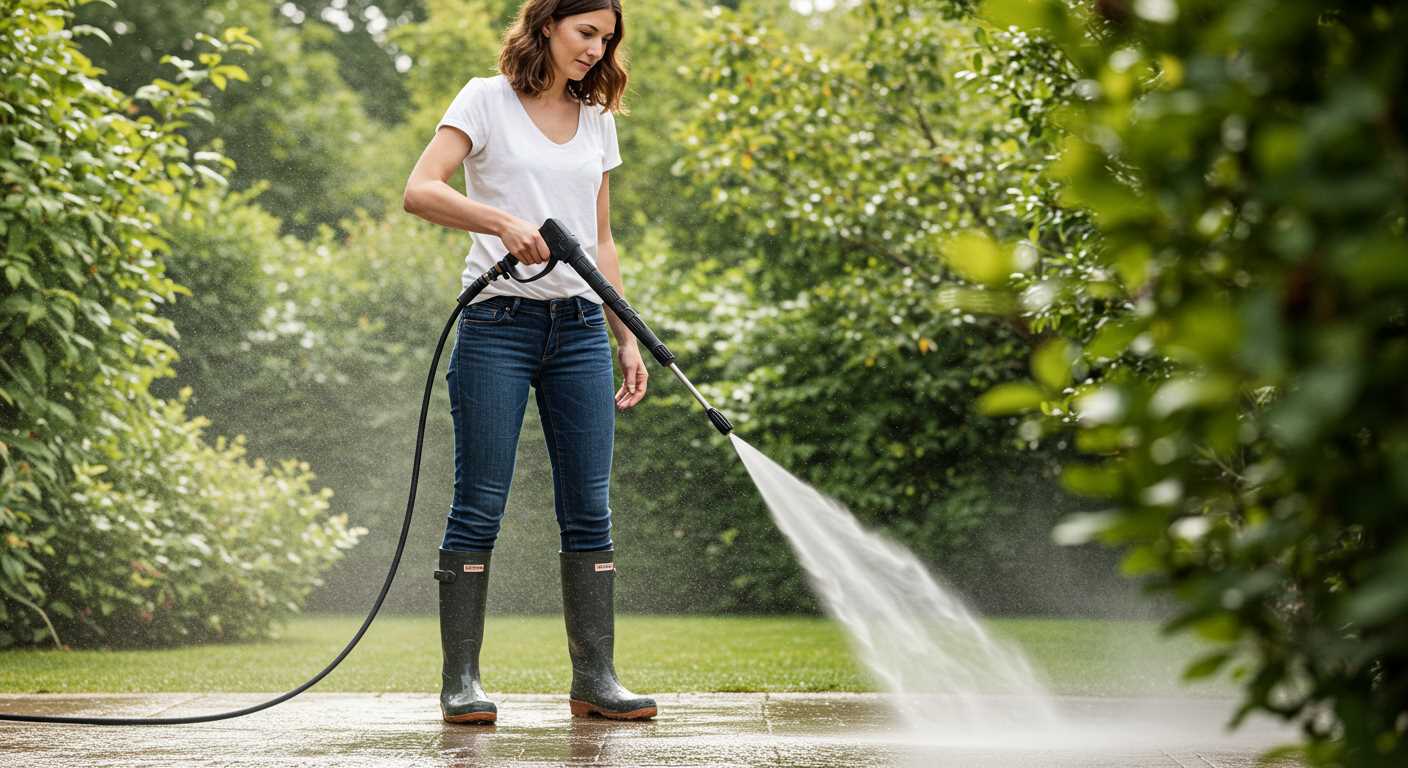


To achieve optimal results with your high-pressure equipment and a cleaning attachment, begin by ensuring you have the right fittings. Use a quick-connect adapter that matches both the nozzle of your cleaner and the inlet of your attachment. This guarantees a secure connection, preventing leaks during operation.
Before proceeding, double-check the specifications of both devices to confirm compatibility. Most high-pressure machines come with a standard 1/4-inch quick-release system, which is widely supported by various attachments. Additionally, if your equipment has variable pressure settings, make sure to adjust them to suit the requirements of the cleaning tool for efficient performance.
Once you’ve made the necessary connections, it’s vital to inspect the hoses for any signs of wear or damage. Ensure that all connections are tight to avoid disruptions while working. When you power on the unit, start at a low pressure and gradually increase to gauge how the cleaning attachment performs, allowing you to protect surfaces and achieve thorough results without causing damage.
Regular maintenance of both the high-pressure unit and the attachment will prolong their life and maintain efficiency. Always clean the attachment after use to prevent debris buildup, which can affect performance in future tasks.
Connecting Your High-Pressure Cleaning Unit to a Deck Cleaner
First, ensure you have the right adapter for attaching the nozzle of your high-pressure sprayer to the intake of your deck cleaning attachment. Most models require either a quick-connect fitting or a threaded connection. Check the specifications of both your sprayer and the deck cleaning accessory to determine which type you need.
Next, inspect the hoses. Ensure they are free of kinks and that all connections are secure. A tight seal is essential to prevent leaks and maintain performance. If your unit is equipped with a safety lock feature, activate it before proceeding to turn on the motor.
Testing for Effectiveness
Once assembled, set the sprayer to a medium-pressure setting to avoid damaging the cleaning head or the surface. Conduct a brief test in an inconspicuous area to confirm proper operation. If water pressure remains consistent and effective, you are ready to tackle the cleaning task.
Maintenance Tips

After use, detach the cleaning attachment and store both components individually to avoid wear on the seals. Regularly check for wear on the connections and hoses, replacing any damaged parts to ensure longevity of your equipment. This approach maintains optimal functionality for your future cleaning projects.
Choosing the Right Attachments for Your Model
Prioritise compatibility with your equipment’s specifications. Check your user manual for recommended accessories, as this ensures a seamless fit and optimal performance. Different brands often have unique fittings, so sticking to the manufacturer’s recommendations reduces the risk of leaks or failure during operation.
Consider the diameter of the attachment connectors. Most devices will have standard sizes such as 1/4 inch or 3/8 inch; confirm your model’s requirements before purchasing. If a particular attachment isn’t sized appropriately, it can lead to energy loss and diminished effectiveness.
Look for attachments designed specifically for the types of surfaces you plan to clean. For instance, if you’re tackling hard surfaces like concrete, an aggressive brush attachment may be necessary. Conversely, delicate surfaces, such as vehicle paint, will require softer brushes to avoid damage.
Assess the compatibility of the nozzle types. Different attachments often use varying spray patterns, such as fan or pinpoint jets. Ensure the nozzle matches the task at hand for efficient results. Overly intense pressure settings with the wrong nozzle can harm sensitive materials.
Explore rotating brush attachments if tackling flat surfaces. They enhance coverage, increasing your cleaning area while reducing the time spent on each job. Additionally, these can provide even cleaning across larger expanses.
Evaluate the weight of the accessories. Some components can be heavy and unwieldy, impacting manoeuvrability. Choose lightweight attachments that maintain durability, ensuring ease of use without compromising on performance.
Lastly, investigate user reviews on specific attachments. Real-world experiences can highlight nuances in performance and durability that specifications may overlook. This advice can lead to smarter purchasing decisions, maximising your cleaning efficiency.
Preparing the Equipment for Attachment
Start by ensuring your machine is powered off and unplugged. This minimises the risk of accidental activation during setup. Next, check the water supply, making sure the hose is securely attached to the inlet and free from kinks.
Inspect the Nozzle and Hoses
Examine the nozzle for any blockages or damage. A clean nozzle ensures optimal flow and performance. Additionally, inspect the hoses for wear or leaks; damaged hoses should be replaced to prevent water loss and pressure drops.
- Remove the nozzle and flush it with water to clear out debris.
- Check hose connections at both ends; tight connections are essential for maintaining pressure.
Set the Correct Pressure Settings
Adjust the settings on the machine according to the requirements of the attachment you’ll be using. Refer to the manufacturer’s recommendations. Typically, a lower pressure setting is advisable for larger surface areas to avoid damage.
- Consult the user manual for guidelines on optimal pressure for different attachments.
- If your model features adjustable pressure, test different settings on a small area first.
Finally, prepare a safe working environment. Ensure the area is clear of obstacles and that you’re equipped with any necessary personal protective equipment.
Understanding Hose Fittings and Compatibility
Ensure that you select fittings that match the outflow of your cleaning apparatus. Common sizes are ¼”, ⅜”, and ½”, with ¼” being prevalent for light-duty tasks. If your model is fine-tuned for commercial use, a ⅜” fitting is often required. Refer to your owner’s manual for precise specifications.
Be aware of the fitting styles. Quick-connect fittings are popular for their ease of use, allowing for rapid attachment and detachment without tools. Alternatively, threaded connectors offer a more secure, permanent connection but require a wrench for adjustments.
Mismatched fittings can lead to leaks or decreased performance. I recommend using an adapter if your attachments do not align perfectly. This is often a simple solution that can save time and frustration during setup.
Material also plays a role. Brass and stainless steel are durable and resist corrosion, while plastic can be lighter and easier to handle but may not withstand higher pressures. Choosing the right material based on your cleaning needs and frequency of usage will enhance longevity.
Lastly, consider the hose length. A longer hose offers flexibility but can lead to reduced water pressure. Balancing length with efficiency is necessary for optimum results, especially for extensive cleaning jobs.
Step-by-Step Guide to Connecting the Surface Cleaner

Ensure your cleaning device is powered off and disconnected from the outlet. This is crucial for safety before making any adjustments.
First, take the quick-connect fitting on the end of the cleaning attachment. Align it with the corresponding nozzle on your cleaning device. Push firmly until you hear a click, indicating a secure fit.
Next, locate the water supply hose. It should be pre-attached to the device. If not, connect it to the water inlet of the cleaner, ensuring it’s tightened to prevent any leakage during operation.
Once the attachment is in place, turn on the water supply. Check for any leaks by inspecting the connections. If you notice any, adjust the fittings to create a tighter seal.
Now, reconnect the flexible hose to the high-pressure outlet of your cleaning equipment. Make sure it is secured tightly to avoid accidental disconnection during use.
Begin with a test run at the lowest setting to ensure everything is functioning correctly. Gradually increase the pressure to your desired level for optimal performance.
Finally, remember to refer to the manuals for both devices. Each model may have specific recommendations for compatibility and adjustments that are vital for effective operation.
Tips for Testing the Connection Before Use

Check for leaks around the fittings. Before starting the cleaning task, turn on the water supply and look for any signs of drips or moisture. If you observe any, tightening the connection may resolve the issue.
Engage the trigger on the cleaning unit briefly. This allows water to flow through the system and helps to identify any irregularities in performance or pressure. If the water flow seems weak or inconsistent, revisiting your connections is wise.
Examine the hose for kinks or obstructions. Inspect the entire length thoroughly to ensure an unobstructed pathway for water. Any bends or blockages can diminish pressure and impact cleaning results.
Run the unit without the cleaning attachment. This simple step clarifies whether any problems stem from your setup or the accessory itself. Consistent pressure without the attachment indicates a well-functioning system.
Review the compatibility of the unit and additional accessories. Consult the manufacturer’s guidelines to confirm that all components are tailored for optimal performance together. Mismatched accessories can lead to underwhelming results.
| Action | Purpose |
|---|---|
| Check for leaks | Identify potential issues before use |
| Engage the trigger | Assess water flow and pressure |
| Examine the hose | Ensure unobstructed water flow |
| Run without attachment | Test the unit’s performance |
| Review compatibility | Prevent underperformance due to mismatched parts |
Common Issues and Troubleshooting Techniques
Leaks at the connection point are common. Ensure that all fittings are tight. If water is seeping, check for any damaged washers or O-rings that may need replacement.
Inconsistent water flow is often attributed to a clogged nozzle. Inspect the nozzles for obstructions. A simple cleaning with water or air can resolve this issue.
Reduced cleaning power may result from an improper alignment of components. Confirm that all pieces are aligned correctly and securely attached to prevent efficiency loss.
Technical Difficulties
- Unusual noise during operation may indicate a loose part. Examine all components for stability.
- Sudden shutdown can stem from overheating. Make sure the equipment isn’t under prolonged stress; allow for cooling breaks.
Performance Enhancements
If you encounter streaks or residue post-cleaning, check the detergent tank. Improper mixing ratios can lead to inadequate performance. Adjust the concentration as needed.
Regular maintenance of everything involved will enhance durability. Check hoses and connectors for wear and replace them whenever necessary. This will not only maintain effectiveness but also prolong the lifespan of your tools.


