
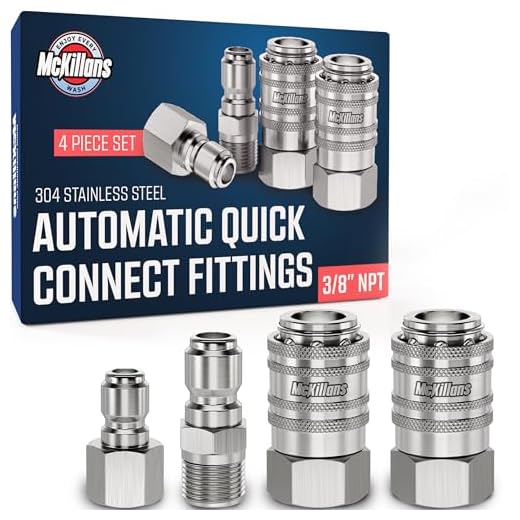


To ensure a successful setup, first, verify that your washing unit has a compatible connection for a water supply line. Typically, these machines feature a threaded inlet designed to accept standard connectors. It’s advisable to use robust materials such as stainless steel or reinforced plastic to avoid leaks.
Begin by selecting an appropriate adaptor, which usually threads onto the unit’s water inlet. Ensure this component fits securely to prevent any water escape during use. Once attached, take your supply line and check its diameter against the adaptor to confirm a snug fit. This step is critical to maintain optimal water pressure while operating.
Next, simply twist the supply line into the adaptor in a clockwise motion. Tighten gently with your hand – a wrench may be used if necessary, but take care not to overtighten, as this could damage the fittings. After securing the connection, turn on the main water supply and check for any leaks. Regular checks will help maintain the integrity of the connection over time.
With these steps, your washing equipment will be adequately prepared for efficient usage, making outdoor cleaning tasks significantly easier. Be sure to follow up with appropriate maintenance after each use to prolong the life of your components.
Understanding the pressure cleaning accessory connections
Choosing the right accessories begins with understanding various joiners and their specifications. There are typically a few standard types of fittings found on these attachments, ensuring compatibility with different water supply lines.
- Quick connect fittings: Commonly utilised, these allow for rapid attachment and removal. They often feature an external and internal design, making it simple to interchange between different tools.
- Screw-on connectors: These require threading to secure firmly. Always check the threading type to prevent leaks, as mismatched threads won’t provide a watertight seal.
- Camlock connectors: Ideal for heavy-duty use, these provide strong connections suitable for commercial applications. They engage with a simple latch mechanism for effective sealing.
It’s essential to confirm that your cleaning appliance matches the connector type of your water supply. Many units come with specific adapters to bridge compatibility gaps between varying sizes and forms. Inspect your connection points periodically, as wear and damage can lead to performance issues.
For improved efficiency, look for adjustable or interchangeable nozzles that match your set. They can enhance functionality and cater to diverse tasks, from gentle watering to intensive cleaning.
Before finalising any connection, ensure all components are clean and free from debris. A tight fit ensures optimal performance and results.
Identifying Your Hose Type and Size
Begin by determining the diameter of your flexible tubing. Most models fall into three categories: ½ inch, ⅝ inch, and ¾ inch. You can measure it by taking a ruler or tape around the outer edge. This measurement is crucial, as it impacts water flow and compatibility with attachments.
Next, assess the material of the tubing. Common types include vinyl, reinforced, and rubber. Each has distinct durability and flexibility properties, influencing how well it will perform under pressure. Reinforced hoses tend to withstand higher forces and are ideal if you anticipate heavy-duty usage.
Checking the Connector Type
Inspect the end fittings. They might be male, female, or quick-connect. A male fitting features threads on the outside, while female fittings have threads on the inside. Quick-connect systems provide convenience for swapping attachments swiftly. Knowing this aspect will inform the necessary adapters or connectors required for your task.
Understanding Length Requirements
.jpg)
Finally, consider the length of the flexible line needed. A longer cable may offer flexibility and reach but could entail greater pressure loss. A shorter connection offers increased pressure but can limit mobility. Choose a length that balances these factors based on your work area.
Gathering necessary tools for the connection
To achieve a smooth assembly between your sprayer and water line, ensure you have the following items at hand: a pair of adjustable pliers, a tape measure, and a suitable adaptor. The pliers will help you tighten fittings securely, while the tape measure is useful for checking lengths and ensuring compatibility. An adaptor is essential if there’s a mismatch in thread sizes or types.
Inspection of your sprayer’s fittings is vital; look for a threaded connection that is compatible with standard hose sizes. Consider obtaining a coupling if your equipment lacks a standard connector. It’s wise to have a spare set of washers to prevent leaks during operation.
A bucket is beneficial for testing any connections before actual use. Fill it with water to check for flow and ensure there are no leaks. Additionally, some protective gear such as gloves might be necessary to handle components safely and avoid any potential injuries.
Before beginning, verify that all tools are in good condition and suitable for outdoor maintenance tasks. Double-check that your nozzle attachments are compatible with the setup to avoid future complications.
Preparing the pressure cleaner nozzle for attachment
Ensure that the surface of the nozzle is clean and free from dirt or debris. Any contaminants can interfere with the sealing, leading to leaks or performance issues.
Check the threading and fittings on both the nozzle and the connecting pipe. Look for signs of damage or wear. If threads are stripped or there is corrosion, replace the component to maintain a strong connection.
Inspect O-rings and Seals
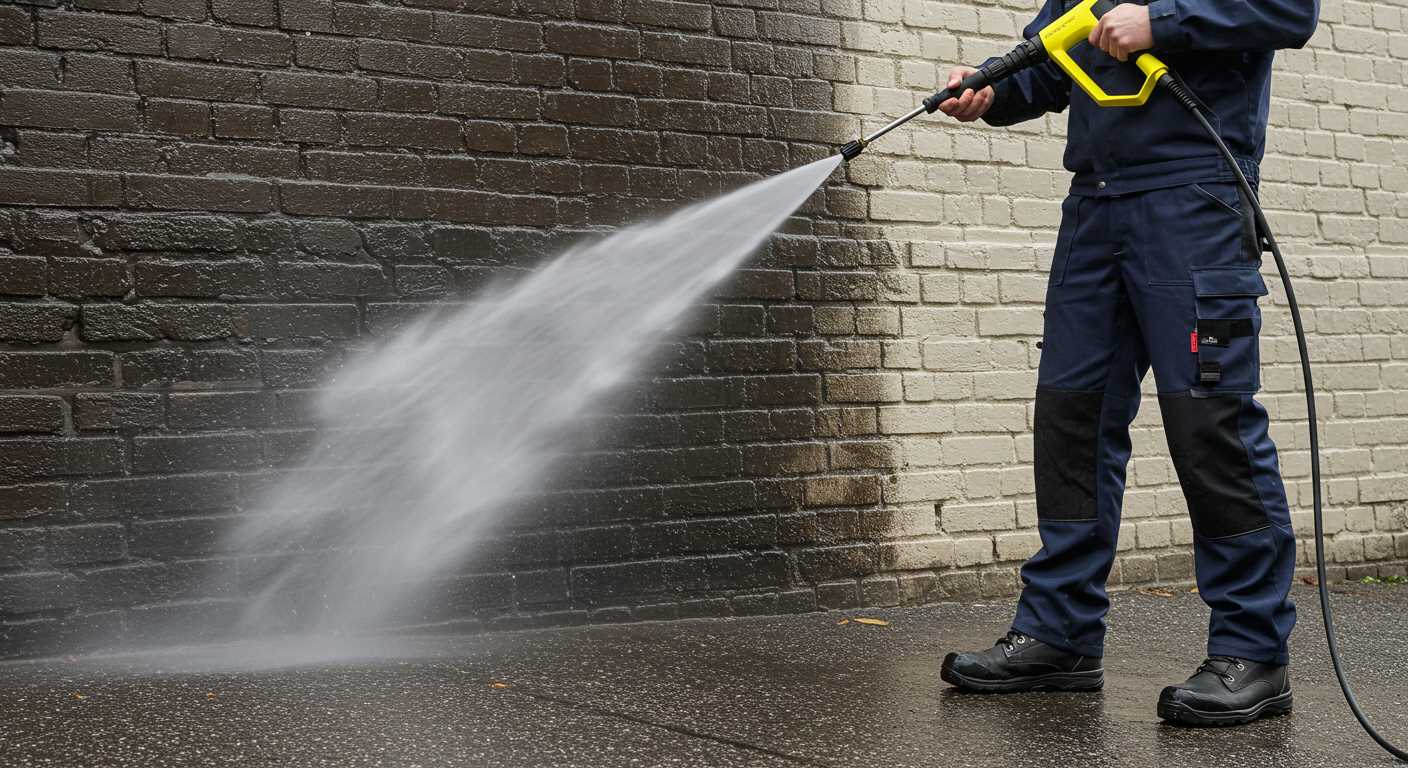
Examine the O-rings and seals for cracks or deformation. These parts play a significant role in creating a snug fit. If the O-ring appears damaged, replace it promptly to ensure optimal functionality.
Pressure Settings
Before making the connection, set the desired pressure levels on your apparatus. This adjustment ensures that when the nozzle is attached, it functions within the operational limits suited for your task.
| Component | Action | Note |
|---|---|---|
| Nozzle Surface | Clean | No contaminants present |
| Fittings | Inspect | Look for wear or damage |
| O-rings | Check | Replace if damaged |
| Pressure Settings | Adjust | Set according to task |
Completing these preparatory steps guarantees that the assembly is ready for action, leading to an enhanced cleaning experience.
Connecting the hose to the cleaning unit
First, ensure that the water source is turned off before starting any attachment procedure. Take the end of your water supply line and inspect the coupling. Most units have a threaded connector, which you will need to screw onto the inlet of the cleaning apparatus. Align the threads accurately to avoid cross-threading, which can lead to leaks.
Next, hand-tighten the connector. Avoid using tools for this step, as over-tightening may damage the threads and create further issues. Once secured, turn the water supply back on gradually while checking for any signs of leakage around the connection point. If any leaks are noticed, it may require adjustment or reseating of the connection.
After securing the attachment, you can proceed to check the hose itself for any kinks or blockages, ensuring a smooth flow of water. It’s essential to ensure that the entire line is clear, as obstructions can hinder performance. Hence, rectify any bends or limitations before starting.
At this stage, ensure you are ready to operate your cleaning unit efficiently. With everything properly attached, you can now proceed with your cleaning tasks, enjoying the convenience of your equipment’s capabilities.
Securing the Connection to Prevent Leaks
To ensure a tight fit and eliminate leaks, consider these actionable steps:
- Use the right fittings. Check that the connectors from both ends match perfectly to avoid any gaps.
- Inspect rubber washers. A damaged or worn washer can lead to water escaping. Replace if necessary for a better seal.
- Apply Teflon tape. Wrap threads of the connectors with Teflon tape to create a watertight barrier. Aim for 2-3 layers for optimal coverage.
- Tighten securely by hand. Avoid over-tightening as it could crack the fittings but ensure they are snug enough to prevent movement.
- Test for leaks. Once connected, turn on the water and check for any signs of dripping. Address any leaks immediately before proceeding.
Maintaining the Connection
Regularly check your fittings for wear and replace any worn components promptly. Seasonal maintenance can save you from leaks during high usage periods.
Tools for Securement
- Adjustable wrench (for snugging tight connections)
- Replacement rubber washers (to ensure a solid seal)
- Teflon tape (for adding an extra layer of protection)
Implement these practices to maintain a reliable and leak-free setup. Remember, attention to detail leads to effective solutions in no time.
Testing the Setup Before Use
Prior to operating your cleaning equipment, it’s vital to verify the assembly. Begin by turning on the water supply to the connecting pipe; this will help check for any leaks at the joint. Ensure that the connection is not only secure but also watertight. Observe if there are any drips or signs of water escaping, which indicates potential issues that need rectifying.
Next, switch on the machine without engaging the spray nozzle. Allow it to build up pressure for a minute. This step is crucial to ensure that the entire system has been properly pressurised and free from air locks that could hinder performance. Listen for any unusual sounds. If the unit emits loud noises or vibrations, turn it off immediately and inspect for correct assembly.
Lastly, briefly activate the cleaning nozzle away from surfaces to ensure that the water flows smoothly. This allows you to confirm that the unit is functioning as intended, with no interruptions in water flow. If everything appears satisfactory, you are ready to start your cleaning tasks confidently.
Troubleshooting common connection issues
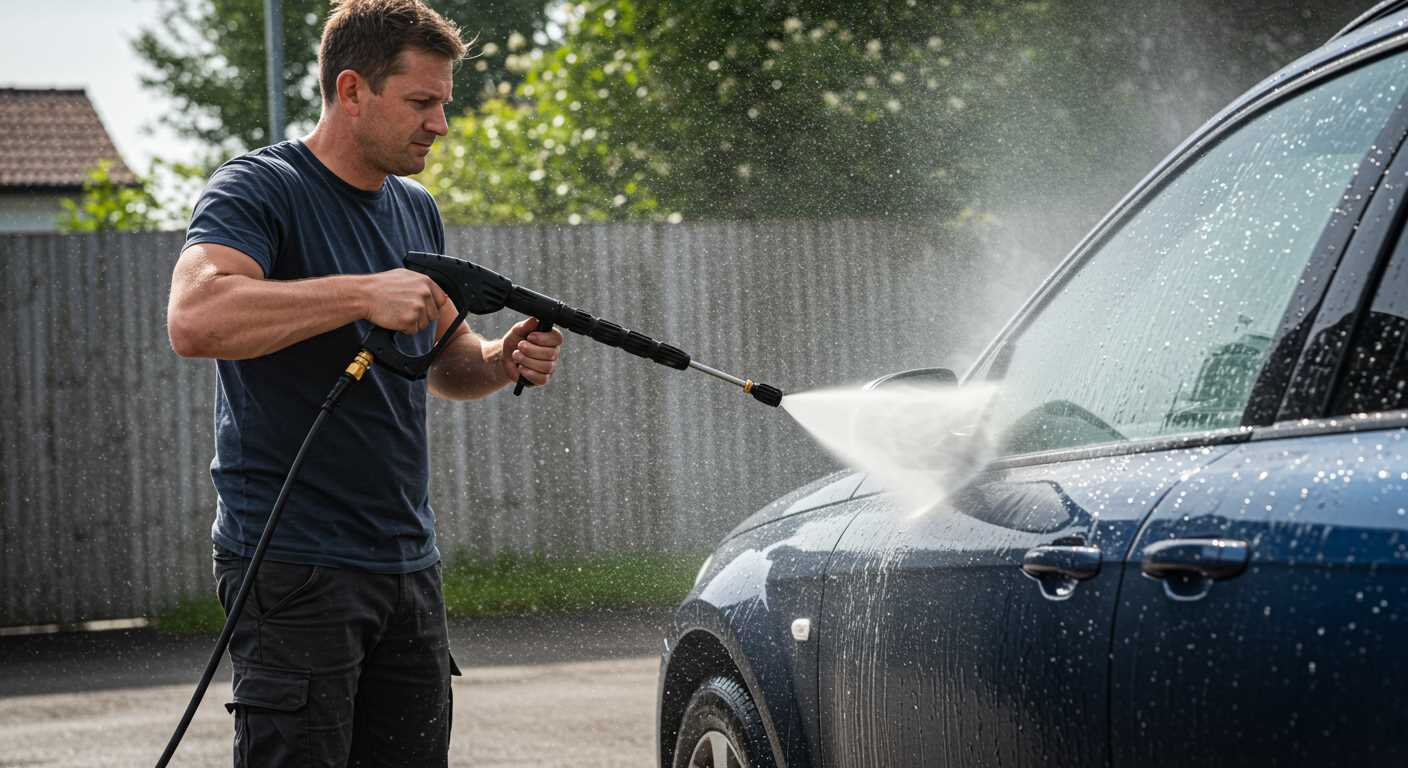
Inspect for compatibility between the fittings of your cleaning equipment and the water supply pipe. Mismatched sizes often lead to leaks or improper sealing.
Check for debris or mineral buildup on the connection points. This can obstruct the flow of water and hinder proper attachment. Clean both ends thoroughly before attempting to join them.
Assess the condition of the rubber gaskets within the fittings. Worn or damaged seals will not create the necessary airtightness. Replace them if they appear frayed or cracked.
If experiencing leaks, ensure that the fittings are not cross-threaded. Carefully unscrew and reattach, aligning them correctly to avoid any damage.
Evaluate the firmness of the connection once tightened. It shouldn’t be excessively loose or over-tightened as both circumstances can lead to issues. A snug fit is ideal.
Verify that your supply line is in good condition, free from cracks or twists that could affect water flow. Any obstruction could impede performance.
Lastly, always perform a test run after making adjustments. Monitor for leaks and ensure a steady stream of water flows without interruptions.
FAQ:
How do I connect a pressure washer wand to a garden hose?
Connecting a pressure washer wand to a garden hose is a straightforward process. First, ensure both the pressure washer and the garden hose are turned off. Begin by attaching one end of the garden hose to the water inlet on the pressure washer. It’s often necessary to tighten it by hand. Next, connect the pressure washer wand to the pressure outlet on the machine. This usually involves screwing it in until secure. Lastly, double-check all connections for leaks and ensure the water is turned on before starting the pressure washer.
Are there any specific tips for ensuring a proper connection between my pressure washer wand and garden hose?
Yes, there are several tips that can help ensure a solid connection between your pressure washer wand and garden hose. Firstly, ensure that both the threads on the hose and the connectors are clean and free from debris. This reduces the risk of leaks. Secondly, use plumber’s tape on the threads of the connectors for an extra seal. Additionally, it’s good practice to check the hose for kinks that could impede water flow. Finally, after connecting everything, conduct a quick test by turning on the water before starting the pressure washer. This will help you identify any leaks or loose connections right away.


