
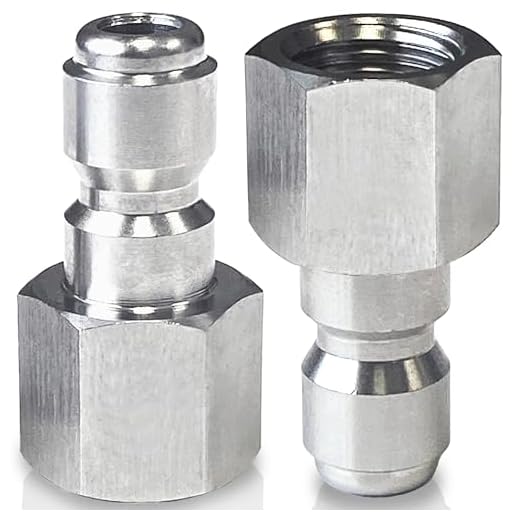
Before proceeding, ensure you have the proper fittings to maintain a secure and leak-free attachment. Begin by locating the inlet on the unit; this is where the water supply will be introduced. Ensure that the inlet is clean and free of any debris that could hinder performance.
Next, take the appropriate connector and insert it firmly into the inlet. It’s crucial to hand-tighten this connection without using any tools, as overtightening can cause damage to the threads and lead to leaks. If your equipment has a threaded inlet, confirm that the connector threads align correctly before securing it.
The next step involves aligning the water source. Whether it’s a garden tap or a dedicated water supply, ensure that the source is functional. Once confirmed, grab your garden hose and attach it to the connector. Similarly, ensure that this connection is snug–again, hand-tightening is sufficient.
Finally, it’s advisable to run water through the entire system before activating the cleaning unit. This purges any air and ensures a steady flow. Check all connections for leaks during this test run, allowing for a seamless experience in your cleaning tasks ahead.
Choosing the Right Hose for Your Pressure Washer
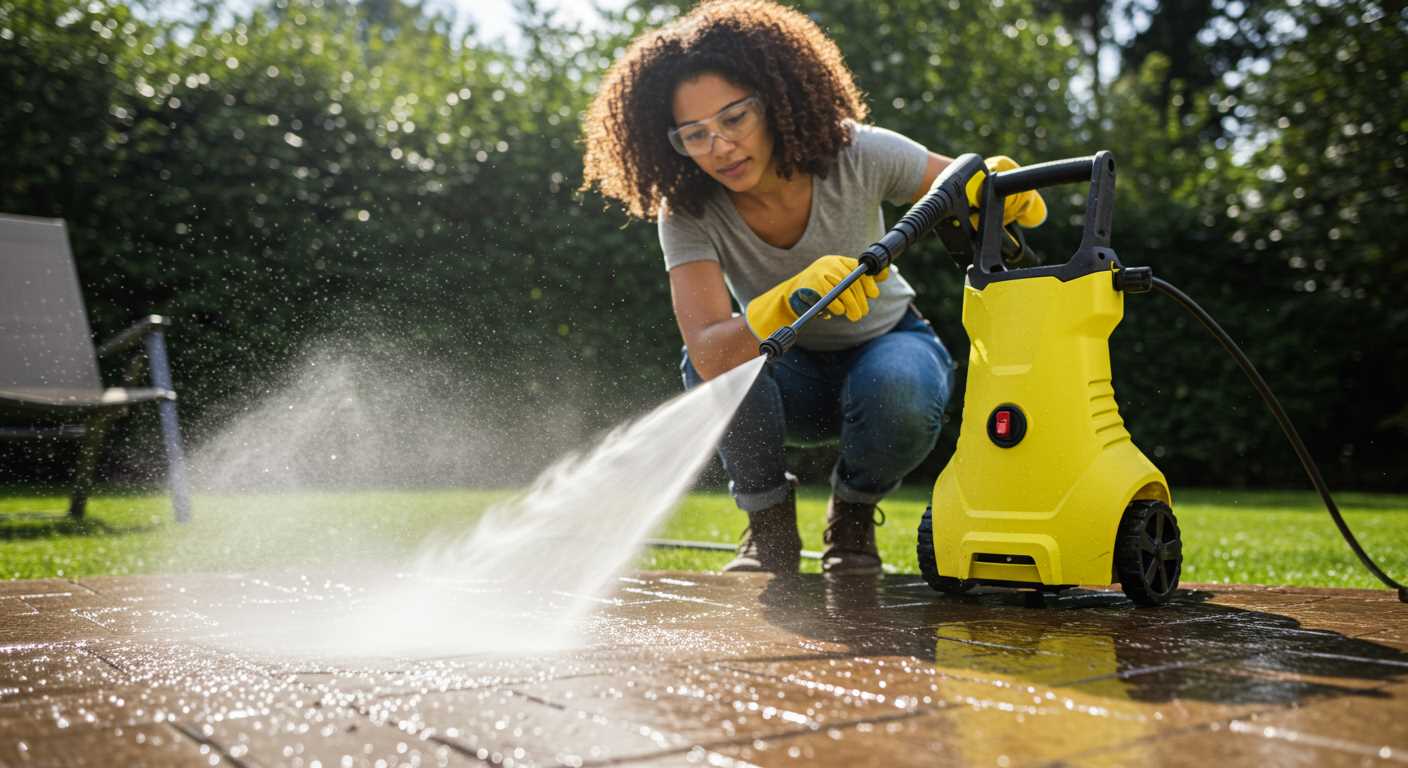
Prioritise a high-pressure conduit rated for at least 2000 PSI. For optimal results, select a length that suits your cleaning tasks; generally, 25 to 50 feet suffices for most applications.
Consider materials; rubber hoses offer durability, while PVC hoses are lighter and easier to manage. Ensure compatibility with fittings–most models require either ¼-inch or ⅜-inch connectors.
- Diameter: A wider diameter boosts water flow, enhancing efficiency. Standard sizes are typically 1/4 inch or 3/8 inch.
- Reinforcement: Look for reinforced construction, which prevents kinking and bursting under pressure.
- Temperature Rating: Ensure the line can handle both hot and cold water, especially for cleaning tasks involving heated solutions.
Evaluate your typical use. For heavy-duty jobs, investing in a robust and longer conduit pays off in the long run. For occasional light use, a standard model suffices.
Finally, read reviews and verify warranties to ensure reliability and quality. Your cleaning tasks depend on the selection made here.
Preparing the Pressure Cleaner for Hose Attachment
Ensure the power source is disconnected. This eliminates any risk of accidental activation during setup.
Next, check the water supply. A suitable garden tap with adequate flow is necessary. Inspect the hose for kinks or damage, addressing any issues to prevent leaks during usage.
Follow these steps:
- Locate the water inlet on your equipment, usually found at the back or side.
- Utilise a compatible connector that matches both the inlet and your chosen flexible tube.
- Inspect the O-ring within the inlet to guarantee a proper seal; replace if worn.
- Hand-tighten the connection to avoid cross-threading.
After securing the connection, turn on the water supply gradually to check for leaks. Adjust if necessary. Once confirmed, reattach any other removable components as required.
Finally, ensure the high-pressure attachment is ready for operation, cleaning your equipment regularly to maintain its condition and extend longevity.
Locating the Connector on the Pressure Washer
Focus on identifying the inlet fitting for your high-powered cleaning device. It’s typically found at the front or side, often near the motor. Look for a threaded connector, which is designed to accommodate a compatible attachment.
Many models feature clear markings near the inlet to guide users. These indications may include the word “Water In” or similar. If unsure, consult the user manual for precise information regarding your specific device.
Ensure that the area around the inlet is free from debris or obstructions. A clean connector promotes a seamless fit and helps prevent leaks during operation.
For units with quick-connect fittings, align the connector with the inlet and press down until it clicks into place. If your model requires screwing the attachment, turn it clockwise until securely fastened. Do not overtighten, as this may damage the threads.
Testing the connection before use is advisable. Turn on the water supply briefly to check for any leaks. Address any issues immediately to maintain optimal performance.
Attaching the hose securely to pressure equipment
.jpg)
Ensure a tight grip on the connector to avoid leaks or disconnections during operation. Begin by aligning the fitting of the water conduit with the socket on the equipment. Turn the fitting clockwise until snug, taking care not to overtighten, which could damage the threads.
Required Tools
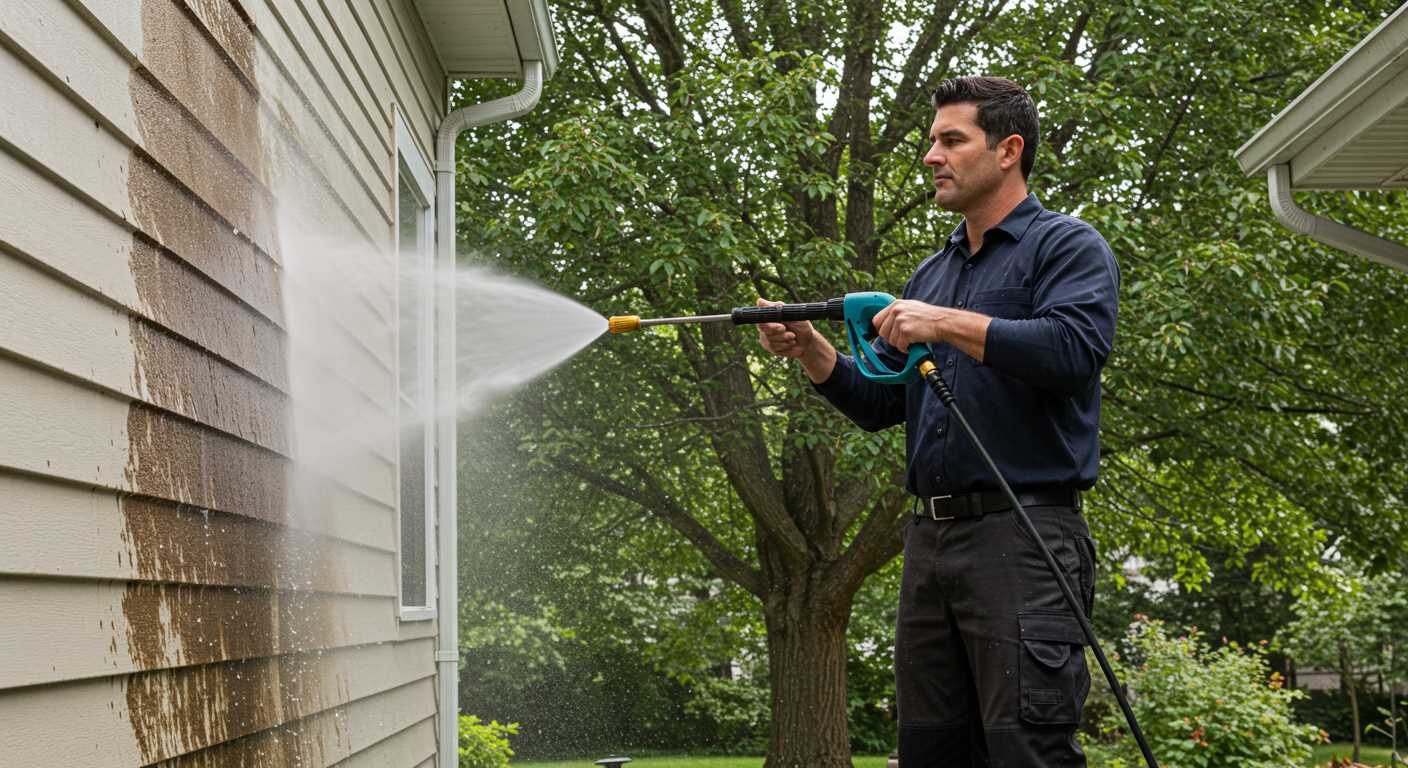
Having the right tools at hand can facilitate this process. At a minimum, you might need:
| Tool | Purpose |
|---|---|
| Wrench | To adjust fittings if necessary |
| Thread tape | To seal any potential leaks |
Final Check
.jpg)
After securing the water line, turn on the device briefly to check for leaks. Observe any water seeping from the connection; if it occurs, tighten the fitting slightly and test again. Regular inspections of connections ensure consistent performance and longevity of the unit.
Checking for leaks in the hose connection
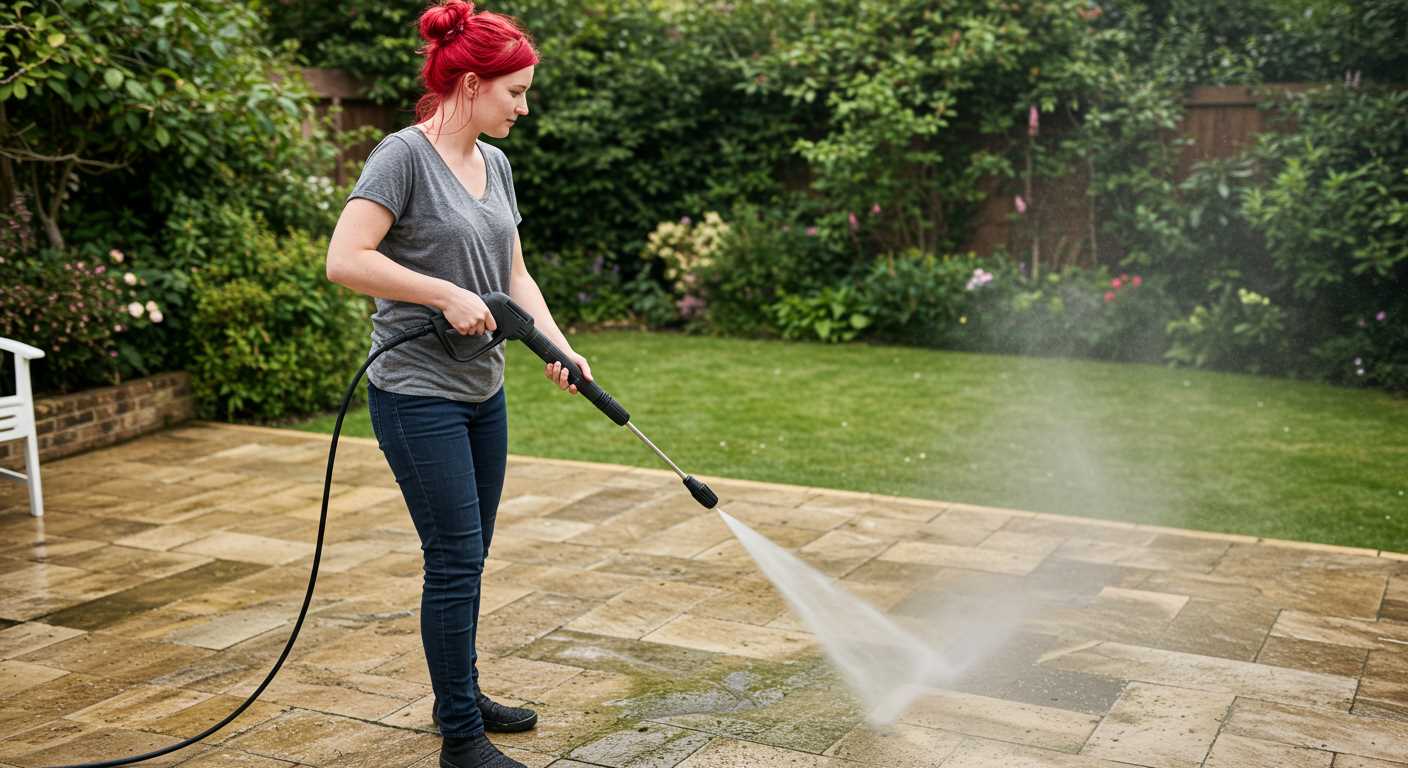
After securing the tubing to the machine, I recommend conducting a thorough inspection for any signs of leakage. Begin by turning on the water supply without activating the motor. Observe the area where the piping meets the appliance. Any evident splashes or moisture can indicate a problem with the seal.
For a more precise assessment, run your fingers along the connection points. This tactile check can reveal subtle drips that may not be immediately visible. If you spot any leaks, turn off the water and ensure that the fittings are appropriately tightened. Sometimes, simply re-tightening the connectors can resolve the issue.
In cases where leaks persist, consider using plumber’s tape on the threads before reattaching. This can enhance the seal and eliminate unwanted escaping water. After making adjustments, repeat the water supply check to confirm that the situation has improved.
Consistent maintenance of these connections ensures optimal performance. Regular inspections can preempt potential damage and prolong the life of both the equipment and piping involved.
Ensuring adequate water supply before operation
Guarantee a sufficient flow rate of at least 5-8 litres per minute for optimal functionality. A hose with a diameter of 3/4 inch or larger is ideal to facilitate this. If using an outdoor tap, check if the water pressure falls within the recommended range, typically between 20-100 psi.
Inspect the supply line for any kinks, blockages, or leaks that could hinder performance. Employ a filter to prevent debris from entering the unit, as it can disrupt water flow and cause damage.
Assess the distance from the water source to the equipment; excessive length may lead to decreased pressure. If necessary, use a shorter or more robust supply line to maintain performance.
Before starting, run the water to clear any air pockets and ensure a steady supply. Observing these details will enhance the overall experience and functionality of the device.
Detaching the hose safely after use
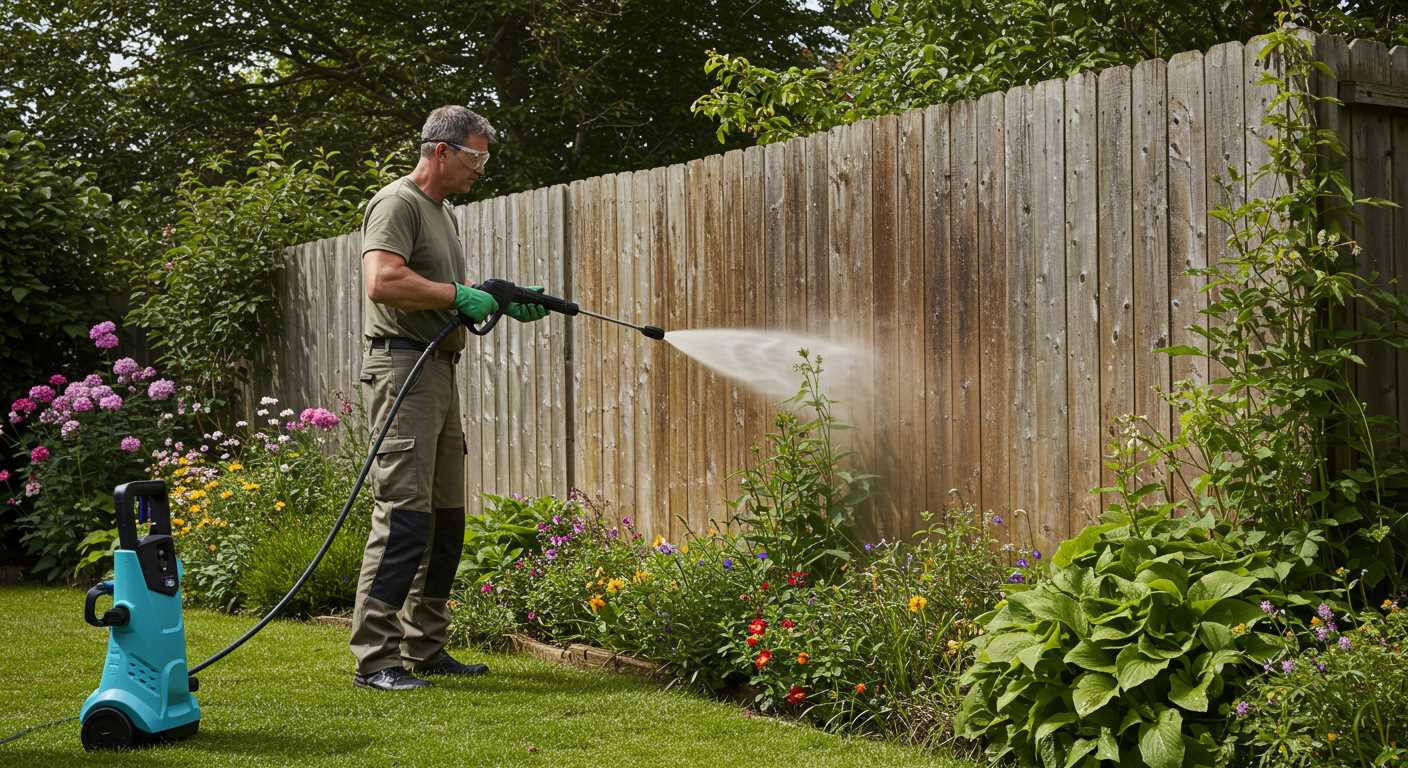
Before I detach the tube, I always switch off the machinery to avoid any accidental discharge. It’s essential to allow the motor to cool down for a few minutes. Once cooled, I relieve any remaining pressure by pulling the trigger on the spray gun; this prevents any sudden water release during disconnection.
I grip the connector firmly while turning it counter-clockwise to loosen it from the outlet. I also ensure that I’m standing at a safe distance to avoid any back spray or residual water. If there’s any buildup of dirt or grime around the connections, I clear it away before attempting to disconnect, as this can make the process smoother.
After removing the connector, I place a towel over the end of the tube. This helps to contain any residual water that may escape, keeping the area clean. I then store the apparatus in a dry location to prevent any damage or wear to the connectors.
Maintaining the hose and connectors for longevity
Regular inspection is key. Check for any signs of wear or damage before use. Look for cracks, bulges, or fraying. If found, replace the affected parts immediately to avoid leaks or bursts.
Use a mild detergent solution for cleaning. After each use, rinse the fittings and the exterior of the tubing to remove any grime or detergent residues that could cause deterioration over time.
Store both components properly. Coil the tubing loosely to prevent kinks, which can create weak points. Choose a dry, shaded area for storage to protect against UV damage, which can cause the material to break down faster.
Apply silicone lubricant on the connectors regularly to prevent corrosion and ensure easier disassembly in the future. Always tighten them by hand rather than using tools to avoid over-tightening, which can lead to damage.
Keep an eye on the water source as well. Ensure that it is free from sediments and debris, as contaminants can infiltrate the system and potentially damage internal components.
After each use, check for any leaks or drips around the fittings. Address any issues promptly to prevent further damage, which can lead to more significant repairs or replacements.
FAQ:
How can I properly connect the hose to my pressure washer?
To connect the hose to your pressure washer, first ensure that your machine is turned off. Locate the water inlet on the pressure washer, which is usually situated at the back or side of the unit. Take the garden hose, ensuring it is free of any kinks or damages, and connect one end to the water supply tap. Attach the other end of the hose to the pressure washer’s water inlet. Make sure to securely tighten the connection to prevent leaks. Once connected, turn on the water supply, ensuring there are no leaks before starting the pressure washer.
What should I do if my pressure washer hose won’t fit correctly?
If the hose won’t fit, first check whether you are using the correct type of hose compatible with your pressure washer. Inspect the connectors for any foreign objects or debris that might obstruct a proper connection. If the threads are damaged or the fittings are not compatible, you might need to purchase an adapter or replace the hose. Ensure both ends are dry to improve the chances of a secure fit. If issues persist, consulting the manufacturer’s guidelines or seeking assistance from a professional can provide additional solutions.


