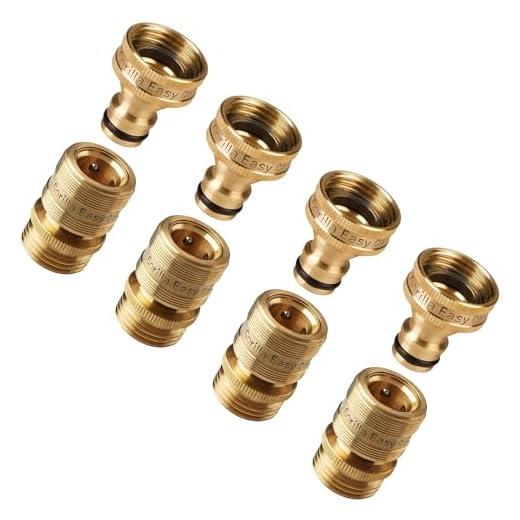


To extend your reach in outdoor cleaning tasks, utilise a connector fitting designed for high-pressure lines. These fittings securely join the tubes, creating a seamless flow of water without leaks. Look for a connector with a durable brass or stainless steel construction for longevity and reliability.
First, ensure both ends of your tubes are clean and free from debris. Any residue can compromise the seal and lead to leaks. Slide the connector onto one end, ensuring it fits snugly, and tighten the collar using a wrench to create a watertight seal. Repeat this process on the opposite end, attaching the second tube.
When using this assembly, keep an eye on pressure ratings. Ensure the combined systems do not exceed the maximum capacity of your units. Regularly check for wear and tear on the connections to maintain optimal performance and avoid unexpected disconnections during use.
Choosing the right hose connectors for your pressure washer
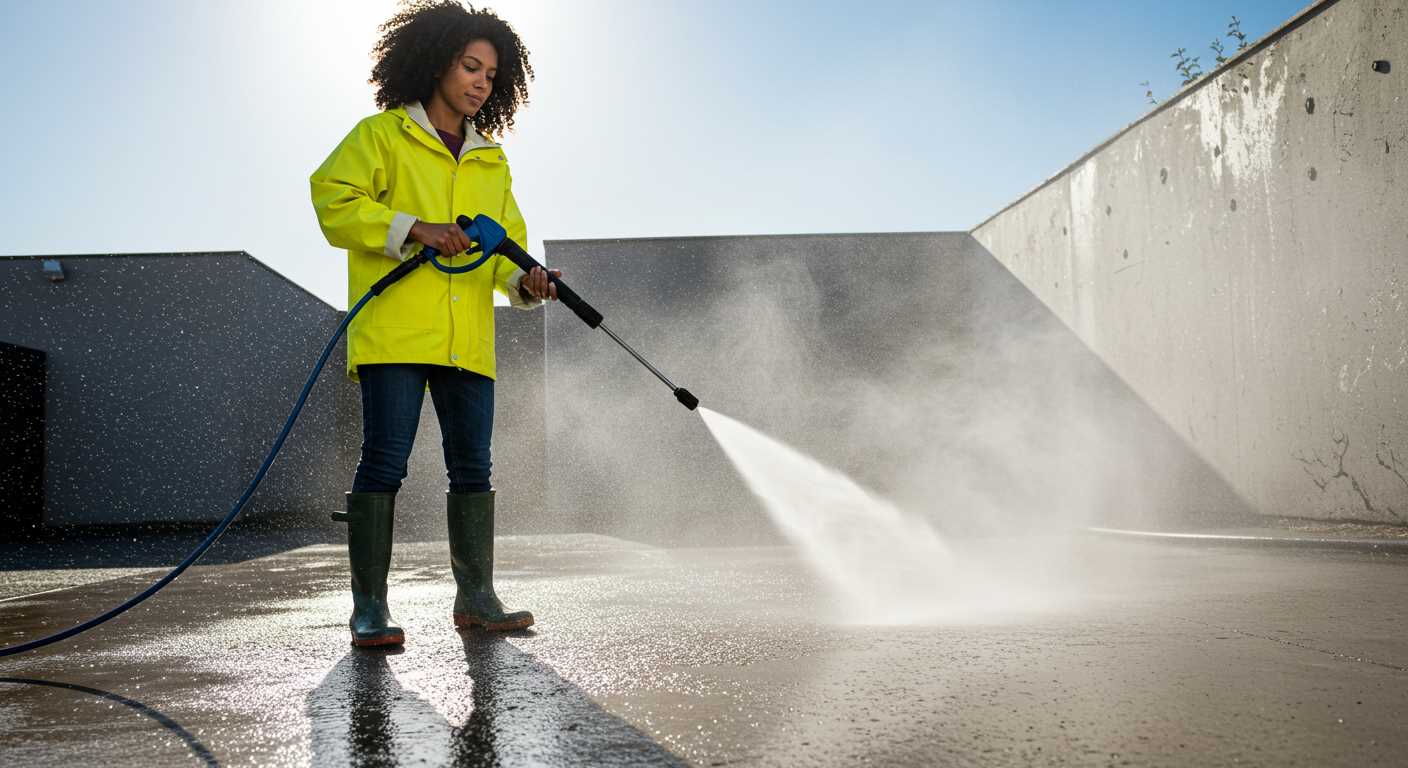
Choose connectors made of durable materials like brass or stainless steel. These materials resist corrosion and wear, ensuring longevity and reliable performance during use.
Matching the Size
.jpg)
Ensure the diameter of each connector matches the hoses being linked. A 1/4-inch connector typically fits standard pressure units, but verifying your equipment’s specifications is vital for optimal performance.
Thread Type Considerations
Select between BSP (British Standard Pipe) and NPT (National Pipe Thread) based on your system. Mixing thread types may cause leaks and reduced efficiency. Always check the thread compatibility before purchasing.
Opt for connectors that feature easy grip designs for straightforward assembly without the need for tools. Quick-release connectors allow for faster changes between hoses, increasing convenience during cleaning tasks.
For enhanced security, consider connectors with rubber O-rings. These provide a tight seal, preventing unwanted pressure loss and potential mess during operation. Always replace worn O-rings to maintain efficiency.
Measuring Hose Diameter and Length for a Proper Fit
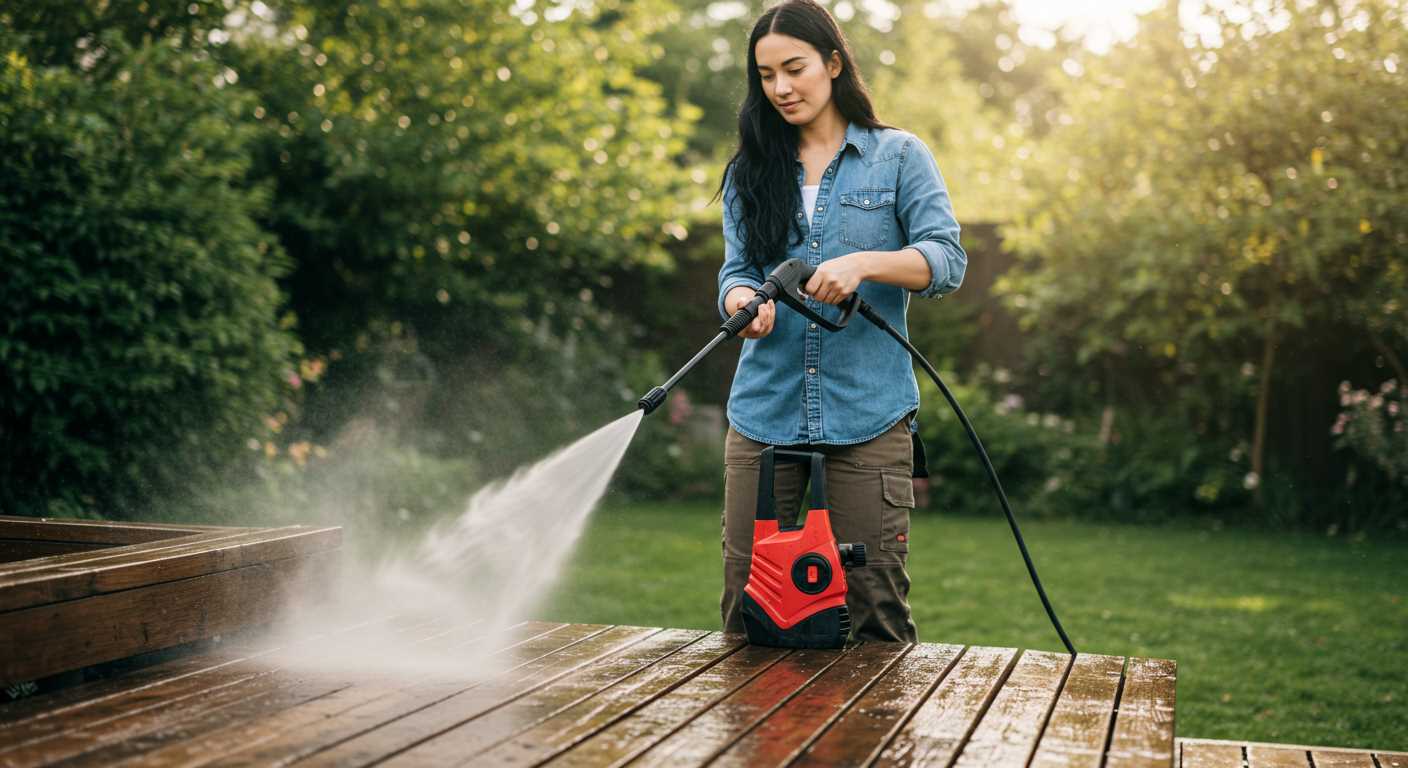
Accurate measurement of the diameter and length is critical. Begin by using a tape measure or a ruler for precision. For diameter, measure the opening of each end of the pipe, ensuring you measure the outer edge. Most connectors are designed to fit specific sizes, typically ranging from 1/4 inch to 3/8 inch.
Follow these steps for precise measurements:
- For diameter:
- Place the tape measure across the opening of the end fitting.
- Record the measurement at the widest point.
- For length:
- Extend the tape measure from one end of the pipe to the other.
- Ensure it is taut and straight for an accurate reading.
- Record the total length.
With the proper diameter and length noted, it’s crucial to ensure compatibility with connectors. Always double-check specifications from manufacturers. Mismatched sizes can lead to leaks or reduced performance. When purchasing new hoses or connectors, keep your measurements handy for optimal selection.
Preparing the Hoses for Connection and Ensuring Cleanliness
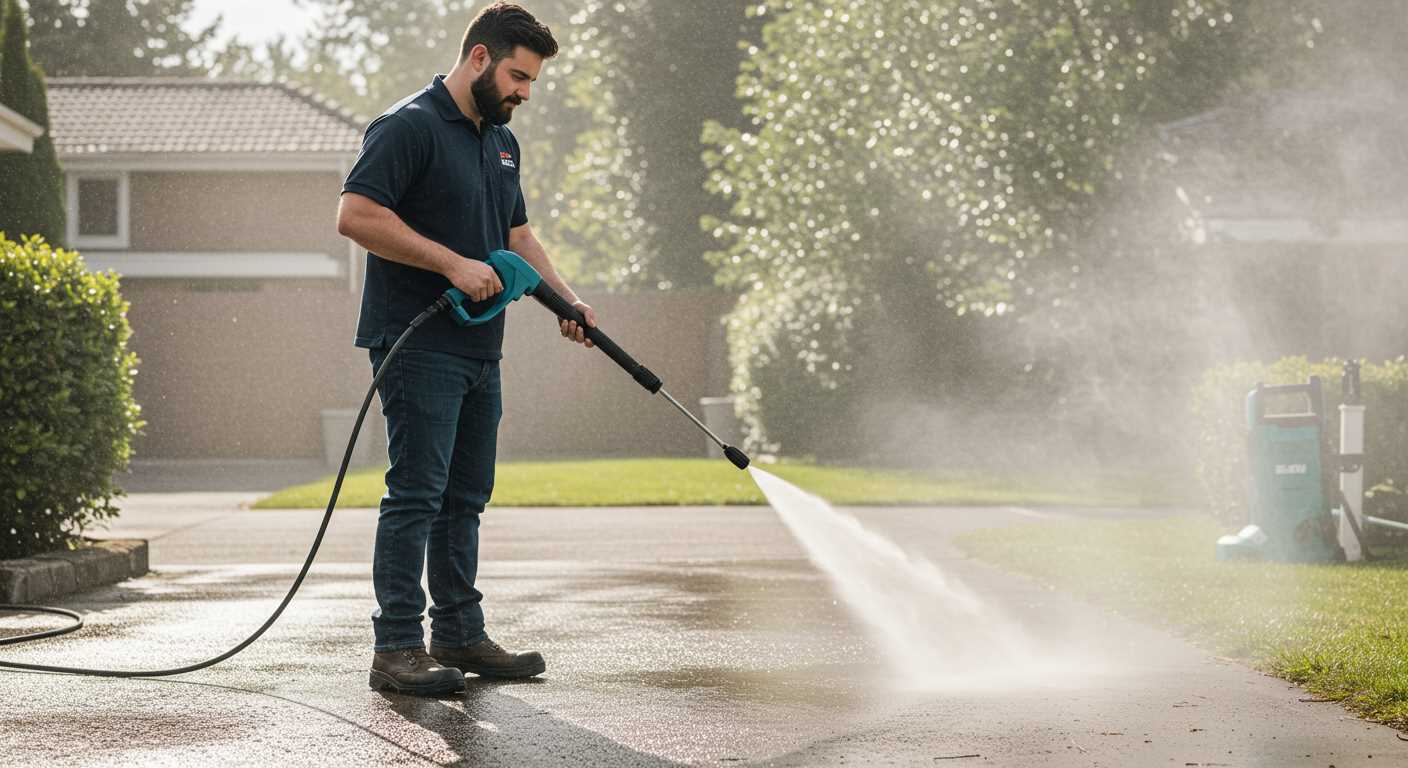
Ensure both sections are free from debris by giving them a thorough rinse. I recommend using clean water to flush any dirt or leftover cleaning agents that may have accumulated inside the tubing. This reduces the risk of contaminating your water supply.
Inspect the ends for any damage or wear. A cracked or frayed end can lead to leaks or reduced performance. If you notice any issues, consider replacing that section before attempting to join the lengths.
It’s crucial that the fittings are spotless. Wipe the connectors with a clean cloth to remove any dust or residue. This step is often overlooked but can significantly affect the durability of the joint.
Check that the rubber seals within the fittings are intact and not deteriorated. Damaged seals can compromise the connection, leading to water loss during use. Replace seals if they appear worn.
Lastly, line up the hoses properly before attempting to attach them. Ensuring a straight alignment prevents twisting, which can damage the connection points over time. Take a moment to confirm that everything is ready for a seamless join.
Step-by-step guide to attaching the connectors
First, ensure that both ends of the pipes are clean and free of any debris. This step is crucial for a leak-proof join. Use a clean cloth or a soft brush to wipe the ends of both sections thoroughly.
Next, take one connector and slide it onto the end of the first segment, ensuring it fits snugly. I recommend twisting it gently to make sure it engages properly.
Securing the connection
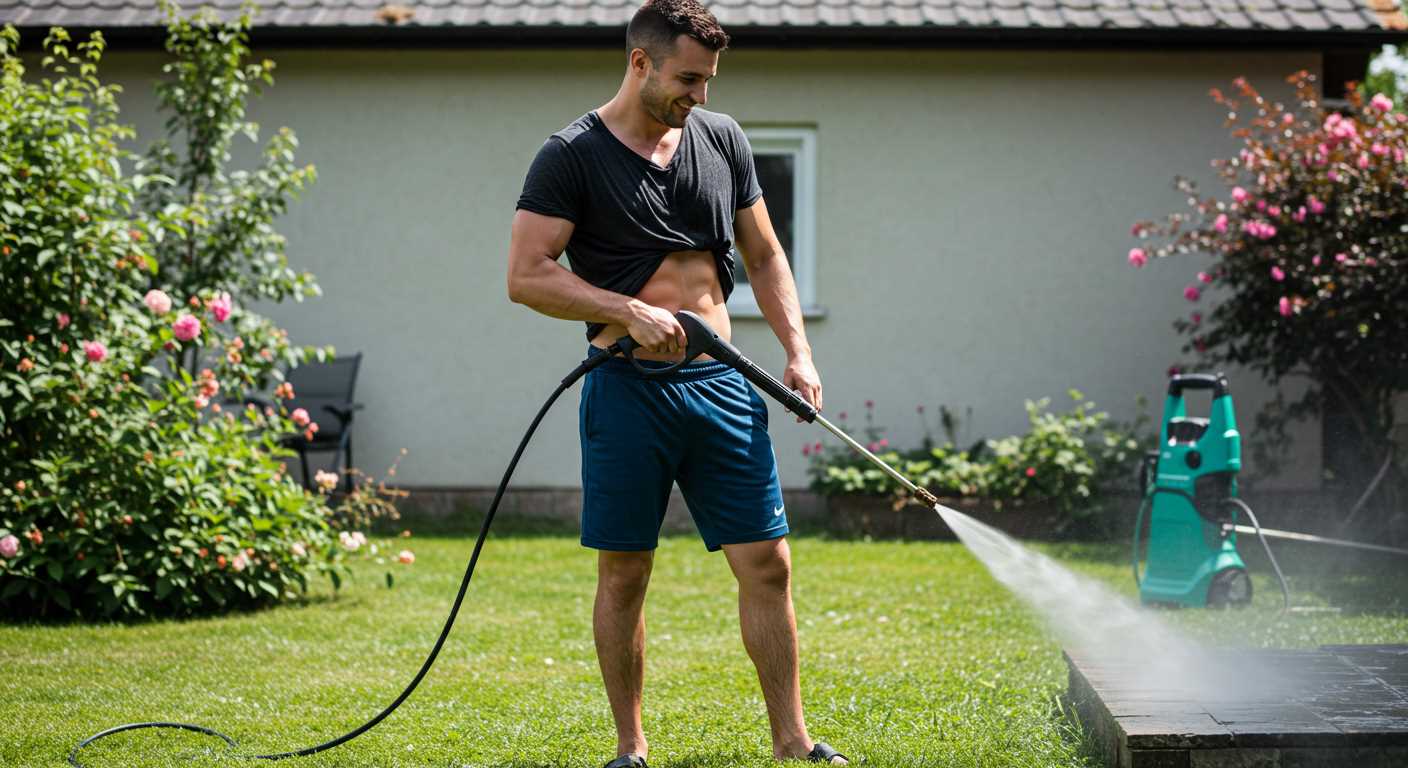
Once the connector is in place, take the second segment and insert its end into the other side of the connector. You should feel it seat firmly. Rotate the connector as needed to reach a comfortable position for attaching it securely.
Utilise the provided tightening mechanism on the connector. This is usually a knob or a screw. If the fastener requires a tool, ensure it is tightened sufficiently to prevent leaks while avoiding excessive force that could damage the equipment.
Final checks
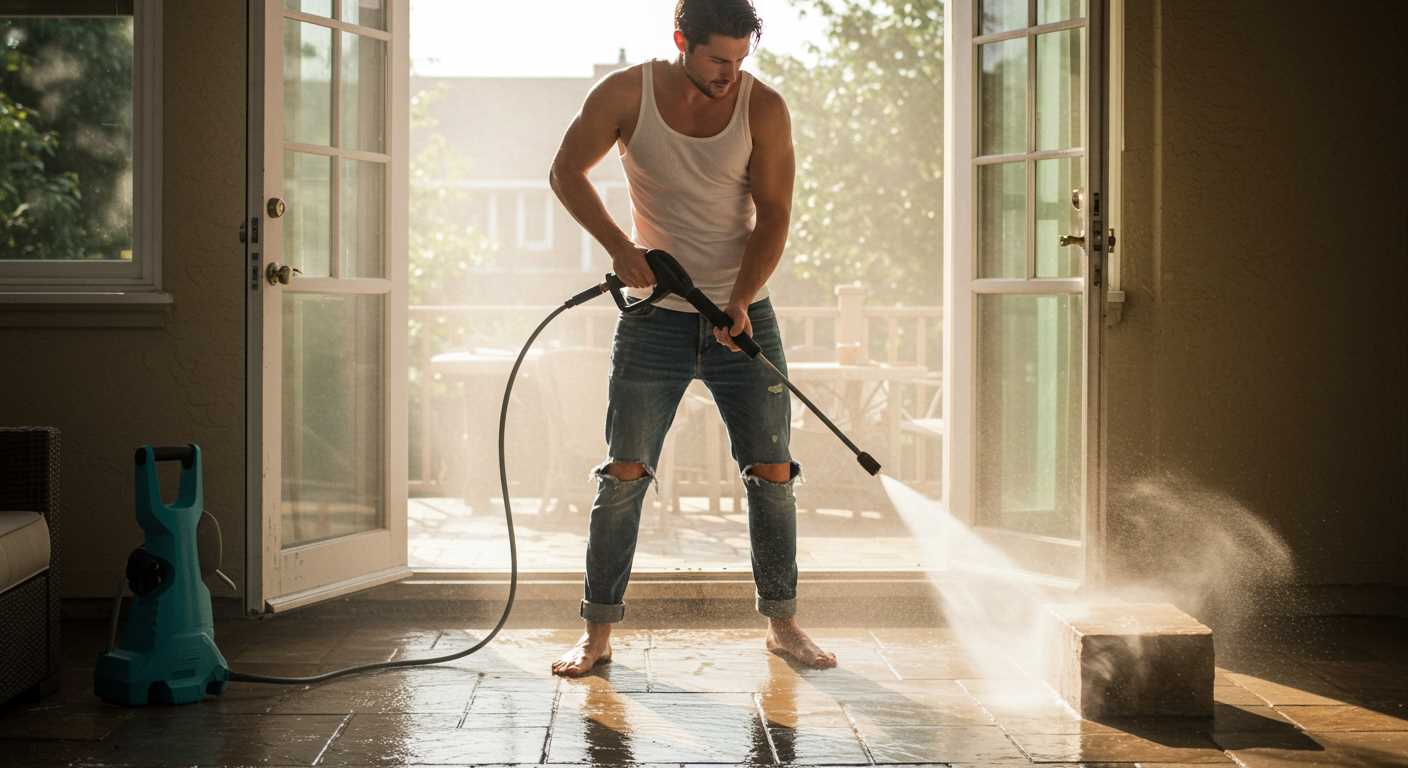
After securing the connection, gently tug on each pipe to confirm they are firmly attached. Finally, turn on the supply to test for leaks. Any drips indicate that the connectors need additional tightening, so adjust as necessary.
| Step | Action |
|---|---|
| 1 | Clean the ends of both segments |
| 2 | Attach the first connector |
| 3 | Insert the second segment into the connector |
| 4 | Tighten the connector securely |
| 5 | Test for leaks |
This procedure will ensure a secure and effective union of the segments, allowing for extended use without interruptions. Regular maintenance and checks will further enhance the durability of your set-up.
Testing the Connection for Leaks and Stability
After securing the fittings, it is critical to verify the integrity of your assembly to prevent water leaks and ensure reliability during use. Begin by performing a visual inspection of all joints and connections.
- Attach your equipment to a water source.
- Turn on the water supply gradually to avoid sudden pressure spikes.
- Inspect for any signs of leakage around the junctions. If water seeps out, it’s a sign that the connection isn’t tight enough or that the fittings are incompatible.
Next, conduct a functional test:
- Engage the system briefly to allow water flow through the line.
- Monitor all connection points closely for any leaks during operation.
- If leaks are detected, turn off the water supply, tighten the connectors, and re-check.
Ensure that all components are secured properly and feel stable. A wobbly connection may indicate that it could loosen during usage.
For added assurance, consider the following tips:
- Utilise thread seal tape on male threads to reinforce the seal.
- Check for wear or damage on gaskets and washers, replacing them if necessary.
- Regularly inspect your setup before each use to comply with maintenance best practices.
This methodical approach will help eliminate leaks and ensure your system functions smoothly, allowing for efficient cleaning tasks without unexpected interruptions.
Maintaining Your Hoses After Joining Them
Regular inspection is essential. Check for any signs of wear or damage immediately after joining the lengths. Look for cracks, kinks, or bulges that may compromise functionality.
Always rinse the inner surfaces periodically. Use clean water to flush out any debris or residue that can accumulate and affect performance. It’s advisable to do this after every few uses, especially if you’ve been working with substances that could cause buildup.
Store your joined lengths in a cool, dry place, away from direct sunlight. Excessive heat and UV exposure can degrade materials over time. A storage reel or a simple hook will prevent tangles and help maintain shape.
Apply lubricant to connectors every few uses. A silicone-based spray will ease disassembly and prevent corrosion, ensuring a snug fit every time you set up.
When not in use, ensure that no water remains in the lines. Stagnant water can foster mould and mildew, potentially causing blockages. If unsure, drain them completely before storing.
Consider using protective covers designed for your specific setup. These can shield against environmental factors that may lead to premature degradation.
Log usage frequency and conditions in a maintenance journal. This data can guide you in determining when a replacement might be necessary based on wear patterns observed.
Lastly, keep your environment clean and organised. A tidy workspace can reduce the likelihood of accidents that may damage your connections. Always handle with care to extend service life.
Troubleshooting common issues with hose connections
If water leaks from the junction, inspect the connectors for proper tightening and alignment. Often, a simple twist or adjustment can solve the problem. Another potential cause may be debris lodged in the connector threads; cleaning these areas can eliminate leaks.
Should you experience reduced water flow, verify that the diameter of the fitted tubing aligns with the specifications of your cleaning device. Using hoses with incompatible sizes can hinder performance. Also, check for kinks or bends in the line that may obstruct water movement.
If gas or electric pressure machines fail to operate after linking the lines, confirm the fittings are secured correctly and the system is not under excessive strain. Sometimes, a lack of functionality is related to the hose material not being suitable for high pressures.
When you encounter extreme pulsation in the water stream, this could indicate an air pocket in the line or a blockage. Bleeding the system or ensuring the pathway is clear can often rectify these issues. It’s beneficial to routinely inspect for any inconsistencies in the connectors to maintain optimal operation.
In case of any noticeable wear, inspect the outer layer of your tubing. Cracks or fraying require immediate attention, as they can lead to further complications. Consider replacing worn sections to avoid the risk of leaks or bursts during use.
For any persistent problems, consulting the manufacturer’s guidelines or reaching out to customer support can provide tailored solutions based on the specific model of your equipment.


