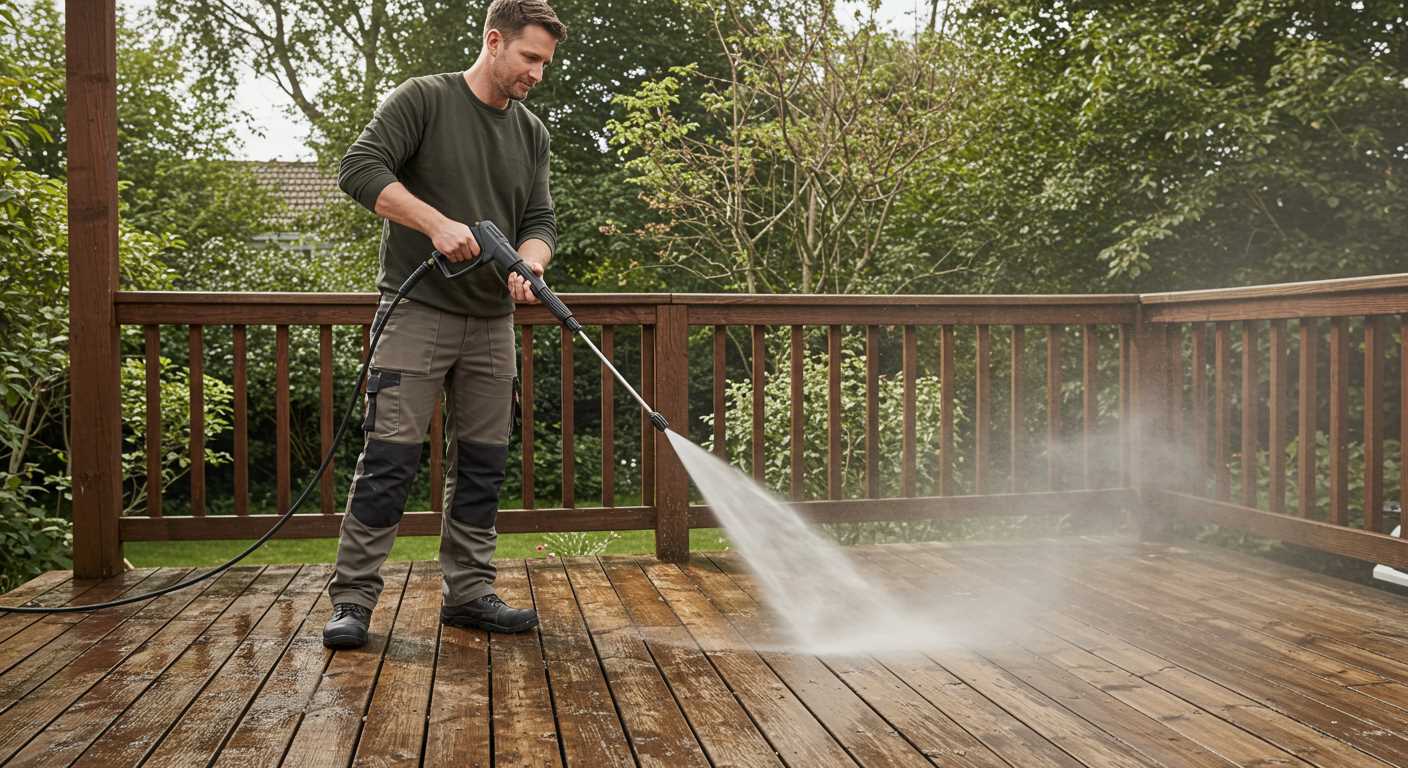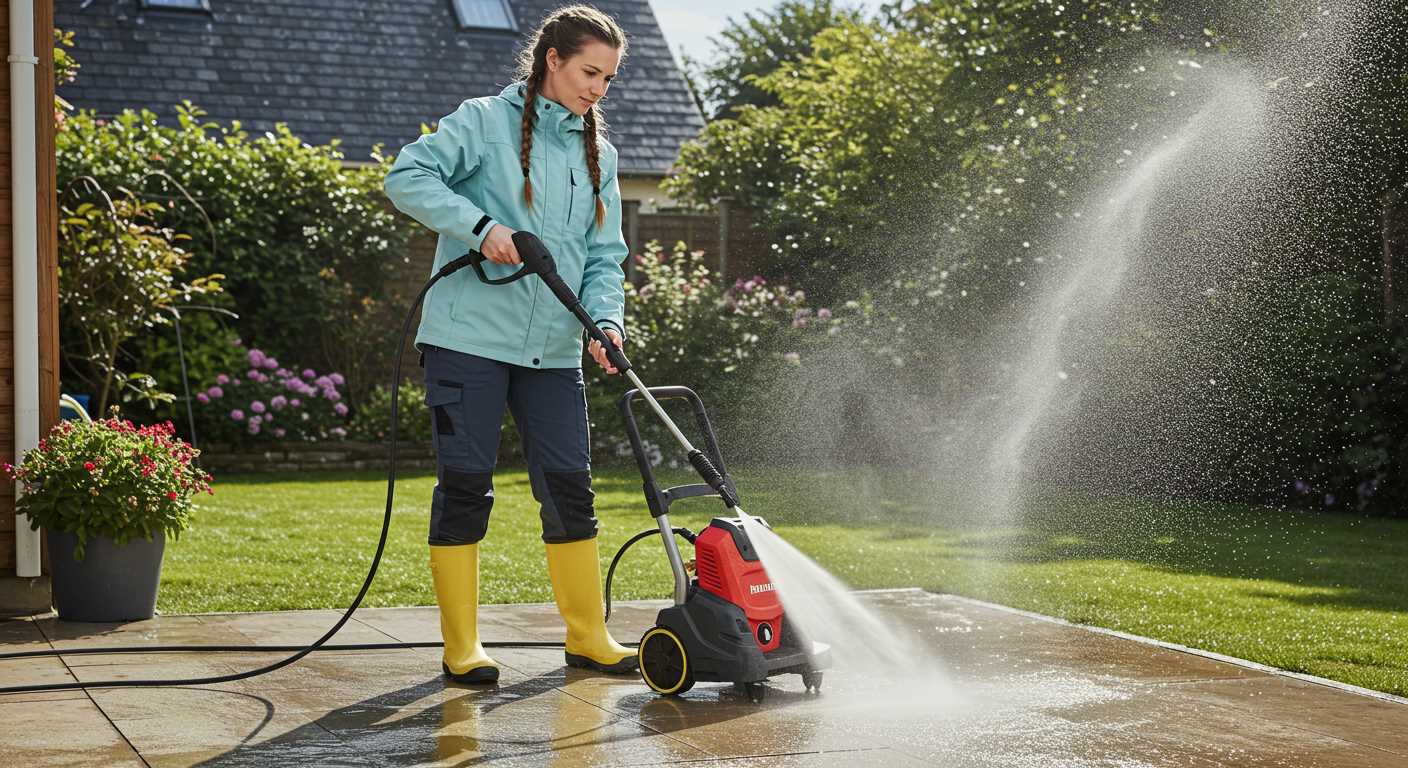


Start by removing the existing nozzle from your cleaning machine and replacing it with a specialized drain cleaning nozzle designed for high-pressure water tasks. This adjustment enhances the machine’s ability to clear blockages in pipes, ensuring optimal flow.
Next, ensure the attachment fits snugly, preventing leaks that can reduce pressure. Ideally, look for nozzles that create a forward jet stream and rear jets for propulsion while navigating through pipes. A multi-angle nozzle is also beneficial for tackling varied obstructions.
After making these changes, check the hose and connectors for durability. Using reinforced hoses can prevent wear and enhance safety during operation. Always verify the machine’s pressure rating to match the requirements of your new nozzle, ensuring compatibility and effectiveness.
Before starting any cleaning task, perform a quick inspection of the drain system and clear any visible debris. This prepares the area for a more thorough clean, reducing potential damage to pipes or equipment. Adhere to safety guidelines, including wearing protective gear and ensuring a clear workspace. By following these steps, you can significantly increase the versatility of your machine for tackling stubborn drain issues.
Transforming Your Cleaning Equipment for Drain Maintenance

Begin with a quality high-pressure appliance that delivers at least 2500 PSI. This power is crucial for tackling stubborn blockages in pipes effectively.
- Remove the standard nozzle and replace it with a dedicated drain cleaning nozzle. Opt for a ¼-inch nozzle with a forward jet, designed specifically for clearing pipes.
- Attach an appropriate length of flexible hose, ideally between 50 and 100 feet. Ensure the hose is rated for high pressure.
- Consider a hose reel to prevent tangling and ensure ease of use when feeding the hose into drains.
Modify the water inlet to achieve optimal flow rates. Use a garden hose adapter if necessary, ensuring a tight seal to prevent leaks.
- Secure all connections with hose clamps for maximum reliability.
- Run a test for functionality before engaging in full-scale operations.
- Adhere to safety protocols by wearing suitable protective gear, including gloves and goggles.
Monitor water flow and adjust pressure settings as required, especially in sensitive areas where pressure can lead to damage. Regular inspection of equipment after use will extend its lifespan and performance.
Choosing the Right Cleaning Equipment for Jetting

For optimal results in drain maintenance, select a unit with at least 2,000 PSI and 2.5 GPM. High pressure paired with sufficient flow rate improves debris removal efficiency. Look for machines equipped with a brass pump for longevity and superior performance.
A model with an adjustable nozzle adds versatility, allowing you to adapt the stream intensity based on the specific cleaning task. Certain models feature rotating nozzles, which enhance cleaning power through a sweeping action that can tackle stubborn obstructions.
Evaluate the durability and construction materials. Stainless steel and reinforced plastic elements prolong lifespan, especially when subjected to harsh conditions. Ensure that the unit has adequate insulation and a reliable cooling system to prevent overheating during extended use.
Pay attention to accessories that enhance functionality. A long hose and proper jetting attachments increase reach and effectiveness. A reel for storage can also simplify transport and organisation, preventing kinks and wear on the equipment.
Consider the weight and portability. A lightweight machine with easy manoeuvrability saves time during operation, particularly in confined spaces or varied environments. Look for models with sturdy wheels or transport handles.
Finally, check compatibility with available attachments. Some units offer adaptability features to accommodate different jetting tools, enhancing overall utility and making the equipment useful for various tasks beyond drain cleaning.
Required Accessories for the Conversion Process

To successfully repurpose a cleaning device for underground applications, several key components are necessary. A high-quality jetting hose is paramount; select one that’s rated for at least 3000 PSI, as it must withstand high pressures. A length of 50 to 100 feet provides ample reach into drains and pipes.
Next, invest in a nozzle set designed for jetting. Specifically, look for a combination of rear-facing and front-facing options to dislodge and clear obstructions effectively. Nozzles with interchangeable tips allow for versatility in tackling various blockages.
Additionally, a swivel connector simplifies manoeuvrability within tight spaces. It reduces hose twisting, making the process smoother and more efficient. A safety shut-off valve is highly recommended as well, providing an emergency stop mechanism in cases of malfunction.
A compatible adapter is essential for connecting the hose to your existing cleaning apparatus. Ensure it fits snugly to prevent leaks, as even minor leaks can reduce pressure significantly during operation.
Finally, a pressure gauge helps monitor performance during usage. It ensures that you operate within the optimal range, protecting your equipment from damage while providing the effectiveness needed for thorough cleaning.
Detailed Steps to Modify the Pressure Washer
First, ensure the unit is powered off and disconnected from any water source. Safety is paramount during any modifications.
1. Gather Necessary Items
Collect the following components:
- High-pressure hose (rated for increased pressure)
- Rotary nozzle or nozzle with a narrow jet configuration
- Adapter kit to fit the existing gun with the new nozzle
- Clog remover attachment, typically a flexible, high-pressure hose with a jet head
2. Install New Nozzle
Replace the standard nozzle with the rotary or narrow jet nozzle. Ensure a tight fit to prevent leaks. Use an appropriate adapter to match the diameter of the existing fittings if necessary.
3. Modify Hose Connections
Attach the high-pressure hose to the pressure outlet. If the fittings are incompatible, use the adapter kit. Ensure all connections are secure to withstand the increased water flow rate.
4. Set Up the Jetting System
For jetting functionality, connect the clog remover attachment to the modified hose. Ensure that the jet head is securely fastened. This attachment will assist in dislodging blockages in pipes.
5. Test the Configuration
Reconnect the water supply and power on the equipment. Test in a safe area to check for leaks and ensure the jetting mechanism operates effectively. Adjust the nozzle angle for optimal performance.
6. Maintenance Checks

After testing, inspect all connections and the nozzle for any wear. Regular checks will prolong the life of your equipment and maintain performance.
Summary Table
| Step | Action |
|---|---|
| 1 | Gather necessary items |
| 2 | Install new nozzle |
| 3 | Modify hose connections |
| 4 | Set up the jetting system |
| 5 | Test the configuration |
| 6 | Conduct maintenance checks |
Following these detailed steps ensures an efficient modification process for enhancing your cleaning capabilities.
Safety Precautions When Operating a Sewer Jetter
Always wear appropriate personal protective equipment, including gloves, goggles, and sturdy footwear. The high-pressure water can cause serious injury or damage, so ensure that your clothing fits well and does not have loose ends that could get caught in equipment.
Before beginning any task, inspect connections, hoses, and nozzles for signs of wear or damage. Any leaks can lead to reduced performance or pose safety hazards.
Check that the environment is free from obstacles or hazards. Ensure there is adequate drainage for water flow and remove any debris that could obstruct the jetting process.
Secure all hoses to prevent disconnection during operation. Loose fittings can lead to dangerous situations. Regularly monitor connections while working to ensure functionality.
Maintain a safe distance from the nozzle during use, as the force of the water can kickback and cause injury. Always direct the spray away from yourself and others, and avoid overreaching during operation.
Ensure a stable footing on the ground to prevent slips. Wet surfaces can become hazardous quickly; thus, staying balanced is critical.
Keep an emergency shut-off or valve nearby for quick access. Understanding how to stop the flow immediately can mitigate risks if something goes wrong.
Be aware of the working environment, particularly any potential electrical hazards. Water can conduct electricity, so keep electronic devices away from the jetting area.
Lastly, always adhere to the manufacturer’s guidelines for operation and maintenance. Familiarity with the equipment is crucial for safe and effective usage.
Testing Your Converted Sewer Jetter

Begin with a thorough inspection of all connections to ensure there are no leaks. Attach the high-pressure nozzle and verify that it’s secure. Fill the injector tank with an appropriate cleaning solution if your setup includes one. Make sure the fuel tank is full and check the oil levels before starting the equipment.
Once everything is set, start the machine, letting it idle for a minute to stabilise the pressure. Gradually increase the pressure, watching for any unusual noises or performance issues. Aim the nozzle towards an open area initially to observe the water flow and pattern. Ensure that the spray is consistent and reaches the expected distance.
Next, test in a controlled environment, such as a short and clean drainage pipe. Monitor how well the device clears debris. If it struggles, check that the nozzle isn’t clogged, and adjust the pressure settings accordingly. This trial run will provide insights into the jetting power and help identify potential improvements needed for debris removal.
After the initial test, evaluate the results. Look for effective removal of residue without damaging the pipe. Keep track of the pressure readings and adjust as required for different conditions during actual use. Consistent testing after each modification will refine the setup, ensuring optimal operation during actual tasks.
Document your findings, noting any adjustments to pressure, nozzle size, or equipment settings. This record will be helpful for future applications and maintenance. Always repeat the testing process periodically to ensure ongoing performance and reliability.
Maintenance Tips for Your Sewer Jetter
Regularly inspect the hoses for any wear or cracks. Replace any damaged sections immediately to prevent performance loss or leakage.
Ensure that the nozzles are clear of any debris after each use. Clogged nozzles can negatively impact water flow and cleaning efficiency. Use a small wire or brush to clean them if needed.
Check the pump oil level on a frequent basis, and change the oil as per the manufacturer’s recommendations. Clean oil ensures optimal pump functionality and longevity.
After using your unit, flush it with clean water. This step helps to remove any residual materials that could affect its operation and effectiveness in the future.
Store your equipment in a dry, sheltered environment. Exposure to extreme weather conditions can cause significant damage to the sensitive components.
Periodically assess all the fittings and connections for tightness. Loose connections can lead to pressure drops and reduced efficiency in performance.
Consider lubricating moving parts to ensure smooth operation during subsequent uses. Use the recommended lubricants for best results.
Keep an eye on the fuel levels and ensure quality fuel is used to avoid clogging the engine and compromising performance.
Maintain meticulous records of usage and any maintenance performed. This documentation helps track performance trends and identify potential issues before they develop into more significant problems.
Common Issues and Troubleshooting Techniques
If experiencing a lack of pressure while operating the converted unit, check for clogs in the nozzle or hose. Clean or replace the nozzle to ensure optimal water flow.
Water leaks can stem from loose connections. Inspect all fittings and tighten as necessary. For persistent leaks, consider using pipe sealant or Teflon tape to secure joints.
Should the machine fail to start, examine the power source. Ensure the electrical supply is functioning and that any switches are in the correct position. Inspect the motor connections and trigger for wear or damage.
Unexpected Nozzle Behaviour
- Stuttering or pulsing water stream may indicate a blockage along the hose. Detach the hose and flush with clean water to remove debris.
- Inconsistent spray patterns can be due to worn nozzles. Test with different nozzles if available, or replace the current one if signs of wear are evident.
Pressure Fluctuations
- Inconsistent pressure can arise from an inadequate water supply. Ensure that the supply hose is free of kinks and is connected properly.
- For units with adjustable pressure settings, verify that the desired settings are correctly set and have not been altered during use.
Periodically check the pump. If unusual noises or overheating occur, it may require lubrication or servicing. Refer to the manufacturer’s guidelines for maintenance specific to the brand.
After any modifications, thoroughly test all functions in a controlled environment before attempting substantial tasks. Continuous monitoring during use will help identify and rectify issues immediately, ensuring safety and efficiency.
FAQ:
What materials do I need to convert a pressure washer into a sewer jetter?
To convert a pressure washer into a sewer jetter, you will need the following materials: a pressure washer (preferably one with 2000 PSI or higher), a sewer jetter kit that includes a nozzle specifically designed for sewer cleaning, high-pressure hoses, and compatible fittings. You may also need tools like wrenches and pliers for assembly, along with safety gear such as gloves and goggles to ensure your protection while operating the equipment.
Can I use any type of pressure washer for this conversion?
No, not all pressure washers are suitable for this conversion. It is recommended to use a pressure washer with a minimum pressure of 2000 PSI and a flow rate of at least 2.5 GPM (gallons per minute). Electric pressure washers generally do not provide the necessary power, so a gas-powered model is often preferred. Additionally, ensure that the pressure washer has a compatible nozzle attachment point for the sewer jetter kit; otherwise, you may need to purchase additional adapters or fittings.


