

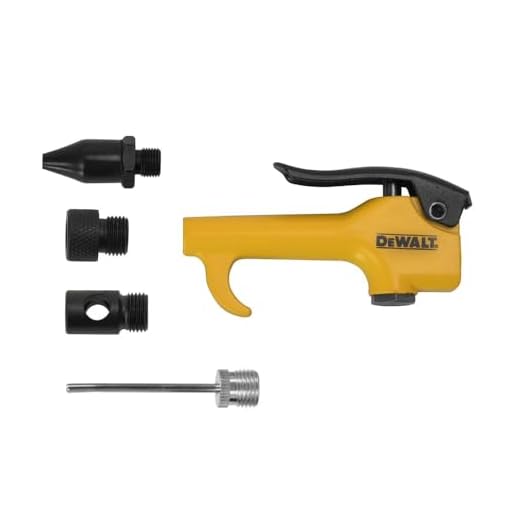

For anyone looking to enhance their cleaning routine with abrasive blasting capabilities, I recommend investing in a quality siphon feed attachment. This simple device allows you to utilise your existing high-pressure equipment to handle the rigours of sandblasting. The key is to ensure that your model can handle the increased demand for airflow and material feed.
Begin by selecting the appropriate nozzle that matches the material you’ll be using–glass beads, silica, or garnet. The size of the nozzle will dictate the amount of material you can propel and the section of the surface you can treat at one time. A nozzle too large will reduce efficiency, while one that’s too small could lead to blockages.
Adapt your equipment with a sturdy, secure connection to the material feed hose. Ensure the feed line is appropriately sized to prevent clogs. I recommend using a 1/4-inch diameter hose for optimal flow rates. Always position your container for the abrasive material at or below the level of the attachment to ensure gravity assists in feeding the material smoothly.
Make necessary adjustments to the pressure settings as you switch between cleaning and blasting modes. Each application requires different levels of force; you must strike a balance to maximise the results without damaging the surface beneath. Lastly, personal protective equipment is a must–avoid contact with airborne particles and use appropriate eye protection.
Transforming a High-Pressure Cleaner into a Grit Blaster
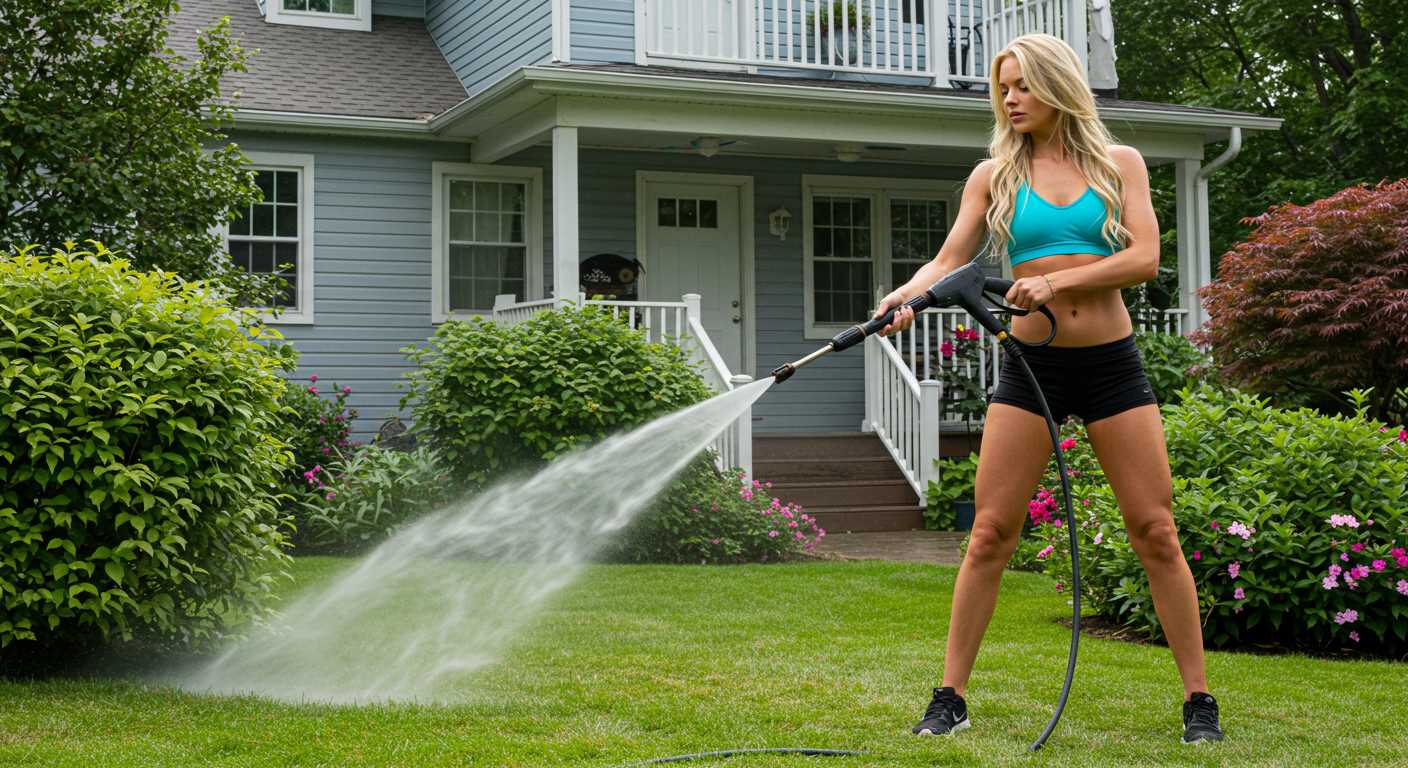
Begin by acquiring a suitable attachment designed for abrasive material use. These are commonly found at home improvement stores or online retailers. Ensure that the attachment is compatible with your specific model. Look for a nozzle specifically crafted for injecting sand alongside the water stream.
Steps to Follow
- Gather materials: You’ll need a vacuum hose, a sand supply (such as silica), and a suitable grit injection nozzle.
- Attach the nozzle to the trigger gun securely. Some models may require additional fittings or adapters to ensure a snug fit.
- Connect the vacuum hose to the sand feed to prevent excess dust. Ensure all connections are tight to minimise leaks.
- Fill the container with sand, making sure it’s dry to enhance flow into the mixing chamber.
- Adjust the water pressure settings according to the job at hand. Start with a lower setting and increase as necessary for optimal results.
Safety Precautions
- Wear appropriate personal protective equipment, including goggles and a mask, to shield against flying debris and inhalation of dust particles.
- Ensure good ventilation in the working area. Operate outdoors or in a well-ventilated space.
- Always direct the jet away from yourself and others to prevent injuries.
Check the manufacturer’s specifications for your equipment to avoid damage during use. Test the setup on a small area to gauge efficiency before larger applications. Adjust the blending ratio of sand and water according to the surface material you’re working on for the best effect.
Selecting the Right Pressure Washer Model
For optimal results, I recommend focusing on models that offer at least 2,000 PSI and 1.5 GPM. These specifications ensure a powerful stream capable of effectively removing stubborn dirt and grime. Additionally, electric variants are suitable for smaller tasks, but for heavy-duty applications, consider gas-powered units. The latter typically provide superior pressure and flow rates.
Durability and Build Quality
Select a robust unit constructed from durable materials. Steel frames significantly outperform plastic alternatives, which may crack over time. Pay attention to the quality of hoses; reinforced designs are less prone to bursting under pressure and ensure longevity.
Compatibility with Accessories
Check compatibility with various attachments and accessories. A versatile model that accommodates a range of nozzles, buckets, and hose types will enhance functionality and extend its utility beyond mere cleaning tasks. Look for units that facilitate easy connection to abrasive media feed systems, essential for the intended modification.
Gathering Necessary Materials for Conversion
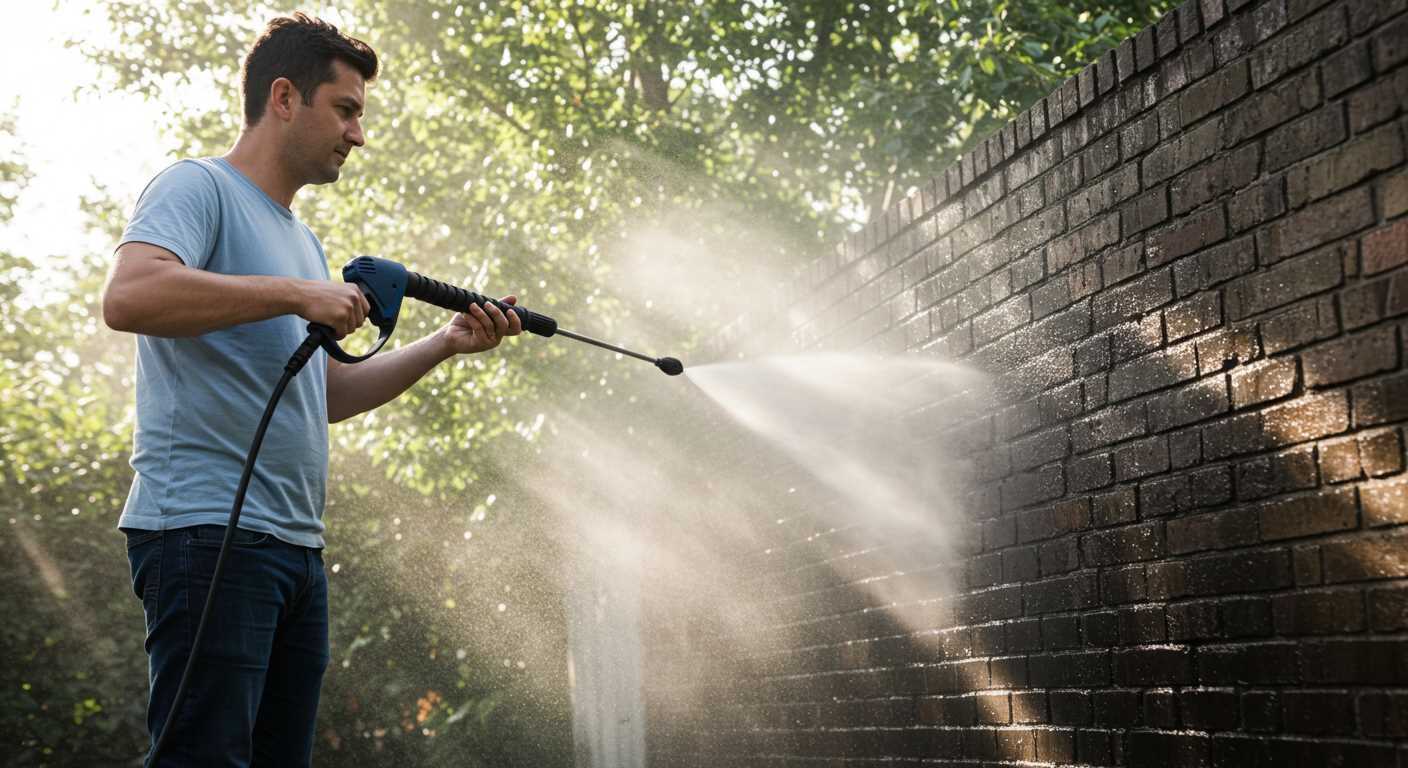
First, acquire a suitable abrasive material, such as fine sand or glass beads, tailored for your intended cleaning project. Ensure the media is dry and free of large clumps to prevent clogs.
Next, you’ll need a conversion kit specifically designed for high-pressure cleaning devices that includes a suitable nozzle. Look for a venturi nozzle, as it effectively mixes the air with the abrasive for optimal performance.
A sturdy siphon hose is essential. Aim for one that is flexible yet durable to withstand high-pressure flow. The length should be sufficient to reach from the container of abrasive to the nozzle without kinking.
Don’t overlook personal protective equipment (PPE). Safety goggles, respirators, and gloves are crucial, as the process creates dust and debris that can be harmful if inhaled or if it comes into contact with skin.
Lastly, prepare an appropriate container for your abrasive material. A large bucket or hopper with a secure lid will work well. Ensure the container is stable and easy to manage during use to keep everything organised.
Modifying the Pressure Washer Nozzle for Abrasive Use
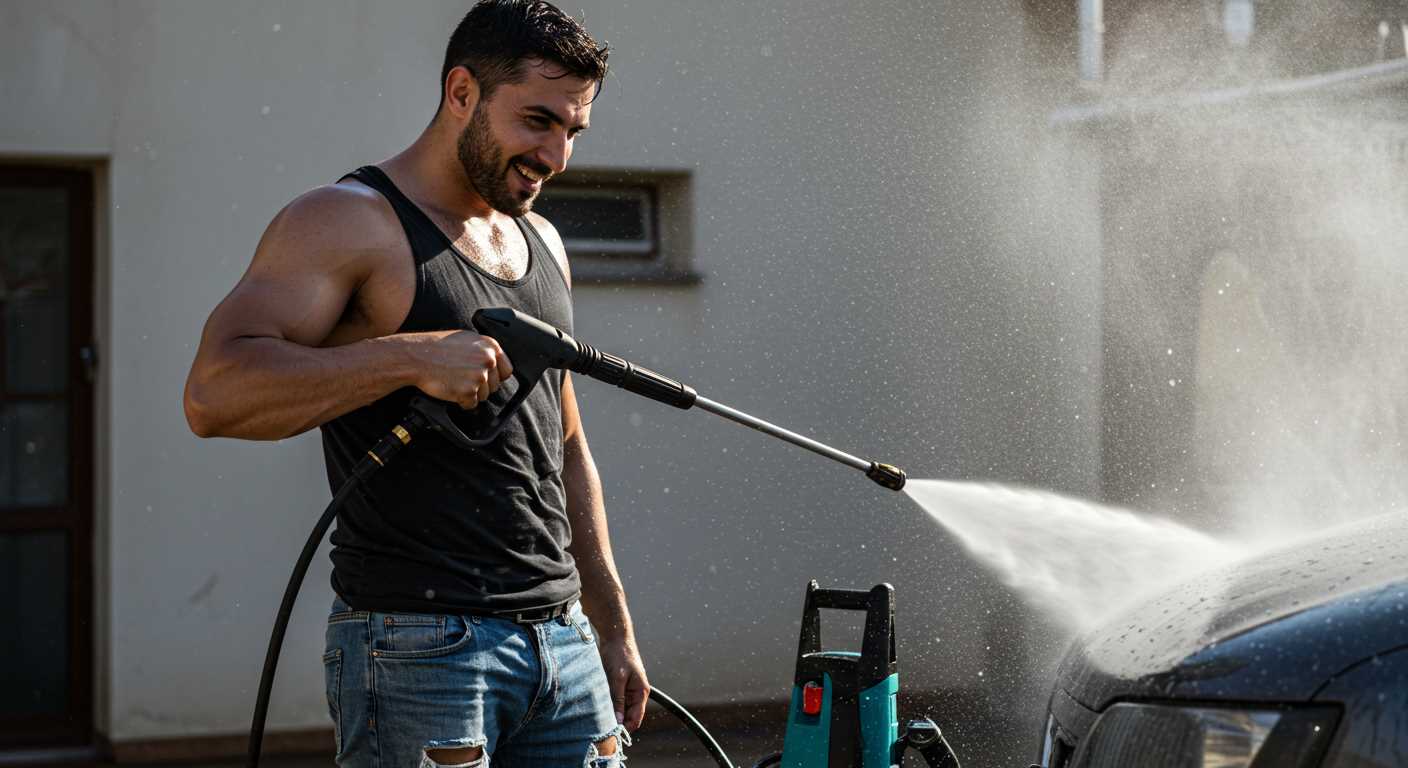
Upgrade the existing nozzle to accommodate abrasive materials effectively. The original nozzle is typically designed for water flow, so replacing it with a specialised one is crucial for optimal performance.
Purchase or fabricate a ceramic nozzle. These nozzles handle the wear and tear caused by abrasive materials better than standard plastic or metal options. Look for a size that matches your current setup, generally between 3.0 to 4.0 orifice size, ensuring efficient material flow.
To enhance material delivery, consider using a venturi nozzle. This type draws in sand or other abrasive media, mixing it with water for a more effective blasting action. Sourcing a compatible venturi attachment can make a significant difference in your results.
| Type of Nozzle | Material | Advantages |
|---|---|---|
| Ceramic Nozzle | Ceramic | High durability, resistant to wear |
| Venturi Nozzle | Stainless Steel or Plastic | Mixes media with water, improved efficiency |
Test the new nozzle with various abrasives to find the right balance for your projects. Materials such as baking soda or garnet are excellent choices for different applications, offering various levels of aggressiveness. Always ensure proper safety gear, as the high pressure mixed with abrasive materials can pose risks.
Connecting the Sandblasting Kit to the High-Pressure Cleaner
Begin by ensuring that the water supply is turned off and the unit is disconnected from the electrical source. Attach the sandblasting kit to the end of the high-pressure hose securely. This typically involves a quick-connect fitting. Ensure a tight seal to prevent any leaks during operation.
Next, insert the abrasive feed hose into the designated port on the sandblasting kit. The feed hose should be free of kinks and clear of obstructions to promote a smooth flow of abrasive material. Check the connections between hoses for any signs of wear that might compromise performance.
Adjusting Pressure Settings
Adjust the output pressure according to the manufacturer’s specifications for the sandblasting kit. A common range is between 2000 to 3000 PSI, but refer to your kit’s guidelines. Maintain an optimal spraying distance of approximately 12 to 18 inches from the surface to achieve effective results without causing damage.
Testing the Setup
Before starting on a full project, test the assembly on a small, inconspicuous area. This allows you to verify the abrasive flow and adjust as necessary. Ensure that the abrasive material feeds seamlessly, and monitor the operation for any irregularities or leaks during use.
Testing the Setup for Safety and Performance
Before undertaking any task, it’s imperative to conduct thorough testing of your setup to ensure both safety and operational efficiency. First, don appropriate personal protective equipment (PPE), including safety goggles, gloves, and a mask to prevent inhalation of abrasive materials.
Pressure Evaluation
Begin by checking the water pressure. Connect the system and run it without any abrasives to verify that the flow rate and pressure meet operational requirements. If there’s any significant drop in performance, inspect connections and ensure the fittings are tight and free from leaks.
Monitor the nozzle output carefully. Aim at a non-conductive surface to observe the spray pattern. An appropriate cone shape indicates proper function, while an uneven or weak spray could suggest an obstruction or misalignment.
Material Compatibility
Verify that the abrasive material you selected is compatible with your configuration. Start with a small quantity of the abrasive medium; loading too much can clog the system. Conduct a test on a small area of the surface you plan to treat to gauge effectiveness and adjust the flow rate accordingly.
Keep the environment in mind; ensure your workspace is adequately ventilated, as fine particles can create a hazardous atmosphere. Following these procedures will help to create a robust and safe setup, advancing your project without interruptions. Adjust settings as necessary until you attain the desired performance.
Maintenance Tips for Sandblasting with a Pressure Cleaner
Inspect the setup after each use. Check for signs of wear on hoses and fittings. If you notice any cracks or bulges, replace them immediately to prevent leaks and ensure safety.
Regular Cleaning
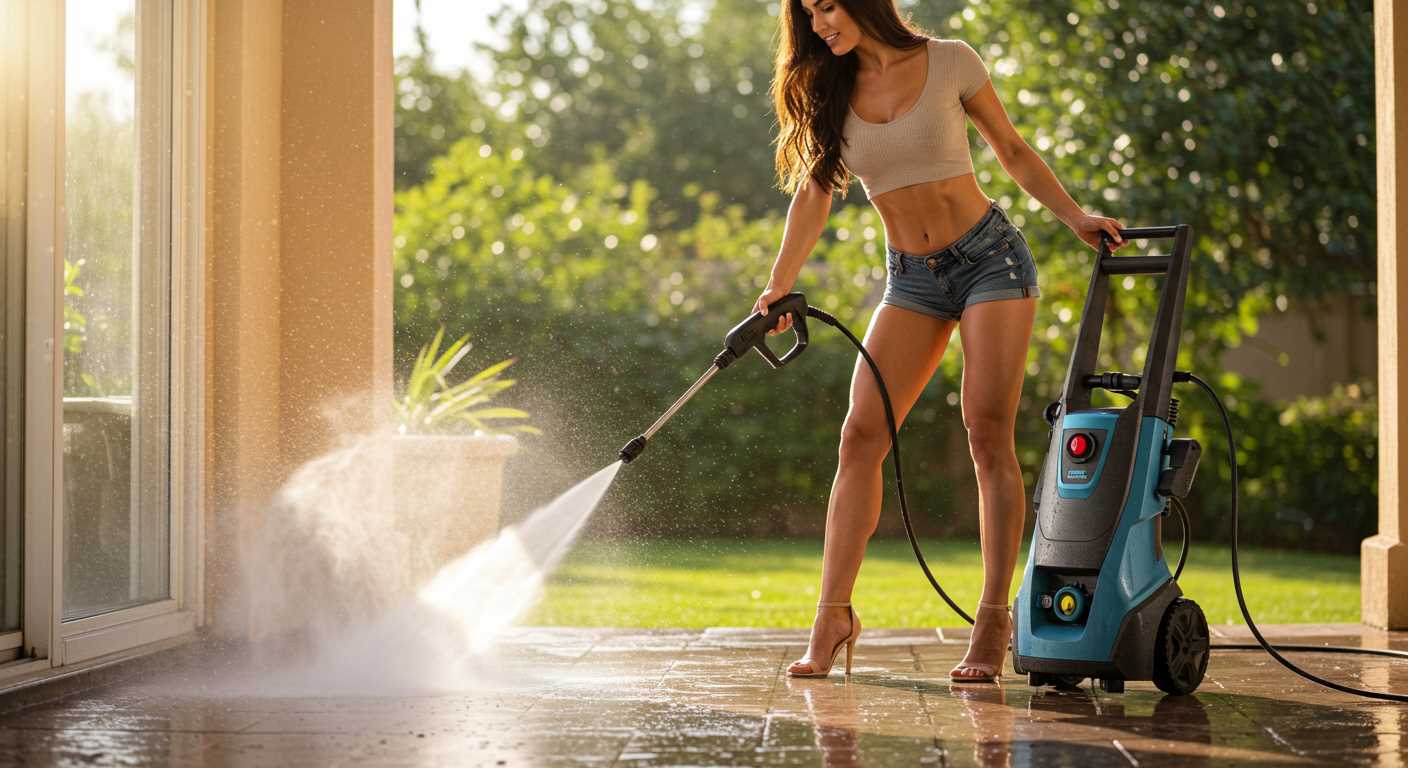
After finishing the task, clean the abrasive feed system. Flush it out using plain water to remove any residual media. This not only prevents clogging but also prolongs the lifespan of the components.
Lubrication
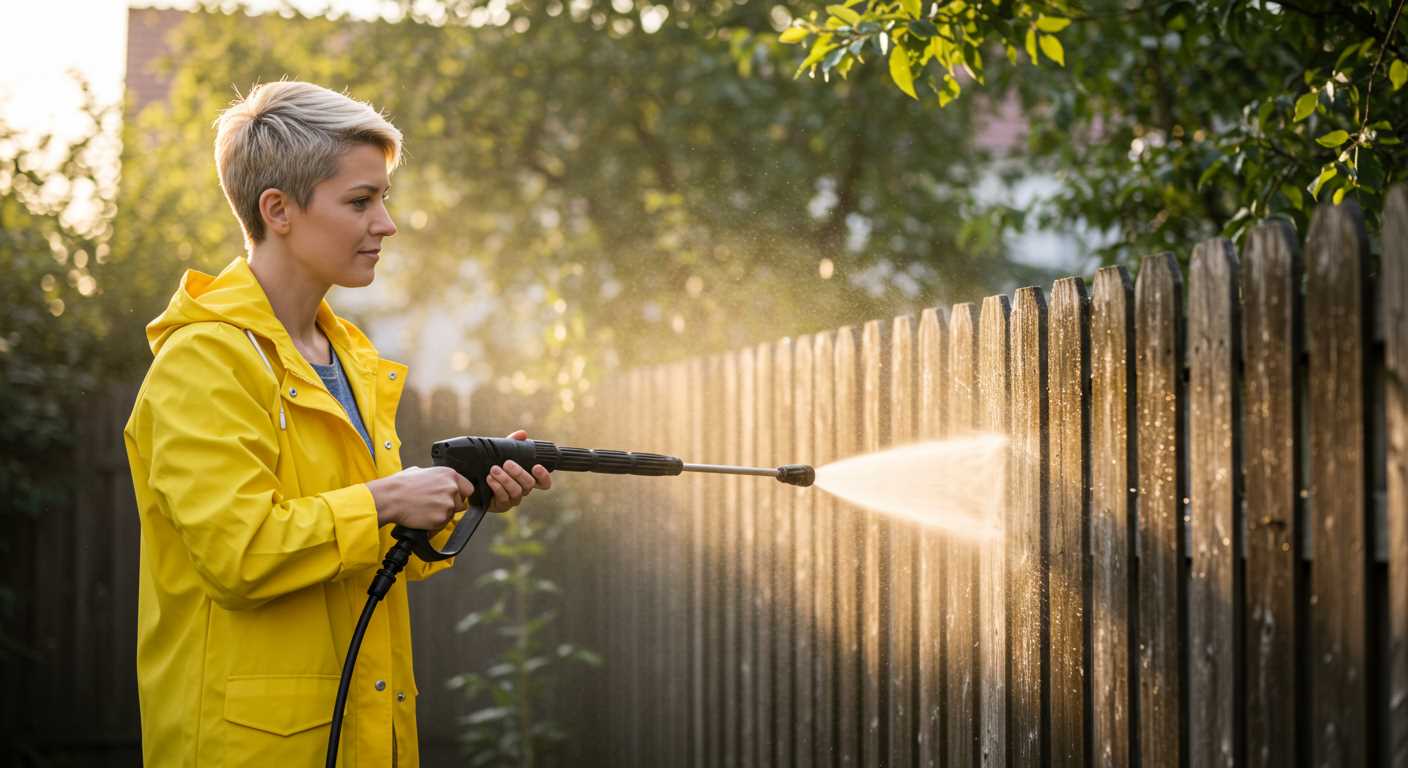
Apply lubricant to moving parts regularly to minimise friction. Pay particular attention to the trigger mechanism and any joints within the assembly. This practice guarantees smooth operation and enhances durability.
Monitor the air filter by checking it frequently for blockages. A clean filter optimises performance and prevents dust from entering the motor, safeguarding it from damage.
Store the equipment in a dry area when not in use. Proper storage prevents rust and corrosion on metal parts, keeping everything in prime condition for the next operation.
Keep an eye on the media you’re using. Ensure it’s appropriate for the task and free from contaminants. Contaminated media can cause damage to the equipment and affect the quality of the work.
Finally, stay vigilant for any unusual sounds or performance issues during use. Addressing these issues promptly can save on costly repairs down the line.


