

To initiate operation, ensure the device is positioned on a stable and flat surface, preventing any unwanted movement during usage. Verify that all connections, particularly the water inlet, are secure to avoid leaks and inefficiencies. Attach the required nozzle suited for your task, whether it be a spotlight for stubborn stains or a wider spray for rinsing surfaces.
Next, check the fuel levels for gasoline-powered units or ensure the power cord is adequately connected for electric variants. Turn on the water supply before activating the machine; running it dry can damage the pump. For gas models, engage the choke and pull the starter cord while maintaining a firm grip on the handle.
Once the engine roars to life–or in electric models, the motor hums–allow it to idle for a few moments, ensuring all components are lubricated. Adjust the spray pressure as per your job requirement, and begin by keeping a safe distance from surfaces to avoid damage.
Regular maintenance is crucial; after each use, flush the system with clean water to remove any detergents or debris, extending your machine’s lifespan significantly. With these steps in mind, you’ll have your cleaning device functioning flawlessly in no time.
Starting the Cleaning Machine
Ensure that the device is on a flat, level surface before switching it on. Check that the water supply is connected securely and the hose is free of kinks. Make sure to open any valves to allow water to flow through the system without restrictions.
To initiate operation, engage the safety latch on the trigger. This will prevent accidental activation as you prepare to start the equipment. Pull the recoil handle gently, ensuring it meets resistance. In some models, a fuel switch or choke may need to be set to the optimal position before pulling the starter cord.
Common Issues to Look Out For
If the engine does not start quickly, wait a moment before attempting again. Re-check connections, fuel levels, and oil amounts to avoid any disruptions. Should the motor crank but fail to ignite, it could indicate a clogged filter or spark plug malfunction.
Maintenance Tips
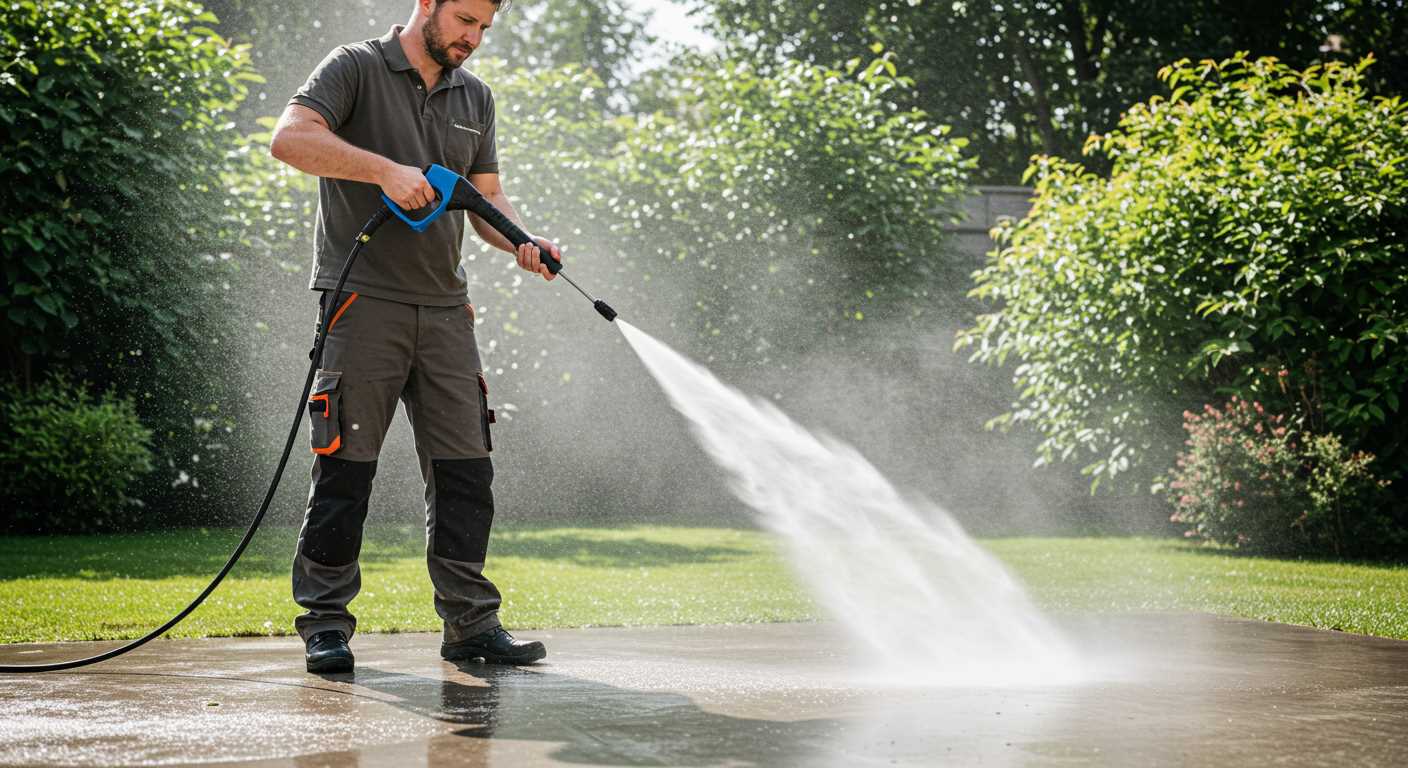
After use, always drain remaining water from the system to prevent freezing or corrosion during storage. Clean filters regularly, and inspect hoses for any signs of wear or leaks. Keep the nozzle in good condition to ensure consistent performance.
| Potential Issues | Solutions |
|---|---|
| Engine won’t start | Check fuel levels and connections; clean or replace spark plug. |
| Weak water flow | Inspect for kinks in the hose; clean the filter. |
| Excessive noise | Look for loose parts; check oil levels. |
Understanding Your Machine’s Components
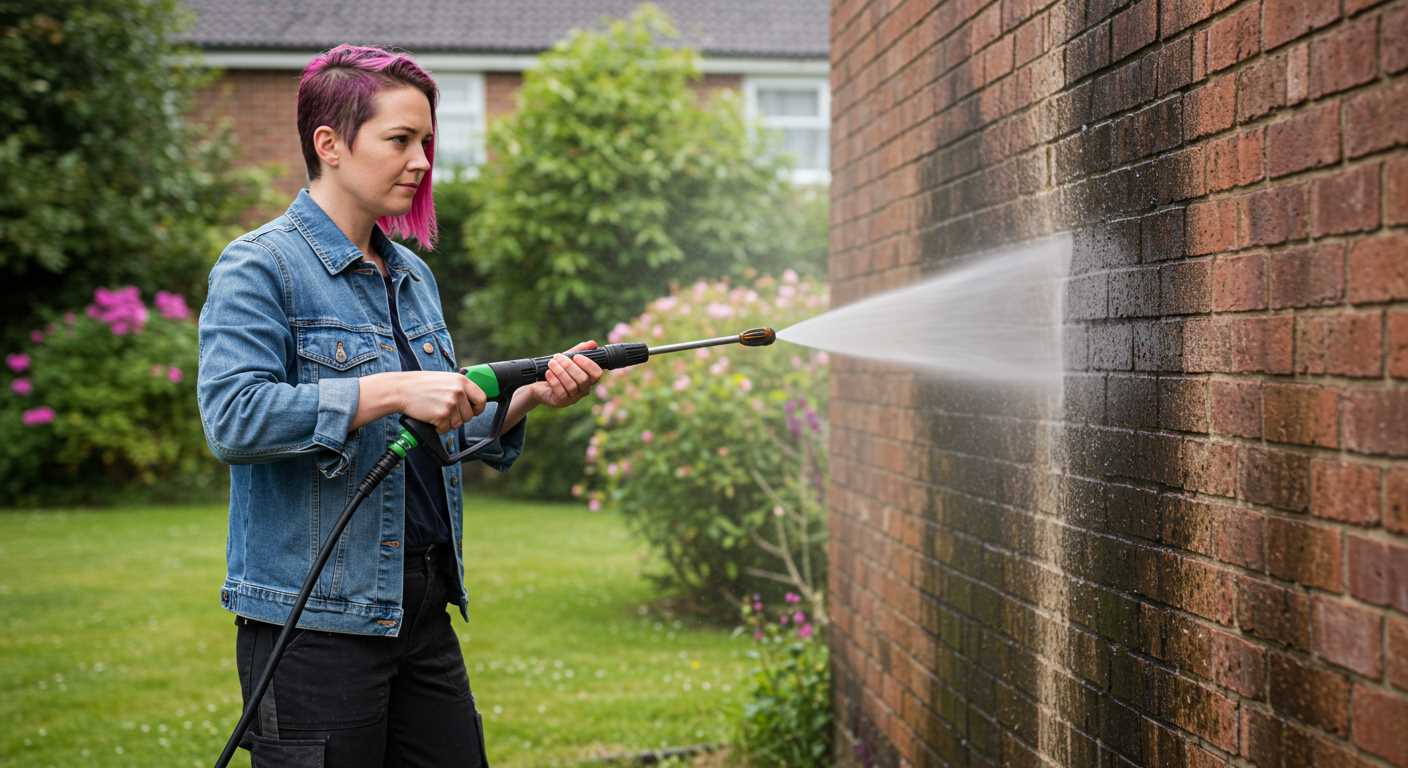
The key to utilising your cleaning device effectively lies in comprehending its components. I recommend familiarising yourself with these parts for optimal results.
The motor, either electric or petrol, generates power. Know the wattage or horsepower to understand its capacity. The higher the rating, the stronger the output.
The pump is vital for converting this power into water pressure. A quality pump often features brass fittings, which offer durability. Pay attention to the pump type–axial or triplex–as it affects performance and longevity.
The nozzle choices also play a significant role. You’ll typically find adjustable nozzles or those with different spray patterns. Each pattern serves specific tasks, from light cleaning to intense scrubbing.
The hose quality impacts your reach and ease of movement. A sturdy hose resists kinks and wear, ensuring an uninterrupted flow. Always check the length to ensure it meets your cleaning needs.
Don’t overlook the detergent tank. Some units integrate this component, allowing you to mix cleaning solutions easily. Remember to use the correct products to avoid damage.
Lastly, inspect safety features such as automatic shut-off mechanisms. These enhance user safety and prolong machine lifespan. Regularly examining these elements will keep your equipment in prime working condition.
Preparing the Machine for Starting
Check the fuel level and ensure the correct type is being used. A mixture of gasoline and oil is often required for two-stroke engines, while four-stroke models need straight gasoline.
Examine the oil reservoir. If you’re using an engine with lubricating oil, ensure it is filled to the recommended level. Clean oil prevents wear and promotes optimal performance.
Inspect the water supply connection. Make sure the hose is securely attached and free from leaks. If the supply is from a tap, turn it on to verify adequate flow before starting.
Ensure all connections are tight to avoid any pressure loss. Check the nozzle and wand for clogs or damages. These components must be clear for effective performance.
Verify the power source, particularly if operating an electric model. Ensure the cord is intact and plugged into a grounded outlet. For battery-operated versions, confirm the battery is adequately charged.
Set the unit on a stable surface, ensuring it isn’t positioned on uneven ground or wet areas to enhance stability and control during operation.
Read the user manual specific to your model, as it contains tailored instructions for various settings and operations unique to your device.
Before activating the machine, practice a safety check. Ensure protective equipment is worn, including gloves and goggles, to safeguard against any splashes or debris.
Check the Fuel and Oil Levels
Before starting the equipment, inspect both fuel and oil levels. This step is crucial for ensuring performance and longevity. Proper fluid levels prevent damage and encourage optimal operation.
Inspecting Fuel Levels
Open the tank cap and check the fuel gauge. If you’re low on fuel, refill using the manufacturer-recommended type. Avoid using old or contaminated fuel, as this can cause starting issues or affect performance.
Checking Oil Levels
For oil, locate the dipstick and remove it for a visual check. If the oil is below the recommended mark, add the appropriate type. Regularly changing the oil according to the manufacturer’s guidelines maintains engine health and efficiency. Always ensure the machine is on a level surface when checking fluid levels.
By maintaining sufficient fluid levels, I ensure that the machine operates smoothly and reduces the risk of damage during use.
Connecting the Water Supply Properly
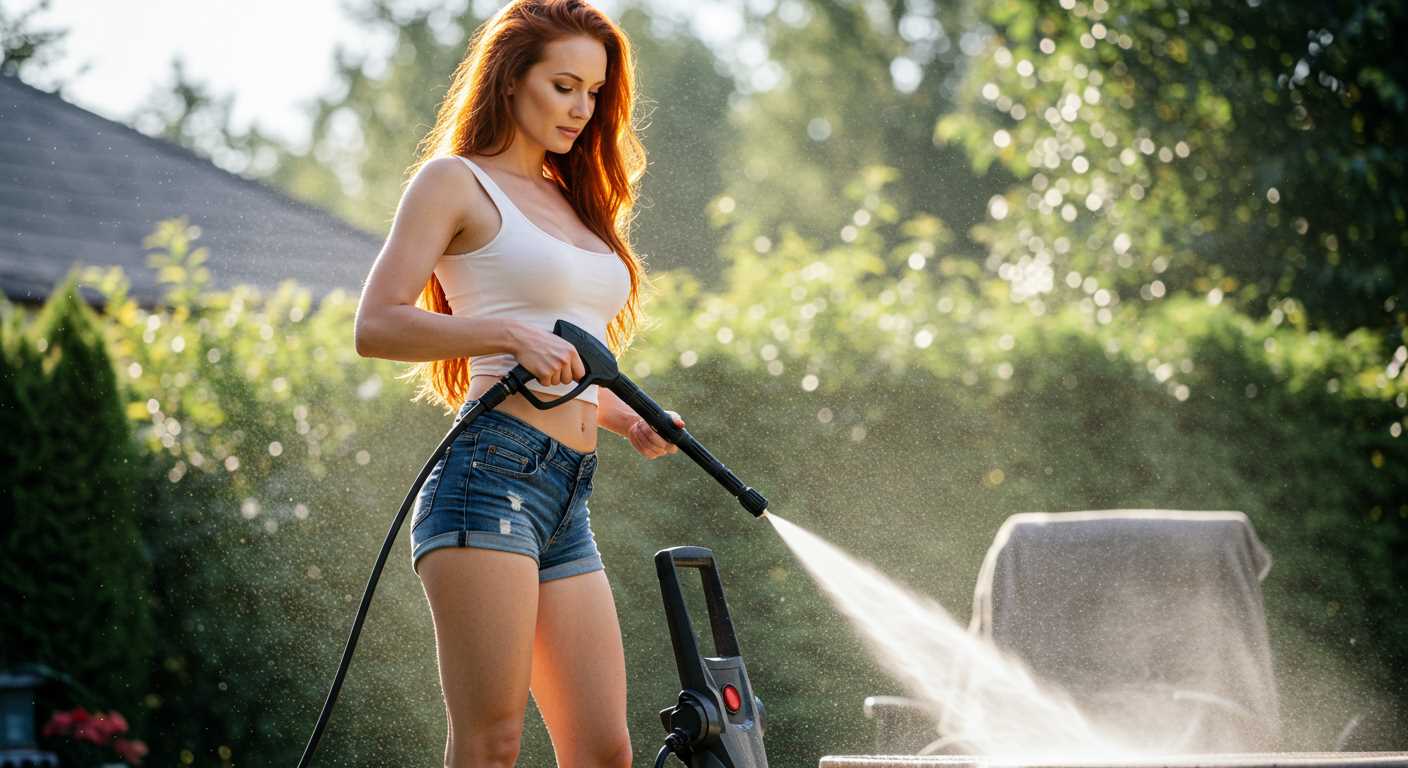
Ensure the garden hose is securely attached to the water inlet of the cleaning unit. Use a wrench if necessary, but avoid over-tightening which could damage the fittings.
Before connecting, inspect the hose for kinks or leaks. A straight and undamaged hose ensures optimal water flow.
Make sure the water source is on, as a dry start can damage the device. Turn on the tap fully before activating the motor.
Check the water pressure from the supply; it should be between 20-100 PSI for best performance. If it’s too low, consider adjusting the source or using a booster.
Utilise a filter screen at the inlet. This helps prevent debris from entering the pump, prolonging its lifespan. Regularly clean this filter to avoid clogs.
Verify the type of connector on your garden hose matches the inlet specifications. Using the incorrect connection can lead to leaks or inadequate performance.
Lastly, test the connection by running water through the system before powering up the motor. This ensures all components are functioning correctly and ready for use.
Starting the Engine Safely and Correctly
Before firing up the unit, ensure you are standing on a level surface, free of debris or distractions. Engage the safety lock on the trigger gun to prevent accidental activation during the starting process.
Setting Up the Controls
Check the choke lever. If your model features a choke, set it to the “closed” position before initiating the engine. This helps with cold starts and promotes easier ignition. Adjust the throttle to the appropriate position as outlined in your owner’s manual, whether it’s set to “start” or “idle.”
Engine Start Procedure
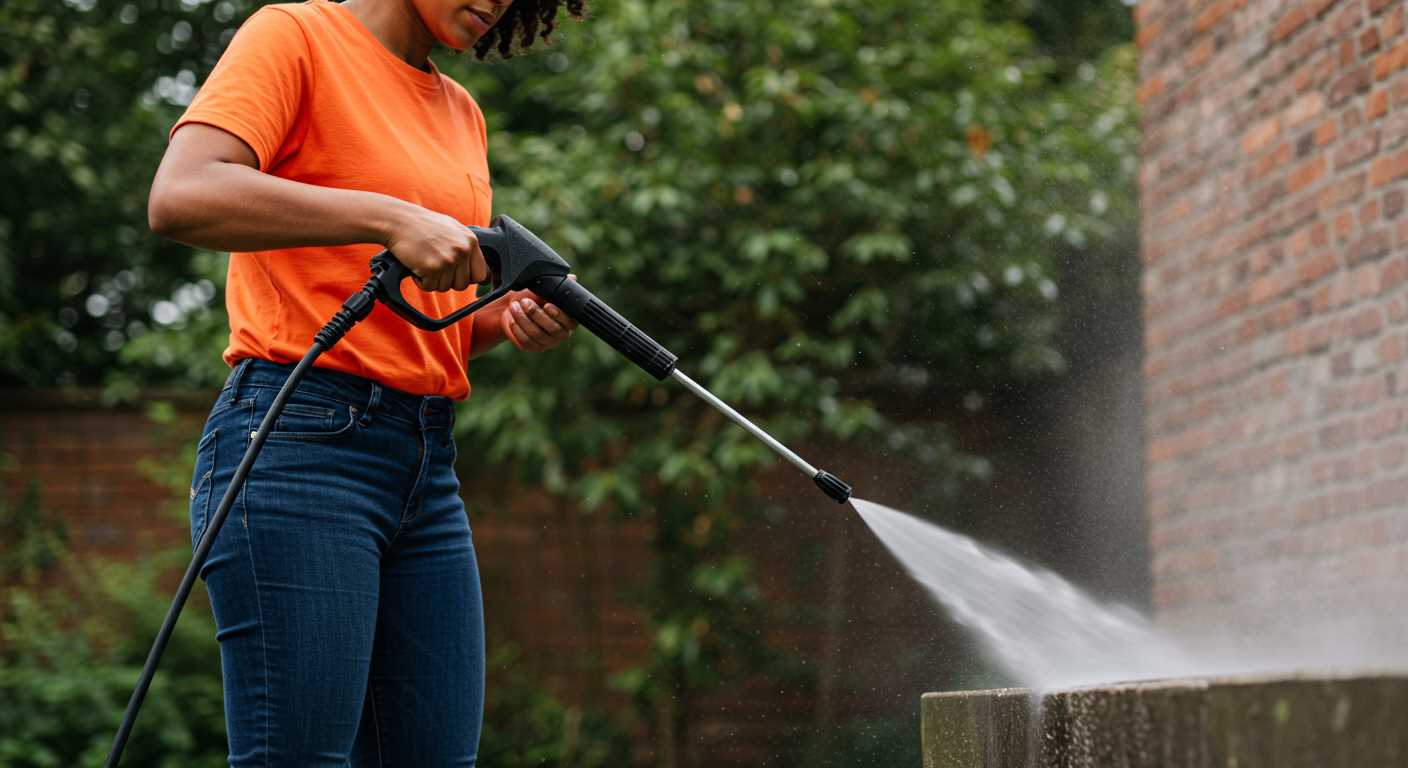
With your feet firmly grounded, grip the starter handle firmly. If your unit utilises a recoil start mechanism, pull the handle straight back in a smooth motion. Avoid yanking or jerking, as this may lead to mechanical stress.
In case of failure to start after a few attempts, revisit the previous steps to ensure all controls are correctly set. Additionally, verify that fuel is reaching the engine and that any air filters are not excessively clogged. Once the engine is running, allow it to idle for a moment to stabilise before engaging the spray gun.
Always remain vigilant while operating. Should any unusual sounds occur during operation, shut off the engine immediately and investigate the issue. Safety must remain a top priority.
Troubleshooting Common Starting Issues
If your equipment refuses to start, check the ignition system first. Inspect the spark plug for wear or fouling. Replace it if necessary to ensure a strong spark.
Fuel Delivery Problems
Fuel-related issues are frequent. Ensure the fuel is fresh, as stale fuel can lead to starting difficulties. Follow these steps:
- Replace the fuel if it has been sitting for more than 30 days.
- Inspect fuel lines for leaks or kinks.
- Check the fuel filter for clogs and replace if needed.
Electrical System Checks
The electrical components warrant careful examination if the machine still fails to start. Here’s what to do:
- Verify battery connections for corrosion or looseness.
- Test the starter motor; it should be free of resistance.
- Check the safety switches to ensure they are functioning correctly.
Address these aspects systematically to identify and resolve the root cause of starting issues. Understanding each component aids in diagnosing the problem more effectively.


