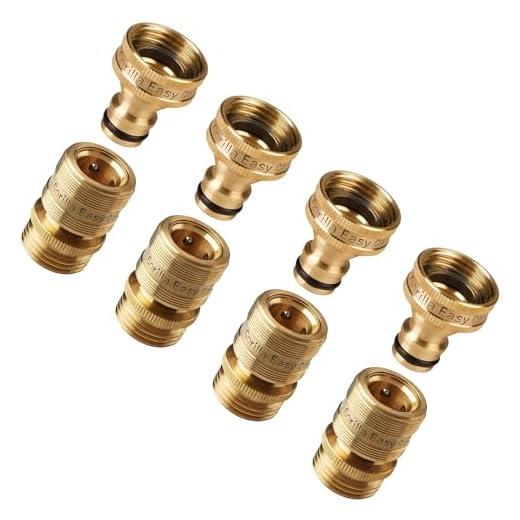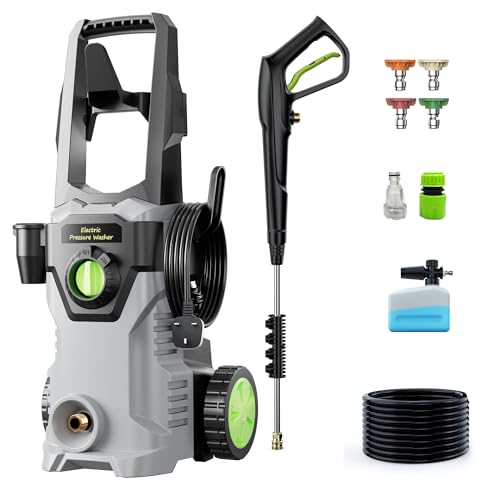
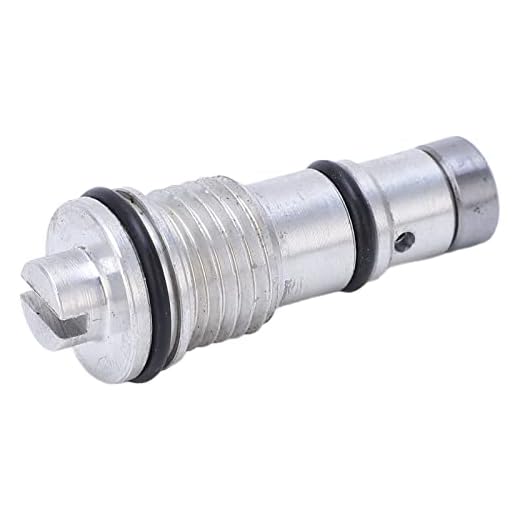


First, disconnect the garden hose from the inlet. This step is vital to prevent any unwanted water from flowing into the unit. Next, locate the trigger gun and pull it to allow any remaining water and air to escape. Hold the trigger open until no more fluid is expelled. This simple action ensures that the internal components are safe from potential damage.
After releasing the handle, check the safety lock on the trigger. Ensure it’s engaged to prevent accidental discharge. Disconnect the high-pressure hose from the unit itself; this will not only release any residual tension but also prepare your equipment for proper storage or maintenance. Remember, a relaxed system prevents wear and tear.
Finally, inspect the nozzles and clean them if necessary. Residue can build up and affect the performance of your machine upon the next use. It’s a straightforward yet effective way to maintain optimal operation for future tasks.
Steps to Release Pressure from Your Cleaning Equipment
First, turn off the machine and disconnect it from the power source. Make sure you follow this step to prevent accidental activation.
Next, release any remaining liquid. Point the nozzle away from you and pull the trigger to expel leftover water. This step is crucial for safe handling.
Once this is done, locate the safety valve or the water inlet connection. Often, this is situated near the hose attachment. Twist or pull the valve to ensure that it’s completely open.
Additional Recommendations
- Keep a towel handy to wipe any excess liquid after releasing pressure.
- Make it a habit to release pressure after each use to maintain the longevity of the equipment.
- Check the manufacturer’s manual for specific release procedures tailored to your model.
After these steps, inspect the hoses and connections for any leaks or damage. Ensuring everything is in good condition contributes to effective operation in the future.
Understanding the Importance of Depressurizing
Always relieve the built-up tension before performing any maintenance or storage. This step is crucial for ensuring safety and prolonging the lifespan of the equipment. Neglecting this procedure can lead to unexpected issues, such as leaks or even accidents during operation.
When you release the pressure, it minimizes the risk of damaging hoses and fittings, which can be costly to replace. Components under stress are prone to wear and tear, leading to potential breakdowns at the most inconvenient times.
| Benefits of Proper Pressure Release |
|---|
| Reduces risk of injury |
| Prevents equipment damage |
| Ensures efficient operation |
| Extends service life |
Taking a few moments to complete this process can save time and resources in the long run. Additionally, it enhances performance, allowing the unit to operate more smoothly and effectively during subsequent uses.
Lastly, it’s a good habit to incorporate this practice into your routine, ensuring that all users maintain safe handling and proper care of their machinery. Establishing this simple yet effective procedure can lead to a more reliable and enjoyable cleaning experience.
Identifying the Components of Your Cleaning Unit
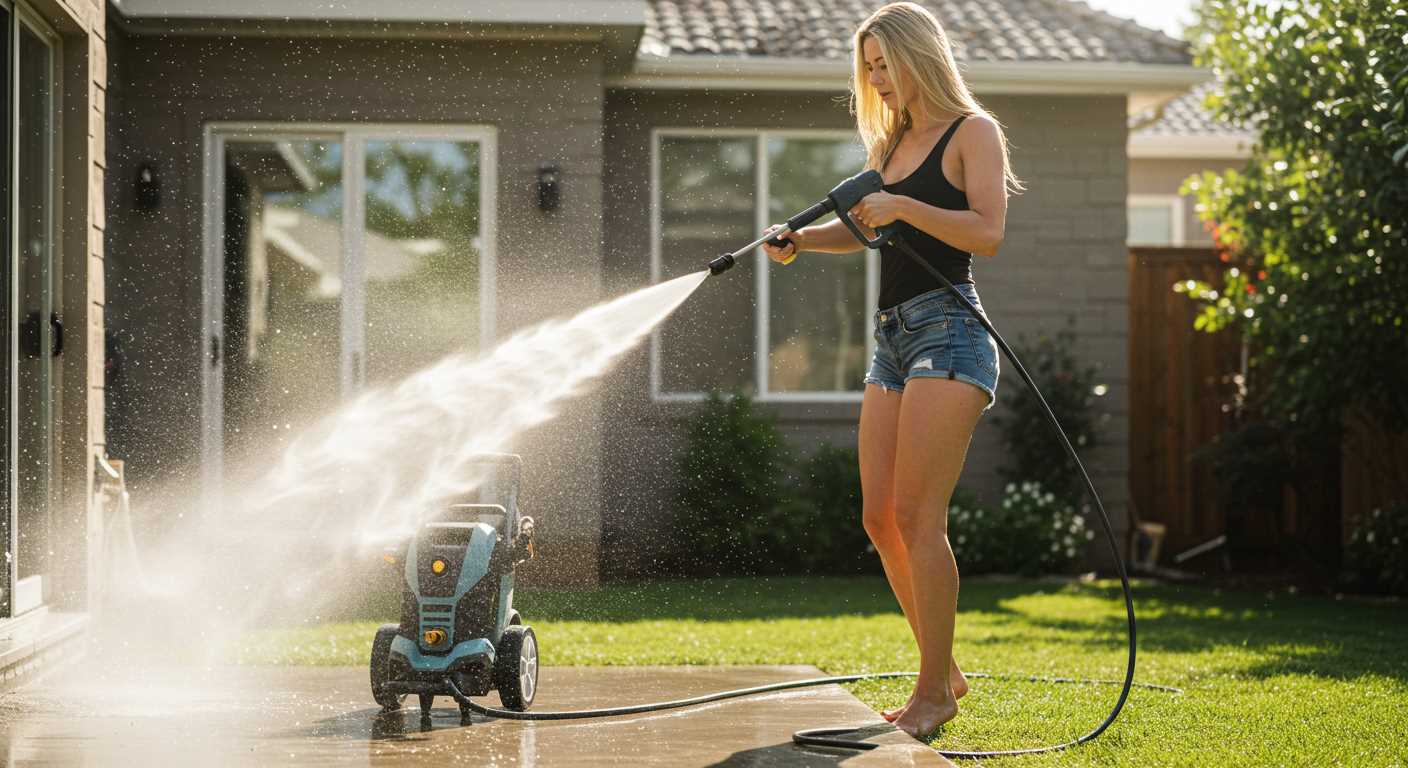
The first step in understanding your cleaning equipment is to familiarise yourself with its components. Each part plays a role in the overall performance and operation.
Motor or Engine: The power source is critical. Electric models feature a motor that typically operates at various voltages, while gas variants utilise an engine that often requires periodic maintenance.
Pump: This component is responsible for building and maintaining the necessary pressure. There are different types–triplex pumps are known for longevity, while axial pumps are more common in consumer-grade machines.
Trigger Gun: This is the handle you use to control the flow of water. Look for guns with ergonomic designs for comfortable handling during extended use. They may also feature safety locks to prevent accidental activation.
Nozzles: Various nozzle types adjust the spray pattern and pressure. Swappable nozzles allow you to switch between a wide fan spray for cleaning surfaces and a narrow jet for stubborn dirt.
Hoses and Connectors
Pressure Hose: Made from durable materials, hoses can withstand high pressure and temperature. Ensure that the hose length suits your cleaning needs and check for any kinks or wear before use.
Connectors: These pieces link hoses to the machine and trigger gun. Inspect connectors for leaks or damage to maintain pressure integrity.
Accessories
Detergent Tank: Some models include an onboard tank for cleaning solutions. Ensure you understand the compatibility of the detergents with your unit to avoid damage.
Surface Cleaners: These attachments enhance efficiency, particularly on flat surfaces. They can save time and deliver more uniform cleaning results.
Regular inspection of these components can enhance the lifespan of your cleaning equipment and improve performance. Always refer to the user manual for specific details related to your particular model to ensure optimal use and maintenance.
Steps to Turn Off the Pressure Washer Safely
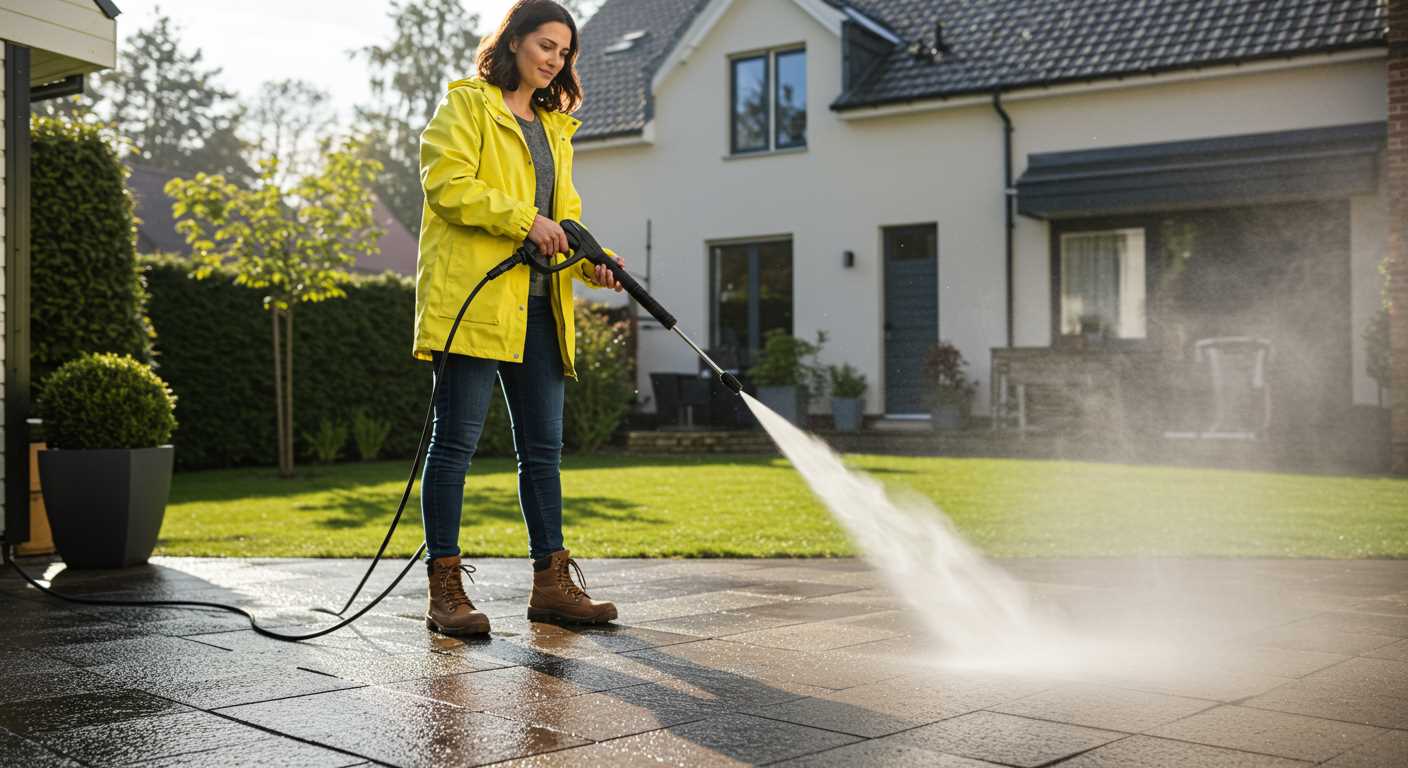
Begin by ensuring the unit is switched off. Locate the power switch, typically found near the handle, and turn it off. Unplug the device from the electrical outlet for additional safety.
Next, release the trigger on the lance or nozzle. This action allows any remaining water inside the system to escape, preventing potential build-up of pressure that could occur after shut-down.
With the trigger released, disconnect the water supply. Turn off the tap supplying water to the equipment. Once this is done, disconnect the hose from the inlet of the machine; make sure the hose has cooled off to avoid burns. Drain any remaining water from the hose by holding it low, allowing gravity to assist.
After water withdrawal, check the high-pressure hose connections. Loosen any couplings with care to ensure they’re not under stress. This will help prevent any accidental spray during disassembly.
Finally, store the equipment properly. Place the machine in a dry area, and ensure all hoses and accessories are neatly coiled or hung to avoid kinks. Regular maintenance checks can extend the longevity of your cleaning device.
- Turn off the power and unplug.
- Release the nozzle trigger to expel excess water.
- Shut off water supply and detach hoses safely.
- Check connections and store properly.
Disconnecting the Spray Gun from the Hose
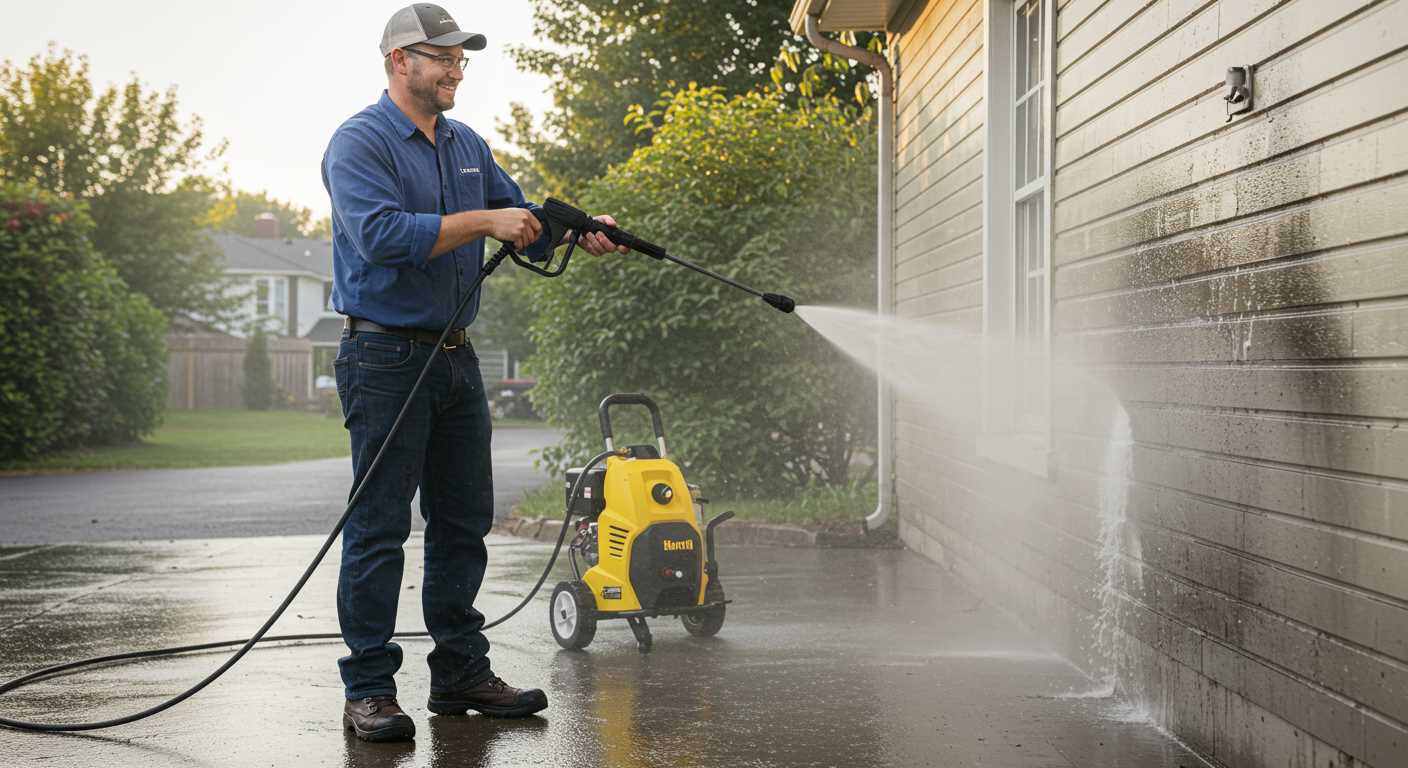
Ensure your equipment is turned off and all pressure has been released. Start by locating the connection point between the spray gun and the hose. This is typically a threaded coupling or a quick-connect fitting.
If your connection features a threaded design, grasp the spray gun firmly. Rotate the hose counterclockwise until it becomes loose and separates. Always keep your hand steady to avoid damage.
For quick-connect fittings, press the release button or pull back the collar while gently pulling the spray gun away from the hose. Ensure not to apply excessive force; this could lead to breakage.
If any water remains in the hose, briefly lift the end of the hose to drain it. Keep the spray gun pointed away from your body and others during this process.
After the separation, it’s advisable to store the spray gun in a dry area, preventing contaminants from entering the connection points. This will help maintain functionality for future use.
Releasing the Pressure from the Hose
To effectively relieve the tension from the hose, I recommend starting with the spray gun. Ensure the gun is pointed away from yourself and any surrounding objects. Squeeze the trigger fully for a few seconds until all residual liquid has been expelled. This step is crucial to prevent any accidental discharge once you begin disconnecting the equipment.
Next, locate the hose connection at the base of the unit. Loosen the fitting but do not fully detach it yet. This way, if there’s still some trapped liquid, it will wisely flow out through the hose rather than back towards you. Be prepared to collect any spillage with a cloth or container.
Once you’ve confirmed that no liquid remains, carefully disconnect the hose. Always handle it with caution, as there may still be some pressure if not all the steps were followed correctly. By ensuring every bit of water is out, you maintain safety and enhance the longevity of your equipment.
Finally, after disconnecting, it’s recommended to allow the hose to fully dry before storage. This will prevent mould growth and keep the material in excellent condition for future use.
Checking for Residual Pressure Before Storage
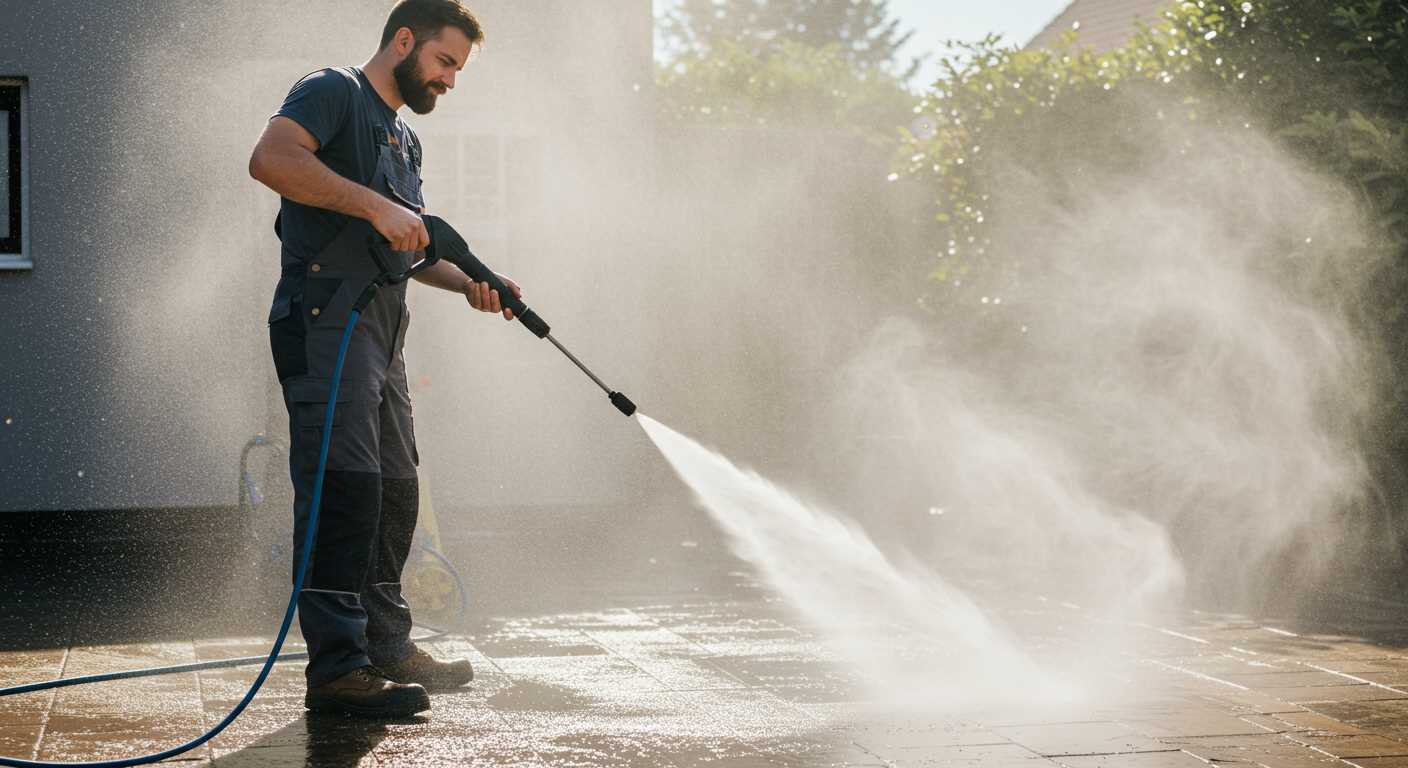
To ensure safety and readiness for future usage, it’s vital to check for any remaining force in the system. Begin by inspecting the spray gun and hose for any signs of trapped liquid. A thorough visual examination is necessary; look for any deformations or leaks that could indicate lingering fluid under tension.
Performing a Final Test
After disconnecting the gun and releasing the force, trigger the spray gun again while aiming it away from yourself and any surfaces. Any remaining liquid should exit without much effort. If you see or hear a sudden burst of liquid, you’ve successfully removed any tension left. Should you notice any liquid spewing abruptly, this indicates a failure to eliminate all remaining fluid pressure.
Storage Recommendations
Following the check, store the equipment in a dry, protected area. This helps prevent any moisture from causing damage or rust, prolonging the lifespan of the unit. A thorough inspection before stowing away ensures that your equipment remains in optimal condition for its next use.
Regular Maintenance Tips for Pressure Cleaners
Inspect the intake filter regularly to prevent dirt and debris from entering the system. Clean or replace it as needed; this will extend the lifespan of the unit.
Examine hoses for wear or damage. Replace any frayed or cracked sections promptly to maintain safety and efficiency.
Ensure connections are tight to avoid leaks. A small issue can escalate into a bigger problem if left unattended.
After each use, drain the pump to prevent water from freezing inside. This is particularly important in colder climates, where ice can cause significant damage.
Use the correct detergent for your model to prevent chemical damage. Always consult the manufacturer’s recommendations for compatible products.
Store the equipment in a dry place to prevent rust and deterioration. If possible, protect it from direct sunlight to avoid plastic parts becoming brittle.
Take time to clean the nozzle regularly. A clogged nozzle can affect the flow rate and lead to strain on the pump.
Change the oil according to the manufacturer’s schedule. Using fresh oil keeps components lubricated and functioning smoothly.
Test all safety features before operation. This includes triggers, safety locks, and shut-off valves. They are designed to keep you safe and should always be in working order.
Schedule a professional service annually. This can help identify potential issues early and ensure your tool operates effectively for years to come.


