


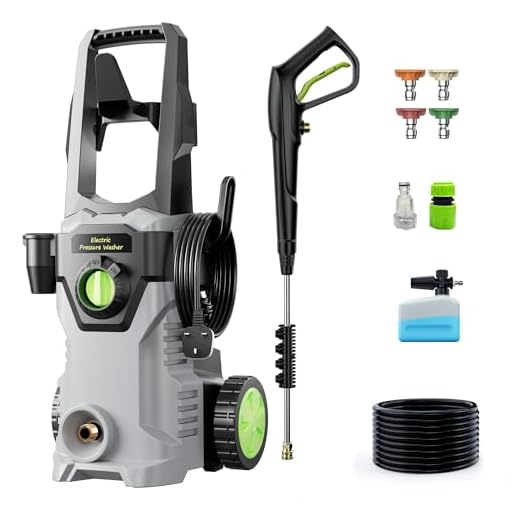
Begin assembly by securely attaching the handle to the main unit, ensuring all screws are tightened appropriately. Next, connect the high-pressure hose to the machine’s outlet; listen for a click to confirm a firm lock. Ensure the other end of the hose is linked to the spray gun. This step guarantees that water is directed effectively during operation.
It’s crucial to check the water inlet. Attach the garden hose to the inlet, ensuring a watertight seal. Before you plug in the device, turn on the water supply to eliminate any air locks in the system. Understanding this step prevents the unit from malfunctioning when powered on.
After connecting all components, insert the detergent tank if your model supports it. Fill with suitable cleaning solution, following the manufacturer’s recommendations to avoid any potential damage. Always test on a small, inconspicuous area first to see how the cleaner reacts with different surfaces.
Power up the machine and let it remain idle for a few moments. This period allows internal components to reach the optimal working condition. Once ready, you can commence with the cleaning tasks, adjusting the spray settings according to your requirements.
Setting Up Your High-Pressure Cleaner
Attach the high-pressure hose to the unit’s water outlet securely. There should be an audible click when it’s properly connected. Ensure there are no kinks in the hose to maintain optimal water flow.
Connect the other end of the hose to the gun. Check that the quick-release fitting is engaged fully. Confirm that the nozzle is correctly chosen for your task; different nozzles provide various spray patterns suited for diverse surfaces.
Position the water supply hose and connect it to the cleaner’s water inlet. Use a garden hose rated for pressure applications to prevent leaks. Turn on the water supply before starting the machine to avoid running the pump dry.
Plug the power cable into a socket that meets the voltage requirements specified in the user manual. Avoid using extension cords if possible for safety reasons and to ensure the machine operates effectively.
Before turning on the machine, make sure to activate the safety lock on the trigger gun. This prevents accidental activation. Once everything is connected and checked, switch on the power and squeeze the trigger to release air and establish a steady flow.
Check for leaks around all connections. If any water is dripping, turn off the machine and secure all fittings again. Once confirmed, you are ready to begin your cleaning tasks.
Choosing the Right Location for Your Cleaning Device
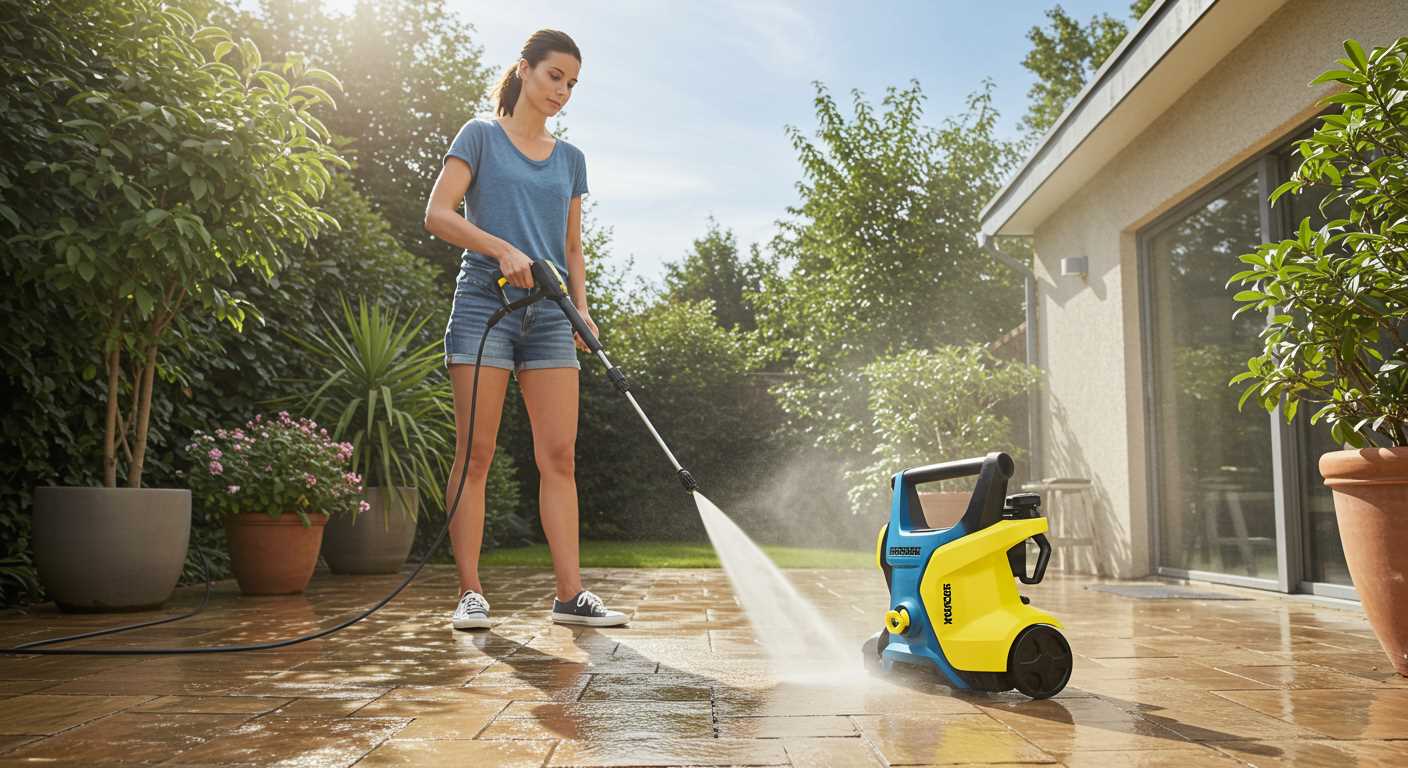
Locate your cleaning device on a flat, stable surface to ensure balance and prevent tipping. Avoid placing it on uneven ground or steep inclines, as this can lead to accidents during use.
Ensure adequate ventilation in the area. If operating indoors, open windows or doors to allow fresh air circulation. This mitigates the risk of inhaling fumes from the motor, enhancing safety.
Proximity to Water Source
Position the unit close to a water supply. The hose should have sufficient length to connect without straining the fittings. Check the pressure levels of your water source, as inadequate supply can affect performance and efficiency.
Clear Work Area
Maintain a clutter-free space around the cleaning device. Remove obstacles and fragile items from the vicinity to prevent damage. Ensure a clear escape route in case of emergency.
Consider shielded areas if operating under direct sunlight. This helps in preventing overheating of the equipment and ensures sustained performance during extended operations.
Connecting the Water Supply to Your Equipment
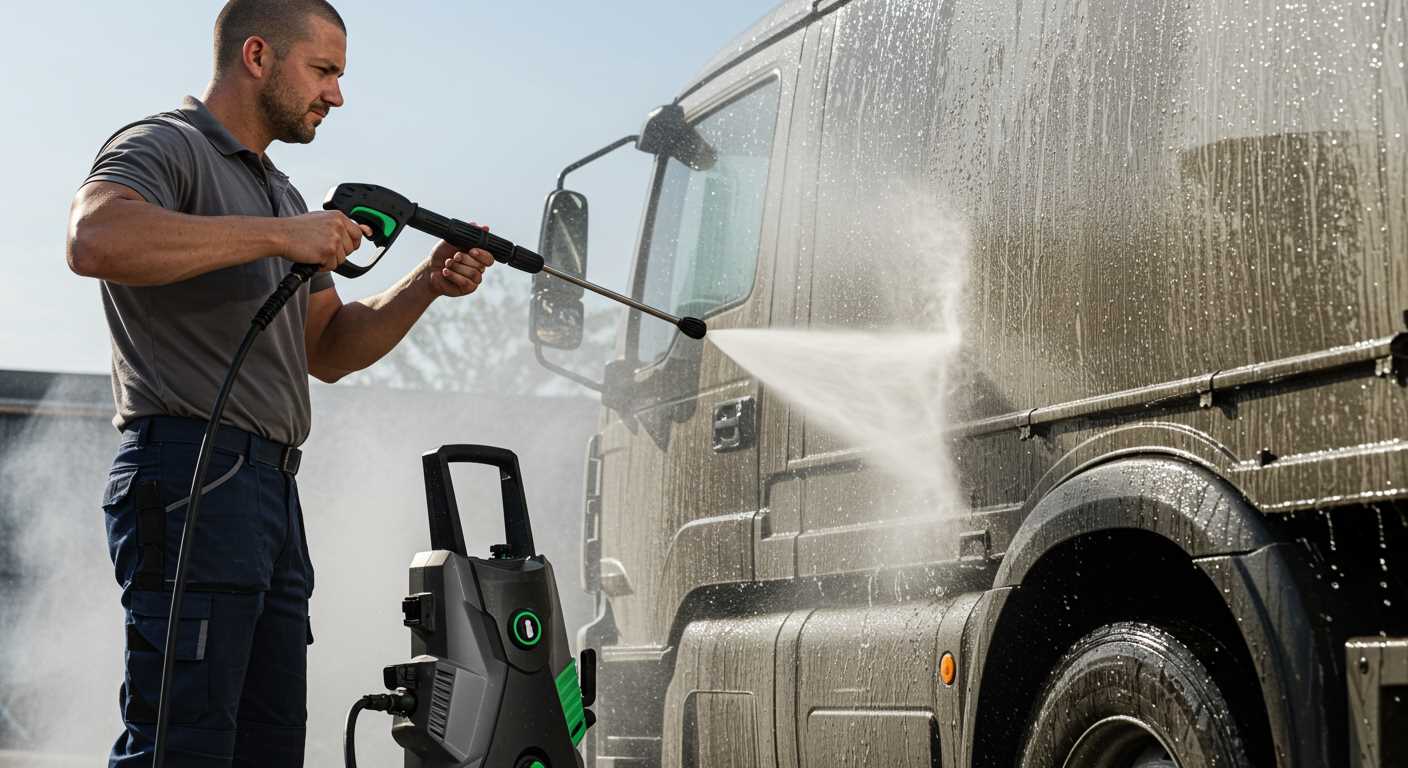
The initial step is selecting a suitable hose. Use a high-quality, reinforced garden hose that can withstand the required water pressure. Typically, a hose with a diameter of 3/4 inch is sufficient for optimal flow.
Next, ensure the water supply is reliable and can deliver a constant flow of at least 7-8 litres per minute. Turn on the water source before connecting the hose to prevent air locks, which can interfere with the unit’s operation.
Attachment Process
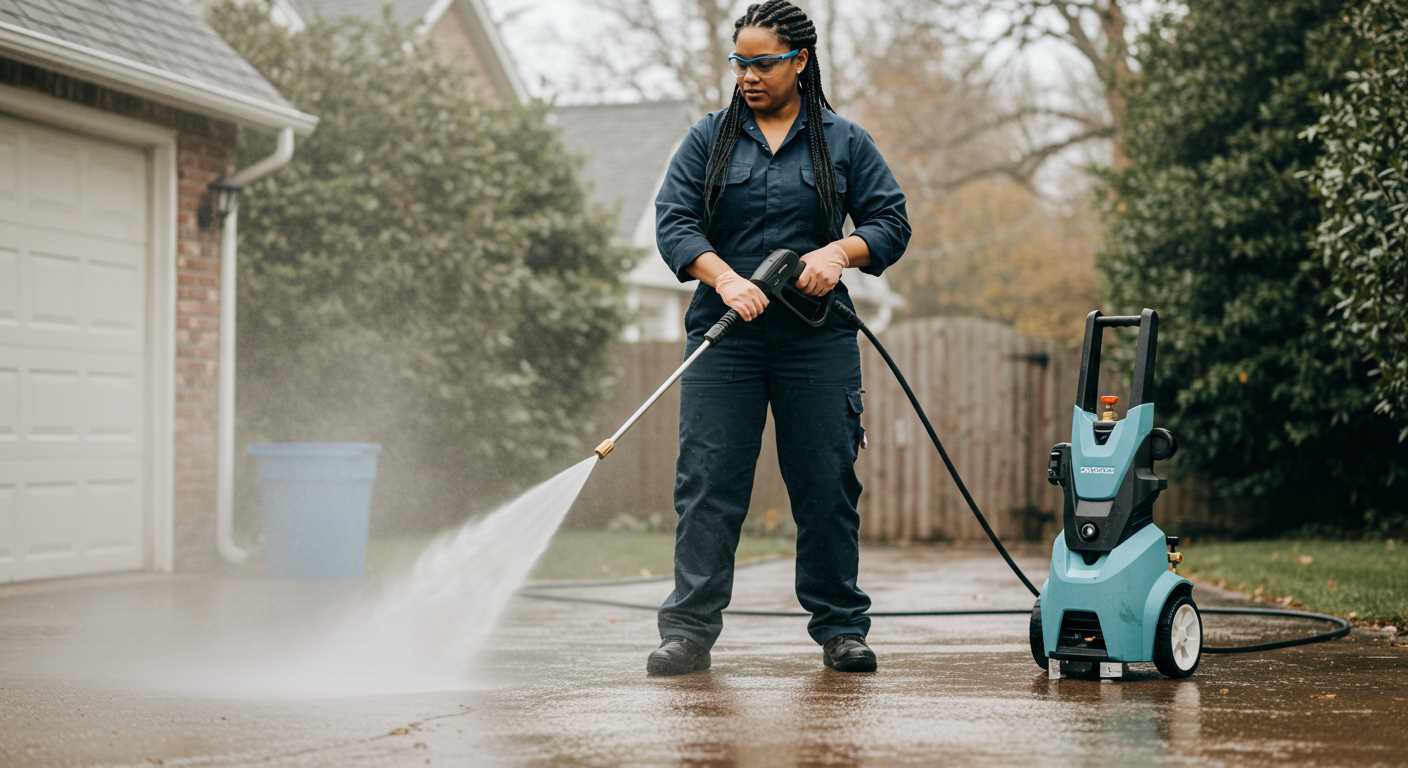
Securely attach one end of the hose to your water inlet. Ensure the connection is tight to prevent leaks. The other end should connect directly to your water source, like a tap. If necessary, use an adapter for fitting modifications.
Testing the Connection
Once the connections are made, turn on the water supply fully. Check for leaks around the connections. If any appear, disconnect and retighten. Activate the equipment briefly to confirm that water flows properly through the system, ensuring readiness for use.
After testing, make certain that all hoses are positioned away from any moving parts to prevent damage during operation. This simple setup process ensures your gear is ready to function effectively.
Assembling the Pressure Washer Components
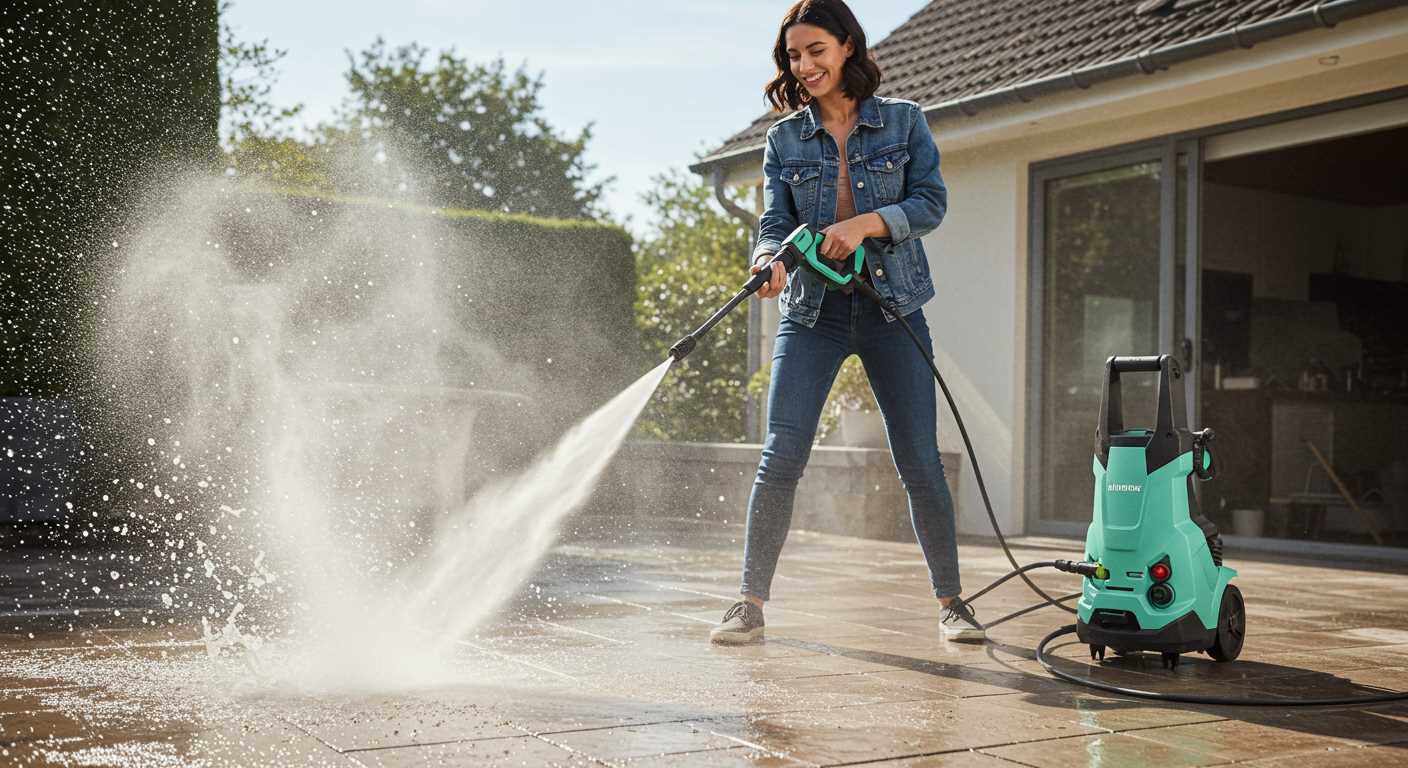
Begin with ensuring you have all the parts. Typically, you’ll find the main unit, a lance, a trigger gun, and various nozzles. Check the manual for a complete list and layout.
Connecting the Lance and Trigger Gun
Align the lance with the trigger gun, making sure it locks into place. This connection is crucial for operating the equipment safely. You should hear a click sound once secured. Test the connection by gently pulling on the lance; it should remain anchored without any movement.
Installing the Nozzles
Once the lance and gun are connected, choose the appropriate nozzle for your intended task. Most models feature quick-release mechanisms; simply push the nozzle into the lance until it clicks. Ensure it’s firmly in place to avoid unexpected sprays. For different surfaces, swap out nozzles as necessary to achieve optimal results.
Always refer to the instruction manual for specifics related to your model. Following these steps accurately guarantees safety and maximises performance during operation.
Setting Up the Power Supply for Safe Operation
Ensure your equipment operates flawlessly by connecting it to a suitable electrical source. Check the voltage requirements on the label–most models require a standard household supply, typically 230V.
Utilise an RCD (Residual Current Device) for added safety. This device cuts off electric supply if it detects a fault, significantly reducing the risk of electric shock.
Checking Extension Cords
If an extension cord is necessary, choose one rated for the power demands of your unit. A heavy-duty, three-core extension lead is recommended to prevent overheating.
Avoid running the cord through puddles or areas with excessive moisture. Keep the connection dry to prevent electrical hazards. Regularly inspect the cord for damage to ensure safe operation.
Grounding Requirements
For models with grounding requirements, ensure the plug fits properly into a grounded outlet. This protects both the user and the machinery from potential electrical faults. Never use adaptors that remove the grounding feature.
By paying careful attention to these power supply guidelines, you enhance both safety and performance while operating your cleaning machine.
Selecting the Appropriate Nozzle for Your Task
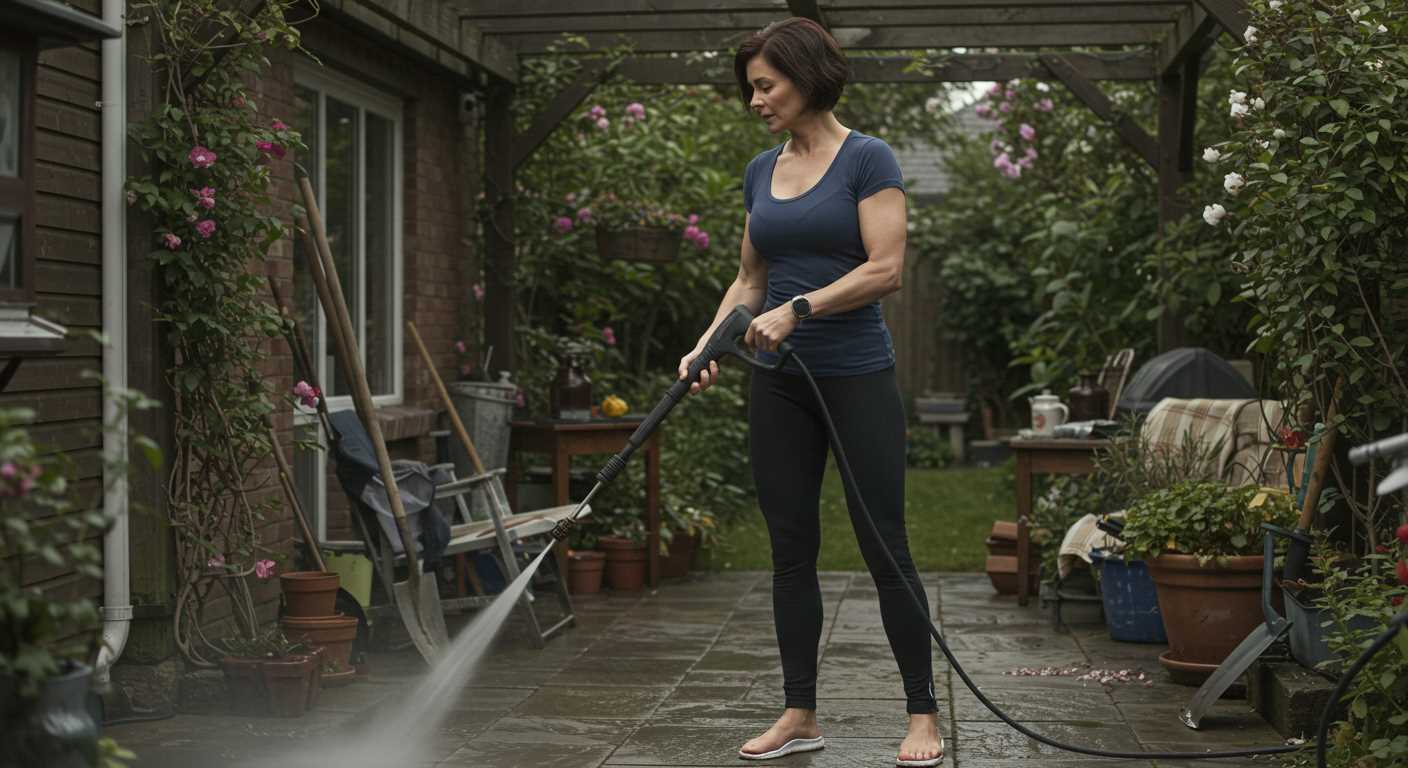
Choosing the correct nozzle is key to achieving the desired cleaning results. Each nozzle is designed for specific tasks and surfaces. I recommend referring to the following guidelines to make the right selection.
| Nozzle Type | Angle | Recommended Use |
|---|---|---|
| Red | 0° | For heavy-duty jobs such as removing tough stains or graffiti. |
| Yellow | 15° | Great for stripping paint or cleaning surfaces like brick and siding. |
| Green | 25° | Ideal for general cleaning tasks on surfaces like concrete and wood. |
| White | 40° | Perfect for delicate surfaces or areas needing gentle cleaning, like cars or windows. |
| Black | Soap nozzle | Used for applying detergents; great for pre-soaking surfaces before rinsing. |
Remember that the closer you are to the surface, the more concentrated the water pressure. Start from a distance and gradually move closer to avoid damaging the material. Test on a small area if unsure. Select the nozzle that aligns with the task, ensuring the best results without causing any harm.
Priming the Water Cleaner Before Use
Before starting, ensure the machine is positioned securely and all connections are made. Follow these steps to prime your equipment:
- Attach the water source securely to the inlet.
- Open the water valve fully. This ensures constant flow into the unit.
- With the unit powered off, squeeze the trigger on the spray gun to release air trapped in the hose.
- Continue holding the trigger until a steady stream of water flows from the nozzle. Release the trigger afterward.
- Turn the unit on. Water should now circulate properly within the system.
- If the flow appears inconsistent, repeat the previous steps until air is fully expelled.
Correct priming is crucial for optimal performance and prolonging the lifespan of your device. Always check for leaks or irregularities during this process.
Performing a Safety Check Before Starting
Always inspect the surrounding area for hazards that could pose a risk during operation.
- Ensure there are no electrical wires, uneven surfaces, or flammable materials nearby.
- Check that your footwear is suitable; closed-toe, non-slip shoes are ideal for traction.
- Confirm that the equipment is positioned securely, preventing accidental tipping.
Examine all hoses and connections for damage or leaks. Replace any worn components. A tightly secured connection reduces the risk of pressure loss and potential injuries.
- Inspect the power cord for fraying or exposed wires.
- Verify that the water inlet is clear and free from debris to avoid blockages.
Familiarise yourself with the operator’s manual, paying attention to recommended safety instructions and maintenance tips laid out by the manufacturer.
- Wear appropriate personal protective equipment, including gloves and protective eyewear.
- Review any warnings regarding chemical use or specific functions that may require additional caution.
Double-check that the safety lock is engaged on the trigger to prevent accidental activation when not in use.
Confirm that the emergency shut-off switch is operational, enabling immediate power disconnection if necessary.
- Ensure that everyone in the vicinity is aware of your activities and maintains a safe distance.
Conducting this thorough safety check mitigates risks and enhances the effectiveness of operations, leading to a safer experience overall.


