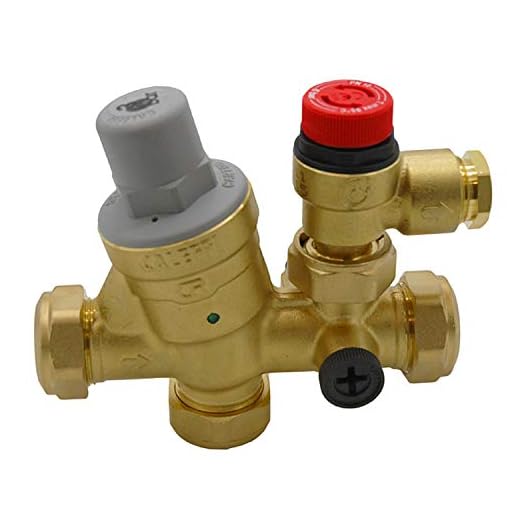


The first step in addressing challenges with the intake mechanism is to conduct a thorough visual inspection. Look for any signs of wear or damage on the component itself, including cracks or blockages that might obstruct water flow. Pay special attention to the seals, as deterioration can significantly impact performance.
Next, test the water supply to ensure adequate pressure and volume. A weak supply can exacerbate issues with the intake system. If the water source checks out, turn your focus to the operation of the component. Listen for unusual sounds during activation, which may indicate internal malfunction.
Finally, remove and clean the component if necessary. Debris often accumulates in the screen or filter areas, leading to suboptimal functionality. After cleaning, reassemble and conduct another performance test to assess whether issues persist. This methodical approach will help pinpoint the exact nature of any issues with the intake system.
Identifying common symptoms of inlet valve failure
Observe water flow changes. If you notice reduced water pressure or intermittent flow, this could indicate an issue with the entry mechanism. Unusual noises during operation, such as hissing or rattling, also serve as a warning sign of possible malfunction.
Watch for water leaks

Inspect for any leaks around the assembly. If water escapes from areas around the connector points, a faulty seal or damaged component may be present. This can lead to further operational challenges if not addressed quickly.
Monitor performance inconsistencies
When the device struggles to maintain consistent pressure while running, this points to a potential malfunction. Other symptoms include the unit running excessively hot or shutting down unexpectedly, critical issues that should not be overlooked.
Checking Water Flow and Pressure Inconsistencies
To troubleshoot water flow and pressure issues, first ensure the supply line is clear and not kinked. Inspect the hose for any signs of damage that may restrict flow.
Next, verify the connection to your water source. Use a flow meter to measure the output. A standard hose should deliver at least 5-7 gallons per minute at a minimum pressure of 20 psi. If the flow rate is below this, you may need to adjust the source or replace the hose.
After confirming the supply, turn on the unit without any attachment. If you notice irregular sounds or fluctuating pressure while the machine runs, this could indicate obstructions within the system. Look for any debris in the inlet filter or screen, as this can significantly impact overall performance.
Observe the pressure gauge during operation. Consistent readings are a good sign, while erratic behaviour may point to issues within the internal mechanisms or sealing components. If fluctuations are noted, check for faulty seals or wear on the pump components.
Finally, if the system has a pressure adjustment feature, attempt to modify the pressure settings while monitoring performance. This will help identify if the primary issue stems from an adjustable aspect of the unit itself. If inconsistencies persist, further examination of the internal assembly may be necessary.
Examining the Inlet Valve for Physical Damage
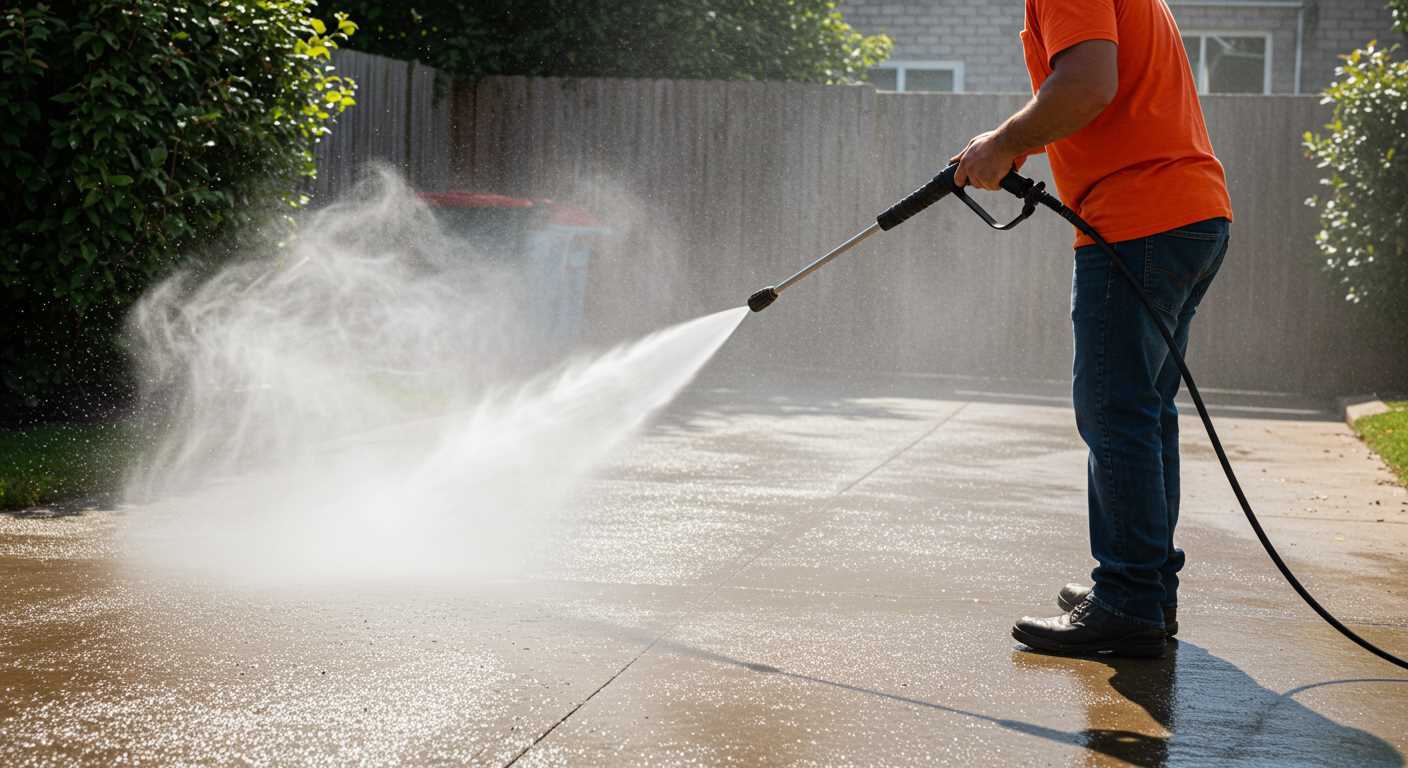
Inspect every component of the inlet mechanism closely. Look for cracks, chips, or deformities in the casing. These physical imperfections can disrupt the flow, leading to inefficiencies. Use a magnifying glass if needed to spot smaller flaws that may be affecting performance.
Pay attention to the seals as well, which can become brittle or worn over time. A damaged seal will lead to leaks and pressure drops. Ensure that all connections are tight and check for signs of corrosion or rust that may indicate moisture exposure.
Remove the valve assembly for a thorough inspection. Examine the internal parts, as any signs of wear or scoring on surfaces can impact functionality. If the spring mechanism shows fatigue or failure, it will need replacement. It’s crucial to verify that all moving parts operate smoothly without obstruction.
After completing the physical check, reassemble the components carefully. Use fresh seals and lubricate moving parts lightly to prevent future issues. Regular maintenance checks are vital to prolong the life of this equipment.
Testing the Water Supply Connection for Leaks
Begin by examining the hose fitting at the connection point. Ensure it is securely attached to prevent any potential leaks. A loose fitting can compromise water flow and lead to performance issues.
Next, inspect the entire length of the hose for any signs of wear, cuts, or bulges. Use your hands to feel for any irregularities that could allow water to escape. Any visible damage may necessitate a replacement of the hose.
To confirm the presence of leaks, run the system without any attachments. Observe the area where the hose connects to the water source and the unit itself. Look for drips or pooling water, which indicate a need for repair or adjustment.
Utilise a towel to wipe down the connections after running the system for a few minutes. If the towel becomes damp or wet, that suggests an issue requiring immediate attention. Fixing leak points promptly can eliminate potential complications that stem from inadequate water supply.
| Inspection Method | Key Actions | Indicators of Leaks |
|---|---|---|
| Check Hose Fitting | Ensure it’s tightly secured | Visible water at connection |
| Inspect Hose Condition | Feel for cuts, bulges, or abrasions | Water spraying from damaged areas |
| Run System without Attachments | Watch for moisture at connection points | Pooling water or drips |
| Use Towels for Cleanup | Wipe down connections and monitor | Dampness on towel after running |
Address any detected issues immediately to maintain optimal water flow and prevent further damage to the equipment. Keeping the connections in good condition not only extends the lifespan of your setup but also enhances its overall functionality.
Assessing the Impact of Filter Blockages on Valve Performance
To identify how filter blockages influence the functionality of the water intake component, I recommend first inspecting the filter screen located at the water source. A clogged filter can restrict water flow, leading to decreased efficiency and erratic performance.
Key Steps to Evaluate Blockages
- Remove the filter: Detach the filter from the water connection. Clean it thoroughly with water to remove any debris or sediment.
- Inspect for damage: While the filter is removed, assess it for cracks or deformities that may inhibit optimal flow.
- Test water flow: After cleaning, reattach the filter and turn on the water supply. Observe the flow rate; a strong, steady stream indicates a functioning filter.
Also, monitor the pressure readings. If you notice significant fluctuations, this might suggest that the filtering mechanism is still not allowing adequate water passage.
Further Considerations
- Regular maintenance: Make it a habit to clean filters regularly, especially in areas with hard or mineral-rich water. This proactive approach can prevent blockage-related issues.
- Use a secondary strainer: If blockages occur frequently, consider adding a secondary filtration system before the water enters your primary intake.
- Monitor for environmental causes: Be aware of debris from gardening, construction or other external sources that could periodically obstruct the filter.
In summary, keeping the filter clear and regularly checking its condition will significantly enhance overall equipment efficiency and prolong the lifespan of the water intake mechanism.
Utilising troubleshooting tools for precise diagnosis
Utilise a multimeter to check for any electrical issues at connections that could affect performance. Set it to measure voltage and confirm that the power supply to the system is adequate, eliminating electrical faults as a possible cause. A lack of proper voltage can lead to insufficient function during operation.
Leverage pressure gauges
Employ a pressure gauge along the water supply line to assess the flow rate and pressure levels. This will help identify inconsistencies in the supply, which could hinder efficient operation. Connect the gauge prior to the equipment’s intake to ascertain the exact pressure being delivered.
Use a borescope for internal inspection
For internal examination, a borescope can be particularly useful. It allows for a comprehensive look into hard-to-reach areas, helping to detect blockages or damage that might not be visible from the outside. This tool can clarify whether internal components are compromised.
FAQ:
What are common symptoms of problems with a pressure washer inlet valve?
Common symptoms of inlet valve problems include low water pressure, inconsistent flow, or water leaks around the valve area. If you notice that your pressure washer isn’t delivering the expected power or the water flow is erratic, the inlet valve may be obstructed or damaged. Additionally, if you hear unusual noises coming from the machine, it could also indicate an issue with the valve, affecting the overall performance.
How can I troubleshoot pressure washer inlet valve issues myself?
Troubleshooting inlet valve issues involves a few steps. First, ensure that the inlet screen is clean and free of debris; a clogged screen can limit water intake. Inspect the valve for any visible cracks or damage, as this can lead to leaks or pressure loss. You can also test the valve by running the pressure washer while checking for consistent water flow. If problems persist after these checks, replacing the inlet valve might be necessary for proper function.
What should I do if I find a fault with my inlet valve during diagnosis?
If you discover a fault with your inlet valve, the best course of action is to replace it. First, consult your pressure washer’s manual for specific instructions on removing and installing the inlet valve. Make sure to purchase a replacement that matches your model to ensure compatibility. After installation, test the machine to confirm that the issue has been resolved. Regular maintenance, such as cleaning and checking the valve periodically, can help prevent future problems.


