
To properly remove fuel, first ensure the unit is switched off and cool to prevent any accidents. Locate the fuel tank cap and carefully open it, allowing any built-up pressure to escape slowly.
Next, place a suitable container beneath the tank to catch the liquid. Using a siphon pump will make the transfer easier and safer. Insert the siphon tube into the tank and begin siphoning, keeping an eye out for spillage.
Once the tank is empty, thoroughly clean any spills and securely replace the fuel cap to avoid contamination or evaporation. This process not only protects your equipment but also prepares it for storage.
Emptying the Fuel Tank of Your Equipment

The first step I recommend is to locate the fuel shut-off valve if your model is equipped with one. Close this valve to ensure that no additional fuel flows into the carburettor while you remove the remaining fuel. For those without a shut-off valve, proceed carefully.
Using a clean, suitable container, gently tilt the device to allow the liquid to flow into the container. It’s important to avoid spilling any fuel, as it can be hazardous. Keep the machine upright to eliminate the likelihood of leakage from the carburettor. If there’s a drain plug at the bottom of the tank, you can remove it and let the residue flow out into your container.
Cleaning the System After Fuel Removal
After emptying the tank, it’s beneficial to add a small amount of fresh fuel and shake the tank gently, then drain it again. This process helps to wash away any remaining sediment or old fuel residues. Dispose of all waste in accordance with local regulations.
Additionally, consider running the device for a few minutes after refilling–with fresh fuel and stabiliser–to clear the system and ensure smooth operation for the next use.
Gather Necessary Tools for Removing Fuel
Prepare the following items before starting the process:
- Safety goggles – Protect your eyes during the procedure.
- Gloves – Ensure you have disposable or chemical-resistant gloves to avoid skin contact with fuel.
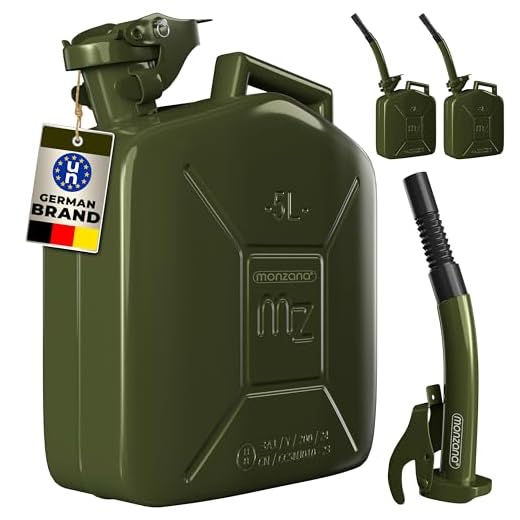
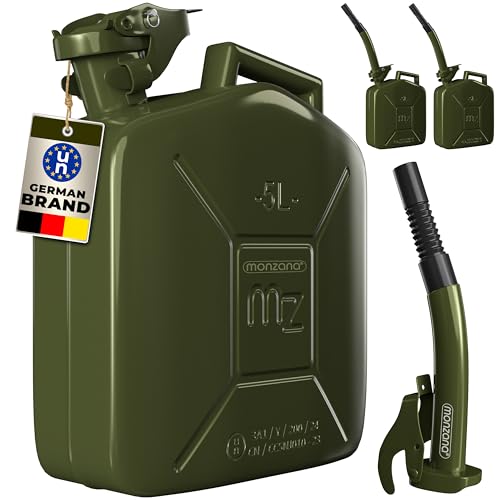
- Fuel container – Use an appropriate container for collecting the liquid, ensuring it is airtight and meets safety standards.
- Funnel – This will assist you in pouring fuel neatly into the container without spills.
- Small wrench or screwdriver – Necessary for accessing the fuel tank or lines, depending on the model.
- Rags or paper towels – Useful for cleaning up any spills and maintaining a tidy workspace.
Confirm you have all tools ready to ensure a smooth and safe process throughout the operation.
Locate the Fuel Tank and Drain Plug
For an effective extraction of fuel, first, identify the fuel reservoir and the relevant release valve. The fuel tank is typically situated towards the rear of the unit, clearly marked for easy identification.
Follow these steps for precise location:
- Inspect the rear section of the equipment for the fuel cap; this is usually a round black or yellow cover.
- Once the cap is removed, observe the depth and contours inside the tank, which aids in determining how much liquid remains.
- Next, locate the drain valve. This is often positioned at the bottom or side of the tank, designed for convenience during fuel changes.
Ensure to confirm the orientation of the tank–horizontal or vertical–as it may influence the draining process. A horizontal tank generally has a more accessible drain point.
Be sure to have a collection container positioned beneath the drain outlet to capture the escaping liquid without spills. This will streamline the process and maintain cleanliness.
After identifying both components, you will be ready to efficiently proceed with the removal process, ensuring all safety protocols are followed to avoid any hazards.
Prepare the Equipment for Fuel Extraction

Secure the machine on a flat surface to prevent spills. Ensure the engine is cool; this avoids any risk of fire or accidents. I recommend disconnecting the spark plug to eliminate the possibility of accidental ignition during the procedure. Wear protective gloves to safeguard against potential fuel exposure. Having a container ready for collected liquid will help in proper disposal and prevents any mess. Make sure you have towels or rags on hand to quickly manage any spills. Always work in a well-ventilated area to disperse fumes and maintain safety. These steps contribute to a smooth and safe extraction process.
Drain Fuel Safely into a Suitable Container
Prepare an appropriate container to catch the liquid safely. Use a clean, approved fuel can or a sturdy plastic container designed for holding flammable liquids. Ensure the container is empty and free from contaminants. Verify that it is rated for the type of fluid you are handling.
Follow Safety Protocols

- Select a well-ventilated outdoor location to prevent the accumulation of vapours.
- Wear protective gloves and safety goggles to shield your skin and eyes.
- Have a fire extinguisher nearby, specifically one rated for flammable liquids.
Transfer Process
- Position the container securely beneath the outlet of the fuel line.
- Open the drain plug or valve carefully to allow liquid to flow into the container.
- Monitor the flow to avoid spills. Stop the process if the container approaches full capacity.
- Once the transfer is complete, securely close the container and store it in a cool, dry place away from any ignition sources.
Always adhere to local regulations for the safe disposal of any leftover fuel. If unsure, consult with your local waste management authority for guidance.
Dispose of or Store the Drained Fuel Properly

To discard or store the extracted fuel safely, identify a fuel-appropriate container that seals tightly to prevent leaks and vapour escape. Ensure the chosen receptacle is specifically designed for storing flammable liquids.
If you opt for disposal, take the container to a designated hazardous waste facility or a fuel recycling centre. Most municipalities offer specialised drop-off locations or community hazardous waste collection events, so check local regulations for guidance.
When storing, maintain the container in a cool, well-ventilated area away from direct sunlight and heat sources. It is crucial to label the container clearly with the contents and date to monitor age and usage.
Before placing the stored fuel, ensure the seal is intact, and regularly inspect the container for any signs of leaks or deterioration. If you notice any damage, dispose of the container and its contents safely and replace it with a new one.
In case you intend to use the fuel again, mix it with fresh fuel in accordance with the manufacturer’s specified ratios before use, to maintain optimal engine performance.
Perform Maintenance After Gas Removal

After removing fuel, inspect and clean the fuel system components. Start with the fuel filter; if it’s clogged or dirty, replace it. This ensures a proper flow of fuel when you restart the machine.
Check and Clean the Carburettor
Examine the carburettor for any residue or blockages. Clean it thoroughly to prevent starting issues in the future. Use a carburettor cleaner spray, ensuring all ports and jets are free from obstructions. Reassemble carefully to maintain the factory settings.
Inspect the Engine Oil

While attending to maintenance, check the engine oil level. If it appears dark or contaminated, change it. Periodic oil changes will prolong the life of the engine. Follow the manufacturer’s specifications for the type and quantity of oil to use.
| Maintenance Task | Recommendations |
|---|---|
| Fuel Filter | Replace if clogged or dirty |
| Carburettor | Clean thoroughly to avoid blockages |
| Engine Oil | Change if dark or contaminated |
Finally, inspect the ignition system. Check the spark plug for wear and replace it if necessary. A clean and well-functioning ignition system ensures easy starts and efficient operation.


