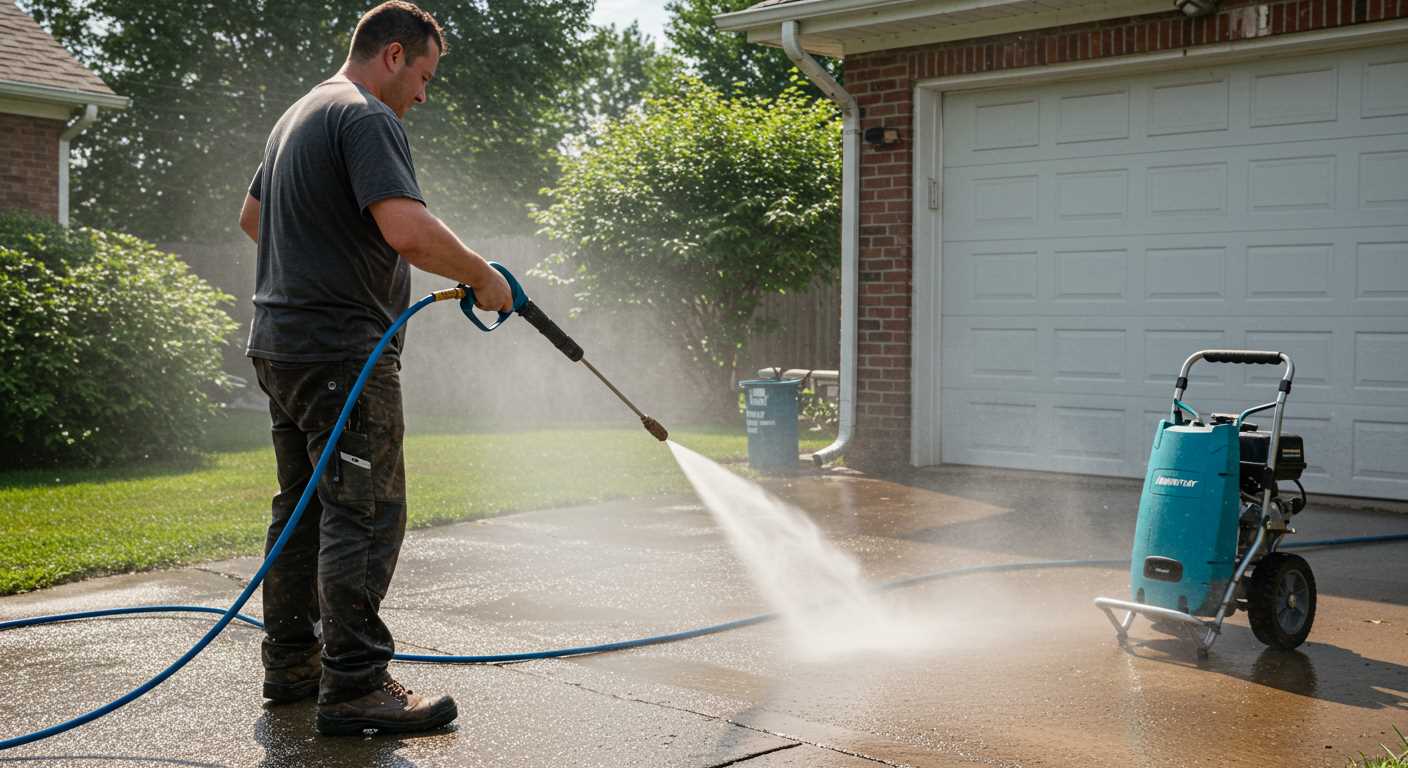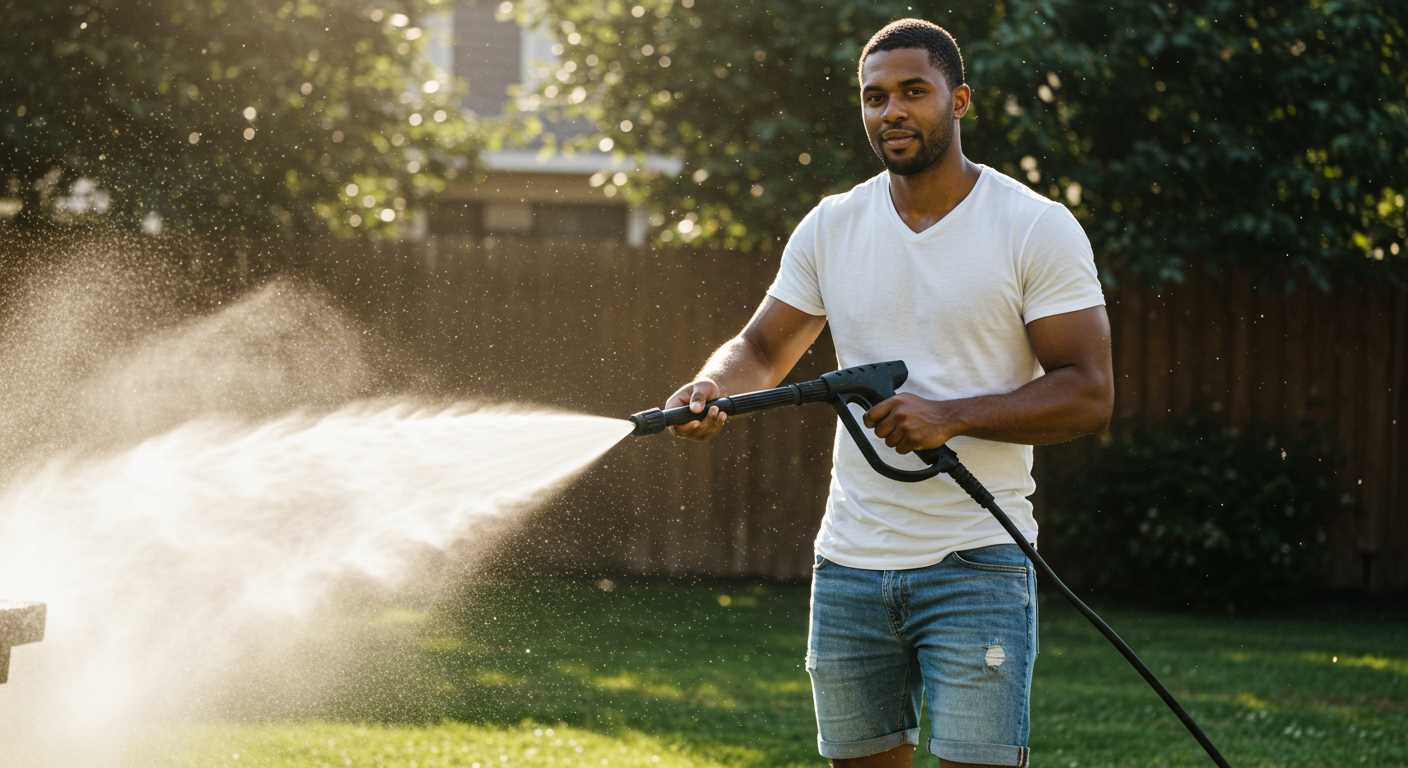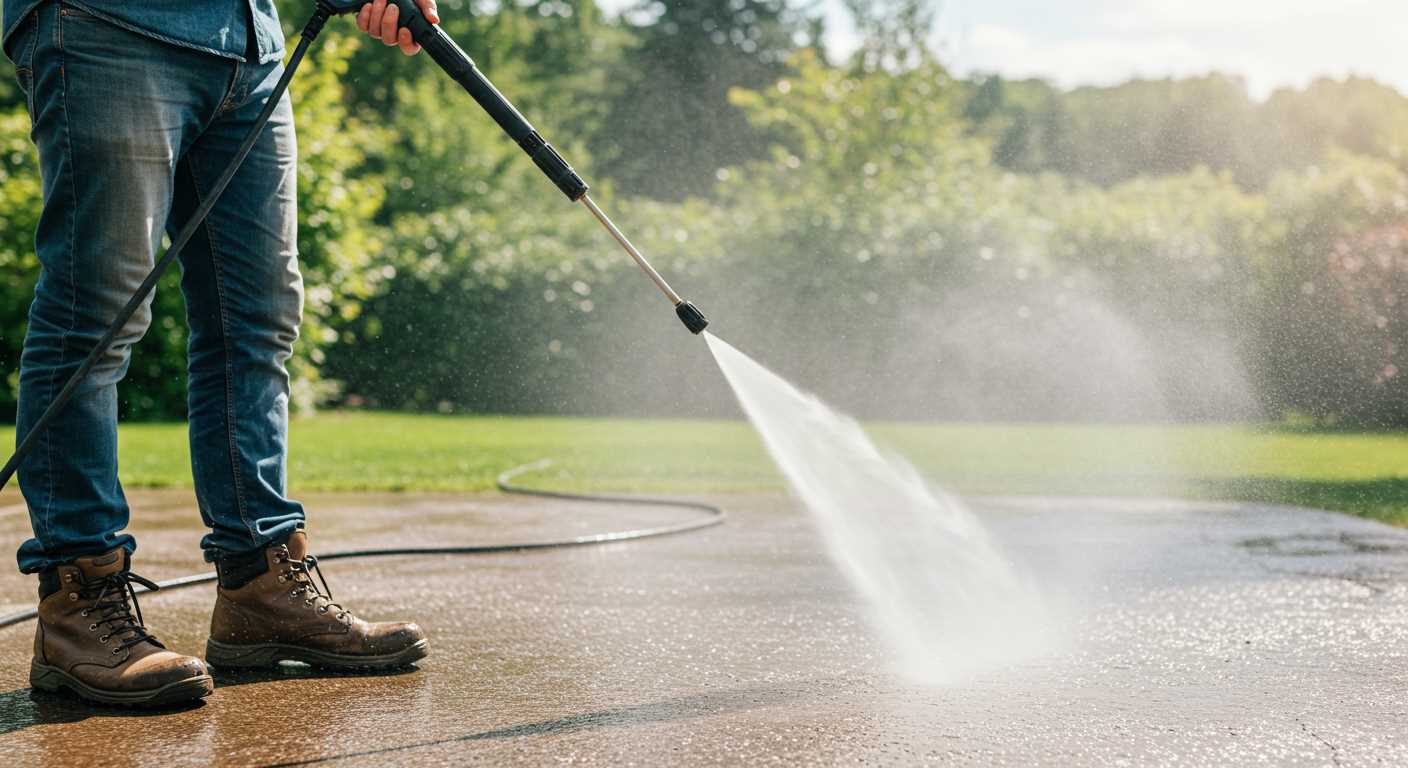


The key to achieving a pristine finish on your outdoor flooring lies in the right choice of nozzles. For the best outcome, opt for a 25-degree nozzle, which strikes a balance between cleaning power and safety. It provides enough force to lift grime without damaging the wood surface, making it ideal for composite and hardwood materials.
Before starting, ensure that loose debris such as leaves, twigs, and dirt are removed. This preparatory step not only enhances the effectiveness of the cleaning process but also prevents any unnecessary scratches or marks. I recommend using a broom or a leaf blower for this task, ensuring a clean canvas for your project.
Once you’re ready to go, maintaining a consistent distance of approximately 30 cm from the surface is crucial. This distance reduces the chance of etching while still delivering sufficient cleaning power. Start from one end and work your way through in sections, ensuring even coverage. Pay extra attention to stained areas, allowing the cleaner to sit for a few moments before rinsing to maximise its effect.
For best results, introduce a suitable detergent designed for outdoor surfaces. Mixing this with water in your machine will not only elevate cleaning potential but also result in a more thorough and quicker job. After applying the cleaner, don’t forget to rinse thoroughly to wash away any residue, as it can lead to unwanted discolouration if left on the wood.
Lastly, always monitor the weather conditions. Avoid cleaning during rainy or excessively windy days, as this can impact the application and drying process. Observing these details will ensure your outdoor flooring looks its best for a long time.
Using a High-Pressure Cleaner on Deck Surfaces
Prioritise safety by wearing protective eyewear and sturdy footwear before starting this project. Relocate any furniture, plants, or obstacles from the area to ensure unobstructed access.
Select an appropriate nozzle, typically a 25-degree or 40-degree spray tip, to prevent damaging the wooden planks while still delivering ample cleaning power. Adjust the cleaning solution according to the type of grime; a mild detergent usually suffices for everyday dirt.
Begin the task by wetting the surface first. This helps loosen dirt and debris, making the subsequent cleaning more effective. Proceed from one end to the other using a consistent, sweeping motion. Keep the nozzle approximately 30-60 cm away from the surface to balance pressure and avoid gouging the material.
Pay attention to the edges and corners, which may require more targeted cleaning. If stubborn stains persist, a concentrated spray can be used for those specific areas without lingering too long in one spot to avoid damage.
After cleaning, it’s wise to rinse thoroughly. This removes any soap residues that could affect the wood’s surface. Allow the deck to dry completely before replacing furniture or applying any sealants.
For maintenance, consider using this method annually or bi-annually based on environmental factors, as consistent upkeep prolongs the life of your deck.
Choosing the Right Pressure Cleaner for Your Outdoor Surface
Select a unit with a pressure rating between 1300 to 2000 PSI (pounds per square inch) for optimal results. Models within this range effectively lift dirt and grime without risking damage to wood fibres.
Consider the flow rate, measured in gallons per minute (GPM), as it impacts cleaning performance. A higher GPM means a quicker job, so look for a cleaner that offers at least 1.5 GPM. This ensures efficient rinsing and less residue after cleaning.
Types of Cleaners

Electric models are quieter and easier to maintain. They work well for smaller areas and light to moderate cleaning tasks. For extensive surface areas or stubborn stains, a gas-powered alternative is more powerful, making it suitable for heavy-duty operations.
Accessories
Include surface cleaners designed for broad areas, which help prevent stripe patterns often created by nozzles. Adjustable nozzles are also beneficial; they allow you to modify the spray pattern to suit various tasks. Detergent injectors can enhance cleaning power for stubborn grime.
Always check compatibility when selecting accessories to ensure they fit your model. Proper attachments help you achieve desired results while maintaining the integrity of your outdoor surface.
Preparing Your Surface for High-Pressure Cleaning
Remove all furniture, planters, and decor from the area. This prevents damage and allows for thorough cleaning. Check for any loose boards or nails and secure them to avoid accidents or further damage during the cleaning process.
Clear Debris and Dirt

Before beginning, sweep away leaves, dirt, and debris. This helps in achieving a clear and uniform surface. It’s beneficial to inspect for mould, mildew or other stains that may require special treatment before applying high-velocity water.
Apply a Cleaner or Stain Remover
If your surface has heavy stains or is particularly dirty, consider applying a suitable cleaner designed for your material type. Let this sit for recommended time to maximise its effectiveness before rinsing off. This step ensures a more thorough clean when you start the high-power cleaning.
Selecting the Appropriate Nozzle and Pressure Settings
For optimal cleaning results, I recommend using a 25-degree nozzle. This angle strikes a balance, providing sufficient pressure to remove dirt without causing damage to the surface. The fan spray disperses the water effectively, making it suitable for most decks.
Set your machine to a pressure range between 1200 and 1500 psi. Higher settings risk splintering wood or stripping finishes. If the decking material is composite or hardwood, adjust closer to the lower end of the scale to maintain integrity.
Understanding Nozzle Types
.jpg)
Besides the 25-degree nozzle, you may encounter a zero-degree option, ideal for tough stains but should be used with caution due to its concentrated spray. This is not for initial cleaning but for spot treatment. A 40-degree nozzle is better for rinsing, as it provides a gentle wash without applying excessive force.
Testing Settings

Before proceeding with the full cleaning, do a test on a small, inconspicuous area. This practice helps determine the effectiveness of your chosen nozzle and pressure setting, ensuring no unexpected damage occurs. Adjust as necessary based on results.
Techniques for Pressure Washing Without Damaging Wood
.jpg)
Begin by keeping a distance of at least 2 to 3 feet from the surface to prevent gouging. This spacing reduces the intensity of the water jet on the wood fibres.
Employ a sweeping motion rather than a stationary blast. This method distributes the water pressure evenly and protects the wood from concentrated harm.
- Utilise lower PSI settings initially. Start at around 1200-1500 PSI to see how the wood reacts, especially if it’s soft or older timber.
- Work in sections to maintain control and avoid over-saturating any one area. This practice helps prevent water damage and promotes quicker drying times.
- Test an inconspicuous area first. This strategy allows you to determine the right approach without risking visible damage.
Incorporate a fan nozzle for a broader spray pattern. This adjustment helps safeguard the wood’s integrity while effectively removing dirt and grime.
Keep the nozzle moving continuously. Holding the nozzle in one spot can lead to deep scratches or strips of wood being ripped away.
- Avoid using heat settings that could warp or crack the material.
- Regularly check for loose boards or signs of mould before starting to ensure extra safety during the cleaning process.
Lastly, allow the wood to dry adequately after cleaning. This step prevents twisting and cracking, which can occur if water remains trapped in the wood pores.
Post-Washing Care and Maintenance for Your Deck
After cleaning the surface, allow it to dry thoroughly before applying any protective products. This could take anywhere from 24 to 48 hours, depending on your local climate. Keeping an eye on the weather forecast is advisable to avoid unexpected rain, which could compromise your efforts.
Once dry, inspect for any damages or loose boards. Address these issues immediately to prevent further degradation. Tightening screws and replacing any damaged boards can extend the lifespan of the structure.
Applying a quality sealant or stain enhances protection against moisture and UV rays. I’ve found products with a combination of water and UV resistance provide the best results. Make sure to choose a dry day for application, and follow the manufacturer’s guidelines for drying times between coats.
Regular maintenance post-cleaning is key. Sweep away debris and leaves frequently to avoid grimy build-up. If you notice mould or mildew returning, tackle it promptly with appropriate cleaning solutions; delaying action can lead to more extensive damage.
Lastly, schedule a seasonal inspection of your outdoor space. This proactive approach will help maintain the aesthetics and integrity of your boards, ensuring they remain safe and beautiful for years to come.
Common Mistakes to Avoid When Using a High-Pressure Cleaner
Avoid using the wrong nozzle, as each one has a specific purpose. Selecting a narrow-angle nozzle for general cleaning is tempting, yet it can cause damage. Instead, opt for a wider fan spray when cleaning softer materials like wood.
If you neglect to pre-treat stains and dirt, you’ll face a more strenuous job later. Applying a suitable cleaner before starting saves time and energy, significantly reducing stubborn grime.
Don’t rush the process. Moving the wand too quickly results in uneven cleaning, leaving unwanted residue behind. Maintain a steady pace to ensure thorough dirt removal.
Ignoring the recommended distance from the surface invites problems. Holding the nozzle too close risks etching or splintering the material. Keep the recommended distance, usually between 30-36 inches, to avoid damaging the structure.
Failing to protect surrounding areas can lead to unwanted overspray on plants or nearby surfaces. Cover sensitive plants and furniture with tarps or plastic sheeting to prevent unintentional damage.
Overlooking the importance of protective gear is another common misstep. Always wear safety goggles and gloves to shield yourself from debris and high pressures that can cause injuries.
| Mistake | Consequence | Solution |
|---|---|---|
| Wrong nozzle choice | Potential damage to surfaces | Use appropriate nozzle for each job |
| Neglected pre-treatment | More effort required | Apply cleaner beforehand |
| Rushing the job | Uneven cleaning | Maintain a steady pace |
| Too close to the surface | Surface damage | Keep a safe distance |
| Ignoring surrounding protection | Damage to nearby items | Cover plants and furniture |
| Lack of protective gear | Injuries from debris | Wear goggles and gloves |


