
Replace the affected section of your cleaning equipment hose with a new, compatible piece to restore functionality effectively. To identify where the damage is located, first, inspect the entire length for visible punctures or leaks. Once located, cut the damaged portion cleanly using a sharp utility knife.
Next, acquire a suitable replacement that matches the diameter and threading specifications of your existing apparatus. Most home improvement stores offer a variety of hoses and connectors. Ensure that any fittings you plan to use provide a secure, leak-free connection. Use hose clamps to secure connections firmly and prevent future leaks.
After replacing the damaged section, test your equipment with water at a lower pressure to confirm the integrity of your repairs. Check all connections for leaks or signs of stress. If everything functions well, you can proceed to use it at full pressure for your cleaning tasks.
Identifying Common Hose Issues
Inspect for visible cracks or abrasions on the surface. These imperfections can lead to leaks and a reduction in performance. Use a bright light to get a clearer view of any potential damage.
A bulging or swollen section of the tubing indicates wear and possible failure. Examine these areas closely, as they may eventually rupture under pressure.
Checking for Kinks
Kinks create blockages, impacting flow and efficiency. Trace the entire length of the line and gently straighten any bends. Ensure it lays flat during use for optimal functionality.
Connections and Fittings
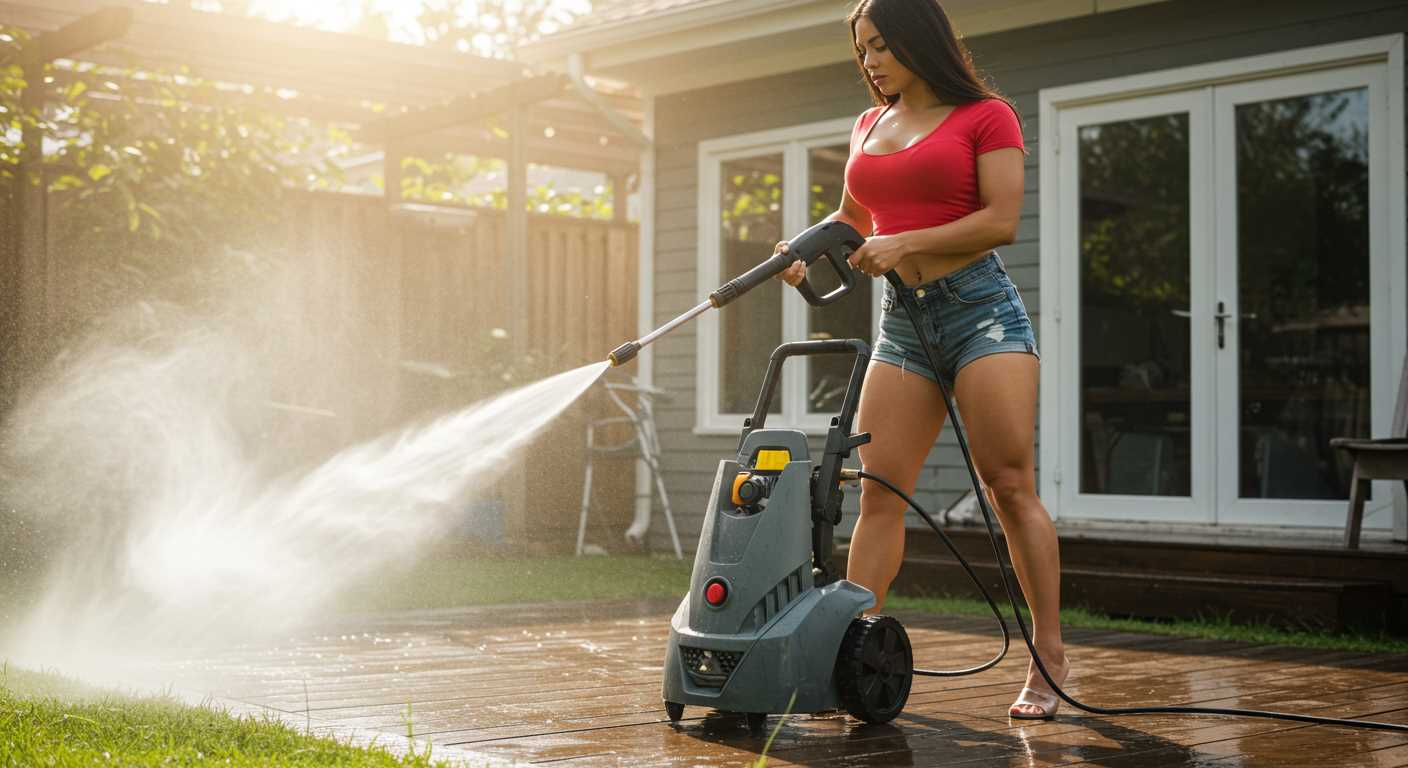
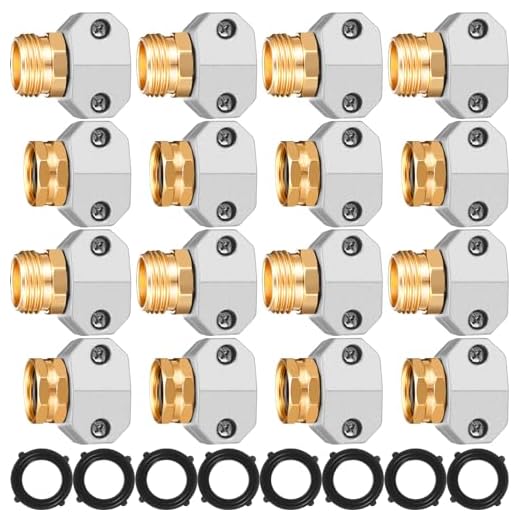
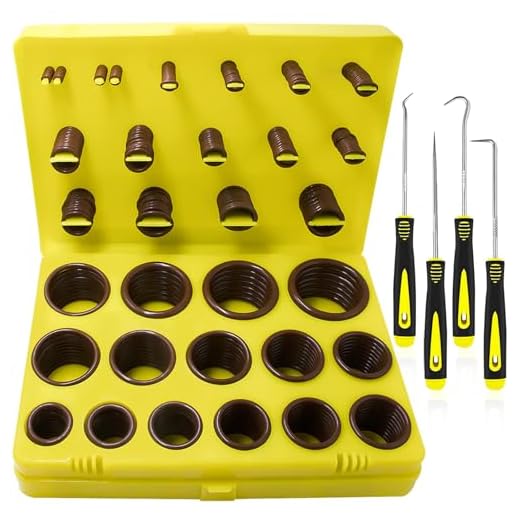
Assess the couplings at both ends. Loose fittings are a common culprit for leaks. Tighten any connections by hand, and if necessary, use a wrench for a firm grip. Replace washer seals if they appear worn or damaged to maintain a proper seal.
Finally, examine for any signs of wear at the connection points. This area is prone to stress, and cracks can develop over time, compromising integrity.
Tools Required for Hose Repair
For a successful repair of your cleaning appliance’s flexible tubing, gather the following tools and materials:
Cutting Tools
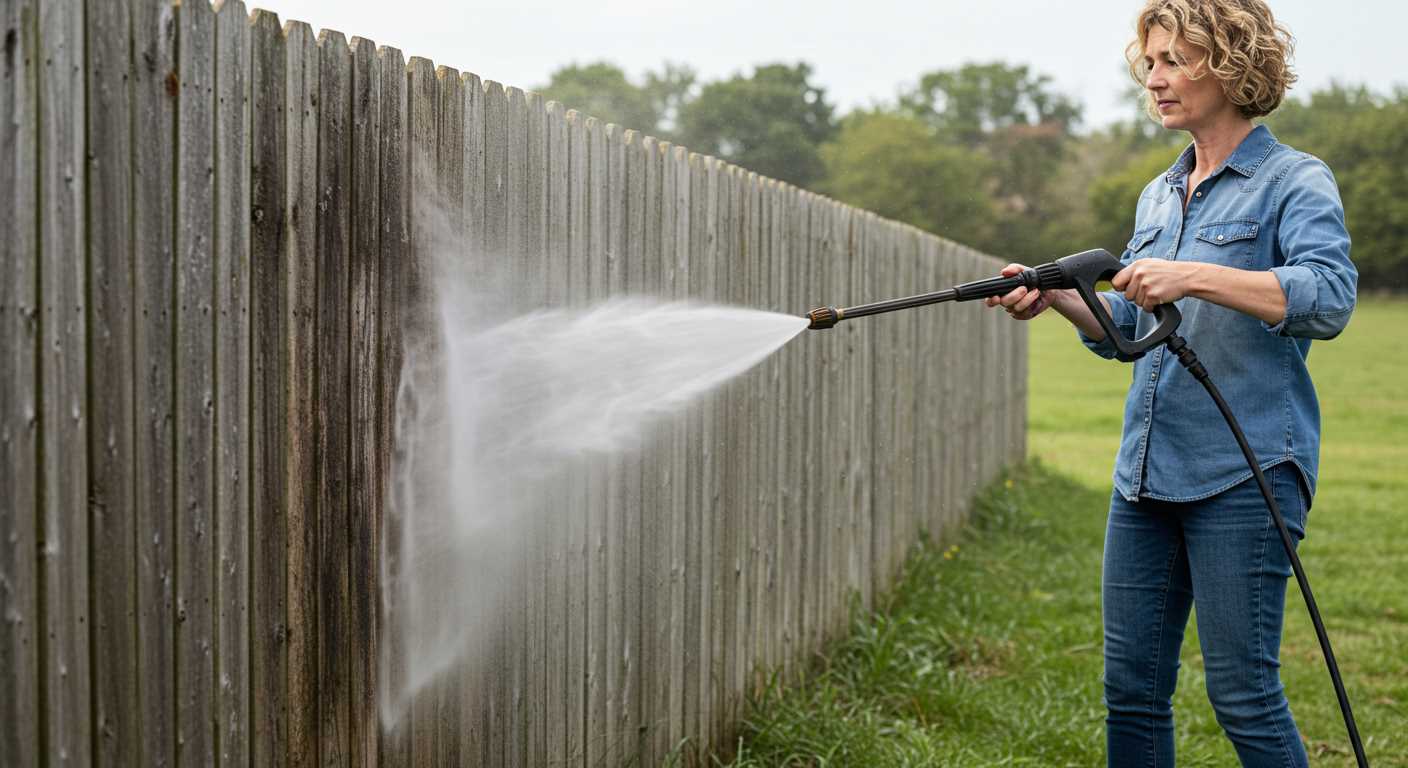
A sharp utility knife or tube cutter is necessary for making clean cuts on the tubing. Ensure the blade is sharp to avoid fraying the ends.
Connectors and Fittings
Purchase appropriate connectors, such as barbed or compression fittings, that match the diameter of your tubing. These create a secure link, preventing leaks.
Have a pair of pliers on hand for tightening fittings and connectors. Adjustable or slip joint pliers are especially useful for this task.
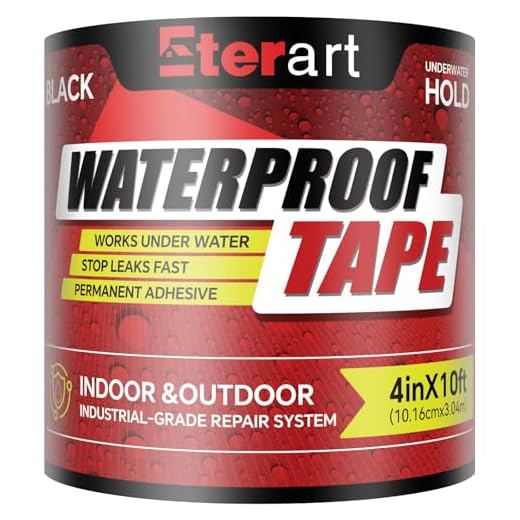
If you’re using a rubber or vinyl tube, strong adhesive or epoxy sealant will help in bonding, particularly if you’re mending a crack. Make sure it is compatible with the material of the tubing.
Measuring Tools
Measuring tape is essential for determining the correct length of tubing needed for replacement sections. Precision is key for a tight fit when connecting.
Safety Gear
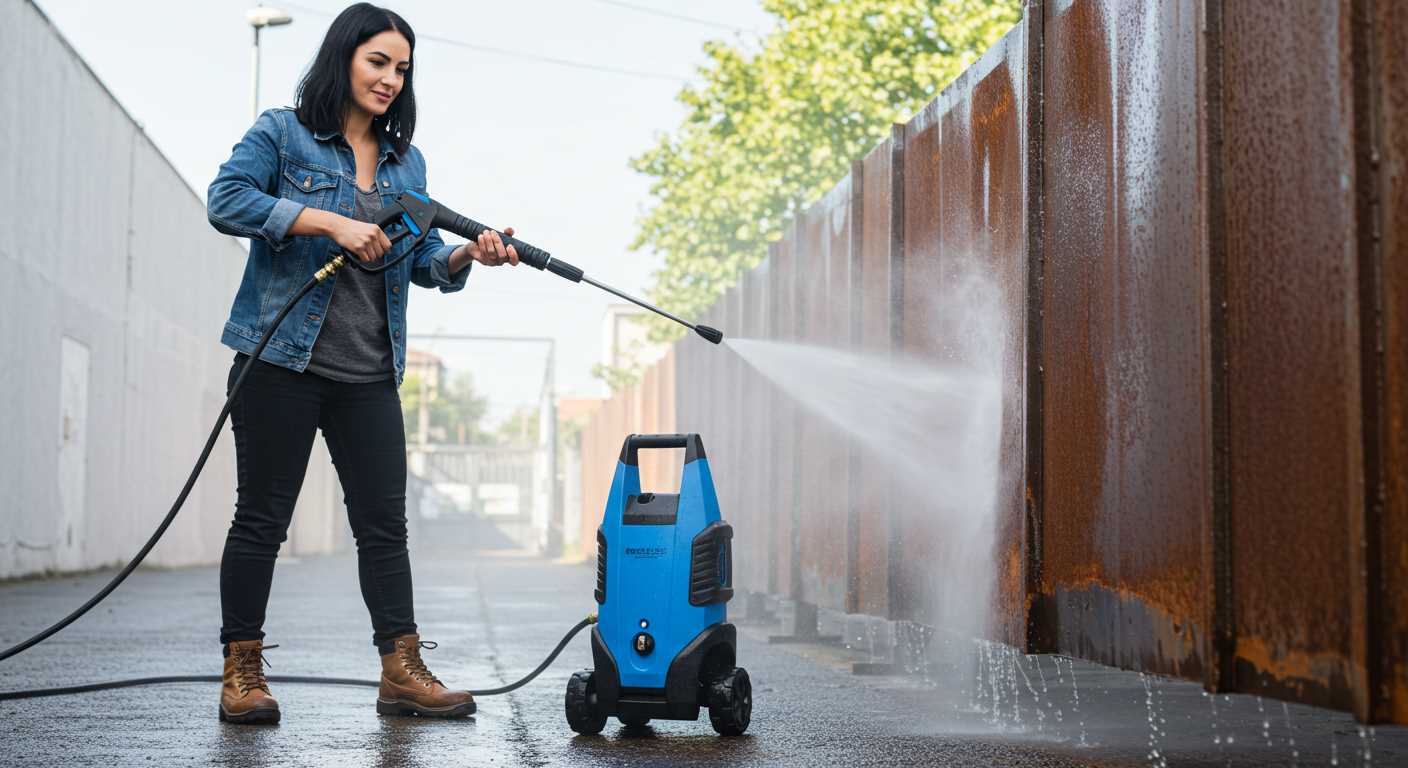
Wear safety goggles to protect your eyes from debris when cutting the tubing. Gloves can also provide a better grip and protect your hands from sharp edges.
These tools will enable a smooth and precise repair, enhancing the reliability of your equipment. Ensure to check compatibility before purchasing any connectors or fittings.
Cutting and Preparing Hose Ends
Use a sharp utility knife or hose cutter to achieve a clean cut when trimming the ends. Aim for a straight cut to ensure proper sealing when reattaching connectors.
Measure the required length before cutting, and mark it clearly. After cutting, inspect the cut edge for any fraying or damage. If fraying is present, trim until you reach a clean, smooth edge.
To facilitate easier attachment, ensure that the inner diameter of the hose ends is free from debris. Clean them gently using a damp cloth or compressed air to remove dirt and particles.
After cutting, it’s recommended to bevel the edges slightly. This step helps when inserting the hose into fittings, reducing the chances of tearing during installation.
| Step | Description |
|---|---|
| 1 | Use a sharp cutter for a clean cut. |
| 2 | Measure and mark the desired length. |
| 3 | Inspect for fraying; trim if necessary. |
| 4 | Clean ends to remove any debris. |
| 5 | Bevel edges for easier fitting attachment. |
Following these steps will significantly enhance the effectiveness of the repair. Properly prepared ends ensure a secure and lasting connection, minimizing the risk of leaks and ensuring optimal functionality.
Joining Hoses with Connectors
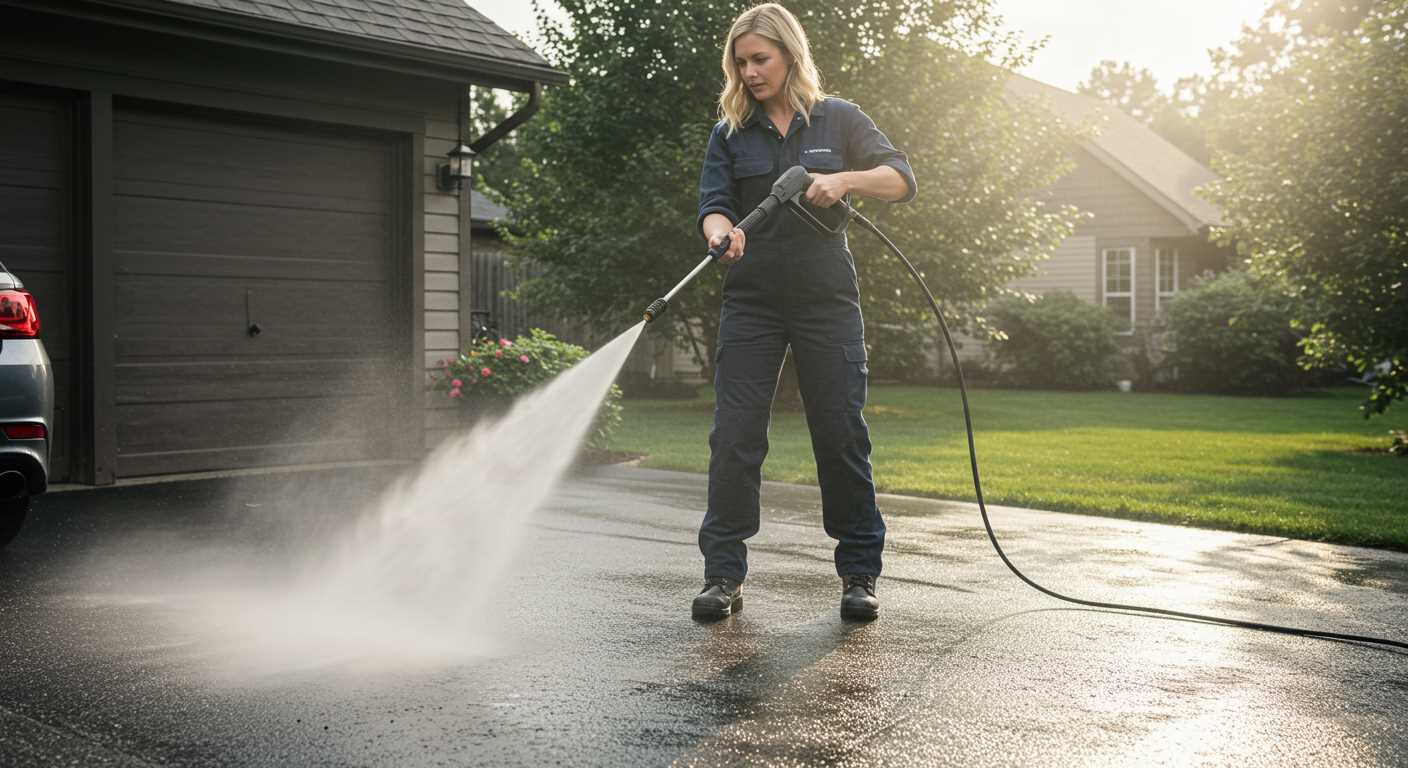
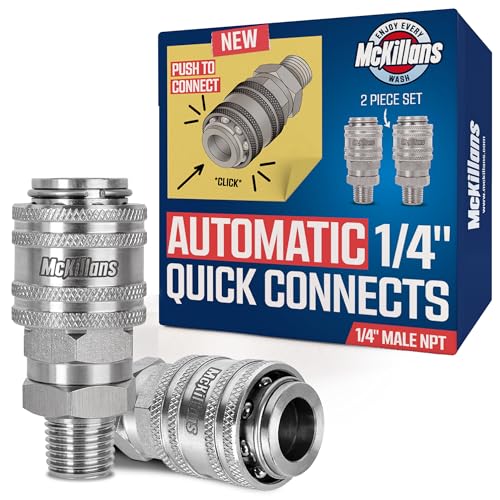
Utilising connectors is a straightforward method to join separate lengths of tubes securely. Select connectors that match the diameter of the tubing you are working with; mismatched sizes can lead to leaks or disconnections. Options include barbed fittings, quick-connects, and threaded connectors.
Types of Connectors
- Barbed Connectors: Ideal for a tight fit, these typically require the hose to be heated slightly for easier insertion. Once cool, they create a solid bond.
- Quick-Connect Fittings: Perfect for frequent disconnections. They allow for swift attachment and release, minimising downtime during usage.
- Threaded Connectors: Use these for more permanent solutions. They require thread tape for a secure seal and should be tightened sufficiently to prevent leaks.
Installation Steps
- Ensure both ends of the tubes are properly cut and prepared for joining.
- Insert the bare end of the tube into the chosen connector. If using barbed connectors, heat the end slightly to facilitate insertion.
- For threaded options, wrap the threads with PTFE tape before screwing the pieces together. Tighten with a wrench but avoid over-torquing.
- Check joints for tightness and ensure there are no visible gaps that could cause leaks.
After joining, test the assembly under pressure to confirm integrity. If leaks are detected, recheck connections and tighten as needed. Choosing the right connector type and ensuring proper installation will extend the life of your tubing setup and enhance overall performance.
Using Hose Repair Kits
Utilising a hose repair kit streamlines the process of restoring functionality to damaged tubing. Ensure the kit includes suitable connectors, clamps, and sealing compounds. Following the manufacturer’s guidelines maximises the likelihood of a successful repair.
Steps to Implement
First, clean the area around the damaged section. Contaminants can hinder proper adhesion. Next, trim the ends of the tubing if necessary, ensuring they are straight and smooth. Attach the connector as per the kit instructions, making sure it fits snugly. Finally, secure it with the provided clamps for a reliable seal. Regular checks after installation will help prevent future leaks.
Maintenance Tips
Store the kit in a dry location to maintain its components. Consider monitoring connections for wear regularly, and replace any parts that seem compromised. This approach will extend the lifespan of your equipment and improve performance significantly.
Testing the Repaired Hose

After completing the repair, it’s crucial to verify the durability and functionality of the newly fixed tubing. Begin by reconnecting it to the machine and other fittings. Ensure all connections are secure to prevent any leaks during testing.
Follow these steps to check the repaired section:
- Visual Inspection: Examine the entire length for any visible damage, such as cracks or bulges, particularly around the repair site.
- Water Flow Test: Turn on the machine and allow water to flow through the assembly. Observe the repaired area closely for leaks. A steady stream with no water escaping indicates successful repairs.
- Pressure Test: Gradually increase the pressure to assess the integrity of the fix. Monitor carefully for any signs of failing under increased pressure.
If you detect any leaks or issues during these tests, it’s better to address them immediately. Repeat the repair process as necessary, ensuring you accurately prepare and join the materials.
Once confident in the repairs, conduct a full operational test. Engage the machine and inspect how the tubing performs under normal working conditions. Make sure to observe the consistency of water flow and any unusual noises that may arise.
- Check for smooth operation without interruptions.
- Note any irregular vibrations that may indicate underlying problems.
- Keep an eye out for temperature changes that might signal excessive strain.
These measures ensure that the components will perform reliably over time, reducing the likelihood of future disruptions during usage. Regular checks post-repair enhance the longevity of the equipment.
Maintaining Your Cleaning Equipment Tube
Regular inspections are key. I recommend checking for signs of wear or damage each time you clean. Look for cracks, bulges, or any deformations that might indicate weakness. Detangle any knots immediately to prevent stress on the material.
Using a proper storage method significantly extends the life of the tubing. Store it in a cool, dry place, avoiding direct sunlight or extreme temperatures. Hanging the tube instead of coiling it helps prevent kinks that can lead to leaks.
Always flush out any residual water after use to prevent mildew and bacterial growth. A mixture of vinegar and water can help keep the inside clean, but make sure to rinse thoroughly to avoid residue.
If you are using your equipment frequently, consider applying a silicone-based spray to maintain flexibility and prevent cracking over time. Make sure to consult the manufacturer’s guidelines to avoid potential issues with materials.
Perform a pressure test periodically. Connect your equipment and run it briefly while observing for any unintended water discharge. This can help identify minor issues before they escalate.
Lastly, keeping your connections clean and tight not only improves efficiency but also reduces the risk of future leaks. Ensure that fittings are free of dirt before connecting and use thread tape on threaded connections to enhance sealing.


