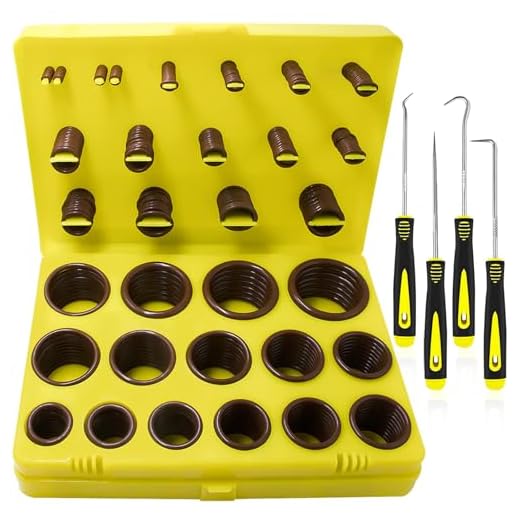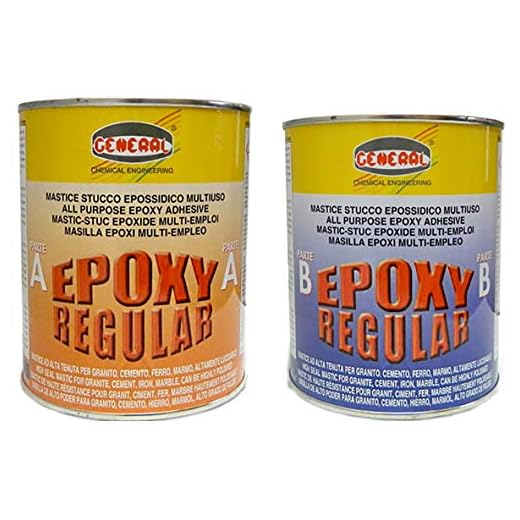
The initial step involves disconnecting the hoses and ensuring the unit is powered off. Failure to do this can lead to water spillage or injury during repairs. Next, examine the outer casing carefully for visible signs of wear or fractures; often, the damage may extend beyond the surface. Using a high-quality sealant that is compatible with the materials of your device will provide a strong bond for minor fractures.
If the damage is significant, consider replacing the affected parts entirely. Look for manufacturer specifications to ensure compatibility, as generic replacements may not fit correctly. When sourcing new fittings, always verify their quality by checking the reviews and ratings from other users. Investing in reputable parts avoids future issues and prolongs the lifespan of your equipment.
After applying the sealant or installing new components, allow adequate time for curing. It is crucial to follow the instructions for optimal results. Once cured, conduct a thorough inspection of the entire system before trial use. Test it cautiously, watching for leaks or unusual noises that may indicate further issues. Regular maintenance checks post-repair will help to identify and rectify future problems before they escalate.
Repairing a Damaged High-Pressure Unit
First, ensure the equipment is disconnected from any power source to prevent accidents during the repair. Obtain a replacement part that matches the model specifications. Carefully disassemble the unit by removing the screws securing the casing. Take note of the order of parts for reassembly.
Inspect the component to confirm the extent of damage. If a minor fissure is present, apply epoxy resin as a temporary measure. Clean the area thoroughly with a solvent before applying the resin. Allow it to cure as per the manufacturer’s instructions. For larger fractures, replacing the affected part might be necessary.
Reassembly and Testing
Once the repairs are completed, reassemble the unit according to your earlier notes. Ensure all screws are securely fastened to avoid leakage during operation. Reconnect to the power source and conduct a test run. Monitor for any unusual noises or leaks that may indicate further issues. If everything operates smoothly, your repair is successful.
Document the repair process for future reference, including part numbers and procedures. This record will assist with maintenance or additional repairs in the future, enhancing the longevity of your equipment.
Identifying the Type of Crack in the Pump
First, inspect the unit carefully. Examine for surface blemishes, fractures, or other irregularities. The nature of the fissure influences the repair method.
Types of Cracks
- Hairline Cracks: Very slender and superficial. Often cosmetic, they might not affect functionality. However, they can widen over time if not addressed.
- Corrosion-Related Cracks: Common in older models. Look for rust around the fracture. This indicates degradation, and treatment may involve sealants or replacement parts.
- Structural Cracks: Larger and deeper, these can impact the overall integrity of the assembly. They require immediate attention and may often necessitate complete replacement of the component.
Tools for Inspection
Utilise a flashlight to enhance visibility. A magnifying glass might help further examine seams and joints where cracks typically occur. Look for signs of leakage, which can indicate a breach that needs immediate correction.
Regular maintenance checks can prevent more severe issues; hence, it’s wise to inspect components routinely to catch problems early.
Tools Required for Repairing a Damaged Pump
Before starting any repairs on the damaged component, it’s crucial to gather the appropriate tools to ensure a smooth process. Here’s a definitive list of what I recommend you have on hand:
Basic Tools
.jpg)
A set of hand tools is essential. You will need a combination of socket wrenches, screwdrivers (both flat-head and Phillips), and an adjustable wrench. These will assist in removing and tightening bolts and screws during the repair.
Specialised Equipment
To handle more intricate tasks, consider acquiring epoxy adhesive specifically formulated for high-pressure applications. This ensures a secure bond when repairing small fractures. Additionally, a pipe thread sealant will help maintain integrity when reassembling threaded connections.
Furthermore, having a tack cloth and cleaning brush is advisable for cleaning surfaces before applying any adhesive. A heat gun can be beneficial for softening certain materials, making them more pliable for better adhesion.
Lastly, don’t forget about personal protective equipment. Safety goggles and gloves are important to protect against any splinters or chemicals during the repair process.
Draining the Pump Before Repair
Before commencing any repairs, it’s crucial to ensure that all liquid has been completely removed from the unit. This step prevents spills and potential hazards during the process.
Follow these steps to drain the fluid properly:
- Disconnect the unit from the power supply to avoid any accidental starts.
- Locate the drain plug, usually found at the base of the device. If your model lacks a specific drain plug, check the user manual for guidance.
- Position a suitable container under the drain outlet to capture any remaining liquids.
- Carefully unscrew the drain plug and allow the contents to flow into the container. Keep an eye out for any debris that may also be released.
- Once all fluid has drained, replace the plug securely to prevent any leaks when refilling.
- Inspect the container for contaminants. Dispose of any impurities properly to maintain environmental safety.
This methodical approach ensures that you work safely and effectively, allowing you to focus on the necessary repairs without the disruption of unexpected fluid release. Once drained, thorough cleaning of the area around the inlet and outlet will facilitate a smoother repair process.
Using Epoxy to Seal the Crack
For sealing the rupture, I recommend using a high-quality epoxy resin that’s suitable for the material of your equipment’s casing. Begin by thoroughly cleaning the area around the fissure to remove dirt, grime, and grease. This ensures maximum adhesion of the epoxy. A degreaser or alcohol wipes can be effective for this step.
Mix the epoxy according to the manufacturer’s instructions, ensuring you achieve the correct consistency. Apply the mixture generously over the damaged area, filling the void completely. Use a putty knife for precise application, smoothing the surface for an even finish. It’s advisable to allow the epoxy to cure fully as specified on the product label; this often requires a minimum of 24 hours.
After curing, inspect the seal for any imperfections or missed spots. If necessary, sand down any rough edges for a smooth transition with the surrounding material. Once satisfied with the repair, reassemble the components and test for any leaks. This method not only repairs but also helps in strengthening the structure, extending its lifespan considerably.
Reinforcing the Appliance with Additional Materials
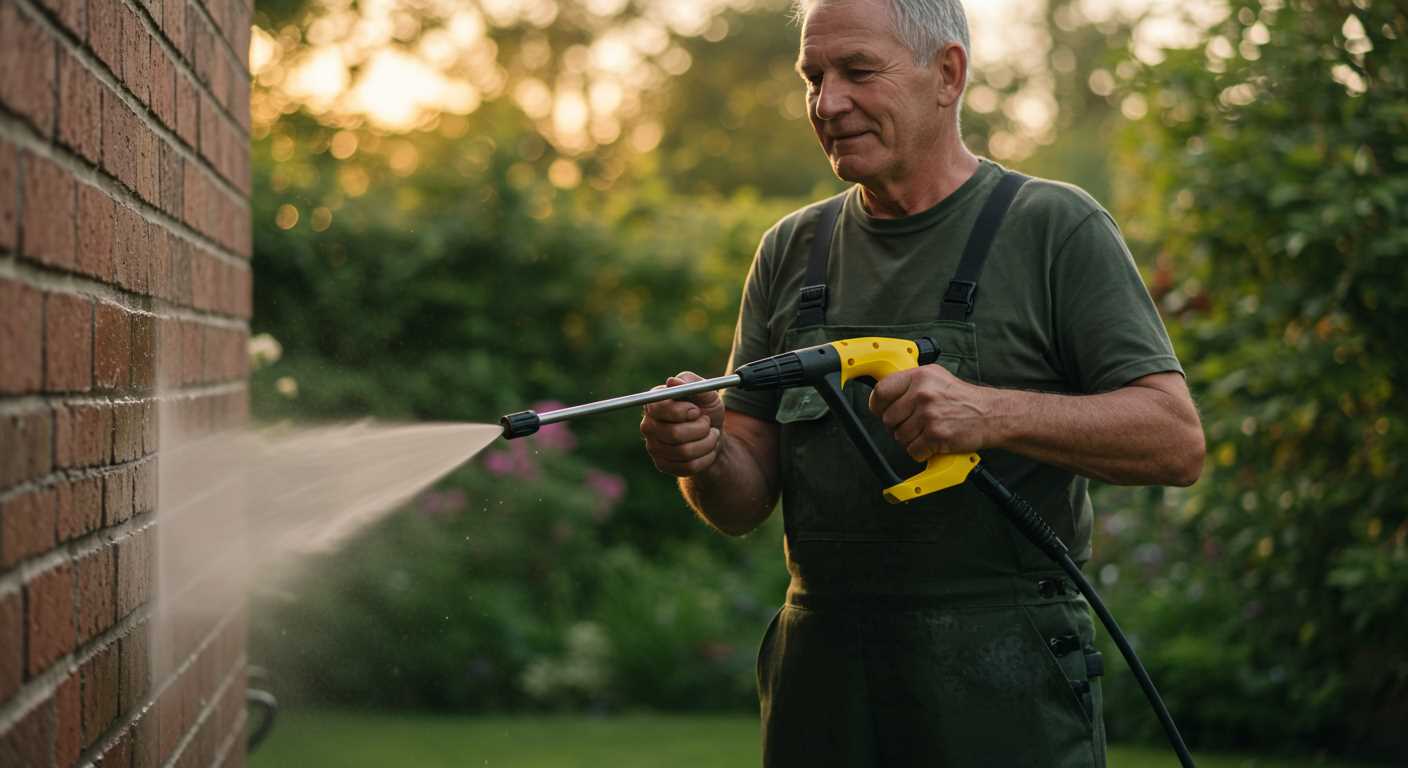
Applying a supportive structure using additional materials significantly enhances durability. I recommend utilising a combination of fibreglass mesh and an epoxy resin to add strength to the area surrounding the repair site. This method provides an extra layer of protection and can extend the life of the component after addressing the opening.
Materials Needed

Gather the following supplies for reinforcement:
- Fibreglass mesh tape
- High-strength epoxy resin
- Acetone (for cleaning)
- Application tools (brush or spatula)
Application Process
Follow these steps for effective reinforcement:
- Ensure the area is clean and free from debris by using acetone. This prepares the surface for better adhesion.
- Cut fibreglass mesh tape to size, allowing enough overlap surrounding the initial repair location.
- Apply a layer of epoxy resin over the mesh and press it firmly onto the surface.
- Layer additional resin over the mesh tape, ensuring complete coverage and embedding the material for added support.
- Allow sufficient time for the resin to cure fully before returning to normal operation, typically 24 hours.
This procedure significantly enhances the structural integrity of the device, ensuring longevity and reliability in performance. If properly executed, the appliance will withstand operational demands much more effectively.
| Material | Purpose | Application Tips |
|---|---|---|
| Fibreglass Mesh Tape | Increases strength around the repair | Overlapping edges by 2-3 cm improves stability |
| Epoxy Resin | Seals and binds the materials | Mix thoroughly and avoid air bubbles for optimal adhesion |
| Acetone | Cleans surface for better bonding | Use a lint-free cloth to avoid leaving residues |
Testing the Repair for Leaks
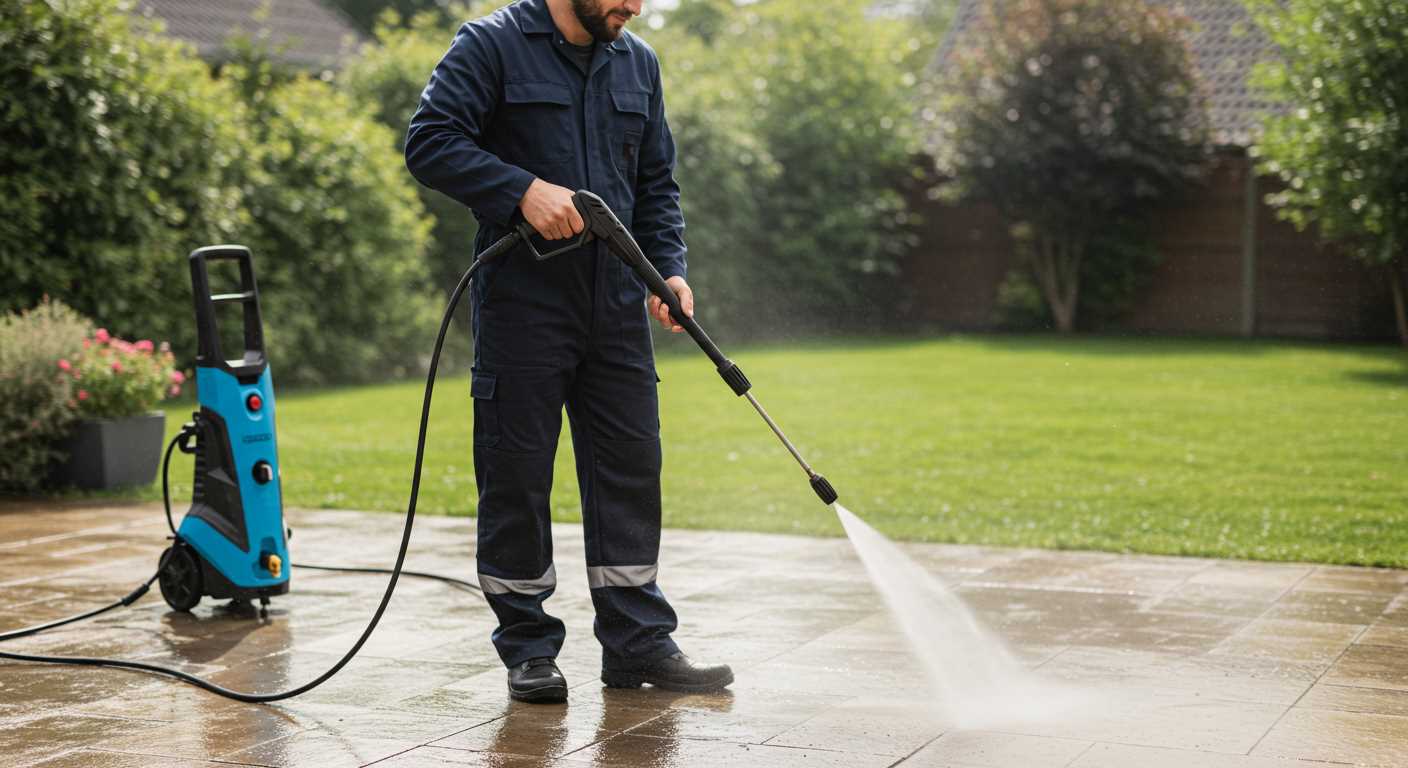
After applying the sealant, let it cure fully as per the manufacturer’s instructions. This is crucial for ensuring a robust bond. Once cured, it’s essential to perform a thorough leak test.
Visual Inspection
Begin with a close visual examination of the area where the sealant was applied. Look for any signs of moisture or residue that might indicate a leak. Pay special attention to the edges of the repair area, as leaks often occur here.
Pressure Test
Reconnect all hoses, ensuring their integrity is intact. Gradually build up pressure within the system to the operating level. Monitor the previously repaired section for any signs of leaking, such as water escaping or dampness. If a leak occurs, relieve the pressure immediately and reassess the repair. It may be necessary to reapply sealant or consider additional reinforcement.
Using a simple soap and water solution can help identify leaks as well. Spray the repaired area and watch for bubbles forming, which would indicate escaping air or water. This method is quick and effective for spotting minor leaks that might not be visible to the naked eye.
Once the system is confirmed to be leak-free, run the equipment for a short period to ensure consistent performance. Regularly check the repair site during this testing phase to guarantee that the seal holds under operational conditions.
Preventive Measures to Avoid Future Cracks
Regular maintenance plays a pivotal role in extending the lifespan of your equipment. Always ensure that the water source is clean and free from contaminants to reduce wear and tear on the inner components.
During off-seasons, storing your unit in a controlled environment is wise. Avoid places with extreme temperature fluctuations, as rapid changes can cause materials to expand and contract, leading to fractures.
Employ a winterisation process if you live in colder climates. Use a pump saver fluid to protect against freezing temperatures, which could damage internal seals and casing.
Monitor the inlet pressure and avoid exceeding the manufacturer’s specifications. High pressure can exert undue stress on the housing, resulting in fissures over time.
Chemicals and detergents can be abrasive; always choose cleaners that are safe for the construction materials. Before introducing a new cleaning solution, test it on a small section to gauge compatibility.
Lastly, inspect the system regularly for any signs of leaks or degradations. Catching minor issues early can prevent major damage later on. Implementing these strategies can significantly lessen the risk of damage in your equipment.


