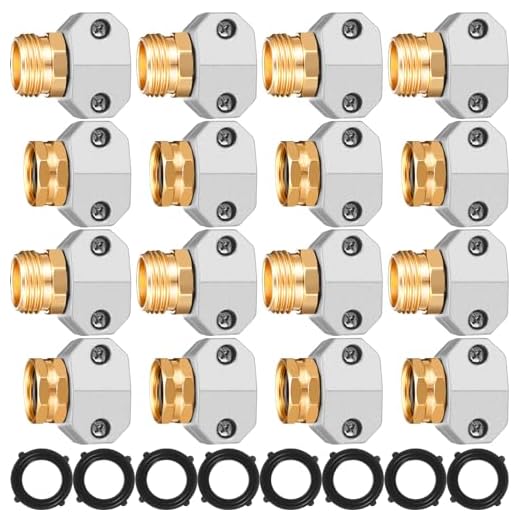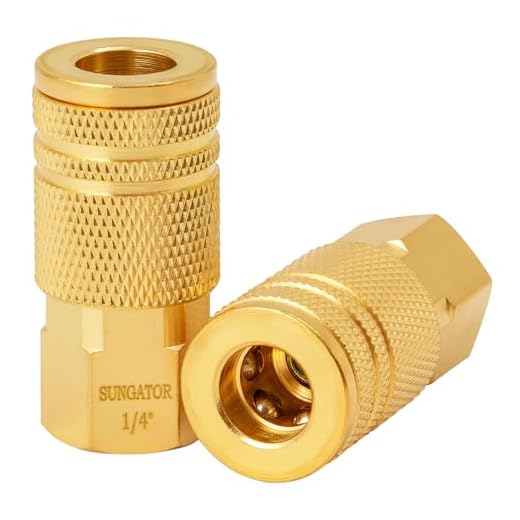

Start by gathering the right tools: a hose repair kit, a utility knife, and a pair of gloves. This will allow you to address any perforations effectively. Locate the specific area with damage and use the utility knife to clean the edges, ensuring a good bonding surface. This step is crucial for a lasting repair.
Next, apply the provided adhesive or putty from your repair kit around the affected section. Make sure to cover the area generously, as this will create a robust seal. Allow it to set according to the manufacturer’s instructions, which typically ranges from a few minutes to an hour.
After the adhesive has fully cured, conduct a test run. Check for any remaining leaks by running water through the pipe at normal operating pressure. Should any issues persist, repeat the steps or consider replacing the section entirely for optimal performance. Regular maintenance and immediate repairs can prolong the lifespan of your cleaning device significantly.
Repairing Damage in Your Power Cleaning Equipment’s Tubing
The quickest remedy I’ve employed involves using a rubber patch. Cut a piece from an old inner tube or similar material, ensuring it’s large enough to cover the damage. Next, clean the area around the leak with rubbing alcohol and let it dry. Apply a strong adhesive, such as a waterproof sealant or epoxy, to both the patch and the damaged section. Press them together firmly and secure using strong tape until the adhesive sets, usually about 24 hours.
If the tear is more extensive, consider replacing that segment. Purchase a compatible replacement section from a local hardware store or online. Detach the damaged part and replace it with the new piece, ensuring a secure fit by using suitable clamps or fittings. Always check for leaks after installing the new section by running the device at low pressure first.
An alternative option includes using self-fusing tape, which is particularly useful for temporary fixes. Wrap the tape tightly around the damaged area, overlapping the layers to ensure complete coverage. This method provides a quick solution but isn’t a permanent fix, so monitor it regularly until you can implement a more durable repair.
<pWhen dealing with high-pressure tubing, be cautious. Always depressurise the unit fully before attempting any repairs to avoid injuries or further damage. Ensuring your safety should be a top priority, as even minor leaks can become hazardous under pressure.
<pConsider regular inspection as a preventive measure. Look for any signs of wear or potential damage to maintain the integrity of your cleaning equipment. Staying proactive not only reduces the likelihood of issues but can also extend the lifespan of your tools.
Identifying the Location of the Leak

To locate the source of a failure in the cleaning equipment’s tubing, begin by thoroughly inspecting the entire length of the tubing while it’s under pressure. This method allows you to see any leaking areas clearly as water will escape from the fracture, creating visible sprays or streams. Pay close attention to joints and bends, as these are common points of failure.
Visual Inspection
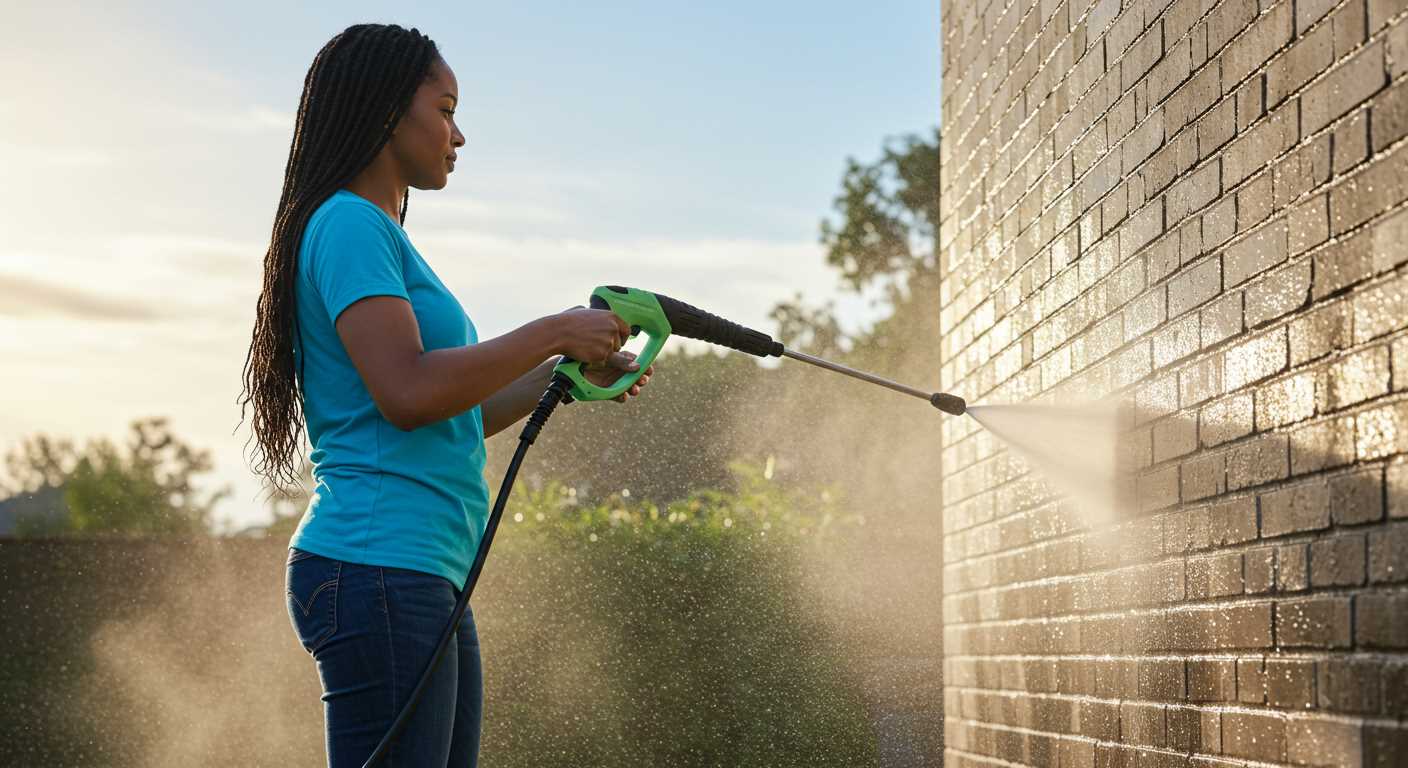
Examine the tubing for any signs of wear, abrasions, or discolouration. Small punctures can often appear as pinholes, which may not spray water but will still release pressure. Use a flashlight to illuminate dark sections of the tubing, helping to spot these hidden issues. I often find that closely checking these areas reveals much more than a casual glance.
Pressure Testing
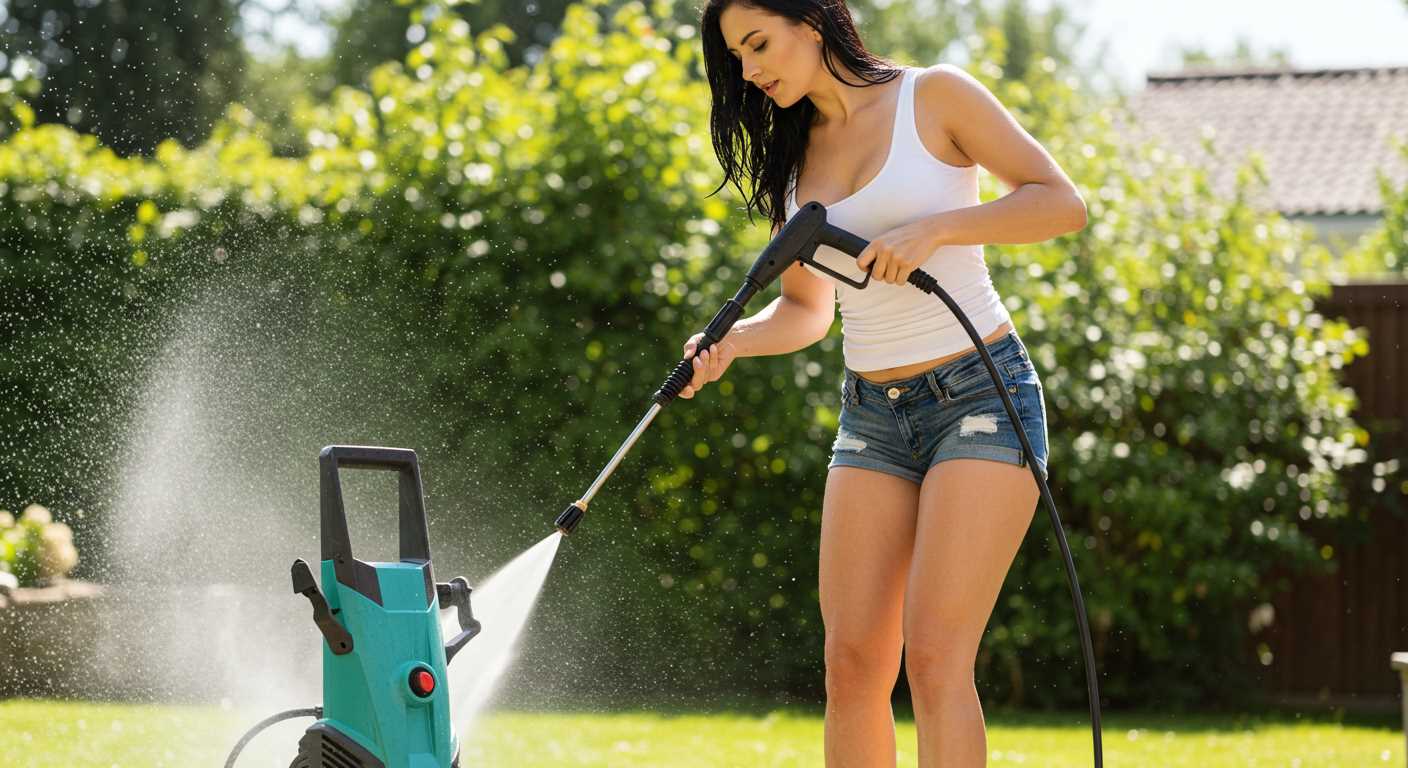
If the visual inspection fails to identify the issue, performing a pressure test can help. With a pressure gauge attached, look for fluctuations in the reading, which can indicate air escaping from a breach. Move your hand along the tubing while it is pressurised; if you feel air escaping or notice any decrease in pressure, you’ve likely found your culprit.
Gathering Necessary Repair Materials
To tackle the issue of a damaged water conduit, collect the following items:
- Repair Tape: Choose heavy-duty self-fusing or silicone tape specifically designed for high-pressure applications. This type of tape creates a strong, watertight seal.
- Replacement Section: If the damage is severe, a new segment may be required. Ensure it’s compatible in diameter and pressure rating.
- Connector Fittings: Purchase appropriate connectors if you decide to cut the affected area. Look for ones that fit snugly to maintain integrity during use.
- Cutting Tool: A sharp utility knife or hose cutter will facilitate a clean cut when removing the damaged area.
- Sandpaper: Use fine grit to smooth rough edges around the cut ends, ensuring a better fit for repairs.
- Protective Gear: Safety glasses and gloves are essential to protect against potential injury during the repair process.
- Sealant (optional): Depending on the repair method chosen, a waterproof sealant can provide additional security against leaks.
Gather all these materials before starting the repair to streamline the process and avoid interruptions. Ensuring you have the right tools at hand will make your task more manageable and result in a more durable solution.
Cleaning the Hose Before Repairing
Begin with thoroughly rinsing the outer surface of the tube to eliminate dirt and grime, which can hinder the adhesion of repair materials. Use warm, soapy water and a soft brush to scrub away any debris. Focus on the areas near the detected leak, ensuring that you get into any crevices where contaminants might reside.
Internal Cleaning
For effective results, consider flushing the interior. Disconnect the connecting ends and run clean water through the length to dislodge any internal residue. If your model allows, inspect the interior for any additional wear or damage that may require attention.
Drying
After washing, allow both the exterior and interior to dry completely. If you are in a hurry, use a lint-free cloth to wipe the outside and leave the nozzle open to air dry the inside. Moisture can compromise the repair bond, so ensure ample drying time before applying any patches or sealants.
Choosing the Right Repair Method
For sealing leaks in cleaning equipment tubing, the approach you choose significantly influences durability and performance. Here’s a breakdown of options and their specific use cases.
| Method | Best For | Durability |
|---|---|---|
| Compression Repair Kit | Small cracks or punctures | High |
| Repair Tape | Temporary fixes, minor leaks | Moderate |
| Fluid Sealant | Flexible repairs | Good |
| Replacement Section | Severe damage or worn hoses | Very high |
For minor issues like small cracks, a compression repair kit works wonders. It provides a robust, permanent fix by compressing the damaged area, ensuring no leaks escape.
If you’re in a pinch and need a quick solution, repair tape can suffice. It’s ideal for minor leaks but should not be seen as a long-term fix due to its eventual wear and limited flexibility.
Fluid sealant can be a versatile alternative, especially for those seeking to maintain the hose’s flexibility. It adheres well to the material, creating a seal that can withstand various pressures.
For significant wear or persistent issues, replacing a damaged section is the most reliable choice. This method guarantees restored functionality and extends the overall lifespan of the cleaning apparatus, making sure you avoid repeated repairs in the future.
Applying a Patch or Sealant Properly
For a successful repair, selecting the appropriate patch or sealant is paramount. Begin by trimming the damaged area to ensure a clean edge that adheres well to the patch or sealant. Depending on the materials available, you can opt for a patch made from rubber or a specialised hose repair tape.
If using a patch, apply a layer of adhesive to the surrounding area of the breach. Press the patch firmly onto the surface, ensuring it fully covers the damaged region. Use a roller or similar tool to smooth out any air bubbles and to create a tight bond.
In the case of using tape, ensure the surface is dry and free from contaminants before wrapping. Start at one end of the damage, overlapping the tape as you progress to the other side, wrapping it tightly to ensure a watertight seal. It’s advisable to extend the tape several inches beyond the damaged area for added security.
Allow the repair to cure for the recommended time as specified on the adhesive or tape packaging. This wait is crucial for achieving a durable and reliable bond, enabling the equipment to function effectively post-repair.
Testing the Hose After Repair
After completing the repair, it’s essential to ensure the integrity of the tubing. Follow these steps to perform a thorough test.
Visual Inspection
- Examine the patched area closely for any signs of bubbling or separation.
- Look for any new cracks or damage along the length of the line.
Conducting a Pressure Test
Before reconnecting to a water source, it’s wise to do a preliminary pressure test:
- Attach the repaired line to the water inlet, ensuring a tight fit.
- Open the water supply slowly while keeping an eye on the patch.
- Gradually increase the water flow, allowing the hose to handle the pressure incrementally.
- Check for any leaks near the repaired section as water starts to flow.
If no leaks are detected during the visual inspection and pressure test, the repair is likely successful. For a final confirmation, reattach the assembly to your cleaning unit.
In-Use Evaluation
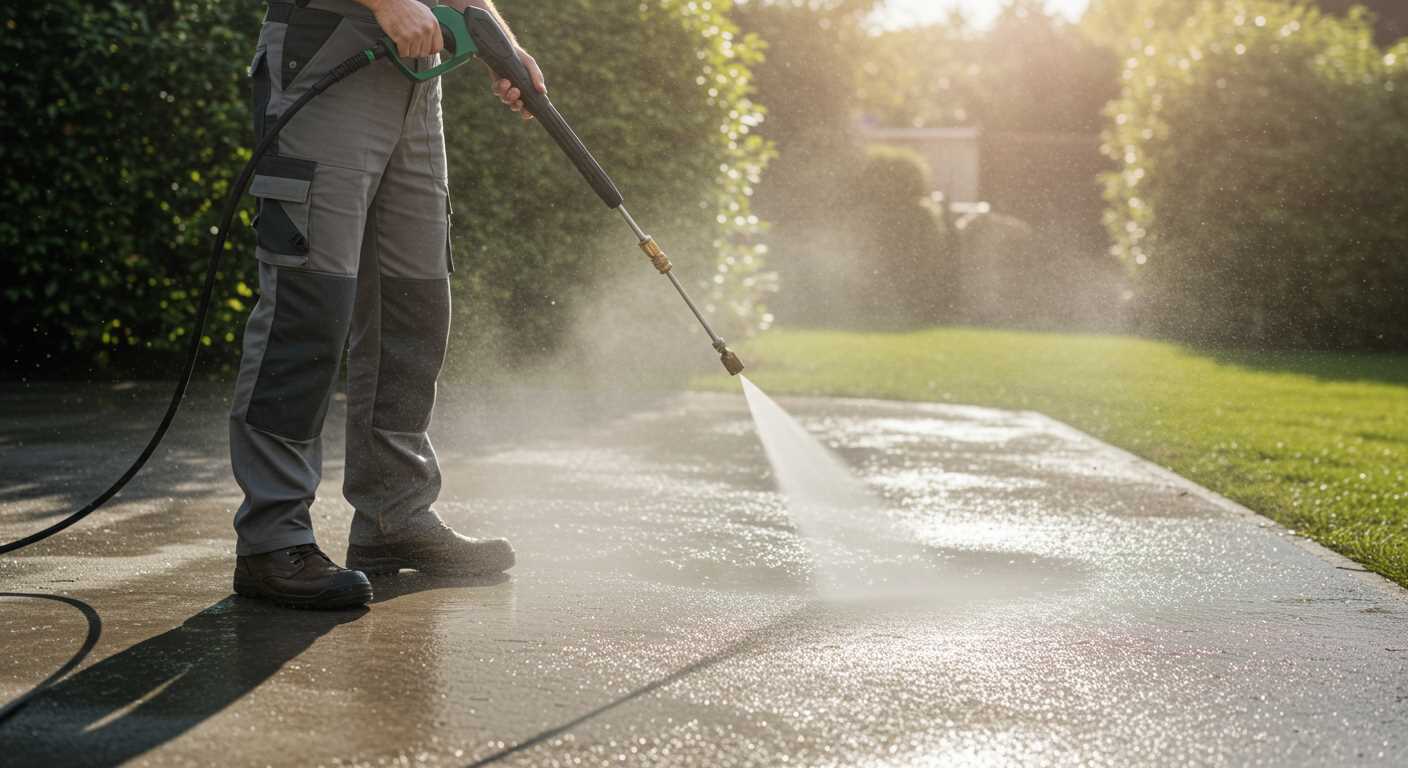
- Initiate the cleaning task at low pressure to assess performance.
- Monitor for any irregularities, such as reduced flow or splattering.
- If issues arise, double-check the repair area again before proceeding.
By following these guidelines, you’ll ensure the reliability of the tubing, achieving optimal results in your cleaning tasks.
Preventing Future Hose Damage
Storing the cleaning equipment properly can significantly reduce wear. Keep the cleaning tool in a dry, shaded area to prevent UV damage and moisture-related issues. A dedicated storage space also ensures that the cord and tubing are not kinked or crushed.
Regular inspections of the equipment are vital. Check for signs of fraying, wear, or other potential damage. If you spot any issues, addressing them promptly prevents larger problems down the line. Create a maintenance schedule that includes these inspections.
Using protective sleeves or covers for the tubing is a smart move. These can shield the material from sharp edges, abrasive surfaces, and environmental factors. Additionally, securing the tubing with clips can minimise the risk of movement-related damage during use.
Adjust the pressure settings appropriately for different tasks. Excessively high pressure can put unnecessary stress on the tubing, increasing the risk of damage. Familiarising myself with the proper settings for various applications has been key to prolonging the lifespan of the cord.
Finally, be mindful of connections. Ensure that all fittings are tight and secure, as leaks at these points can lead to additional strain on the tubing. Using quality connectors can also help maintain a good seal and reduce the chance of issues arising from wear and tear.


