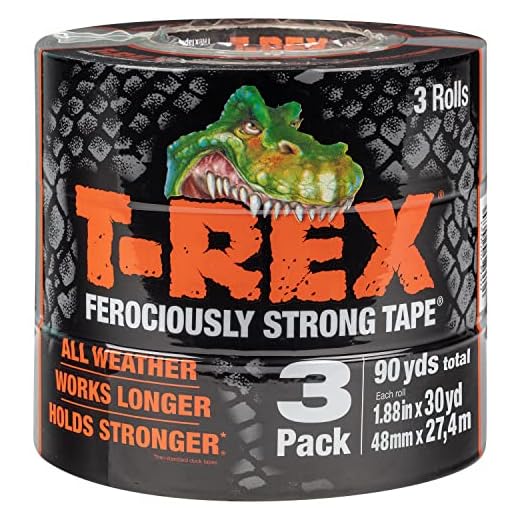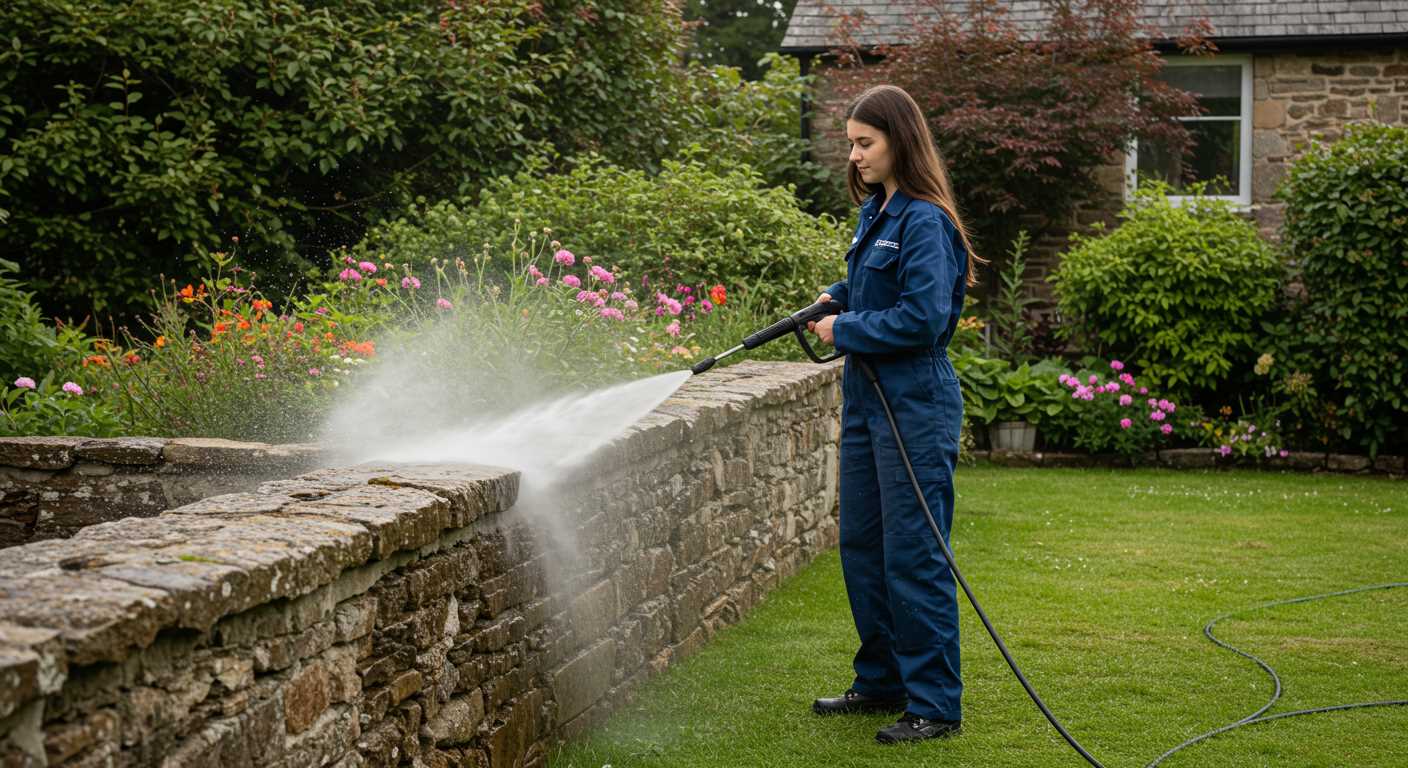


Start by turning off the water supply and unplugging the machine from the power source to ensure safety. Examine the flexible tubing for any visible cracks, punctures, or abrasions. If you notice a small tear, applying strong adhesive tape can provide a temporary solution, allowing you to continue your task without extensive downtime.
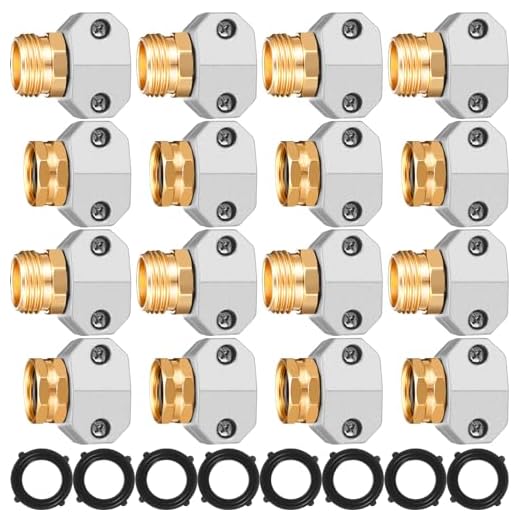
If the damage is more severe, consider replacing the entire length of the tubing. Compatible replacement parts can often be sourced from the manufacturer or local retailers. Measure the diameter of the existing tube to ensure you purchase the correct size. When ready, remove the damaged section by cutting it out using a utility knife, then attach the new section using appropriate connectors, ensuring a snug fit to prevent underperformance.
In some cases, you might find that leaks occur at the fittings rather than along the length of the tubing. Tightening any loose connections can significantly reduce water escape. If tightening does not resolve the issue, inspect the washers within the fittings, as worn or damaged washers may require replacement to establish a proper seal.
After making these adjustments, always test the equipment by running it for a short period to confirm that water flows as expected without any further issues. Regular maintenance checks can help to catch wear and tear early, contributing to the longevity of your cleaning equipment.
Identifying the Source of the Leak in Your Hose
First, inspect the entire length of the tubing for visible damage. Look for cracks, abrasions, or wear that could indicate a break in the material. A flashlight can help illuminate hard-to-see areas, especially if dirt or grime obstructs your view.
Next, check the connections at both ends. Ensure they are tight and properly seated. Loose fittings can cause water to escape, so adjust or replace these components if necessary. Additionally, examine any junctions or couplings for signs of deterioration.
Another effective method is to conduct a pressure test. Use the unit without attachments and observe for any spraying or dripping along the line. This can help pinpoint the exact section where water is escaping.
If the fabric covering is noticeably worn, this may also contribute to the issue. Gently flex the hose to see if any areas are weak or show signs of moisture buildup. If so, this may indicate a compromise in that section.
Finally, consider the environment in which the equipment is used. Extreme temperatures or exposure to sunlight can degrade the tubing over time. Regular maintenance checks can prevent significant issues and ensure longevity.
Choosing the Right Materials for Repair
Selecting the appropriate materials for a successful repair is crucial. Start with high-quality hose repair tape or a dedicated hose patch kit, both readily available. These products feature strong adhesives that resist wear and maintain a watertight seal under pressure.
For more durable solutions, consider using rubber sleeves or connectors, as they provide added strength and flexibility. Choose a sleeve that matches the diameter of your equipment for optimal fit.
Considerations for Temperature and Pressure Ratings
Review the temperature and pressure ratings of the materials before purchasing. Ensure they meet or exceed the specifications required by your equipment. Using inferior materials can lead to premature failure and additional issues down the line.
Compatibility with Existing Equipment
.jpg)
Always check compatibility with your existing apparatus. Hose connectors come in various sizes and threading types. Select connectors designed for similar applications to ensure a tight fit, preventing further complications. Compatibility guarantees performance and safety.
Step-by-step guide to patching a pressure washer hose
Gather your tools: you’ll need a pair of scissors, waterproof tape or a patch kit, and a cleaning cloth. Ensure the unit is disconnected and release any pressure in the system before proceeding.
First, clean the area surrounding the breach. Wipe away any dirt, grime, or moisture with the cloth. A clean surface is crucial for proper adhesion.
Next, if using a patch kit, cut a piece of patch material that is at least two inches larger than the damaged area on all sides. For waterproof tape, rip a strip long enough to cover the imperfection completely with a bit of overlap on the bare surface.
Apply the patch or tape directly over the breach, pressing firmly to secure it in place. If using a patch, ensure there are no air bubbles beneath it for maximum seal effectiveness.
Allow the repair to set as per the manufacturer’s recommendations, usually around half an hour. Before testing, inspect the area again to confirm the patch is secure.
Finally, reconnect your equipment, power it on, and run a test cycle to check for any remaining issues. If water flows freely without any sign of escape, the repair is successful.
Replacing a Damaged Section of Hose
First, ensure the equipment is powered off and disconnect any water supply. Measure the length of the damaged area accurately. A section should be cut out using a sharp utility knife, making clean, straight cuts to avoid fraying.
Select a replacement piece of tubing that matches the diameter and material of the original. Commonly, rubber or PVC types are used based on durability needs. If possible, take the original section with you to a hardware shop for the best match.
To attach the new segment, use quality hose clamps. Slide one clamp onto each end of the cut tubing before pushing the new section into place. Tighten the clamps securely to ensure a proper seal, but avoid over-tightening, which could cause damage.
Once everything is in place, reconnect the water supply and power to the unit. Conduct a thorough test by running the system at low pressure to check for any issues in the joint areas. If all functions correctly, you’re ready to resume your cleaning tasks.
Testing the Hose After Repair for Leaks
After completing your repairs, it’s crucial to ensure that the integrity of the tubing is intact. Begin by reconnecting the repaired section to the washer and turn on the machine while directing the output away from any surfaces or areas where water damage could occur.
Next, carefully observe the repaired area while the unit is running. Watch for signs of moisture or spraying water. It’s advisable to hold a cloth or paper towel near the connection points to catch any escaping fluid; this method lets you quickly detect any issues.
Pressure Testing
If no visible signs appear, conduct a pressure test. Monitor the machine closely as it builds up pressure, and inspect the entire length of the tubing. Any noise that seems abnormal or a sudden drop in pressure can indicate a failing repair.
Final Inspection
Lastly, switch off the device and review the repair again after disconnection. Look for any residue around the patched area or connection points. If everything is dry and secure, the repair has likely been successful. For added confidence, allow the tubing to rest under pressure for an extended period before full usage.
Preventive measures to avoid future leaks

Regular inspection is key. Schedule frequent checks of all connections and surfaces for signs of wear or damage. Pay attention to kinks and sharp bends that can compromise integrity over time.
Proper Storage Techniques

After use, coiling the cleaning apparatus correctly prevents tension and friction. Store it in a cool, dry area away from direct sunlight. Avoid placing heavy objects on it.
Recommended Accessories
Utilise hose reels or hangers for organized storage. This not only protects from tangling but also reduces the risk of damaging materials during storage.
| Accessory | Benefit |
|---|---|
| Hose Reel | Prevents tangling and kinking |
| Protective Sleeve | Minimizes wear from friction |
| Quick Connects | Eases assembly and disassembly |
| Pressure Regulator | Prevents excessive stress on the structure |
Keep the fittings and attachments clean to ensure a snug fit and reduce the odds of failure. Lubricating threads can also enhance longevity.
Lastly, adhere to the manufacturer’s guidelines on usage and maintenance. Different models may have specific requirements that should not be overlooked.
When to Seek Professional Help for Hose Repairs
If the damage is extensive, or if repair attempts have been unsuccessful, reaching out to an expert is advisable. Here are specific instances:
- Multiple damage sites: Numerous tears or holes signal potential structural failure, making repairs impractical.
- Mismatched materials: Using inappropriate materials for a patch may not hold under pressure, leading to further complications.
- Persistent pressure drops: If pressure fluctuations continue, it may indicate deeper issues with the system rather than just the external tubing.
- Inability to locate leaks: If the source of the issue remains elusive despite visual inspections, a specialist can employ techniques to identify hidden problems.
- Worn connectors or fittings: Damage to attached elements can complicate repairs and may require complete replacement rather than patching.
- Time constraints: Professional services can provide quicker solutions if immediate functionality is needed.
- Lack of experience: If the repair process seems overwhelming or outside your skill set, engaging a technician ensures that the task is done correctly.
Ultimately, if any uncertainties arise during the repair process, consulting with a qualified technician can save money and time in the long run.


