

The first step involves disconnecting the water supply to prevent any unwanted sprays. Ensure the appliance is turned off and unplugged to guarantee safety during the troubleshooting process. Check the inlet filter for debris; a clogged filter can lead to performance issues. If it appears dirty, remove and clean it thoroughly under running water.
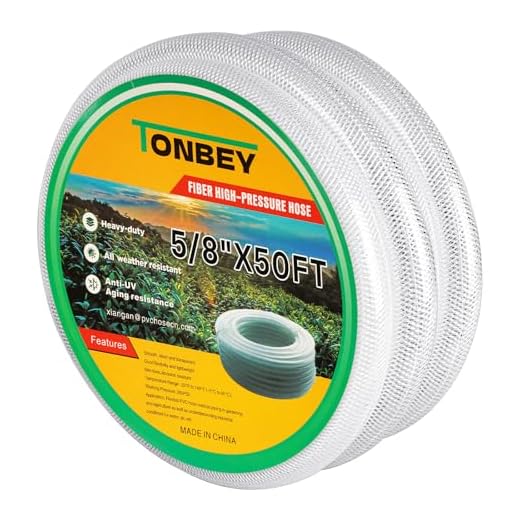
Next, examine the hose for any signs of kinks or damage. A compromised hose can interrupt the flow and pressure required for optimal operation. If any defects are visible, consider replacing the hose. After this, inspect the nozzle. A blocked or partially blocked nozzle can significantly impact function. If needed, you can use a thin wire or a pin to clear any obstructions present.
If the problem persists after these checks, take a moment to assess the pump system. Listen for any unusual sounds during operation that might indicate internal issues. If the unit is making a rattling noise or if there’s an oil leak, the pump may require servicing or replacement. Regular maintenance, including changing the oil and lubricating necessary parts, will prolong the unit’s life and functionality.
Identifying Symptoms of a Jammed Cleaning Machine

Listen for unusual noises such as grinding or squeaking when starting the appliance. These sounds often indicate that the motor or pump is struggling to operate.
Examine the output. A significant drop in pressure or a complete lack of water flow signifies potential issues within the unit. Check for leaks or kinks in the hoses as well.
Visual Signs
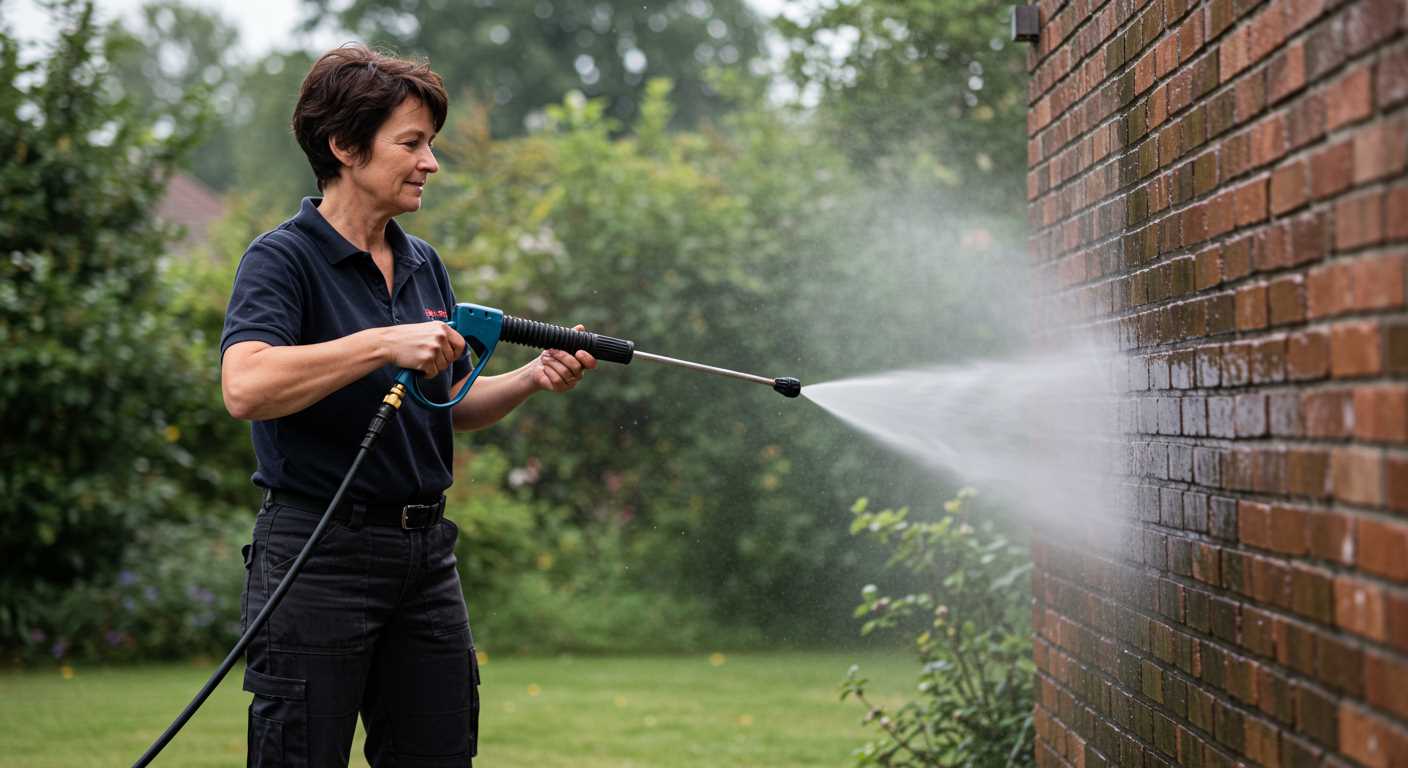
- Inspect the connection points for leaks or signs of wear.
- Look for rust or corrosion on metal components, which might suggest internal damage.
- Check the spray nozzle for blockages–this can directly affect performance.
Operational Indicators
- Monitor the gauge readings. Anomalies may point to internal pressure issues.
- If the trigger feels unresponsive or sticky, it may signal a mechanical issue.
- Pay attention to excessive vibration or heat from the motor, indicating potential seizing.
By recognising these symptoms early, I can take appropriate measures to restore function efficiently. Always prioritise safety and ensure the device is powered down before performing any checks. This proactive approach can save time and extend the life of the equipment.
Disconnecting Power and Water Supply Safely
Before beginning any troubleshooting, disconnect the power cord from the electrical outlet. This eliminates the risk of accidental starts while handling the device. With a grounded outlet, ensure that the socket is in good condition, preventing electrical hazards.
Next, turn off the water supply at the source. This step is crucial to avoid leaks or water pressure issues when disassembling components. If the machine is equipped with a water inlet switch, make sure to turn it off as well.
Release the pressure build-up in the hose and the unit itself. To do this, press the trigger on the spray gun until the water stops flowing. This ensures safe handling and reduces the risk of water spray when disconnecting hoses or accessories.
Once the water pressure is released, proceed to detach the high-pressure hose from both the machine and spray gun. Use a cloth to wipe any water residue, preventing slipping during repairs. Store the hoses properly to avoid damage.
Check for any leaks or damages in the hoses. If the attachments show signs of wear, replace them before reassembling to ensure proper operation in the future.
By following these steps carefully, I guarantee a safe environment for both maintenance and repair procedures.
Checking for Blockages in Hoses and Nozzles
First, inspect the hoses for any visible kinks or damage. Ensure that both the inlet and outlet hoses are properly connected. A blockage can occur if the hose is crushed or pinched, impeding flow. Disconnect the hoses to facilitate a thorough examination.
Next, clear any obstructions from the nozzles. Remove the nozzle from the gun and use a pin or a small wire to dislodge any debris lodged within the spray tip. Rinse the nozzle with water to ensure all particles are cleared. It’s advisable to use a dedicated nozzle cleaner if available.
Consider using a high-pressure hose for back flushing. Attach the hose to a source of water and direct the flow against the nozzle opening to dislodge stuck grime. Repeat this for both input and output hoses, as blockages could arise in either line.
If you encounter persistent blockages, inspect the filter screens located within the water intake. These can trap sediment over time. Clean or replace these filters as necessary. Regular maintenance of these components can prevent future issues.
Verify that the water source is stable. Low flow or inadequate water pressure may also mimic symptoms of a blockage, leading to incorrect diagnoses. Ensure that your water supply is clean and unrestricted.
Inspecting the Pump for Signs of Damage
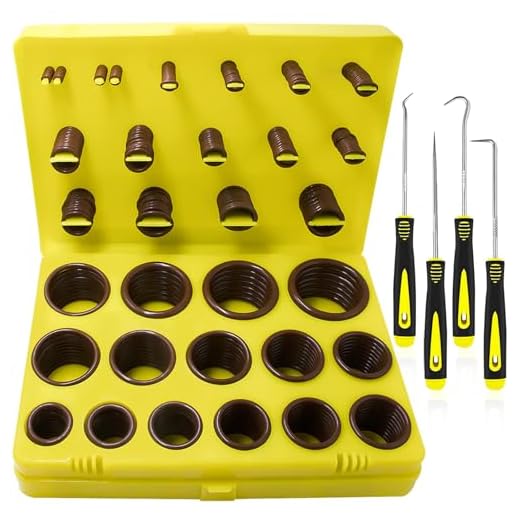
Begin with a thorough visual examination of the pump assembly. Check for cracks, leaks, or any corrosion on the body of the pump. Pay close attention to the seals and O-rings; any signs of wear can lead to reduced performance or complete failure.
Looking for Specific Issues
- Inspect the housing for fractures or deep scratches that could compromise the integrity of the pump.
- Look at the inlet and outlet ports. If there’s any obstruction or damage, it may prevent water flow, exacerbating the problem.
- Examine the pressure relief valve. This component can become stuck, causing excessive pressure build-up.
Checking Internal Components
When the external inspection is complete, consider disassembling the pump if you have the necessary tools and expertise. Pay attention to:
- Piston and cylinder conditions. Any scoring or discoloration could indicate serious wear.
- Bearings and seals. Replacement may be necessary if there are signs of deterioration.
- Gaskets. These should provide a tight seal; any fraying or gaps could cause leaks.
After inspecting all components, make a list of any damaged parts and consult your user manual for the appropriate replacement items. This focused assessment ensures all areas are evaluated for issues that could prevent your cleaning unit from functioning effectively.
Clearing and Lubricating the Pump Mechanism
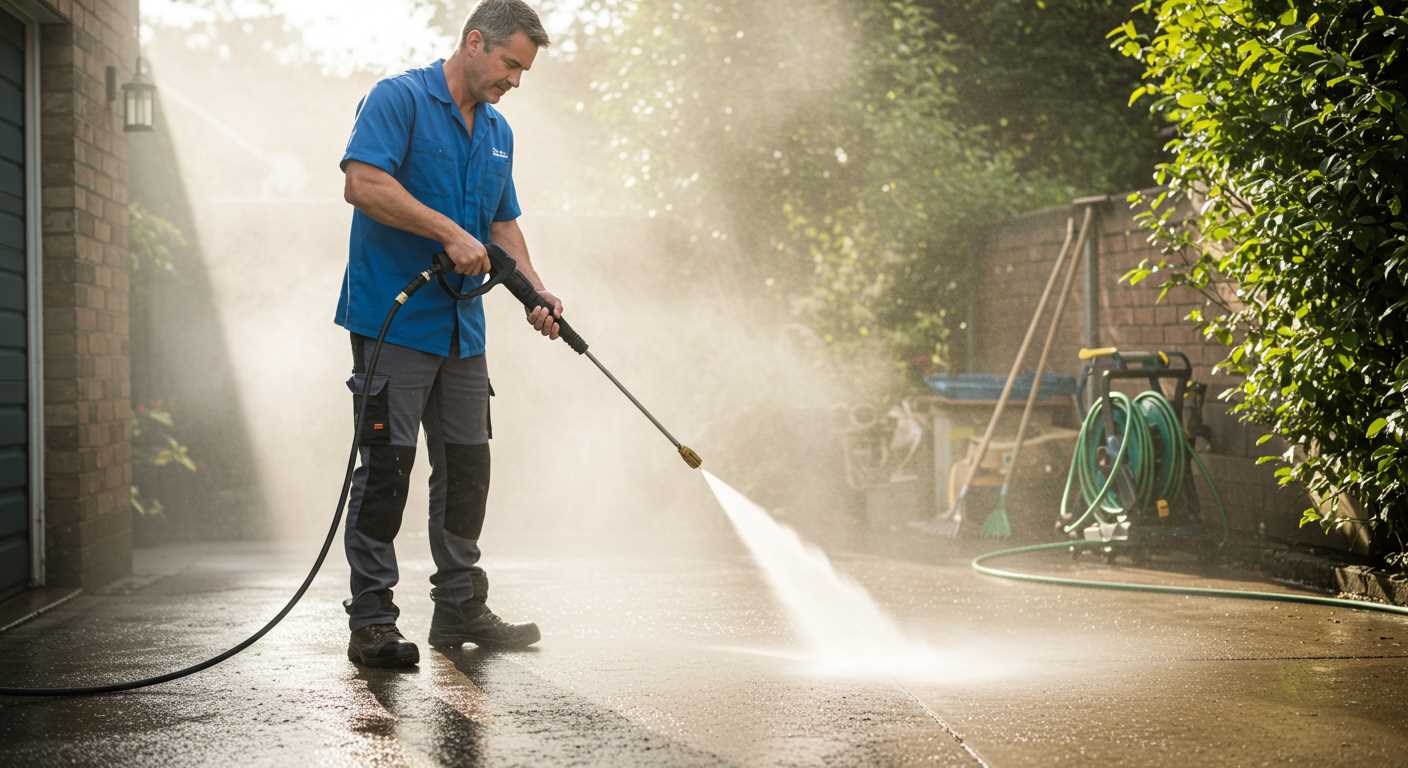
Begin by disassembling the exterior casing of the equipment to gain access to the pump area. Use a suitable screwdriver to carefully remove screws and clips. Ensure to place these components in an organised manner to facilitate reassembly.
Once exposed, inspect the pump for any debris or residue that may be obstructing movement. Clean any visible dirt using a soft brush or cloth. If there is hardened grime, soak the affected area with a suitable cleaner to soften it, allowing for easier removal.
Lubrication Process
After the cleaning, it’s necessary to apply lubricant to moving parts within the pump. Choose a high-quality, non-corrosive lubricant specifically designed for hydraulic mechanisms. Apply a thin layer to the pistons and any other parts that show signs of wear or dryness.
Utilise a small brush or a clean cloth to spread the lubricant evenly. Be cautious not to over-apply, as excess lubricant can attract dirt and reduce performance.
Reassembly and Testing
Once lubrication is completed, reassemble the casing, ensuring all components fit securely. Reconnect any hoses or fittings that were removed. After reassembly, run the equipment briefly without a load to ensure everything operates smoothly. Observe for any unusual noises or movements that may indicate remaining issues.
| Step | Action |
|---|---|
| 1 | Disassemble casing |
| 2 | Clean pump area |
| 3 | Apply lubricant |
| 4 | Reassemble components |
| 5 | Run a brief test |
Following these steps will greatly enhance the likelihood of restoring functionality to the unit. Regular maintenance and inspection will help prevent potential issues in the future.
Testing the Motor and Electrical Connections
First, ensure the device is completely disconnected from any power source to prevent electric shock. Check the power cord for fraying or cuts, as damage can disrupt the electrical supply. If the cord appears intact, use a multimeter to measure the voltage at the plug. If there’s no voltage, the outlet or circuit might be at fault.
Next, access the motor by removing the protective casing. Inspect the connections for signs of corrosion or loose wires, as these can hinder the flow of electricity. Tighten any loose fastenings and clean corroded terminals with a wire brush or appropriate cleaning solution. Reconnect and secure all wiring connections before testing the unit.
With the multimeter set to the resistance setting, check the motor windings. A reading of zero indicates a short circuit, while infinite resistance suggests an open circuit. Both scenarios necessitate replacing the motor. If readings are within normal ranges, proceed to the next step.
Once all connections appear sound, plug the unit back in and turn it on. Listen for any unusual sounds such as humming or grinding, which could indicate motor issues. If the motor kicks in smoothly, the electrical system is likely functioning properly, clearing you to explore further repairs if necessary.
Reassembling and Testing the Pressure Washer
Ensure all components are properly aligned before securing them with screws. Start with the pump casing and ensure the seals are intact to prevent leaks. Reattach the hoses carefully, confirming that the connections are snug and free from debris. Follow the manufacturer’s guidelines for torque specifications if applicable.
Once everything is assembled, reconnect the water supply and power source. Check for any visible leaks before turning on the motor. It’s wise to conduct a bench test first by running the unit without engaging the trigger. Listen for unusual sounds that could indicate issues inside the mechanism.
After the initial inspection, press the trigger while monitoring water flow. An irregular stream may signal remaining blockages or inadequate pressure. If everything operates smoothly, proceed to conduct a thorough cleaning test. Observe the spray pattern and pressure consistency during various settings. Make adjustments as necessary based on performance.
Finally, document any discrepancies or odd behaviours for future reference. If problems persist, revisit each stage of the procedure, particularly the pump inspection and lubrication. Regular maintenance checks can prevent major breakdowns and extend the life of equipment.


