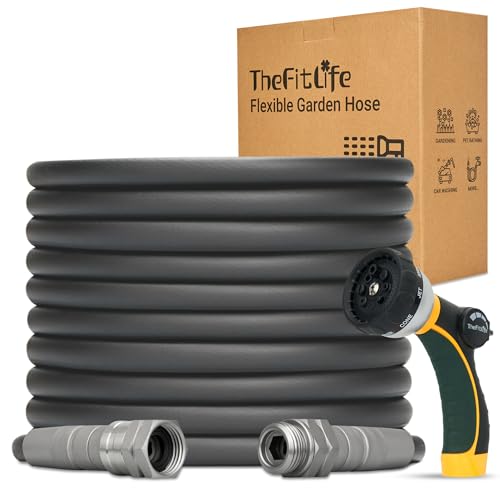


Inspect the inlet filter first. A clogged filter can significantly impair the flow of water and cause low output. Remove any debris and rinse it thoroughly before reassembling. Ensure that the connections to the hose and water supply are secure and leak-free, as any interruptions in the water supply can lead to inadequate performance.
Next, examine the nozzle. If it is partially blocked or worn, it can restrict the flow. Clean the nozzle with a pin or a suitable tool, and consider replacing it if it shows signs of excessive wear. Pay attention to the spray wand as well–damaged or cracked components can lead to pressure loss and require replacement.
Evaluate the machine’s pump and hoses. Check for any visible leaks or cracks in the hoses that could be causing a drop in pressure. If the unit features a thermal relief valve, ensure that it is functioning correctly to prevent overheating and pressure drop. Additionally, if the pump is not drawing water, verify that it is primed properly and free of air locks.
Lastly, consult the user manual for any specific troubleshooting steps or maintenance guidelines specific to your device. Regular servicing, including changing the oil and cleaning components, can help maintain optimal performance over time.
Check the Water Supply and Hose Connections
Ensure the water source is fully open. If the tap is partially closed, flow will be restricted. Verify that the hose is free from kinks, twists, or sharp bends. Any obstruction in the hose will reduce water flow significantly.
Inspect the inlet filter at the machine’s water intake. Remove and clean it if clogged. A dirty filter can obstruct water entry, leading to inadequate performance. Confirm that all hose connections are tight and secure to prevent leaks.
Test with a different hose if necessary. Sometimes, age or damage can lead to reduced efficiency. Using a new or well-maintained hose can help isolate the issue. Ensure that the connection between the tap and the machine is functional and that any quick-connect fittings are correctly seated.
If your model allows, check for water flow at the machine’s inlet. Detach the hose and briefly turn on the water to ensure a steady stream. This will help identify if the problem lies in the water supply or within the unit itself.
Inspect the Pump for Damage or Wear
Begin by examining the pump housing for any visible cracks or signs of erosion. If the exterior shows wear, internal components may be compromised. Remove the cover if possible to inspect seals and o-rings for deterioration. These parts are critical in maintaining proper function, and any damage could lead to a drop in performance.
Check for Leaks
Look for any signs of leakage around the pump. If there are wet spots or pooled water, this indicates a failure in seals or connections. Pay close attention to the inlet and outlet ports. A small leak can significantly impact the efficiency of the unit.
Assess the Valves
Inspect the inlet and outlet valves for any blockages or signs of wear. These components control the flow of water and are vital for optimal operation. If the valves are stuck or have debris lodged in them, clean or replace as necessary to restore functionality.
Examine the nozzle for clogs or blockages
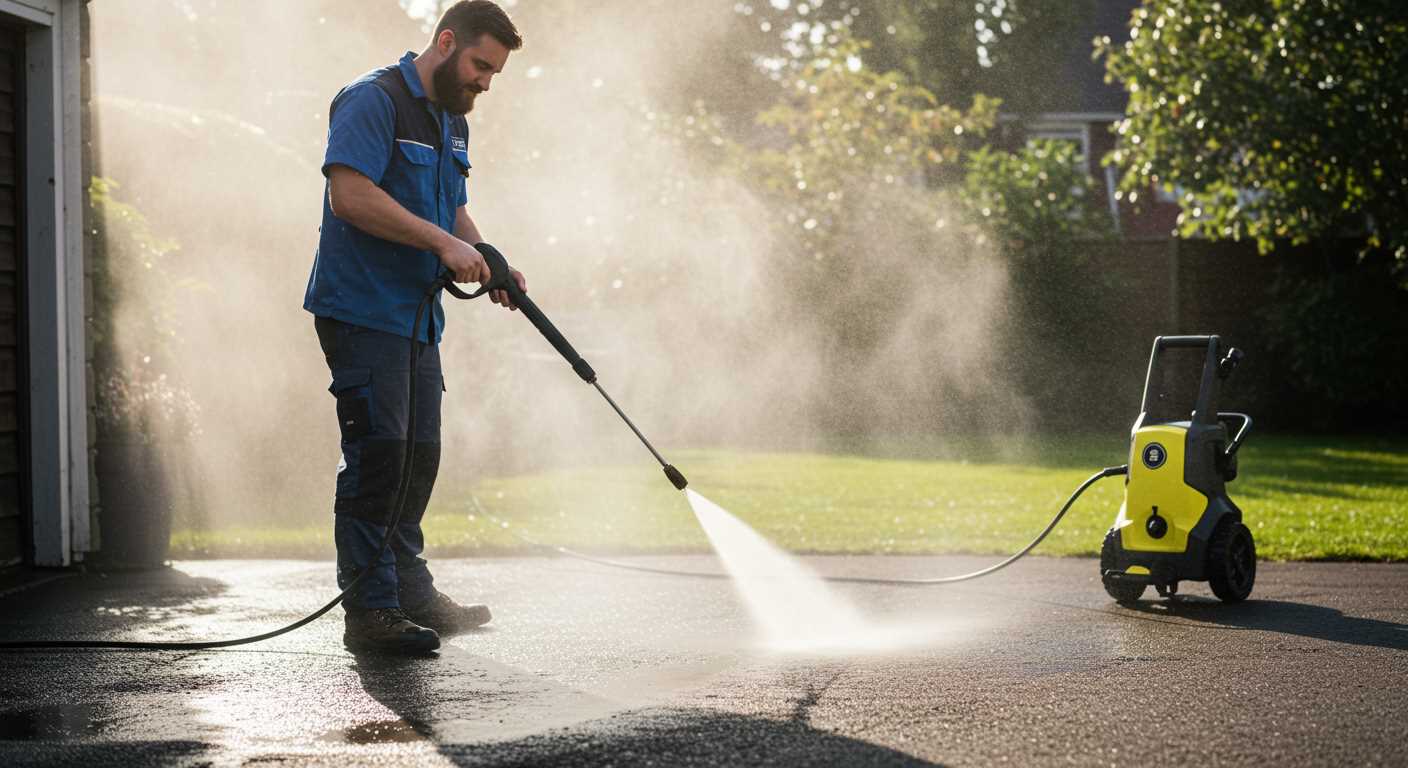
Inspect the nozzle first; it’s a common culprit for an inadequate flow. Begin by detaching it from the lance. Use a small pin or needle to clear any obstructions in the nozzle orifice. Ensure that you carefully remove debris without damaging the nozzle’s internal structure. In cases where the blockage is stubborn, soaking the nozzle in a vinegar solution can help dissolve any built-up grime. Rinse thoroughly after soaking and reattach the nozzle securely. Test the equipment afterward to evaluate the flow output.
If issues persist despite a clean nozzle, consider replacing it altogether. A worn or damaged nozzle can cause significant performance drops. Verify compatibility with your model before purchasing a new one. Cleaning or replacing the nozzle can often restore function, so don’t overlook this step.
Test the unloader valve
Begin by identifying the unloader valve on your unit. This component diverts water flow back to the inlet side of the pump when the trigger is not engaged. A malfunction can lead to low or no water output. Start the machine; listen for any unusual sounds indicating a stuck valve.
With the equipment turned off, inspect the valve for any signs of wear or damage. Use a wrench to carefully detach the valve. Check the spring and piston mechanism for any debris or corrosion that might impair functionality. Clean these parts thoroughly; a buildup can hinder smooth operation.
Reassemble the valve and ensure all fittings are secure. Activate the unit again while observing the flow. If water still doesn’t operate as expected, consider adjusting the pressure setting, as an incorrectly set valve can also lead to insufficient output. If you suspect internal damage, consult the manufacturer’s guidelines for replacement equipment.
| Symptoms | Possible Causes | Recommended Action |
|---|---|---|
| No water flow | Stuck or faulty valve | Inspect and clean or replace |
| Inconsistent flow | Improper adjustment | Adjust pressure settings |
| Unusual sounds | Damaged internal components | Examine and replace if necessary |
Replace or clean the filter if needed
Begin by examining the filter, as even minimal obstruction can hinder performance. If the filter is dirty, remove it carefully according to the manufacturer’s instructions. Rinse it under warm water to eliminate debris. For stubborn residue, use a soft brush to avoid damage. Allow the filter to dry completely before reinstalling it.
If the filter shows signs of wear or is damaged, replacement is necessary. Obtain a new filter that meets the specifications outlined in the user manual. Installing a clean, functional filter is key to maintaining optimal water flow and system efficiency.
Regular maintenance of the filter helps prevent issues and prolongs the lifespan of your equipment. Check the filter every few uses and replace or clean it as needed to sustain consistent performance.
Verify the motor or engine operation
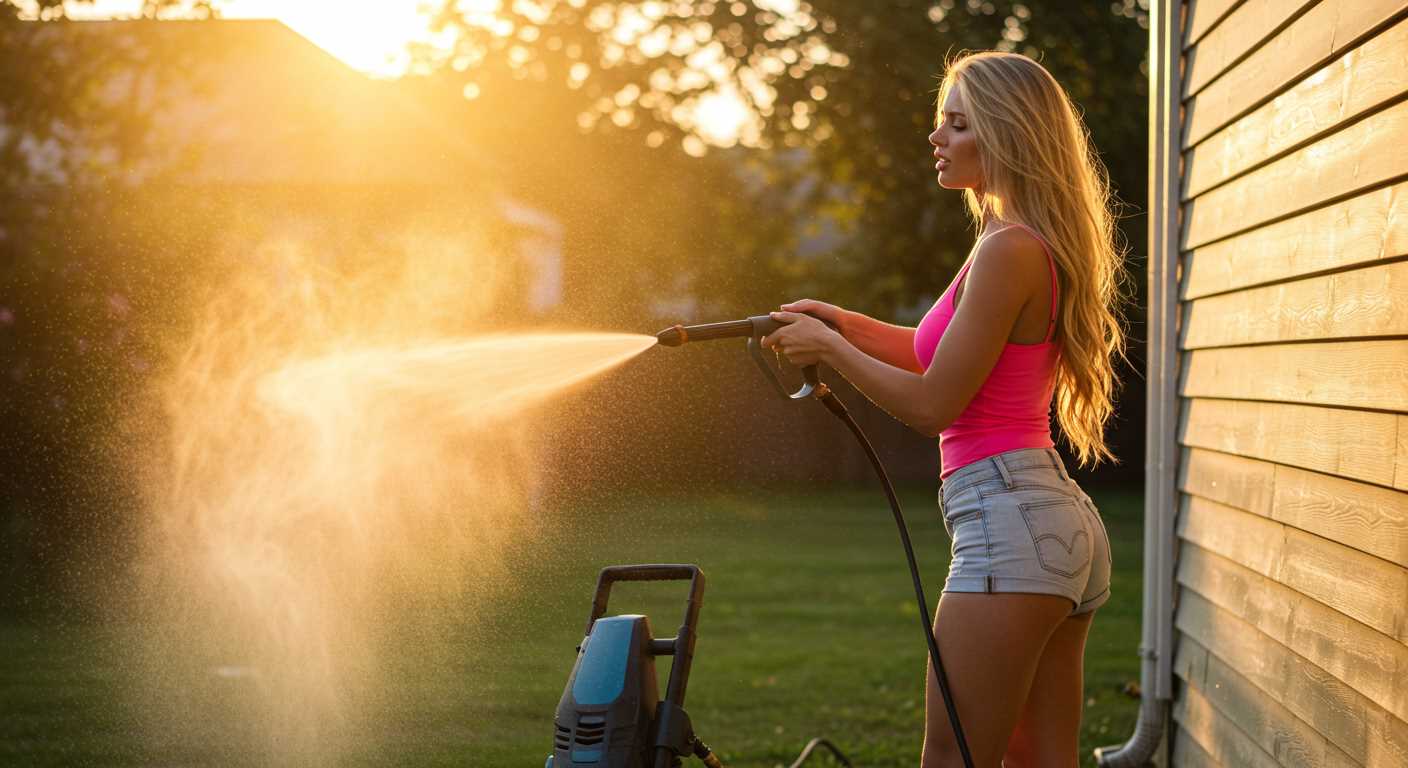
Check the power source first. Ensure the outlet is functional by plugging in another device. If applicable, inspect the extension cord for damage. A malfunctioning power supply can prevent the motor from starting.
Next, look at the motor or engine itself. For electric models, listen for any sounds when the trigger is pulled; a clicking noise might indicate a motor issue. For gas engines, examine the fuel level and oil condition, ensuring they meet manufacturer specifications.
Steps to Assess the Motor

- Inspect the electrical connections for corrosion or loose wires.
- Check the motor’s start capacitor if it hums but doesn’t run.
- For gas engines, inspect the spark plug for wear and replace if necessary.
- Examine the air filter; a dirty filter can hinder performance.
If the motor operates intermittently, consider professional assistance. Verifying functionality is crucial to restoring full cleaning capability.
Assess the pressure regulator functionality
Begin by examining the functionality of the regulator. A malfunction may prevent the desired flow and intensity during use. If your model allows, check for any visible signs of wear or damage in the regulator’s body.
Steps to evaluate the regulator

- Ensure the unit is disconnected from the power source to avoid accidents.
- Locate the regulator, usually found near the pump or the outlet.
- Inspect the connections for any leaks or loose fittings.
- Test the adjustment settings; sometimes, resetting them to factory defaults can resolve issues.
If the regulator is stuck or unresponsive, disassemble it carefully for a thorough cleaning. Debris may hinder its performance, leading to inadequate output. Use a soft brush and appropriate cleaning solvent to remove any build-up.
Reassembly and testing

After cleaning, reassemble the regulator and secure all connections. Reconnect the unit to the water source and power. Observe the output when restarting the equipment. If the flow remains low or erratic, replacement of the regulator may be necessary. Always refer to the manufacturer’s specifications when sourcing a new part.
Consult the User Manual for Troubleshooting Tips
Refer to the user manual for specific guidance tailored to your model. This document often contains valuable troubleshooting steps that can pinpoint particular issues. For example, many manuals include diagrams showing the components, which can assist in identifying parts during inspection.
If there’s a troubleshooting section, it usually provides sequences to follow, ensuring you methodically work through potential problems. Each brand may have unique elements; thus, relying on the manufacturer’s insights is paramount. Additionally, check for any troubleshooting videos mentioned in the manual; these can provide visual assistance.
Detailed Insights
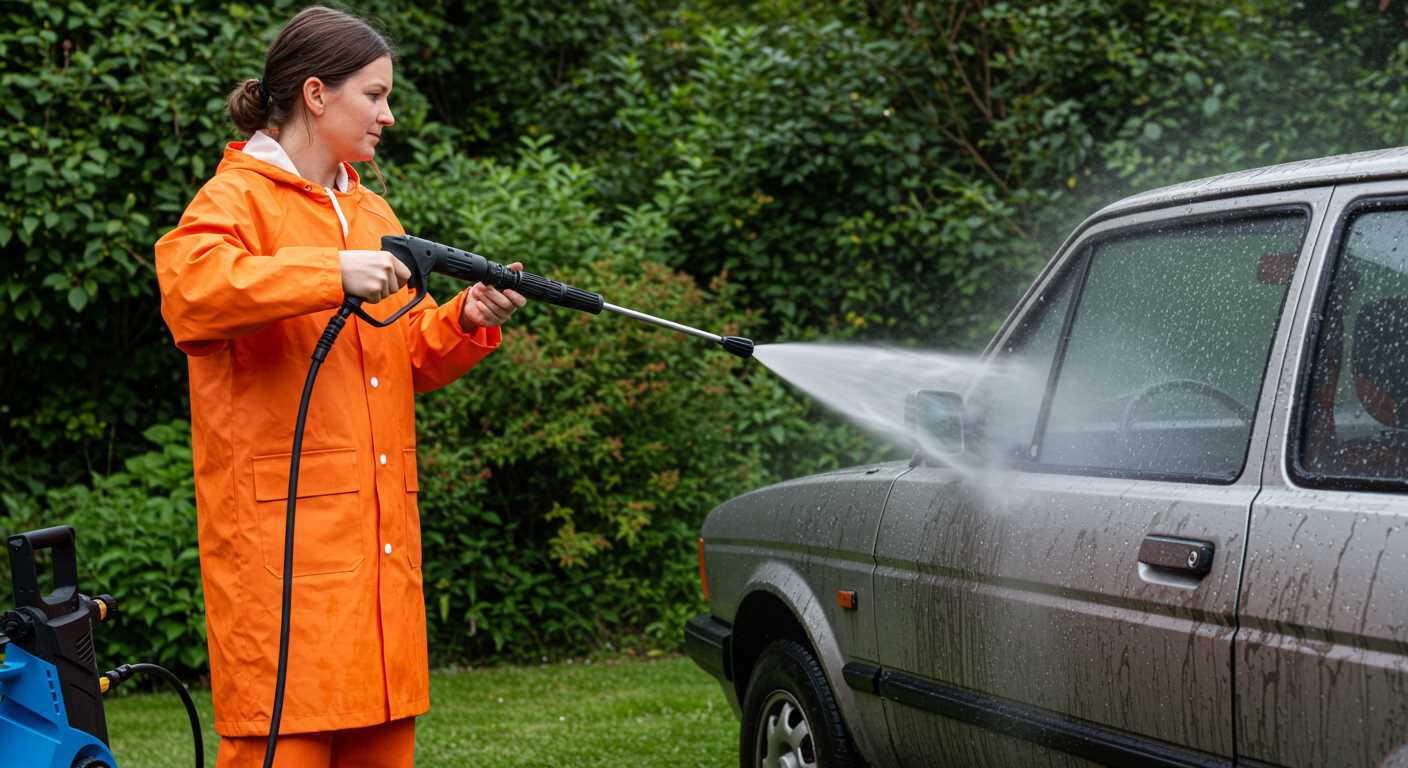
Look for recommended maintenance schedules and tips for care. Many issues arise from neglecting these areas, and the manual often outlines how regular upkeep can prevent significant problems. Keep a list of common faults that are specific to your model, as documented by the manufacturer, as this can save time during diagnosis.
Instructions for resetting any fault indicators or specific mode operations might also be included, which can resolve malfunctioning performance quickly. A manual is an essential resource because it reflects the experience of engineers who designed your equipment.


