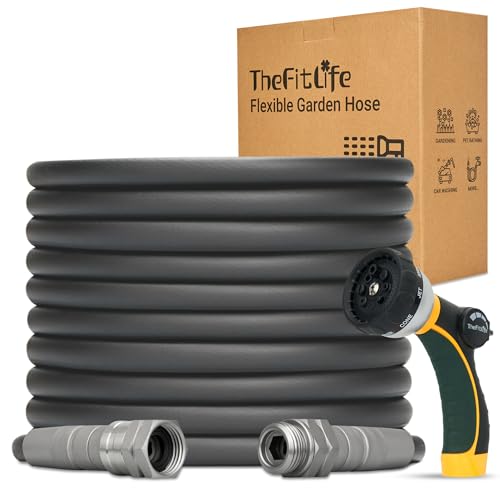


First, examine the water supply. A consistent and adequate flow is crucial; any interruptions can cause irregularities in operation. Ensure that hoses are free from kinks and obstructions, and that the inlet filter is clean. If the flow is inadequate, consider increasing the water source pressure or switching to a larger diameter hose.
Next, inspect the nozzle and lance. Clogs in these components can lead to inconsistent spray patterns. Remove the nozzle and clean it thoroughly, using a pin to clear any blockages. Additionally, check for wear; a damaged nozzle can compromise the pressure output and should be replaced.
Don’t overlook the pump. Look for signs of wear or damage, specifically in the seals and valves. If you hear unusual sounds during operation, it may indicate an issue within the pump mechanism itself. Regularly changing the pump oil enhances performance and longevity, so ensure you’re adhering to the manufacturer’s guidelines.
Lastly, evaluate the connection to the power source. Fluctuations in electrical supply can lead to inconsistent operation. Verify that all connections are secure, and consider using a dedicated socket to prevent variations in voltage. Ensuring this stability can greatly improve overall performance.
Identifying the Causes of Pulsating Pressure
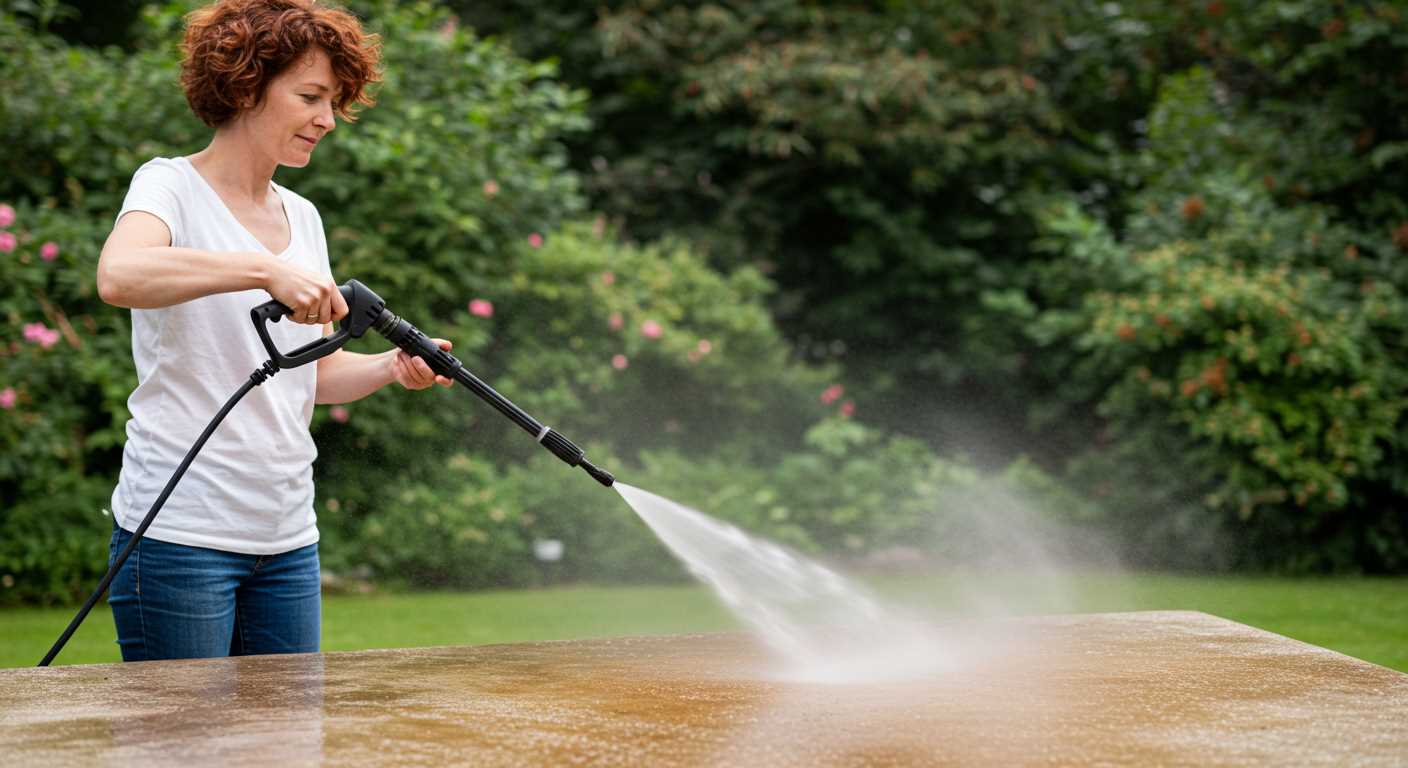
Check for obstructions in the inlet filter or hose. A clogged filter restricts water flow, leading to uneven output. Clean or replace the filter if necessary.
Inspect the water supply for consistency. Ensure that the source is providing adequate pressure. A drop in supply pressure can create irregular flow. If your supply line shows signs of issues, consider upgrading it.
Verify the quality of your nozzle. A worn or damaged nozzle can disrupt the water pattern. Switch out the nozzle with a new one to see if this resolves the inconsistencies.
Examine the hose for leaks or kinks. Any holes will cause air to mix with water, resulting in erratic spray patterns. Fix or replace damaged sections of the hose.
Investigate the pump for any wear and tear. A failing pump can lead to fluctuations in output consistency. If you notice leaks around the pump seals, those might need replacement.
Assess the connection points for security. Loose fittings can lead to air ingestion and inconsistent pressure delivery. Tighten all fittings to achieve a better seal.
Consider the detergent and its effects. If you’re using soap, ensure it’s appropriate for your unit. Some formulations can create foam that disrupts flow, causing irregular performance.
Checking the Water Supply for Blockages
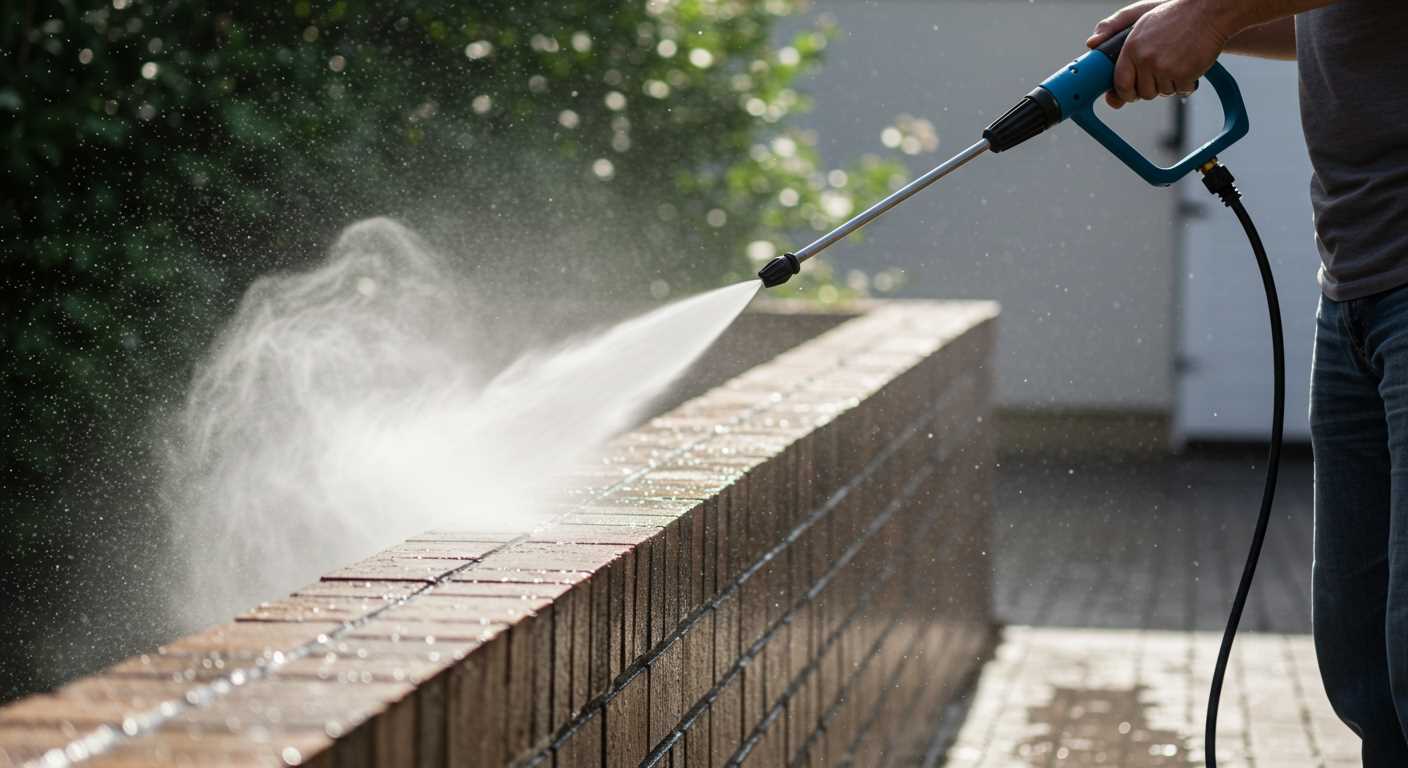
Inspect the water source for contaminants. Remove the hose from the inlet and examine if debris is present within the fitting. A clogged filter can significantly restrict flow, contributing to fluctuations in performance.
Next, ensure that the hose supplying water is free from kinks or bends. These physical obstructions can cause pressure changes throughout the system. Lay the hose flat and check for any damages such as cracks or leakage which can also affect water delivery.
Inspecting the Water Source
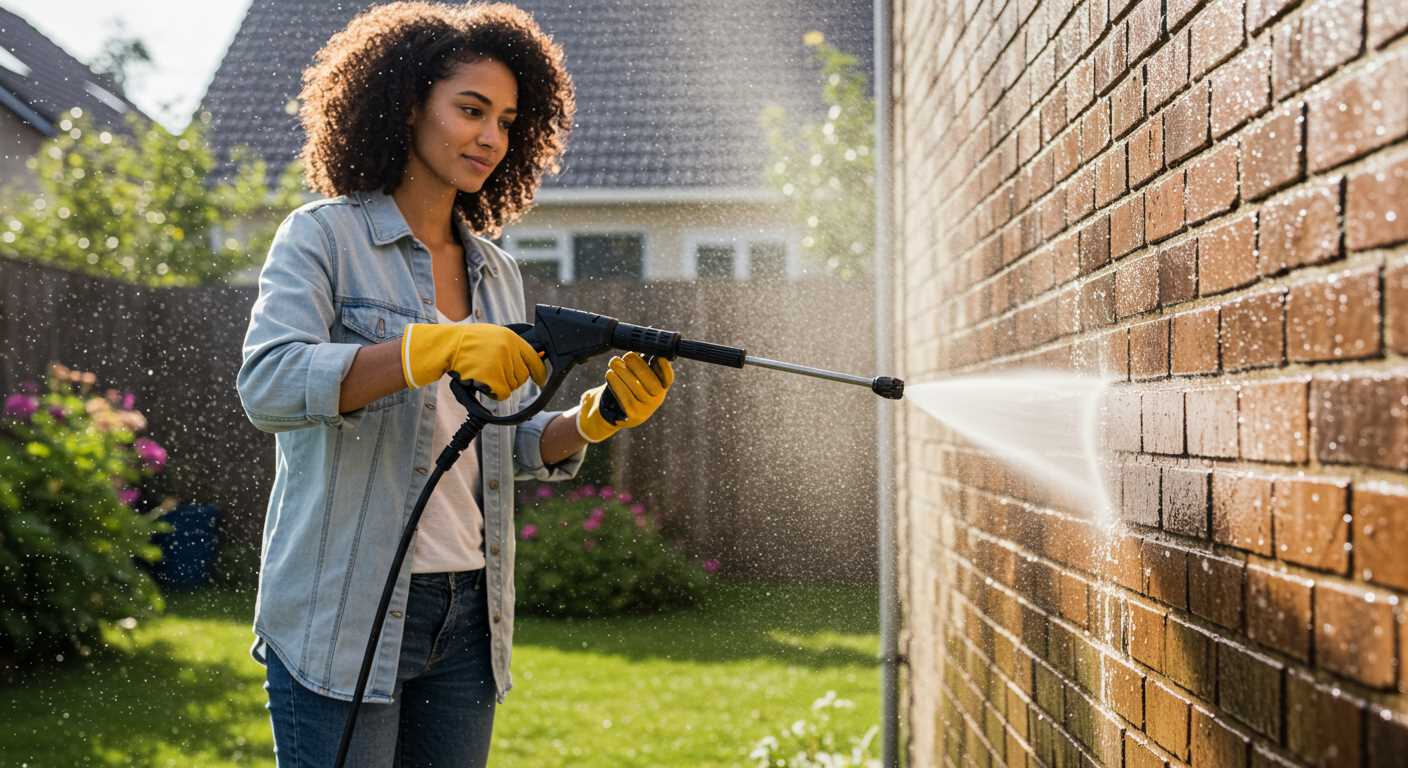
Verify that the faucet providing water is fully open. Reduced flow from the source can stem from partially closed valves or issues with plumbing. If connected to a rainwater tank or similar system, check the supply for sediment build-up.
If the setup allows, run the system without any attachments to identify if the blockage lies within the hose or the nozzle. Clean out any identified blockages to restore proper function.
Testing Water Flow
Utilise a flow meter or a simple bucket test to assess the water flow rate. A standard garden hose should deliver around 5-10 gallons per minute. Anything below this can indicate a potential issue within the supply lines or fittings.
Lastly, consider backwashing or flushing the filter if equipped. This process can eliminate any leftover debris, ensuring unobstructed water flow. Proper maintenance of the entire water supply circuitry is essential for optimal operation.
Inspecting the Inlet Filter and Hose
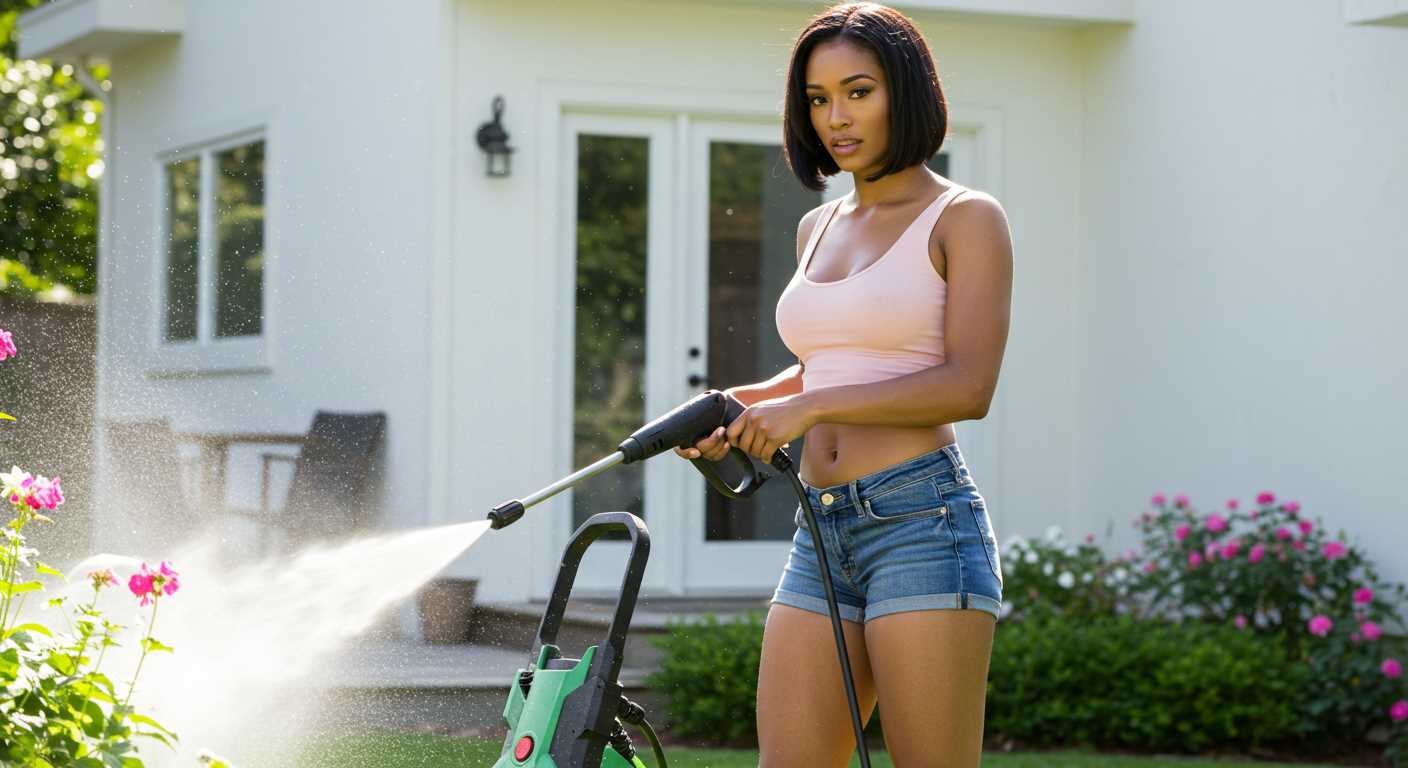
Check the inlet filter for any signs of debris or build-up. To do this, remove the filter from the water inlet. Rinse it thoroughly under running water to ensure it’s free from obstructions. If you notice heavy sediment or damage, consider replacing it.
Next, examine the inlet hose for kinks or leaks. A damaged hose can restrict water flow, affecting the machine’s performance. Look for any cracks or wear on the surface, and if found, replace the hose immediately to maintain adequate water supply.
Ensure fittings connecting the hose to the unit and the water source are secure. Loose connections can lead to air entering the line, causing inconsistent water flow. Tighten any loose fittings with a suitable wrench, ensuring a snug fit without over-tightening.
After completing these checks, reconnect the inlet filter and hose, ensuring everything is positioned correctly. Turn on the water supply and inspect for leaks before testing the equipment. Any visible issues at this stage should be addressed to prevent further complications.
Examining the Spray Gun and Nozzle
Begin with a thorough inspection of the spray gun. Look for cracks or signs of wear that could cause a reduction in water flow. Any damage may lead to inconsistent pressure output, so replace any damaged components immediately.
Next, turn your attention to the nozzle. Different nozzles impart varying spray patterns and pressures. Ensure you’re using the correct nozzle type for your tasks, as an incorrect nozzle can hinder performance. Also, check for clogs; mineral build-up from hard water can obstruct the nozzle, affecting flow and pressure.
Cleaning the nozzle is straightforward. Use a small pin or needle to clear blocked holes, then rinse it thoroughly. Ensure all components are reassembled tightly to prevent leakage, as loose connections can create turbulence, leading to uneven spraying. Regular maintenance of these components will enhance the overall performance of your cleaning equipment.
Lastly, consider using a protective filter to prevent debris from reaching the spray gun and nozzle. This simple addition can significantly extend the life of these parts, allowing for consistent and reliable performance during operations.
Testing the Pump Functionality
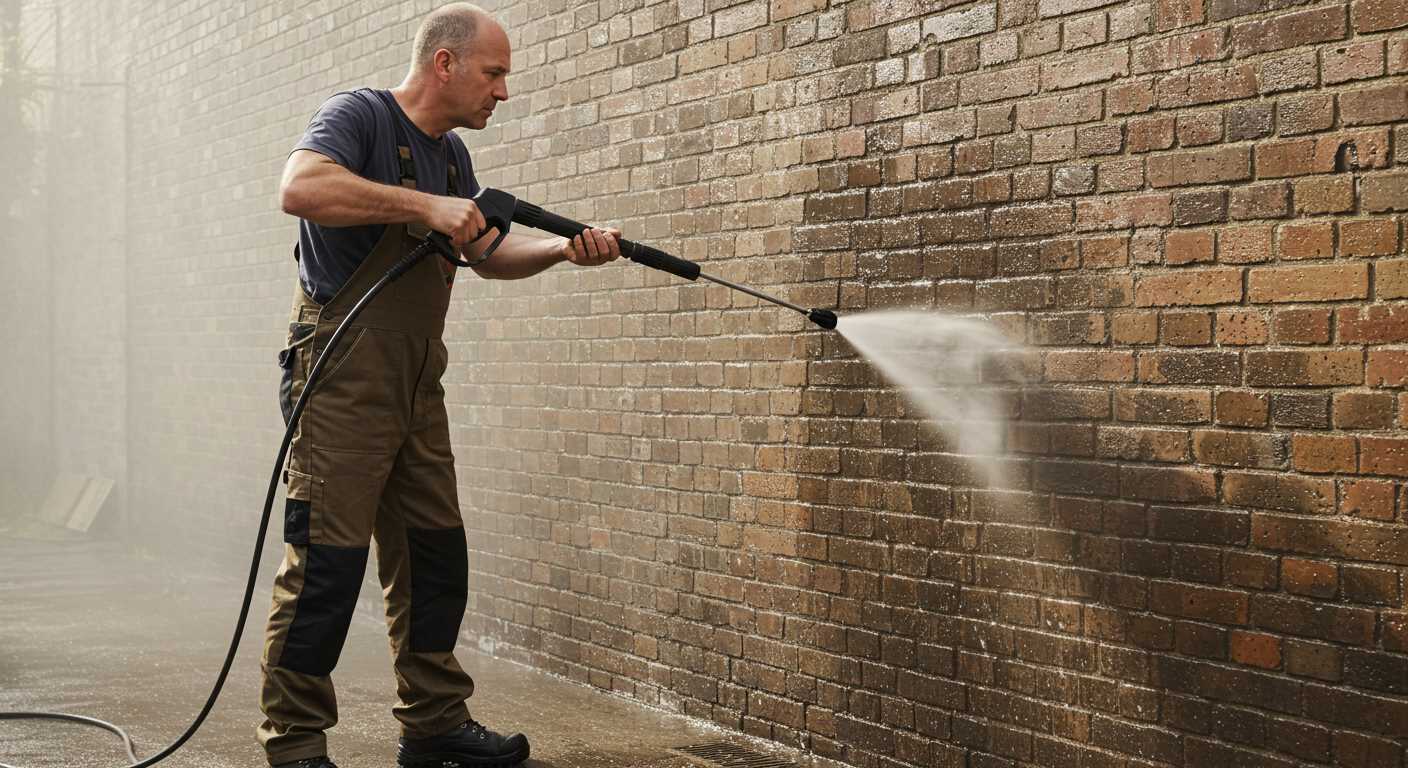
Begin by disconnecting the water supply to prevent any accidental spraying. Ensure the unit is powered off and unplugged. Next, remove the high-pressure hose from the pump. This step allows for a clearer examination of the pump’s action and prevents water from obstructing your testing process.
Inspect the pump for any visible damage or leaks. Pay close attention to the seals and gaskets, as wear and tear can lead to performance issues.
To evaluate functionality, you will need a bucket or container to catch water. Reattach the water supply, ensuring it is secure, and direct the open end of the high-pressure hose into the bucket.
Turn on the machine while keeping an eye on the water flow. A steady, uninterrupted stream indicates that the pump is operating effectively. If you notice significant fluctuations or loss of pressure, further investigation into internal components may be necessary.
- Check for air in the system: If water flow isn’t consistent, air might be trapped. To purge it, simply turn off the unit and operate the trigger on the spray gun until a steady stream of water flows.
- Listen for unusual noises: Grinding or excessive noise can indicate internal wear or damage in the pump assembly.
- Monitor pressure gauges: If installed, these devices provide real-time feedback on performance. Ensure readings match the manufacturer’s specifications during operation.
If water comes out without any issues yet you still experience performance problems, the issue could reside in the internal components, such as the check valves or unloader valve. Disassembling the pump to examine these parts may be necessary if deeper problems persist.
By systematically checking the components and flow rate as outlined, you can reliably determine whether the pump is functioning as intended. Regular maintenance and keen observation during testing can significantly prolong the lifespan of your equipment.
Evaluating the Pressure Regulator Settings
Begin by examining the settings of the regulator. Locate the adjustment knob, typically situated near the pump. Test various settings to determine if there’s a difference in output consistency. A miscalibrated regulator can lead to erratic performance.
Make sure to refer to the user manual for manufacturer-recommended settings. Adjust the regulator slightly, and closely observe the operation. Small changes can significantly influence the flow and consistency of the water stream.
If the issue persists after adjustment, consider the possibility that the regulator itself may be defective. Inspect for leaks or signs of wear, as these can compromise performance. If damaged, replacement might be necessary to restore stable output.
After adjustments and inspections, perform a practical test. Connect your apparatus and observe the spray pattern. An uneven or inconsistent stream suggests that further regulation is needed. Keep adjusting until you achieve a steady and uniform water flow.
Regularly evaluate the regulator settings, especially after prolonged use. An annual calibration can prevent many operational issues, ensuring reliable performance for all your cleaning tasks.
Replacing Worn or Damaged O-Rings
Begin by disconnecting the unit from the power supply and water source to ensure safety. Identify the locations of the O-rings, typically found in the spray gun, nozzle, and pump assembly. These small rubber components are crucial for maintaining a tight seal in the system.
Carefully remove the damaged O-rings using a flat tool; avoid scratching the surfaces where they sit. Clean the seating area to remove any debris or residue. When selecting replacements, ensure they match the original size and material specifications, as this will impact performance and durability.
After acquiring the correct O-rings, moisten them slightly with a lubricant or the water used in your machine. This will ease installation and prevent tearing. Place the new O-rings firmly in their respective grooves, ensuring they sit evenly without twists.
Reassemble the unit, check for proper fitting, and reconnect the water supply. Before use, test for any leaks by running the machine at low pressure. Monitor closely to verify the repair, ensuring that flow remains steady without fluctuations.
Key Points to Consider
Regularly inspecting these seals can prevent larger issues in the long run. Make it a habit to check O-rings at the start of each season or before heavy usage periods. Storing equipment properly and avoiding harsh chemicals can also extend the lifespan of these essential components.
Cleaning and Maintaining the Equipment Regularly
Clean the intake and output components routinely to prevent blockages. A quick rinse can prevent residue build-up that affects performance. Following each use, ensure that water is fully drained out, particularly in areas where it can freeze or become stagnant.
Inspect hoses for kinks or cracks on a regular basis. Even minor damage can lead to diminished performance. Whenever you notice any issues, set aside time to replace faulty hoses promptly.
Keep the nozzle clear of debris. I recommend using a needle to clear out blocked spray tips. Clogged nozzles can restrict the flow and affect pressure output. This simple maintenance task can significantly improve efficiency.
Change the oil in the pump based on the manufacturer’s recommendations. Regular oil changes enhance lubrication and prolong the life of the pump. Additionally, check for any leaks around seals which can indicate the need for replacement.
A schedule for replacing filters should be established. For the intake filter, consider cleaning or replacing it every few months depending on usage. This will ensure a smoother flow of water and maintain optimal operation.
Lastly, store the units in a dry, sheltered location. Protecting the equipment from the elements reduces wear and damage, extending its lifespan significantly.
| Maintenance Task | Frequency |
|---|---|
| Clean intake and output components | After each use |
| Inspect hoses | Monthly |
| Clear nozzle blockages | As needed |
| Change pump oil | Every 3-6 months |
| Replace intake filter | Every few months |
| Store equipment properly | Seasonally |

