

Before tearing your equipment apart, let’s address the symptoms. If the motor refuses to turn, begin with a few key diagnostics. Check the oil level; insufficient lubrication often leads to severe damage. If the oil appears dirty or gritty, thoroughly replace it with the appropriate type for your machine.
Next, inspect the fuel system. Ensure the gas is fresh and that the fuel filter is clean. Stale fuel can lead to clogging, preventing the motor from starting. If necessary, replace the filter and consider using a fuel stabiliser to keep future fuel in optimal condition.
After the basics, examine the ignition system. A faulty spark plug can be the culprit. Remove it and inspect for wear and carbon buildup; a quick cleaning or a complete replacement may be necessary to regain proper functionality. If the plug looks good, check connections for corrosion.
Finally, the starter mechanism might be at fault. Ensure the cord pulls smoothly. Lubricate or replace components as needed. Taking these steps will help breathe life back into your cleaning machine, allowing you to tackle any job with confidence.
Identifying the Signs of a Stuck Motor
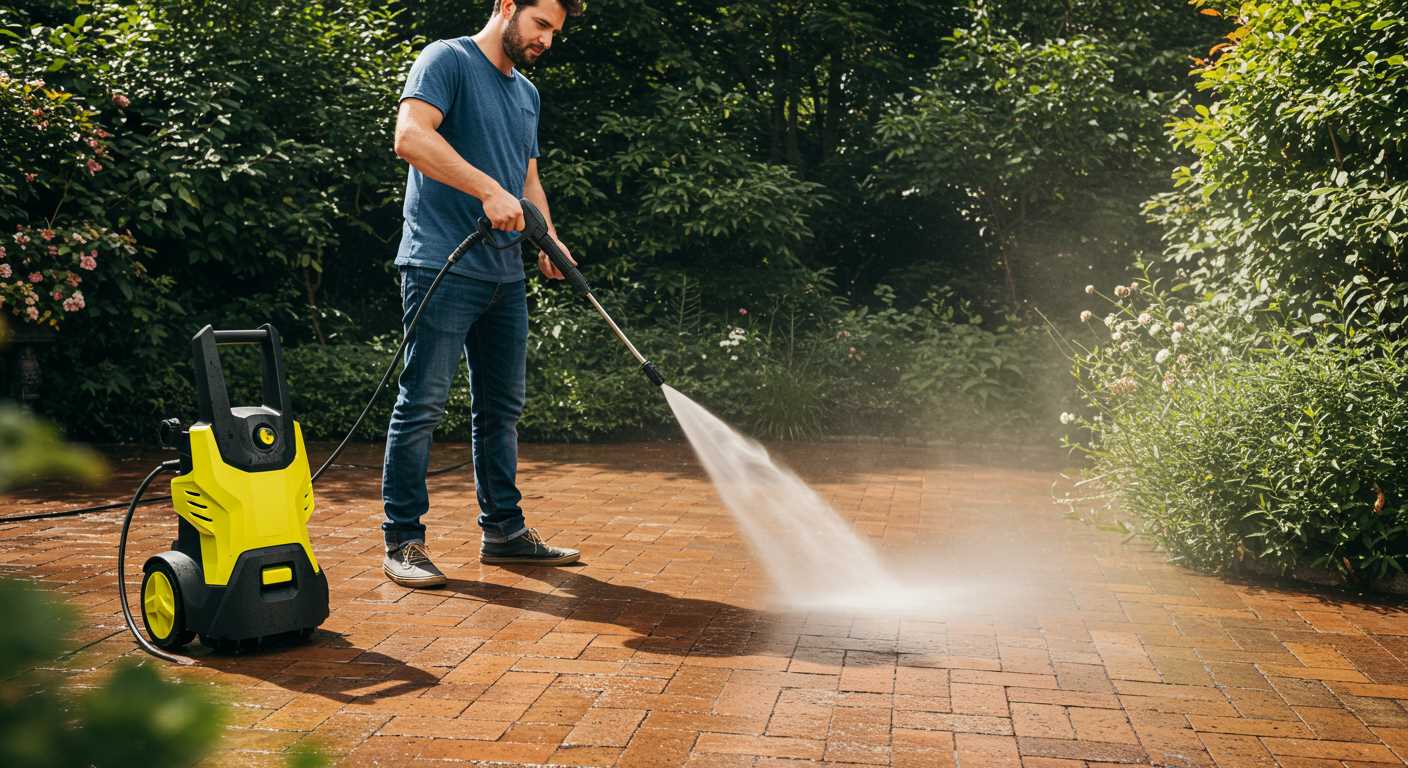
To determine whether a motor has become unresponsive, first listen for any unusual sounds when attempting to start. A clicking noise can indicate that the starter is attempting to engage but failing to turn the crank. If there’s complete silence, it may suggest that the unit is completely unresponsive.
Next, check the recoil starter or pull cord. If it feels particularly stiff or does not pull at all, this may signal internal binding. Inspect for physical obstructions in the area around the crankshaft, often accessible from the bottom of the machine.
Visual Inspection
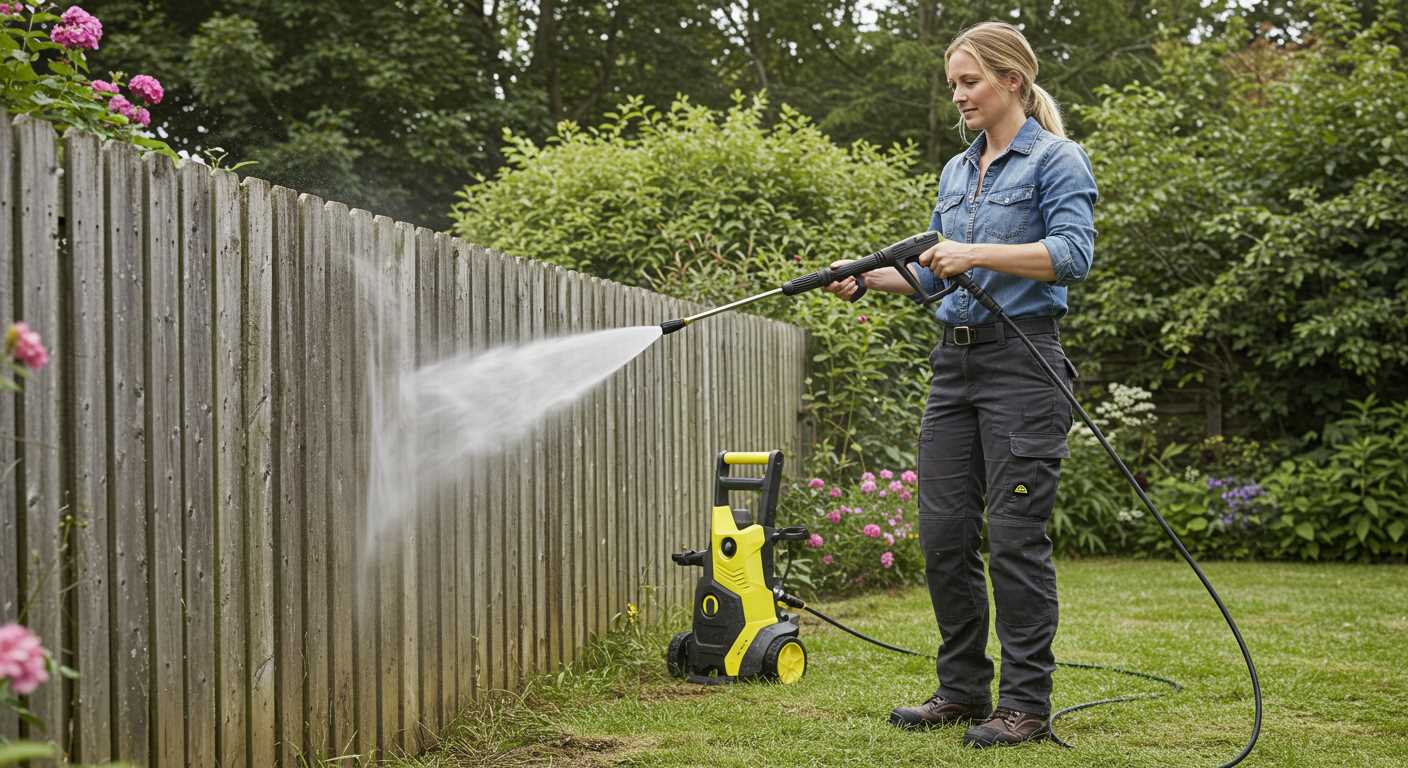
Examine oil levels and quality. If the oil appears dark and sludgy or shows metal shavings, this can indicate internal damage or excessive wear. Also, look for signs of leaking fluids under the unit, which can hint at compromised seals or gaskets.
Temperature Check
After a failed starting attempt, feel the exterior casing. If it’s excessively hot to the touch, this may suggest that the motor is overheating, potentially due to internal friction. Allowing it to cool before further examination is wise.
Preparing Your Workspace for Engine Repairs

Clear a dedicated area, ensuring ample space around the unit. This not only enables easy manoeuvring but also reduces the risk of misplacing tools. Use a clean, level surface to prevent items from rolling away or falling.
Ensure adequate lighting. A brightly lit area enables me to spot minute details and defects during inspection and repair. If needed, use portable LED lamps to illuminate darker corners.
Gather all necessary tools and materials beforehand. Organise them in a manner that is easily accessible. Here’s a basic checklist to consider:
| Tool/Material | Purpose |
|---|---|
| Wrenches | For loosening or tightening bolts and nuts. |
| Screwdrivers | For removing screws in casing and components. |
| Pliers | For gripping and manipulating small parts. |
| Oil | To lubricate moving parts. |
| Rags | For cleaning components and wiping excess oil or fluids. |
| Safety goggles | To protect eyes from debris and chemicals. |
| Gloves | To safeguard hands from sharp edges and harmful substances. |
Clearly mark the area if working in a shared space to avoid distractions. Indicate hazardous zones with signs to ensure safety for others. Maintain a trash bin nearby to dispose of waste immediately, keeping the workspace tidy.
Consider ventilation. If working indoors, open windows or use fans to ensure air circulation, especially if using chemicals for cleaning or lubricating.
Finally, have a plan for disposing of any waste fluids or materials according to local regulations. This promotes a responsible approach to maintenance and repair tasks.
Steps to Remove the Engine from the Cleaning Device
Begin by disconnecting the spark plug wire to prevent accidental starts. Use a wrench to remove any bolts securing the motor to the base. Keep track of all fasteners in a labelled container for reassembly.
Next, detach the fuel line. Place a rag underneath to catch any residual fuel. Ensure you’re wearing appropriate safety gear, including gloves and goggles, to protect from spills.
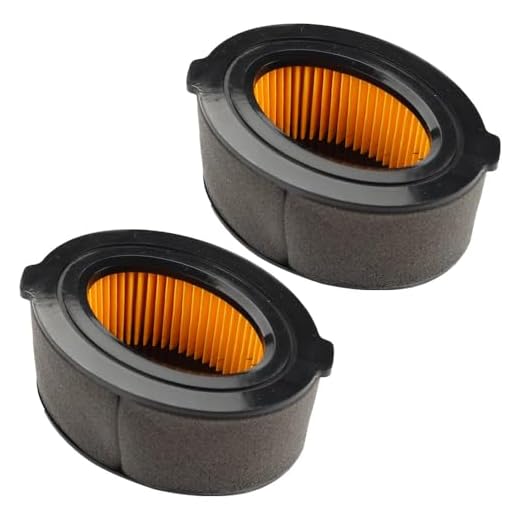
Remove the air filter and any hoses connected to the assembly. Label each connection to simplify the reinstallation process. Depending on the model, you might need to take off the shroud or housing to access some components more easily.
Using a torque wrench, loosen and remove the mounting bolts attaching the assembly to the frame. Carefully lift the unit straight up, ensuring no wires or hoses are snagged. A second person may be helpful here, as some units are heavy and awkward to handle.
Inspect all components as you disassemble, noting any signs of wear or damage that may need attention later. Keep your workspace tidy throughout to avoid losing small parts or tools.
Inspecting Internal Components for Damage
Remove the cylinder head to access the combustion chamber. Inspect the gasket for signs of wear or burn-through, which can contribute to compression loss. Look for cracks in the cylinder itself, as these can render the unit unusable.
Check the piston for scoring or scratches. Use a flashlight to get a clear view of the surfaces. If there’s significant damage, replacement is necessary. Assess the piston rings; they should be intact and fit snugly. Any deformation indicates the need for new components.
Examine the crankshaft for straightness and wear. Roll it on a flat surface to check for wobble. If it’s bent, it requires professional attention or replacement. The bearings should be free of play; excessive movement is a red flag.
Inspect the connecting rod for fractures or bends. This part must be strong to withstand the forces during operation. Any irregularities point to more severe issues within the system.
Review the ignition system components, including the spark plug, and look for carbon build-up or damage. Make sure the ignition coil is functioning and not corroded. Failure in this area can lead to operational difficulties.
Check fuel lines and filters for blockages or degradation. A clogged fuel line can starve the motor, leading to complications. Replace any damaged lines to assure proper fuel flow.
Each of these components plays a critical role in the overall function. A thorough assessment will guide necessary repairs and replacements, ensuring reliability upon reassembly.
Applying lubrication techniques to restore movement
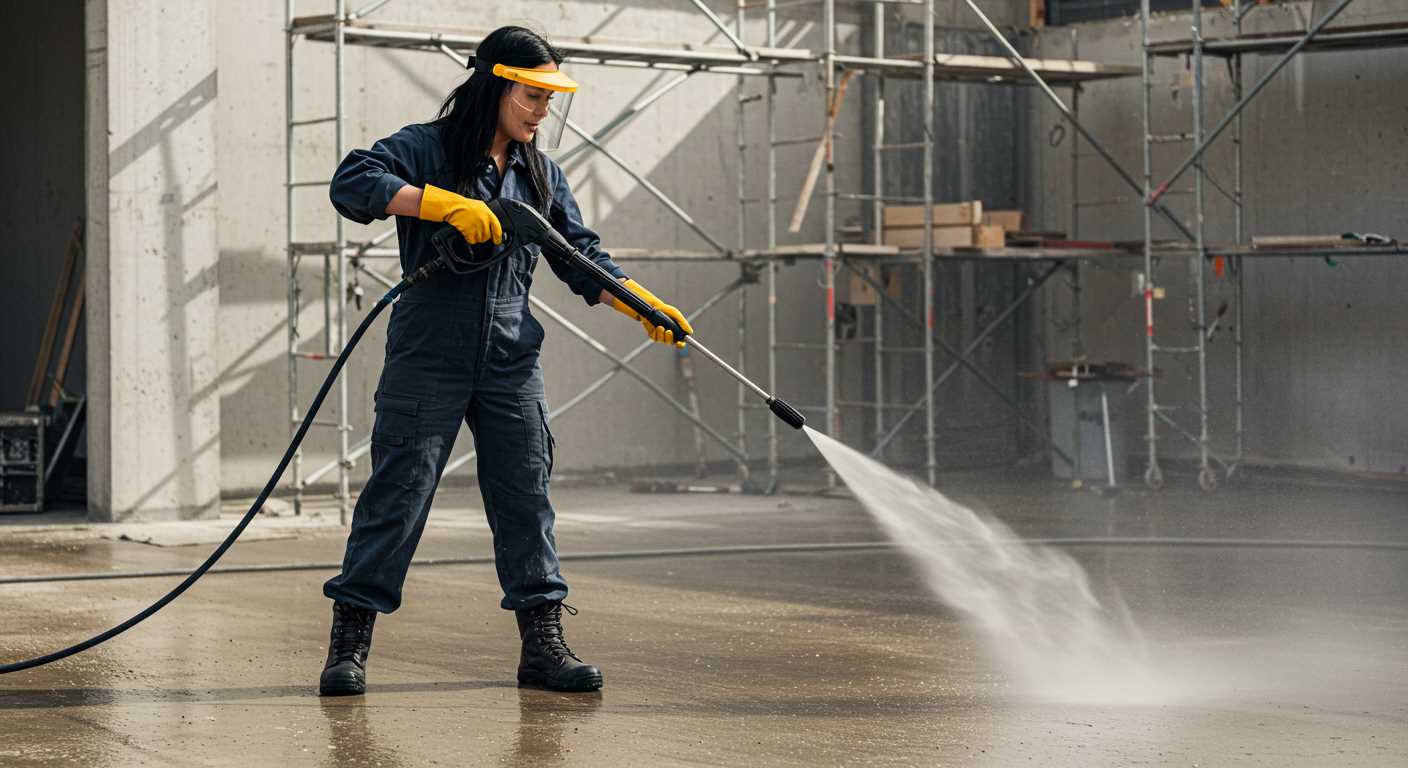
Start with a penetrating oil, such as WD-40 or a similar product. Apply it generously to all visible moving parts, ensuring it seeps into joints and any areas exhibiting resistance. Allow it to sit for several hours, or even overnight, enabling it to penetrate deeper and dissolve any built-up grime or rust.
Manual Cranking
Following the oil application, attempt to manually rotate the assembly. Use a wrench or socket that fits the crankshaft or flywheel. Work slowly, applying steady force. If movement begins, alternate between manually cranking and applying more lubrication. Be cautious; excessive force may cause further damage.
Additional Lubricants

If penetrating oils do not yield results, consider using a thicker lubricant, like motor oil or a specially formulated engine lubricant. Apply this substance in the same manner, ensuring all moving components are coated. Sometimes, the increased viscosity can help in loosening stubborn components.
If progress is still minimal, you may need to repeat the application process multiple times. Patience is crucial; rushing can lead to more significant complications. Once movement is restored, perform a thorough inspection of all components to identify any lingering issues before reassembly.
Reassembling and Testing the Pressure Cleaning Machine Components

Careful assembly of the components is vital for proper functionality. Place the cleaned and lubricated parts back in their designated positions, ensuring that gaskets and seals are intact to prevent leaks.
- Start with the crankcase. Ensure that the crankshaft aligns correctly and that bearings fit snugly.
- Reattach the connecting rod, verifying that it moves freely without obstruction.
- Install the cylinder head. Tighten the bolts evenly to maintain a proper seal.
- Check the alignment of the piston. It should move smoothly within the cylinder without any binding.
- Reconnect the ignition system, ensuring that all electrical connections are secure and corrosion-free.
After reassembly, conduct a thorough examination. Before applying fuel, turn the pull start mechanism by hand; it should rotate freely without any resistance. This step is essential to check for lingering issues.
Next, fill the fuel tank with the appropriate mixture. Use clean, fresh gasoline or a specified alternative. This choice directly affects performance and longevity.
- Before starting, ensure that the fuel line is checked for leaks.
- Turn the choke to the closed position while priming the fuel system.
- Engage the starter handle, monitoring for any irregular noises during the initial rotation.
- Once the engine fires up, gradually adjust the choke to the open position.
While running, observe the functionality of all components. Listen for unusual sounds and monitor for vibrations that could indicate loose parts. Ensure that the exhaust emissions are consistent with the manufacturer’s specifications.
Perform pressure tests using a gauge. After stabilising the unit, check the pressure reading to ensure it operates within the expected range. If the numbers are significantly lower than what is indicated, revisit the assembly steps to identify potential issues.
Finally, let the machine cool down and observe for any signs of leaks or abnormal wear during the first few uses. Regular maintenance checks will help prolong the service life of your equipment.
FAQ:
What are some common reasons for a pressure washer engine to seize up?
Pressure washer engines can seize up for several reasons. One common cause is lack of maintenance, which includes failing to change the oil regularly. Old or contaminated oil can lead to increased friction and eventual seizing. Another reason may be overheating due to prolonged use without adequate cooling or airflow. Additionally, if the pump or any internal components are clogged or damaged, this can create excessive resistance and cause the engine to lock up. Lastly, if the machine has been stored improperly, such as left outside in wet conditions, it may experience corrosion which can also lead to seizing.
What steps should I take to try and fix a seized pressure washer engine?
If your pressure washer engine has seized, follow these steps to diagnose and attempt a fix. First, remove the spark plug and inspect it for damage. Crank the engine manually to see if it moves freely; if it does not, proceed to lubricate the cylinder with penetrating oil. Allow the oil to soak for several hours or overnight, then try turning the engine again. If it remains stuck, check the piston and connecting rod for damage. If there is no visible damage, the issue may be with the crankshaft. If you are not comfortable performing these repairs, it is advisable to consult a mechanic or technician for assistance. Maintaining regular servicing can help prevent future seizing incidents and ensure your pressure washer operates smoothly.


