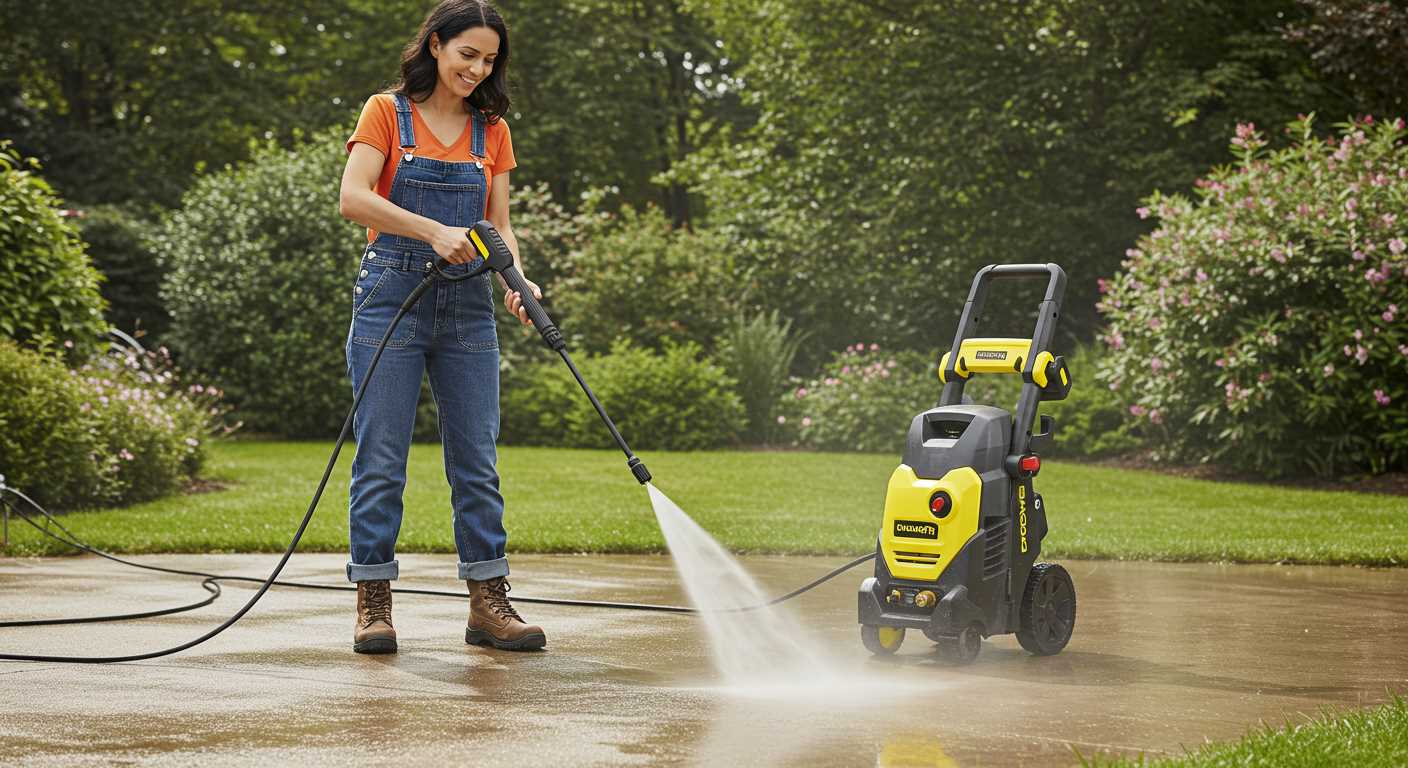
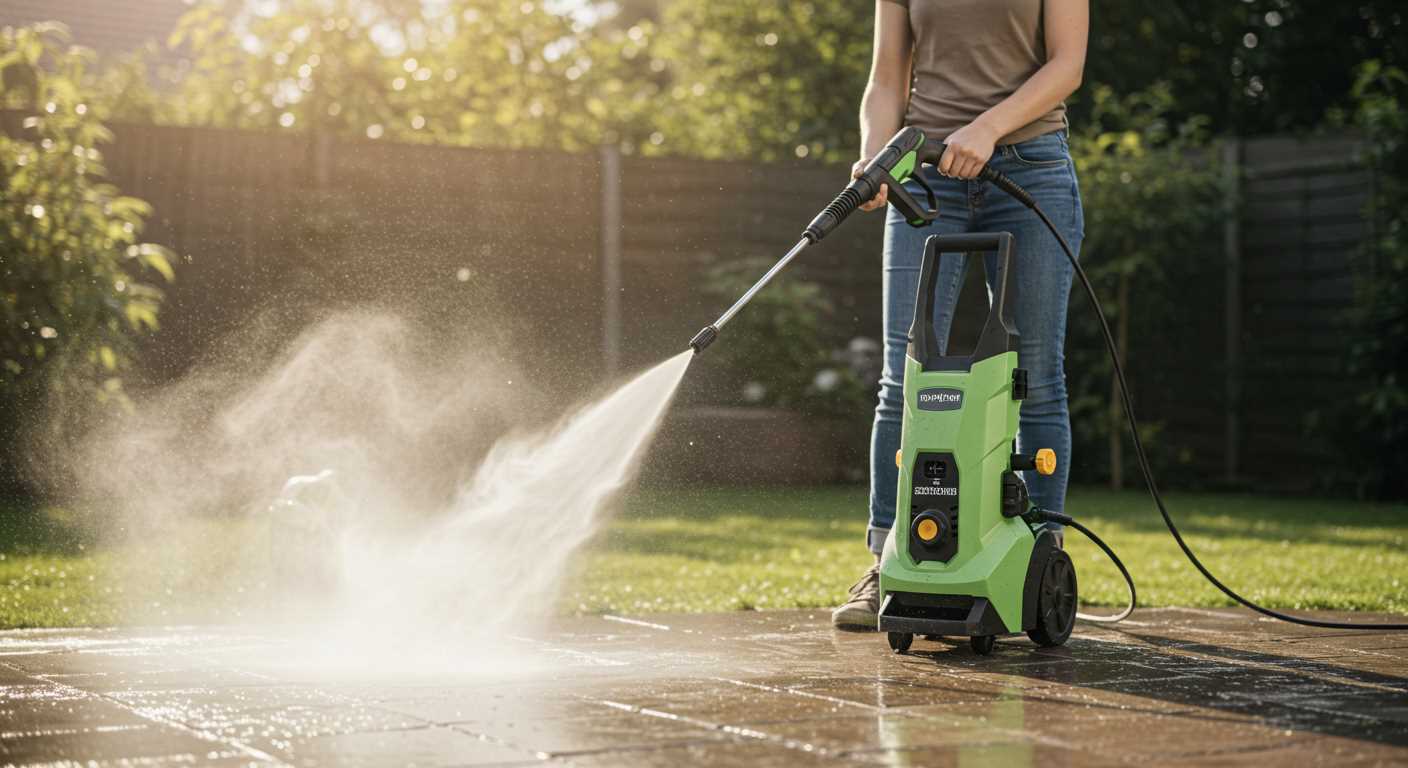
A blend of polymer-modified cement and sand often serves as an immediate remedy for surface wear after high-pressure cleaning. Mix the components to a thick consistency; this mixture adheres well to pitted or crumbling areas, rejuvenating the surface.
Prior to application, it’s crucial to thoroughly clean the affected zone. Any remaining debris or moisture can impede adhesion. Use a stiff-bristled brush to scrub the area, ensuring both dirt and loose particles are removed. After that, ensure the surface is slightly damp but not saturated.
The application process is straightforward. Using a trowel, press the prepared mixture into the compromised sections. Maintain an even layer, feathering the edges for a seamless transition. Allow the repair to cure as per manufacturer specifications, typically requiring several hours to achieve optimal strength.
Subsequently, consider sealing the area. A high-quality sealant will protect against future wear and staining. Apply this only after the repair has fully cured, and your surface will be fortified against the rigours of weather and wear.
Repairing Concrete After High-Pressure Cleaning
Assess the affected area closely. Look for any signs of cracks, pitting or surface erosion. Identifying the severity of the destruction is crucial for an appropriate response.
Prepare the Surface
Clear debris and wash the area with clean water. Allow sufficient drying time. Any loose particles must be removed to ensure proper adhesion of repair materials.
Choose the Right Material

Select a repair compound suitable for restoration. Options include:
- Concrete resurfacer: Ideal for minor repairs and smoothing out uneven surfaces.
- Epoxy filler: Perfect for filling cracks and voids in the substrate.
- Polyurethane sealant: Works well for flexible repairs and protecting against future damage.
Application Process
Follow these steps for application:
- If using a resurfacer, mix according to the manufacturer’s instructions, ensuring a smooth consistency.
- Apply using a trowel or roller, working in sections to avoid premature setting.
- For epoxy or sealant, inject the product into cracks or voids ensuring complete fill.
- Finish by smoothing the surface for an even look.
For best results, consider applying a protective sealant once the repair is fully cured. This will prolong the life of the restoration and maintain the aesthetics of the area.
Assessing the Extent of Concrete Damage
Begin by visually inspecting the surface for visible defects such as pitting, deep grooves, or discolouration. A thorough examination will inform you about the severity of the issue. Use your fingers to feel the texture; rough areas or crumbling sections can indicate more serious harm beneath the surface.
Next, test the hardness by tapping it with a small hammer or similar tool. A dull sound often signifies weakened areas, while a sharper sound suggests better integrity. Identify any spalling, where the upper layer begins to flake. This is critical since catching it early can prevent larger repairs later.
For a more precise assessment, apply water to various sections. If the water absorbs quickly into certain spots, these areas likely indicate not only surface wear but potential underlying problems as well. A consistent pattern of high absorption can indicate a need for urgent attention.
Additionally, photograph the affected areas. This documentation can serve as a reference point for assessing progress during restoration efforts. Comparing before and after images can provide feedback on the effectiveness of your remediation strategies.
Finally, consider the location and environmental factors. Areas exposed to heavy traffic or harsh weather conditions are more prone to extensive wear. Understanding these influences will help you determine the necessary steps to maintain and restore quality.
Identifying the Right Repair Materials
Choosing appropriate materials is crucial for restoring surfaces affected by high-pressure cleaning. Start with a clear assessment of the damage severity and type, as different situations require distinct solutions.
- Epoxy Repair Compounds: Ideal for severe wear, these compounds bond strongly and resist moisture. Use them for cracks deeper than 1/4 inch.
- Cementitious Repair Mortars: Excellent for filling superficial damages, these blend seamlessly with existing structures. Opt for products specifically formulated for adhesive strength.
- Polyurethane Sealants: Suitable for joints and smaller fractures. They provide flexibility and longevity against environmental changes.
- Surface Repair Kits: Available at home improvement stores, these kits can repair small surface defects. They usually include pre-mixed solutions, making them user-friendly.
- Concrete Resurfacing Products: When a thin layer of restoration is needed, look for resurfacing compounds that apply directly over the existing surface, rejuvenating its appearance and integrity.
Before purchase, ensure compatibility with your existing substrate. Check for manufacturer’s guidelines regarding application thickness, curing times, and environmental tolerances.
- Testing: Always perform a small test patch to ensure adhesion and aesthetic match.
- Tools: Equip yourself with trowels, brushes, and mixing equipment as required for the chosen material.
Investing in high-quality materials upfront significantly enhances the longevity and stability of the repair. Examine reviews and seek recommendations to avoid subpar products.
Preparing the Surface for Repair
Begin by thoroughly cleaning the area in question. Remove any loose particles, debris, or contaminants using a broom or vacuum. It’s essential to ensure that the surface is free of dirt, oils, or any remaining cleaning solutions that could interfere with adhesion during the subsequent repair process.
Next, inspect the surface for any cracks or chips that may need special attention. Use a wire brush to gently scrub the edges of these imperfections, as this promotes better bonding with the repair materials. If necessary, employ a chisel or grinder to widen any cracks, ensuring they taper down to solid material. This preparation enhances the overall integrity of the patch.
If the substrate is still damp after washing, allow sufficient time for it to dry completely. A dry surface allows adhesives and patching compounds to bond more effectively, preventing future failure. In humid conditions, consider using a fan to expedite this drying phase.
Once dry, apply a concrete primer if recommended for the selected repair product. This step not only enhances adhesion but can also increase the longevity of the repair. Follow the primer manufacturer’s instructions regarding application and drying times.
Finally, consider using a bonding agent on the repair area. This creates a chemical bond between the existing material and the new mixture. Ensure that the agent is compatible with your repair materials to achieve optimal results.
Applying Concrete Patch or Resurfacer
Begin with mixing the patching compound according to the manufacturer’s specifications. A consistent and smooth mixture is crucial for an even application. Use a trowel or putty knife to apply the patch to the affected areas, ensuring to press it firmly into any cracks or surface imperfections. Overfill slightly to allow for shrinkage as it cures.
Smoothing the Surface
After applying the patch, use a wet sponge or trowel edge to smooth the surface. This not only enhances the appearance but also helps in bonding with the surrounding material. Ensure to feather the edges to prevent noticeable transitions between the patched section and the existing layer.
Curing Process
Allow the patch to cure as per the product guidelines. Temperature and humidity can affect this process, so monitor conditions to ensure optimal results. Avoid any foot traffic or water exposure during the curing period to achieve maximum strength. Once fully cured, a sealer may be applied to protect the repaired area, providing longevity and resistance to future wear.
Sealing the Repaired Area
Once the patching is complete and it’s cured adequately, sealing is a crucial step to ensure longevity and functionality. Selecting a high-quality concrete sealer will enhance protection against moisture, stains, and future wear. Apply a penetrating sealer or an acrylic sealer depending on the surface type and desired finish.
Before application, ensure the repaired area is clean and completely dry. The temperature should be above 10°C, as sealing in colder conditions can lead to improper adhesion. I recommend using a roller or a spray application method for even distribution. Begin at one corner of the area and work systematically to avoid any missed spots.
| Type of Sealer | Best For | Application Method |
|---|---|---|
| Pentrating Sealer | Long-term protection, moisture control | Roller or Sprayer |
| Acrylic Sealer | Surface gloss and stain resistance | Sprayer, to avoid pooling |
Apply sealer in thin coats, allowing the first coat to dry completely before adding a second. Typically, a minimum of two coats is advisable for optimal results. Pay special attention to edges and joints where the sealer can pool. Always follow the manufacturer’s guidelines for drying times and additional coatings.
Monitoring the repaired section for any signs of wear or fading in the initial months will help identify if further sealing is required. Regular maintenance will significantly extend the lifespan of the repair.
Preventing Future Damage from Pressure Washing
Utilising lower pressure settings is a practical approach to mitigate risks. A gentle touch preserves the integrity of surfaces while removing unwanted debris. Adjust your equipment to a level that effectively cleans without causing harm.
Always maintain a distance of at least 12 inches between the nozzle and the surface. This distance reduces the impact force of the spray and allows for more even cleaning without gouging or etching surfaces.
Regular inspection and maintenance of the sprayer are vital. Ensure there are no leaks or worn-out components that could affect performance, leading to unintended damage. A well-maintained machine operates more efficiently and lowers the chances of mishaps.
Choosing the Right Nozzle
.jpg)
Selecting an appropriate nozzle size and type enhances cleaning efficiency while safeguarding surfaces. For example, a 25-degree nozzle works well for most applications, offering a wider spray pattern that minimises the risk of focused damage.
Incorporating appropriate cleaning solutions can enhance results and reduce the need for high pressure. Many biodegradable detergents are available that can effectively remove grime without the harsh effects of extreme water pressure.
Staying Aware of Environmental Conditions
Be conscious of weather conditions before proceeding. Avoid washing slabs in direct sunlight, as this can cause water to evaporate too quickly and lead to ineffective cleaning. Overcast days are often preferable for this task, ensuring better performance.
Establishing a routine maintenance schedule for surfaces can prolong their lifespan. Regularly sweeping or rinsing can prevent the build-up of dirt and grime, making future cleaning efforts less intensive and reducing the likelihood of injury to the material.
Maintaining Surface After Repair
Regular upkeep of the area post-repair is imperative for longevity. Begin by conducting periodic inspections for any visible cracks or discoloration. Addressing minor issues early can prevent extensive deterioration.
Cleaning Practices
Utilise a soft broom or blower to remove debris. Avoid abrasive tools which can compromise the freshly treated surface. For deeper cleans, engage a gentle soap solution with a non-abrasive sponge to maintain aesthetics without causing harm.
Sealing and Protection

After the repaired section has fully cured, apply a high-quality sealing product to enhance durability. This not only adds a protective layer but also helps resist staining and water infiltration. Reapply the sealant every couple of years to retain optimal protection against harsh elements.


