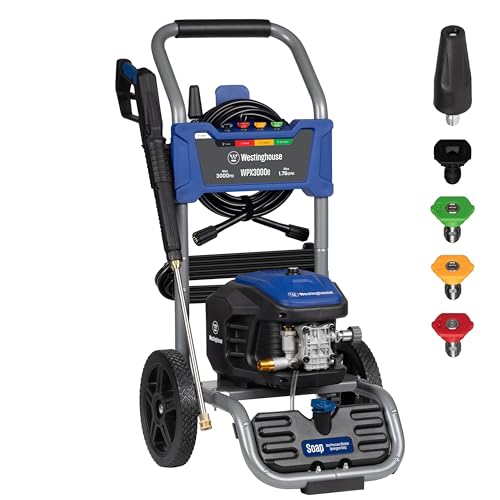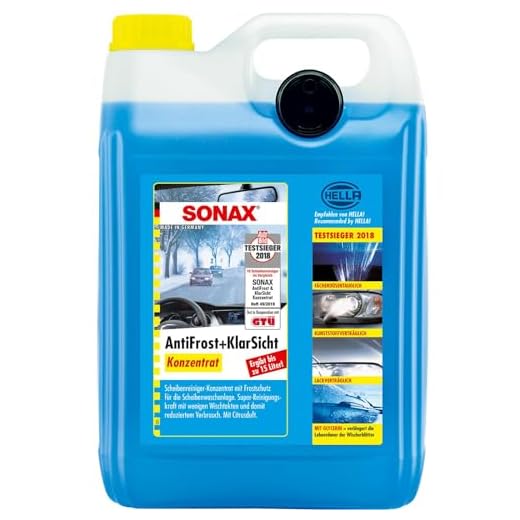

Check the fluid reservoir first. Low or empty levels will directly affect the system’s output. If the tank is full but performance is lacking, proceed to clean the nozzle. Debris often blocks the exit points, causing an inadequate spray. A simple pin or toothpick can help clear any obstructions.
Next, inspect the hoses for kinks or damage. Ensure there are no blockages in the tubing that might impede the flow. If the hoses appear to be in good condition, examine the pump motor. Listen for unusual sounds; a malfunctioning pump may require replacement.
Additionally, review the electrical connections. Loose or corroded wires can disrupt power supply, leading to insufficient operation. If necessary, secure any loose connections or replace damaged wiring. Conduct these checks regularly to maintain an optimal cleaning experience.
Diagnosing low pressure issues in washer system
Start by checking the fluid reservoir. Ensure it’s filled with appropriate solution; a low level can lead to insufficient flow. Next, inspect the pump for any signs of wear or blockages. If the pump isn’t functioning well, the spray will be weak. Listen for unusual noises when it operates, as this can indicate a malfunction.
Next, evaluate the hoses. Look for kinks, leaks, or cracks that could disrupt the fluid movement. Ensure there are no clogs in the hose leading to the dispensing nozzle; debris can reduce the effectiveness of the operation.
Examine the nozzle itself. A blocked or damaged nozzle can significantly decrease the output. Clean or replace as necessary to ensure a clear path for the solution to exit.
Consider the electrical connections, if applicable. Faulty wiring could lead to poor pump performance. Check for corrosion or loose connections that may result in inconsistent electrical flow.
| Component | Possible Issue | Recommended Action |
|---|---|---|
| Fluid Reservoir | Low fluid level | Refill with suitable cleaning solution |
| Pump | Wear or blockage | Inspect for damage; replace if needed |
| Hoses | Kinks or leaks | Replace or repair affected sections |
| Nozzle | Blockage | Clean or replace |
| Electrical Connections | Corrosion or loose connections | Tighten or clean connections |
Finally, testing the system after each adjustment can pinpoint the source of weak performance. Sequential checking will simplify the troubleshooting process and improve overall effectiveness in maintaining clarity on vehicle glass surfaces.
Checking and Replacing the Windshield Washer Fluid
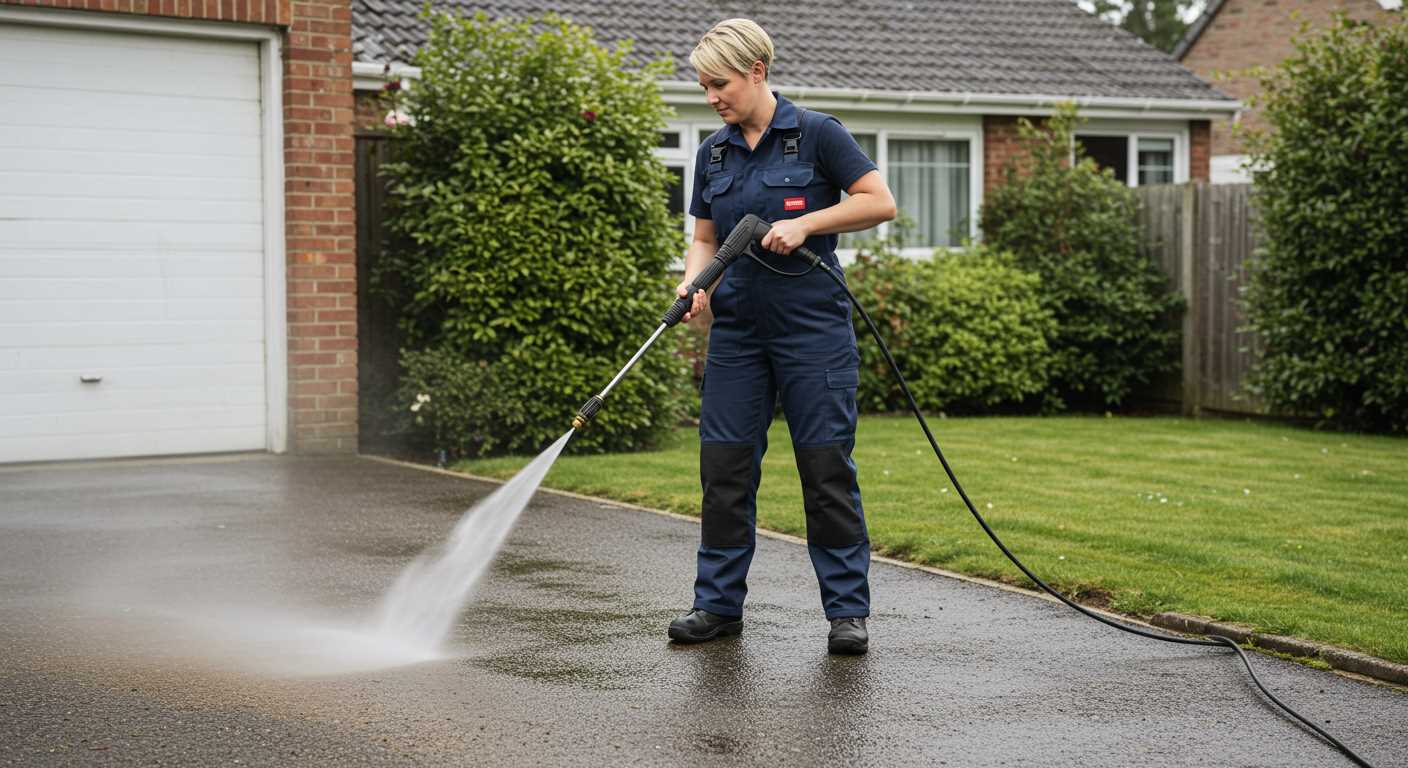
First, ensure the reservoir contains adequate liquid. If it’s empty, refill it with a suitable solution, avoiding plain water to prevent freezing in colder climates. Use a funnel for precision to prevent spills.
Next, locate the reservoir cap. This is typically marked and easy to find under the hood. Clean the cap area before opening to prevent contaminants from entering the reservoir.
- Check fluid condition: If it appears discoloured or cloudy, replace it.
- Inspect hoses for cracks or leaks during replacement.
- Use a mixture based on manufacturer recommendations to optimize performance.
If you suspect contamination in the reservoir, drain the old fluid completely before refilling. Flush the system with clean water or a dedicated cleaner before adding new liquid.
Regularly check fluid levels, especially before long journeys or adverse weather conditions, ensuring the system functions effectively when needed.
Inspecting and Cleaning the Washer Nozzles
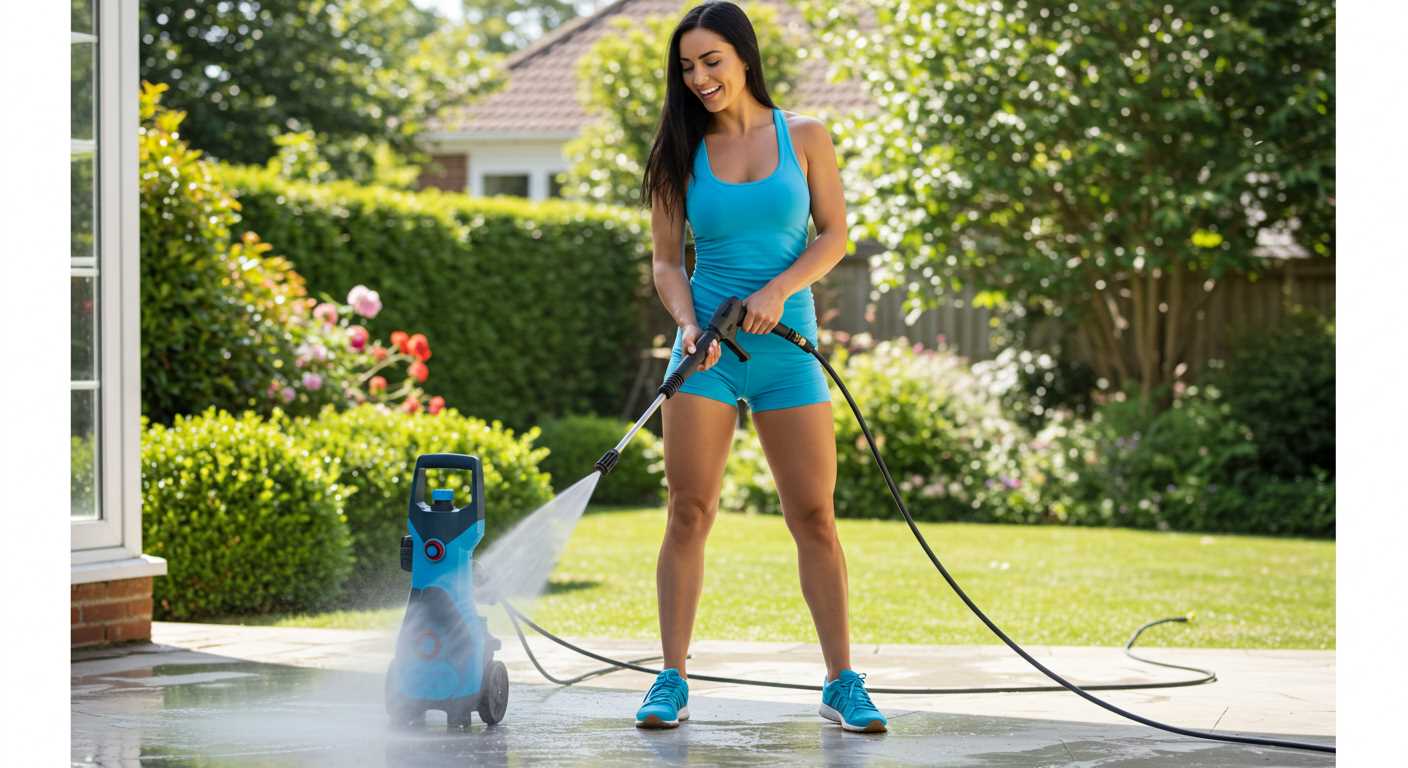
The nozzles on your vehicle’s cleaning system can become clogged with debris or residue, leading to weak spray output. Begin by visually inspecting the nozzles for any visible blockages or dirt accumulation. A quick clean can often resolve the issue.
Cleaning Process

To clean the nozzles, use a needle or a pin to gently poke into the opening. This should free any trapped particles. Be cautious to avoid applying too much pressure to prevent damage. After clearing the blockage, spray a small amount of cleaning fluid to test the flow. If the spray pattern isn’t uniform, additional cleaning may be necessary.
Soaking for Thorough Cleaning
If simple cleaning isn’t effective, detach the nozzle assembly as per your vehicle’s manual. Soak the nozzles in a solution of warm water and vinegar to break down stubborn deposits. Rinse thoroughly with clean water before reattaching to ensure all residues are removed. This method often restores optimal function without the need for replacement parts.
Examining the Washer Pump Functionality
Check the operation of the pump by listening for unusual sounds while it’s running. A failing motor may produce a grinding noise, indicating internal wear or a mechanical issue. If no noise is heard at all, inspect the electrical connections for damage or corrosion.
Next, verify the voltage supplied to the pump using a multimeter. A reading below the manufacturer’s specified range suggests an issue within the electrical circuitry, which may need further investigation. Confirm the pump’s resistance with the multimeter; if it’s significantly out of range, replacement is likely necessary.
Testing the Pump Performance
Disconnect the fluid line from the pump and activate it to observe the flow rate. A weak stream indicates wear inside the pump mechanisms. In addition, check for air leaks by simulating pressure; any visible fluid suggests a damaged seal or housing issue.
If the pump operates inconsistently, it could indicate a blockage or internal failure. Take the time to remove and disassemble the unit for thorough cleaning or component replacement if needed.
Replacing the Pump
When it comes time for replacement, ensure that the new unit is compatible with your system requirements. Follow the manufacturer’s instructions rigorously to avoid installation issues that could arise from improper setups.
Regular maintenance, including routine checks and timely cleaning, significantly enhances the longevity of the pump. After maintenance, always run a performance test to confirm that everything operates as it should.
Ensuring Proper Hose Connections and Integrity
I always check the connections between hoses and the pump to ensure they are secure. Loose connections can lead to fluid leaks, diminishing performance. Use a wrench to tighten any threaded fittings, but be cautious not to overtighten, which could damage the threads.
Inspecting for Cracks and Wear
Examine the hoses for any signs of wear, including cracks or abrasions. A compromised hose will result in reduced flow. If you spot any damage, it’s vital to replace the hose promptly to maintain optimal operation.
Correct Hose Routing

Ensure that the hoses are routed correctly without kinks or sharp bends. Such obstructions can impede the flow and restrict output. Reorganising the hose layout can prevent potential blockages. Secure hoses with clips or ties to keep them in place and minimise movement during operation.
Regular maintenance and attention to the integrity of each connection and segment in the system will significantly enhance performance. By taking these steps, I have consistently achieved reliable operation and efficient cleaning results over the years.
Testing the Electrical Connections and Fuse Box
Begin by inspecting the fuse box. Open the cover and locate the fuse associated with the window cleaning system. Remove the fuse and examine it for any signs of damage or a broken filament. If it’s blown, replace it with a new fuse that matches the amperage specification. Reinsert the fuse and check the functionality of the entire setup.
Next, turn your attention to the electrical connections. Start by disconnecting the wiring harness from the pump. Use a multimeter to test for continuity in the wires leading to the pump. If there’s no continuity, this indicates a potential issue with the wiring or connectors. Consider cleaning any corrosion from the connectors to ensure a good electrical connection.
While testing the wires, check for any frayed or damaged insulation. If any wiring is compromised, it’s necessary to repair or replace those sections accordingly. Once connections are secure and intact, reconnect everything and test the system to ensure that electrical flow is restored.
Additionally, I recommend checking for any loose connections at the switch within the cockpit. A faulty switch can also lead to insufficient power reaching the pump. Ensure that the switch is operational and engaging properly when activated.
This systematic approach to evaluating the electrical components will help identify issues that could be preventing optimal operation of your cleaning equipment.


