


If the performance of your cleaning device is lacking, start by checking the water supply. Ensure that the inlet hose is securely connected to the tap and that there are no kinks or blockages preventing water flow. A smooth, unrestricted water supply is essential for optimum output.
Next, inspect the nozzle for any clogs or debris that could be hindering water pressure. Remove the nozzle and rinse it thoroughly to clear out any buildup. If the nozzle has interchangeable tips, switch them to see if a different setting improves functionality.
Another important aspect to examine is the pump. Look for leaks, which might indicate wear or insufficient sealing. If you notice any leakage, replacing seals or gaskets could restore performance. Additionally, verify that the soap injector isn’t obstructed, as an improperly functioning injector can also affect overall output.
Be sure to check the engine or motor components. If your device has an electric motor, ensure the power supply is stable and that connections are secure. For gasoline-powered models, inspect the fuel system and consider performing maintenance on the carburettor if necessary. Keeping these areas in check can significantly enhance your machine’s operation.
Lastly, consult the user manual for specific guidelines on maintenance and troubleshooting, as manufacturers often provide tailored advice for their equipment. Following a methodical approach can lead to quickly identifying and resolving the issue, ensuring your cleaning device operates at peak efficiency once more.
Check the water supply connections
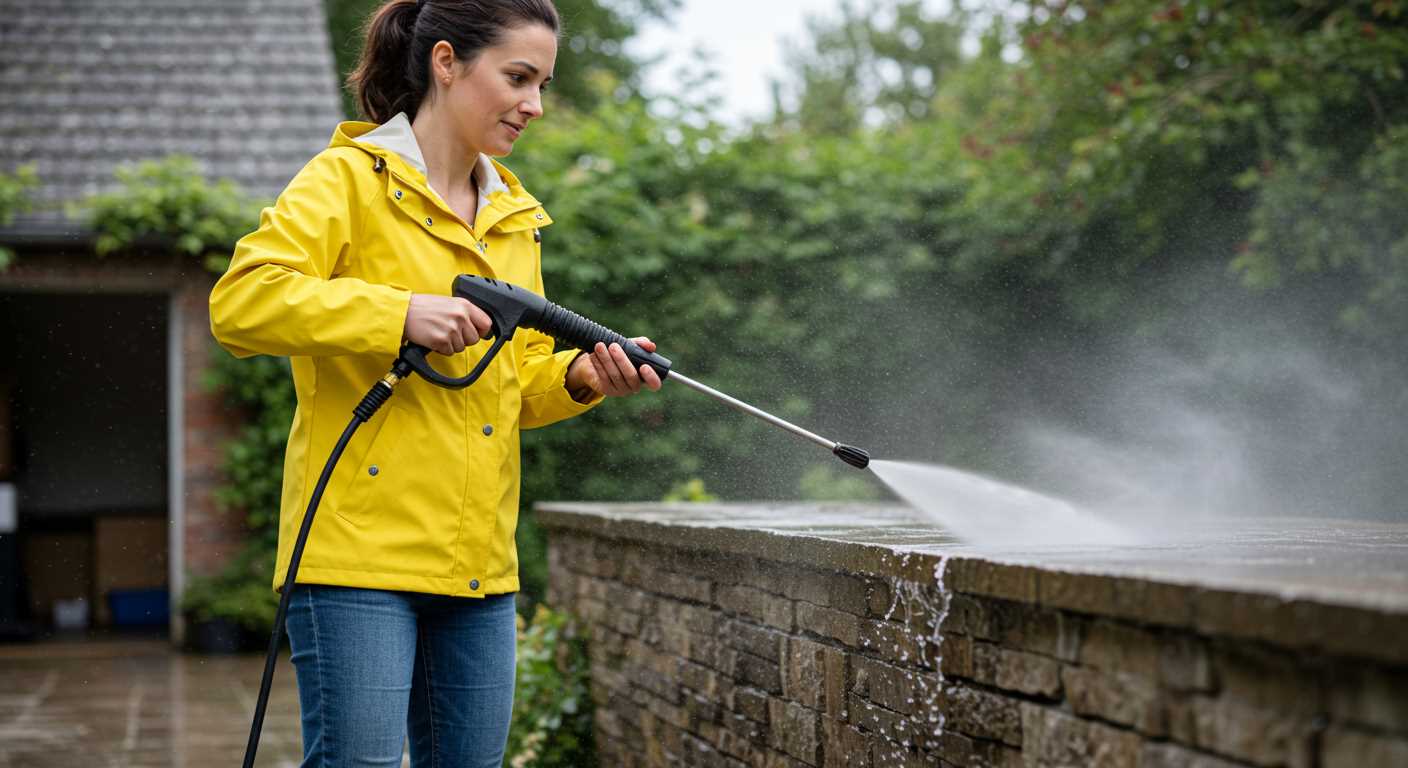
Verify that all water supply connections are secure and there are no leaks. Inspect hoses for damage or kinks that might restrict flow. Ensure the inlet filter is clean; a clogged filter can obstruct water intake, hampering performance.
Use a hose with a diameter that meets the manufacturer’s specifications. A smaller diameter can limit water volume and pressure. Check that the source provides adequate flow; inadequate supply can be a common issue. I often suggest running the unit without the nozzle attached briefly to assess water flow.
Examine the connection to the water source. Make sure it is tight and leak-free. If you are working with multiple fittings, inspect each one thoroughly. Any air introduced into the system can prevent effective compression. If you suspect issues with your water supply, consider testing with an alternate source, like a different tap or a garden hose.
Drain any residual water from the system before making adjustments, as this can help prevent blockage. Once adjustments are made, reattach everything securely and test the equipment under operation to confirm improved functionality.
Inspect the Inlet Filter for Clogs
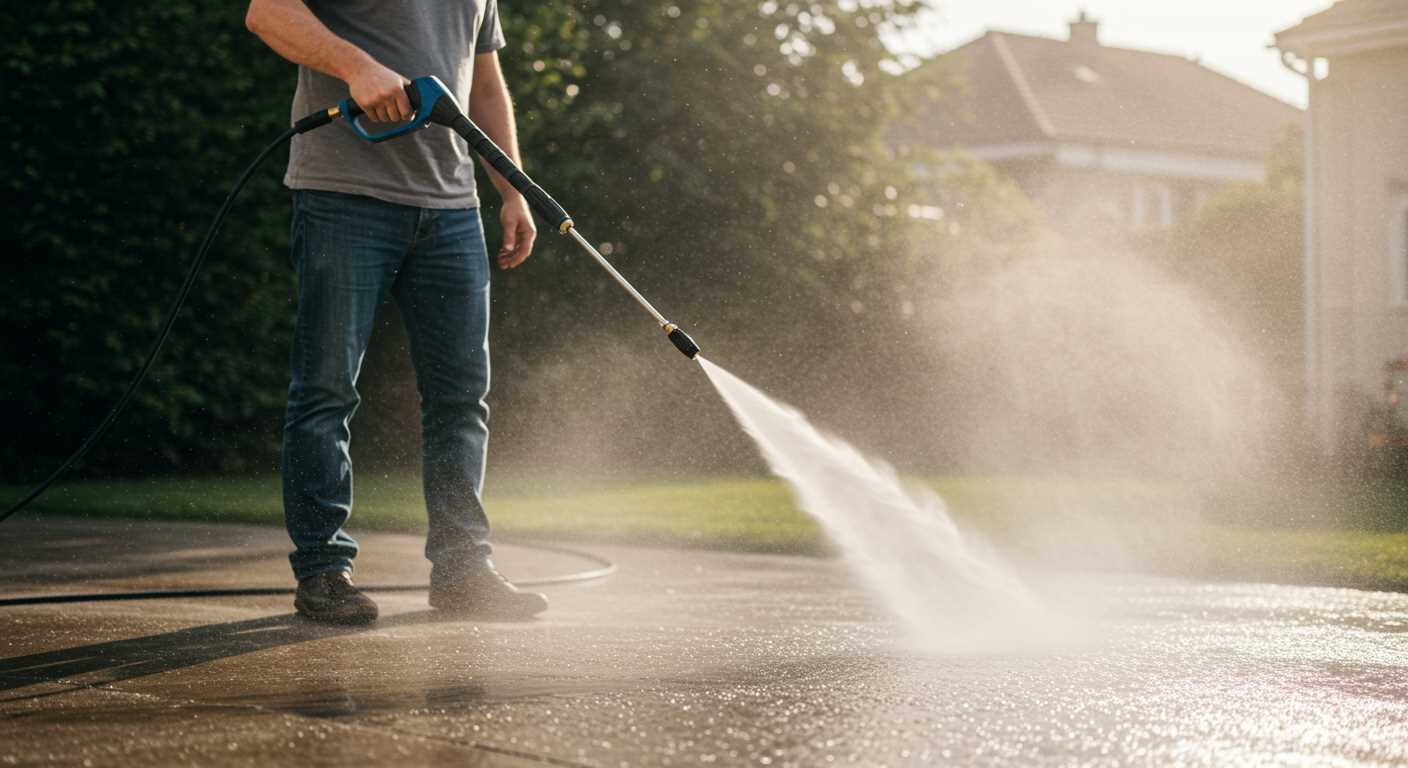
Remove the inlet filter from the water source; it often obstructs water flow if contaminated. Look for debris, dirt, or mineral build-up that could impede performance.
To clean the filter:
- Rinse it under running water to dislodge any loose particles.
- If stubborn residues remain, use a soft brush to scrub gently.
- For mineral deposits, soak the filter in a vinegar solution for 30 minutes before rinsing.
After cleaning, ensure the filter is securely reattached. Test the unit to verify that water flow has improved. Regular inspection of the filter can extend the lifespan of your equipment and maintain optimal functionality.
Examine the Pump for Leaks

Begin with a thorough inspection of the pump assembly. Any signs of fluid escaping can indicate a malfunction. Check the seals and gaskets closely for wear and damage. Cracks or soft spots may point to the need for replacement.
Look for Common Leak Areas
Pay particular attention to the areas around the inlet and outlet ports. These are frequent sources of leaks due to the force exerted during operation. Ensure the connections are secured tightly, and inspect the fittings for any cracks.
Assess Performance During Operation
While the unit is running, observe if there’s any dripping or pooling beneath the pump. Even a small leak can significantly affect performance, making it imperative to address immediately. If you find a leak, replace the damaged parts or consult a qualified technician for more complex issues.
Verify the Spray Gun and Nozzle Functionality
Test the spray gun by pulling the trigger while the machine is running. If water does not flow out or the spray is weak, the issue lies within the gun or nozzle. Remove the nozzle from the gun to inspect it closely.
Inspecting the Nozzle

Check for blockages in the nozzle. A clogged nozzle can prevent adequate water flow. Use a small brush or pin to clear any debris. If necessary, soak the nozzle in warm soapy water to dissolve any built-up residue. Rinse thoroughly before reattaching.
Evaluating the Spray Gun
For the spray gun, examine the connections for any cracks or signs of wear. Ensure that all seals are intact and are not leaking. If the gun shows damage or fails to function properly even after troubleshooting, consider replacing it. A functioning spray gun is critical for optimal performance, as it directly affects the water delivery to the surface being cleaned.
Assess the pressure relief valve operation
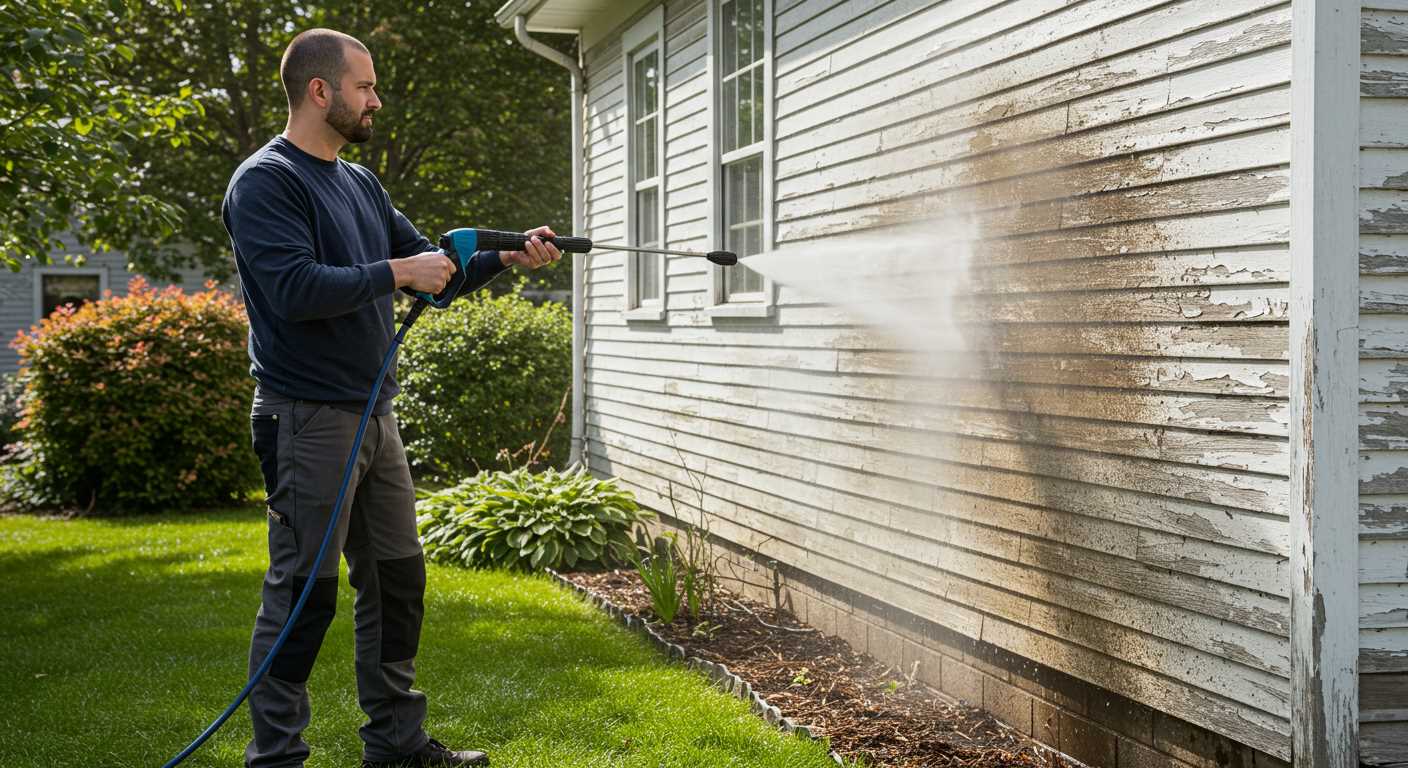
Check if the relief valve is functioning correctly. This component releases excess water pressure, preventing damage to the machine. To examine it, locate the valve, often situated on the pump head. Manually activate the valve to see if it opens and closes smoothly. If it’s stuck or leaking, this could indicate the valve needs replacement or cleaning.
Inspect the spring inside the valve for corrosion or deformation. A damaged spring may not maintain the right pressure levels. Additionally, ensure that all connections and seals around the valve are intact. Any air leaks here can lead to inconsistent performance.
After you confirm the valve’s condition, test the equipment to check if the issue persists. If the valve operates properly yet you still experience low pressure, further investigation of the pump and associated components will be necessary.
Test the unloader valve for proper function
To evaluate the unloader valve, start by locating it on your machine, usually mounted on the pump. This component is critical as it regulates the water flow and pressure.
Follow these steps for effective assessment:
- Ensure the equipment is powered off and disconnected from the water supply.
- Remove the cover or cap protecting the unloader valve. This step may require a screwdriver or wrench, depending on the model.
- Visually inspect the valve for any signs of damage or corrosion. Look for cracks or debris that may hinder its operation.
- Test the spring action by gently pressing on the valve mechanism. It should move freely without any sticking. If it’s stuck, clean it thoroughly or replace it if necessary.
- Reassemble the cover and connect the system back to the water and power supply.
- Run the equipment while observing the water output. If the pressure fluctuates or is inconsistent, the unloader might be malfunctioning.
If issues persist, consider consulting with a professional or refer to the manufacturer’s manual for further troubleshooting options. A properly functioning unloader valve is essential for maintaining optimal performance and efficiency of the unit.
Review the Pump Oil Levels and Condition
Regularly inspect the oil levels in the pump. Insufficient oil can lead to overheating and decreased performance. Ensure the oil is clean; dirty oil can indicate wear or contamination, affecting the functionality of the device.
Follow these steps for an effective evaluation:
| Step | Action |
|---|---|
| 1 | Locate the oil reservoir and remove the cap. |
| 2 | Check the sight glass or dipstick for the oil level. |
| 3 | Add the appropriate oil type if levels are low. |
| 4 | Inspect the oil for clarity; replace it if it appears cloudy or gritty. |
| 5 | Reattach the cap securely after checking and refilling. |
Use the manufacturer’s recommended oil type for optimal performance. Often, this information can be found in the user manual or on the manufacturer’s website. Failing to maintain proper oil levels and conditions can lead to irreversible damage, resulting in costly repairs or replacement.
Consult the manufacturer’s troubleshooting guide
Refer to the specific troubleshooting documentation provided by the manufacturer. This resource often includes common issues and tailored solutions based on extensive testing and customer feedback. Look for sections that address operational concerns, as they typically contain step-by-step guidance on diagnosing and resolving performance problems.
Check for any model-specific quirks or recommendations that might not be common knowledge. Often, manufacturers will highlight unique features or known issues relevant to your model. Following these guidelines can sometimes lead to quick resolutions that might not be immediately obvious.
Pay attention to warranty implications when seeking advice. Adhering to the recommended procedures in these manuals can prevent voiding warranties, ensuring you’re covered should more significant repairs be necessary. Documentation may also suggest contacting customer service for persistent problems, which can provide you with additional insights and support.
Keep the manufacturer’s contact information handy. If your attempts to rectify the issue are unsuccessful, reaching out directly for technical assistance could provide deeper insight into complex malfunctions. They can provide tailored support based on your specific situation.
Regularly consult the guide, especially after any repairs or maintenance. Continued reference to these documents not only reinforces best practices but also helps in early detection of reoccurring issues, ultimately enhancing longevity and functionality.


