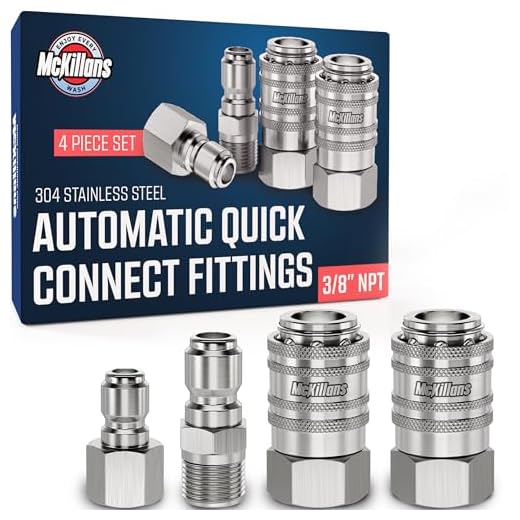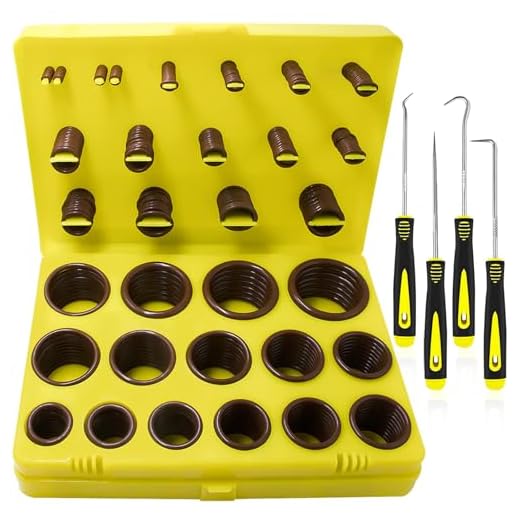


Inspect the nozzle assembly for any obstructions or debris that might be causing issues. Remove the nozzle and clean it thoroughly using a soft brush or cloth. In many cases, a simple blockage can hinder performance significantly, so ensure that the opening is clear and free from any residue.
Next, focus on the internal components. Disassemble the handle to check for any damaged seals or o-rings. Over time, wear and tear can lead to leaks or reduced pressure. Replace any compromised parts to restore functionality. Make sure to lubricate the new seals with appropriate grease for longevity.
Once reassembled, test the mechanism for any leaks by engaging the component without water. If water is leaking from the seams during operation, it may indicate further internal issues that need addressing. If necessary, consult the manufacturer’s guide for any specific troubleshooting steps related to your model.
Identifying Common Issues with Pressure Washer Trigger Guns
Start by examining the device for leaks. A common sign of malfunction is water escaping from the handle or connection points. Ensure all fittings are secure and replace any worn seals.
If the spray pattern appears inconsistent or weak, check for blockages in the nozzle or hose. Debris can obstruct water flow, causing uneven pressure. Disassemble the nozzle and clean it thoroughly.
Listen for unusual noises during operation. A high-pitched sound may indicate air trapped in the system or an internal defect. Bleed the system by releasing pressure according to the manufacturer’s guidelines to resolve this issue.
Inspect the connection between the hose and the wand. A loose connection may cause intermittent performance issues. Tighten any loose parts and verify that the hose is not kinked or damaged.
In cases of low or no pressure, consider the possibility of a faulty pump. Check for leaks around the pump unit and listen for irregular operation sounds. If the pump shows signs of wear, it might require professional assessment or replacement.
Finally, assess the trigger mechanism for stiffness or failure to engage. A lack of movement could result from dirt buildup or internal parts failing. Disassemble the handle for cleaning and lubrication as necessary.
Gathering Necessary Tools for Repair
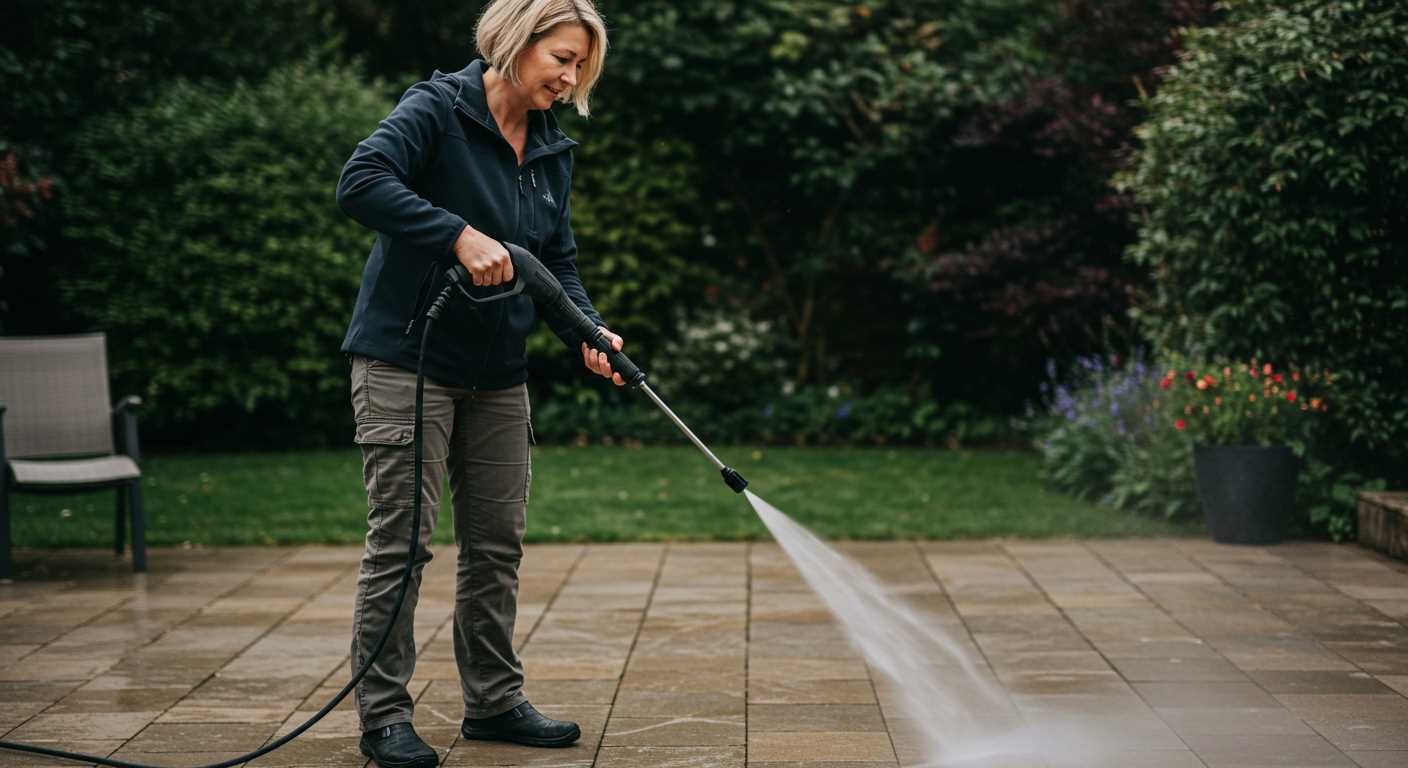
For a successful repair of your cleaning equipment’s handle mechanism, you’ll need a specific set of tools to ensure efficiency and precision. Here’s a concise list of what I consider to be indispensable for the task.
Essential Tools
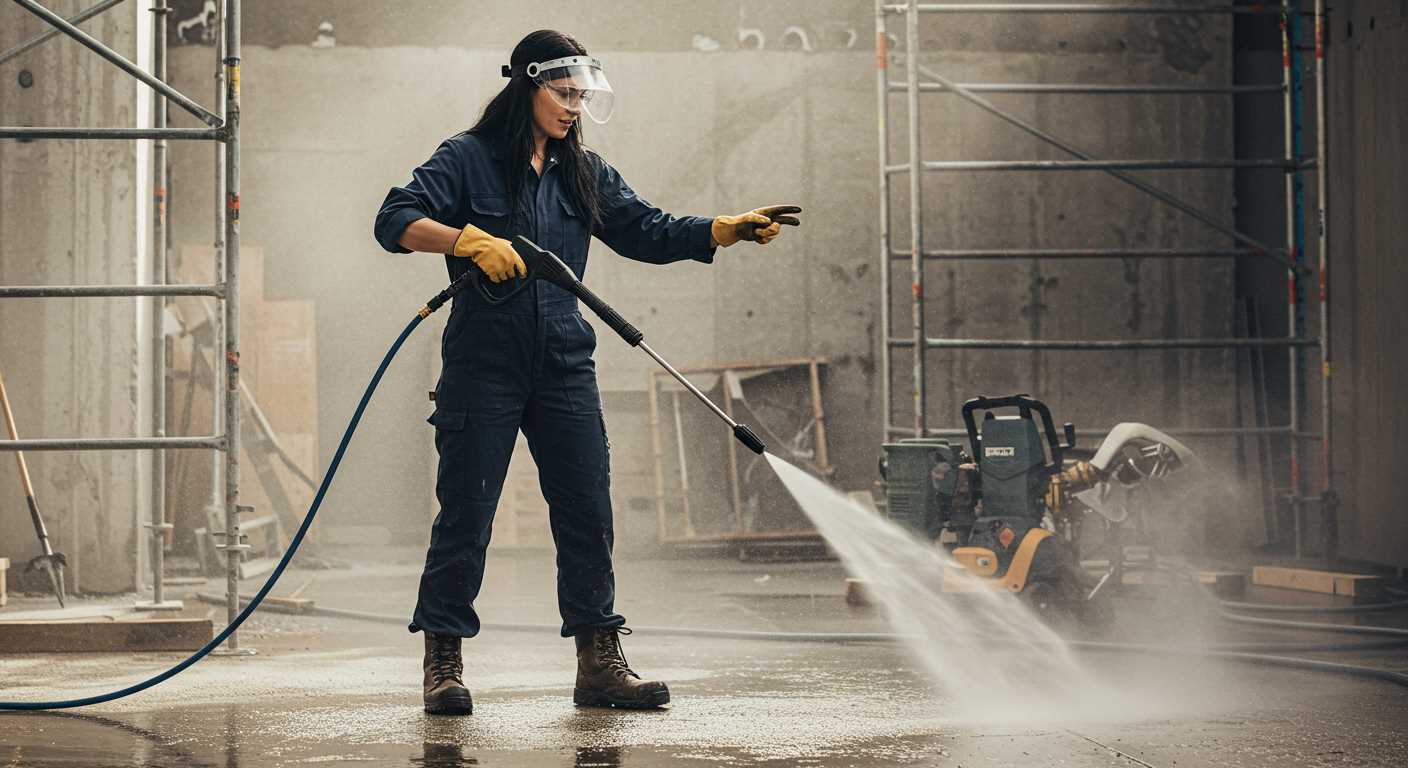
- Screwdrivers: Both Phillips and flathead varieties are essential for removing and securing screws.
- Pliers: Needle-nose and standard pliers help in gripping and twisting components as needed.
- Wrenches: An adjustable wrench is perfect for loosening and tightening nuts and bolts.
- Replacement parts: Keep spare seals, springs, and O-rings on hand, as these frequently wear out and need to be replaced.
- Utility knife: For cutting through any worn seals or debris that might hinder performance.
Safety Equipment
- Gloves: Protect your hands when working with various components and cleaners.
- Safety goggles: Guard your eyes against potential flying debris during disassembly and assembly.
Gathering these tools beforehand will streamline the repair process and increase your chances of a successful outcome. Be organized and methodical for the best results. You’ll be back to cleaning in no time!
Removing the Gun from the Cleaning Machine
To detach the handle assembly from the cleaning unit, follow these precise steps:
- Ensure the machine is powered off and disconnected from the electrical source to prevent any accidental activation.
- Locate the pressure hose. It typically connects to the assembly via a threaded nozzle. Use a suitable wrench to loosen and unscrew the hose.
- Find the securing screws that hold the handle in position. These are usually found at the base of the grip or along the sides of the assembly. With a screwdriver, carefully remove these screws and keep them in a safe place.
- Examine any locking mechanisms that may be in place. In some models, there may be clips or pins that need to be disengaged. Use pliers if necessary to gently remove these parts.
- Once all screws and clips are removed, gently pull the handle assembly away from the body of the equipment. If it resists, check for any remaining connections that might still be attached.
- When fully detached, inspect the components for any wear and tear or damage that may require attention before reassembly.
Always consult the user manual for specific model instructions, as designs can vary significantly between different makers and types.
Inspecting Internal Components for Wear and Damage
Examine the internal parts meticulously for signs of wear, cracks, or any form of deterioration. Focus on seals and O-rings; these components are prone to damage from pressure fluctuations and chemicals. If you notice any deformation or brittleness, it’s time to replace them.
Checking the Valve Assembly
Assess the valve assembly carefully. Look for obstructions or jamming which could prevent smooth operation. Clean any debris or buildup with a soft brush or cloth. If the valve is pitted or corroded, consider acquiring a new one, as repairs typically won’t sustain performance.
Assessing the Trigger Mechanism
Inspect the trigger mechanism for any signs of fatigue or misalignment. Test responsiveness by actuating it manually. Listen for any grinding noises which indicate internal issues. Lubricate moving parts with a silicone-based lubricant to enhance their performance and longevity.
Replacing seals and O-rings in the trigger mechanism
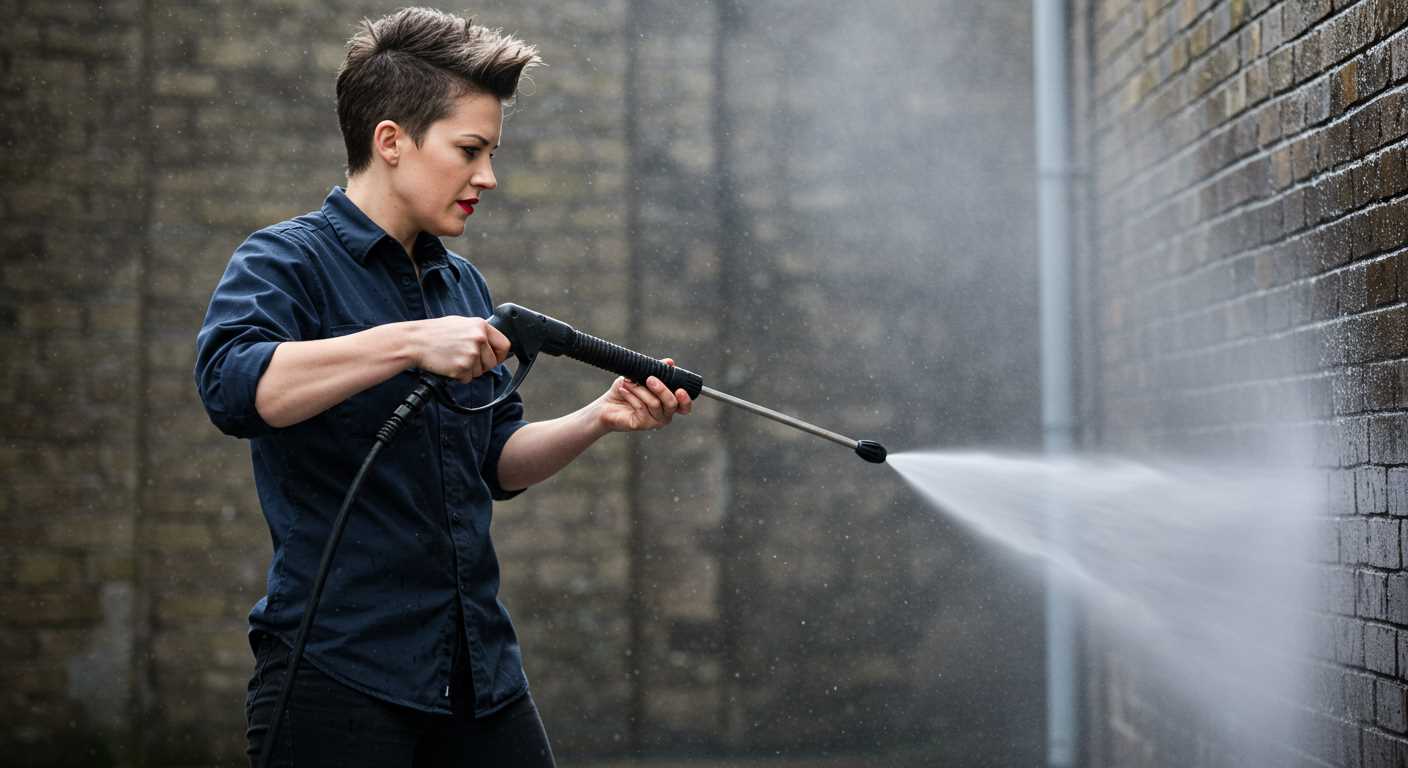
Begin with removing the old O-rings and seals using a pick tool or small screwdriver. Exercise caution to avoid scratching adjacent surfaces. Ensure that I replace all seals within the assembly, as a weak seal can lead to leaks and malfunction.
Next, obtain the exact replacement O-rings, which can generally be found in a repair kit specific to the equipment model or purchased separately in local hardware stores. Opt for high-quality materials, such as nitrile or polyurethane, as they provide better longevity and resistance against wear.
Before installation, lightly lubricate the new seals with silicone grease. This will facilitate a smooth fit and prevent tearing during assembly. Insert the O-rings carefully into their respective grooves, ensuring they seat evenly and securely.
After placing the new components, reassemble the mechanism, double-checking all fastenings. Conduct a quick test without water pressure to confirm that the trigger operates smoothly without sticking. Finally, reconnect the assembly and perform a functional test to verify that the unit operates as intended, observing for any signs of leaks or operational issues.
Reassembling the Gun Mechanism and Ensuring Proper Alignment
Start by aligning the internal parts precisely. Insert the trigger assembly into the housing, ensuring it rests snugly within its designated slots. It’s vital that the trigger moves smoothly when pulled; any stiffness can indicate misalignment.
Next, secure the screws gently but firmly. Don’t overtighten them, as this can warp the housing and lead to future complications. Follow the manufacturer’s torque specifications if available.
Verifying the Seal Placement
Pay close attention to the seals. They should sit evenly within their grooves without any bulging. If a seal looks pinched, remove it and reposition it carefully. This prevents leaks during operation.
Testing the Assembly
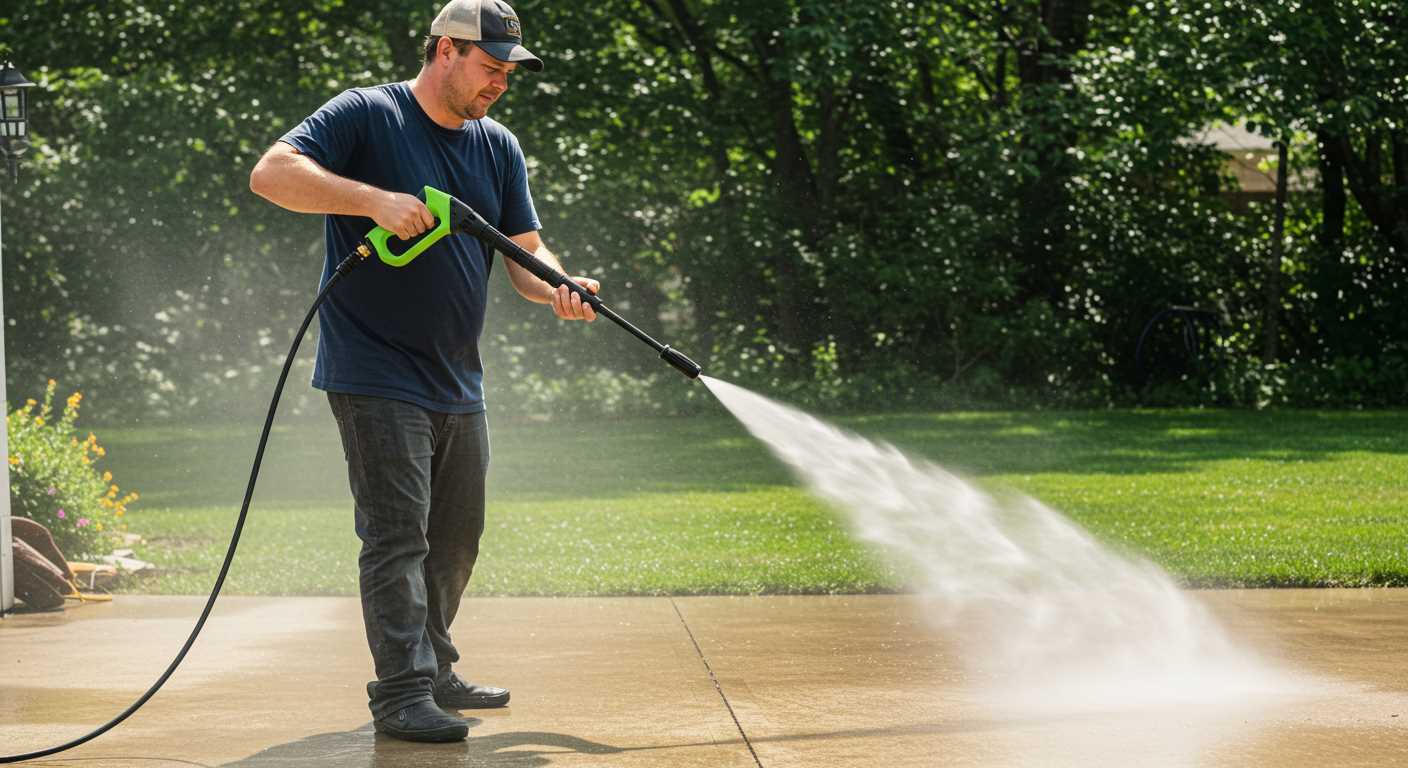
After reassembly, it’s essential to conduct a test. Connect the unit to a power source and perform a dry run. Check for any unusual sounds or resistance in the trigger movement. Ensuring everything operates smoothly will save time and effort in future repairs.
Testing the Repaired Sprayer for Leaks and Functionality

After reassembling the device, the next step is to check for leaks and ensure it’s operating correctly. Begin by connecting the sprayer to a water source while keeping the nozzle pointed away from you and any bystanders.
Turn on the water supply and inspect for any signs of leakage at seals or connections. Pay close attention to the joints where the hoses meet the sprayer and ensure there are no drips or streams.
Next, prime the mechanism by squeezing the handle. If water flows out smoothly without sputtering, functionality is on track. If there are irregularities or interruptions in the water flow, this indicates further issues with the internal components.
For a more thorough check, perform the following tests:
| Test | Procedure | Expected Result |
|---|---|---|
| Leak Check | Inspect all seals and connections while water is on. | No visible leaks. |
| Flow Test | Squeeze the handle and observe the water flow. | Steady, uninterrupted water stream. |
| Pressure Test | Use the nozzle to check the pressure of the water. | Consistent pressure against a surface. |
| Functionality Test | Switch between different nozzles or settings if applicable. | Each setting performs as expected. |
If any of the tests fail, reassess your assembly and check for misalignment or improperly installed seals. Make necessary adjustments to ensure optimal performance before concluding the repair process.


