
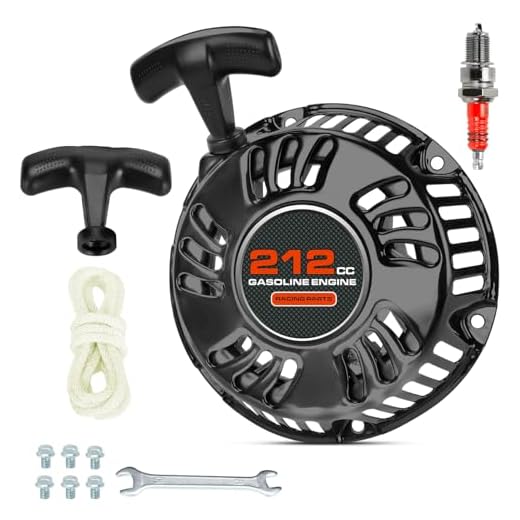

Begin by gathering the necessary tools: a screwdriver, pliers, and replacement rope if needed. Ensure your cleaning machine is disconnected from any power source for safety. Locate the housing where the starter mechanism is situated; this often involves removing screws to access the internal parts.
Next, inspect the starter mechanism. If the rope is frayed or broken, carefully remove the old rope from the spool. It’s crucial to note how the rope is threaded through the guide, as this will aid in proper reassembly. Take the replacement rope and cut it to the appropriate length, typically around 6-8 feet. Thread it through the guide and double it back to secure it to the spool.
After rethreading, wind the new rope onto the spool, ensuring even tension. Secure the housing back into place by replacing the screws and test the mechanism by pulling the new rope gently to confirm it operates smoothly. This straightforward method can significantly extend the life of your cleaning unit and enhance its performance.
Repairing the Starter Mechanism on a Cleaning Machine
Begin by disconnecting the spark plug to prevent accidental ignition. Then, remove the cover from the recoil assembly–usually secured with screws. Set the screws safely aside for reassembly.
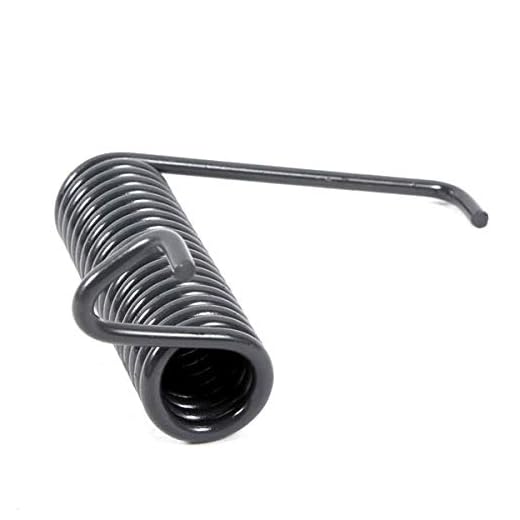
Inspect the spring inside the mechanism. If the spring is damaged or misaligned, carefully unwrap it. To reassemble, wind the spring tightly in the correct direction until it lays flat, ensuring it connects properly to the starter handle.
Examine the pull handle to see if it’s frayed or broken. Replace it if necessary; it should fit snugly on the rope’s end, secured with a knot. If the rope is excessively worn, cut to length and attach a new piece, ensuring it matches the original dimensions.
| Step | Action |
|---|---|
| 1 | Disconnect spark plug |
| 2 | Remove recoil assembly cover |
| 3 | Inspect and realign spring |
| 4 | Replace or repair pull handle |
| 5 | Reassemble cover securely |
Once everything is checked and replaced, reattach the cover and screws tightly. Reconnect the spark plug. Test the mechanism multiple times to ensure smooth operation.
If issues persist, consider consulting the user manual for specific models, as variations may exist in design. Regular maintenance and care can prevent future issues and extend the life of the equipment.
Identifying the Problem with the Pull Mechanism
Begin by examining the handle and the main assembly for visible damage or fraying. A worn handle can indicate excessive wear that may lead to functional issues. Next, check for any obstructions in the housing where the mechanism resides; debris can hinder smooth operation.
Test the retraction of the line by gently pulling on it. If it does not return smoothly or feels slack, the rewind spring might be compromised, necessitating further investigation. Listen for unusual sounds during this process; grinding or clicking may suggest something is misaligned or broken within the system.
Inspect the line itself for signs of damage such as cuts or severe wear. If the line appears intact, the issue might lie within the recoil mechanism. A disassembled view can often reveal if the spring is damaged or improperly seated.
Pay attention to the mounting bolts of the assembly. Loose hardware can result in misalignment, impacting performance. Regular maintenance checks can prevent these problems from escalating.
Gathering Necessary Tools and Materials
To ensure a smooth repair process, assembling the right tools and materials is fundamental. Here’s what I recommend to have on hand:
- Screwdriver Set: A set with both flathead and Phillips screwdrivers to remove screws securing the cover.
- Torque Wrench: Useful for ensuring screws are tightened to manufacturer specifications, preventing future issues.
- Pliers: Essential for gripping and manipulating various components within the assembly.
- Replacement Rope: Choose a robust and durable cord that matches the original specifications for optimal performance.
- Scissors or Cutting Tool: For cutting the replacement cord to the appropriate length.
- Measuring Tape: Allows for precise measurement of the old cord length before cutting the new one.
- Work Gloves: Protect your hands from sharp edges and ensure a better grip while handling components.
- Safety Goggles: Recommended for eye protection during any repair work.
Check your workspace for organisation. Having everything within reach will minimise disruptions and make the repair more efficient.
Lastly, consider reading your machine’s manual. It will provide specific details regarding any additional tools required or particular steps relevant to your make and model.
Removing the Housing of the Pull Cord Assembly
Begin by locating the screws securing the housing. Typically, they are found around the perimeter of the assembly, so check thoroughly and use a screwdriver to remove them. Ensure to keep these screws in a safe place to avoid losing them.
After the screws are removed, gently pry apart the housing. A flat-head screwdriver can be useful to assist in separating the two halves without damaging any components. Exercise caution so as not to apply excessive force; you might need to wiggle the housing slightly to help it release.
- Pay attention to any tabs or clips that might hold the assembly together. These might require pressing or lifting to fully detach the housing.
- Keep an eye on any springs or small parts that may fall during the removal process. It’s advisable to work over a clean surface to prevent losing these components.
Once the housing is separated, examine the internal mechanism for any signs of wear or breakage. This inspection will assist in determining the necessary repairs and replacements moving forward.
Reassembling the Housing
After addressing any issues, ensure all components are correctly positioned before reassembling the housing. Align the halves carefully, making sure that all tabs and clips fit into their respective slots. Secure with the screws removed earlier.
Finally, perform a test by pulling gently on the assembly. This helps confirm that everything is functioning as intended without any obstructions or misalignments. Proper reassembly ensures longevity and efficiency in operation.
Inspecting the Pull Rope for Damage
Examine the line carefully for frays or cuts. Rotate the reel gently while paying close attention to sections under tension. Use your fingers to feel for any inconsistencies that may not be immediately visible. A smooth operation is crucial, so look for signs of wear, especially where the cord exits and enters the housing.
Look for kinks or twists along the length of the line. These can impede retraction and lead to further complications. If you notice any tangling, it’s essential to rectify this to ensure smooth functionality. Check the spring mechanism; if it’s sluggish or not retracting fully, there may be underlying issues affecting the entire assembly.
Next, inspect the anchoring points of the line. Ensure all connections are secure and that there are no loose or broken components. A compromised fastening can lead to the rope detaching during use, causing interruptions in operation.
After doing a visual and tactile check, I recommend trying a gentle tug on the cord to see how it responds. Any abnormal resistance or jerking motions could indicate deeper problems within the assembly that need addressing before attempting repairs.
Always prioritise your safety during this assessment. If any part seems significantly damaged or if you have doubts about the integrity of the mechanism, consider replacing it instead of risking further damage or personal injury.
Repairing or Replacing the Pull Rope
Begin by examining the internal mechanism for any visible wear or malfunction. If the rope shows fraying or breaks, measure its length and diameter before purchasing a replacement. Ensure the new rope is compatible with the assembly specifications.
To proceed with the installation, unwind the damaged length fully from the reel, taking note of how it threads through the guide. Insert the new rope into the same path, ensuring it is securely anchored. A firm knot is crucial to prevent slips during operation.
Next, rewind the newly installed rope to eliminate slack while allowing adequate length to extend comfortably when engaged. Be cautious of jerky movements that could lead to tangling. Afterward, reassemble the housing carefully, ensuring all screws and clips are fitted correctly to avoid disruption during use.
Before testing the device, manually engage the mechanism to confirm it operates smoothly. If everything seems in order, proceed to start the machine and monitor its performance. Listen for any irregular sounds that may indicate further adjustments are necessary.
Reassembling the Pull Cord Housing
To successfully put together the housing of the recoil assembly, start by positioning the spring mechanism into the housing. Ensure it sits correctly, as misalignment can hinder function.
Next, insert the repaired or new line into the spool. Wrap it around the spool a couple of times, ensuring it’s secured and won’t unravel during operation. Maintain tension on the string while reinstating the spool into the housing.
Align the housing halves and press them together, ensuring all clips and tabs secure into place without gaps. Listen for audible clicks indicating proper closure.
Then, install the housing cover back onto the assembly. Secure it with screws or fasteners, ensuring they are tight but not overly so, which could strip the threads.
After reassembly, test the mechanism by slowly pulling the string to check for smooth operation and recoil. It should return quickly without hesitation. If resistance occurs, double-check the spool installation and clearance within the housing.
Finally, reconnect the entire assembly back to the machine, ensuring all attachments are firm. Conduct a final operational check before using the equipment to guarantee everything functions as expected.
Testing the Equipment After Repair
Check fuel levels and ensure that the correct type is used, then fill the tank adequately. Turn on the ignition and observe the start-up process. If it begins smoothly, this indicates a successful repair.
Running the Unit
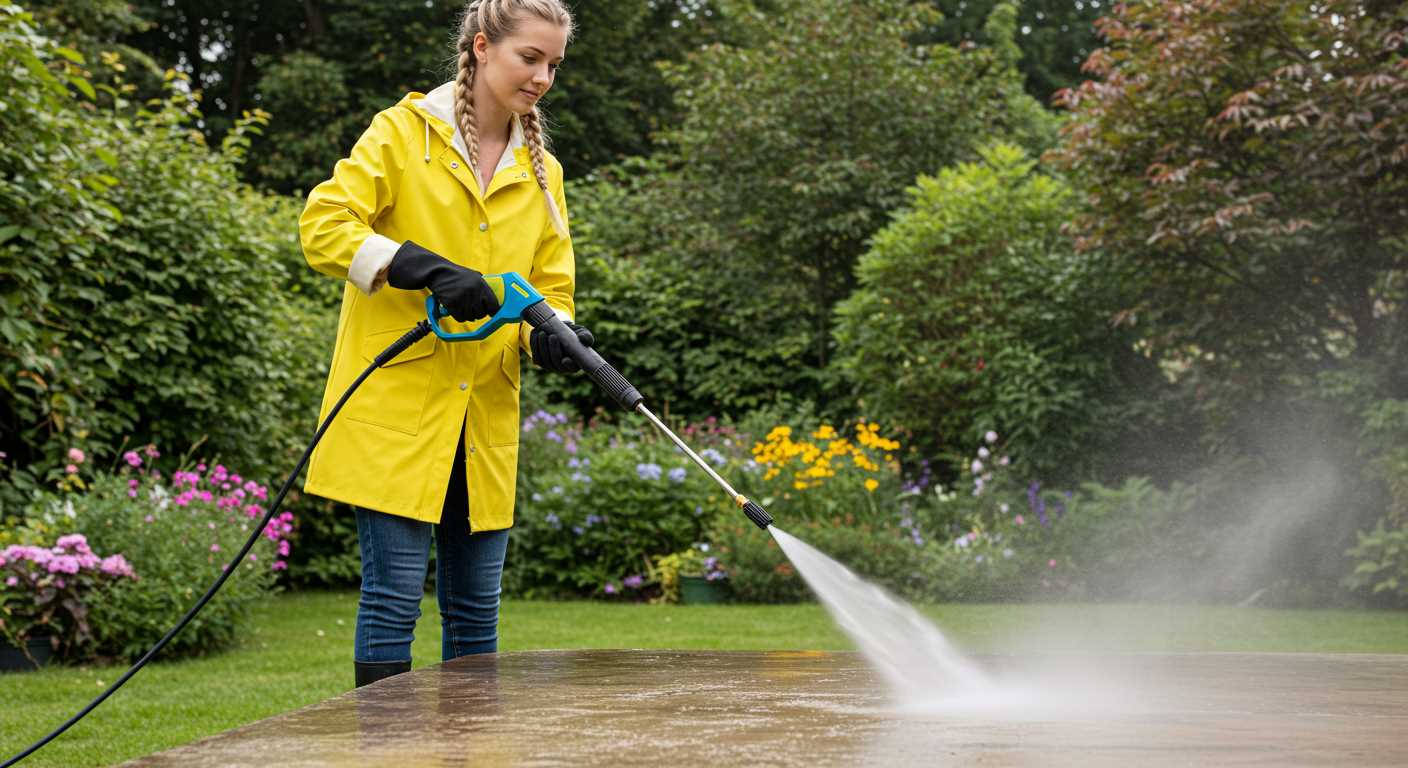
Let the machine idle for a few minutes to stabilise its operation. Listen attentively for unusual noises or vibrations that could indicate further issues. Once stable, gradually engage the trigger to release the water jet. Monitor the pressure consistency and look for any leaks around the connections.
Performance Evaluation
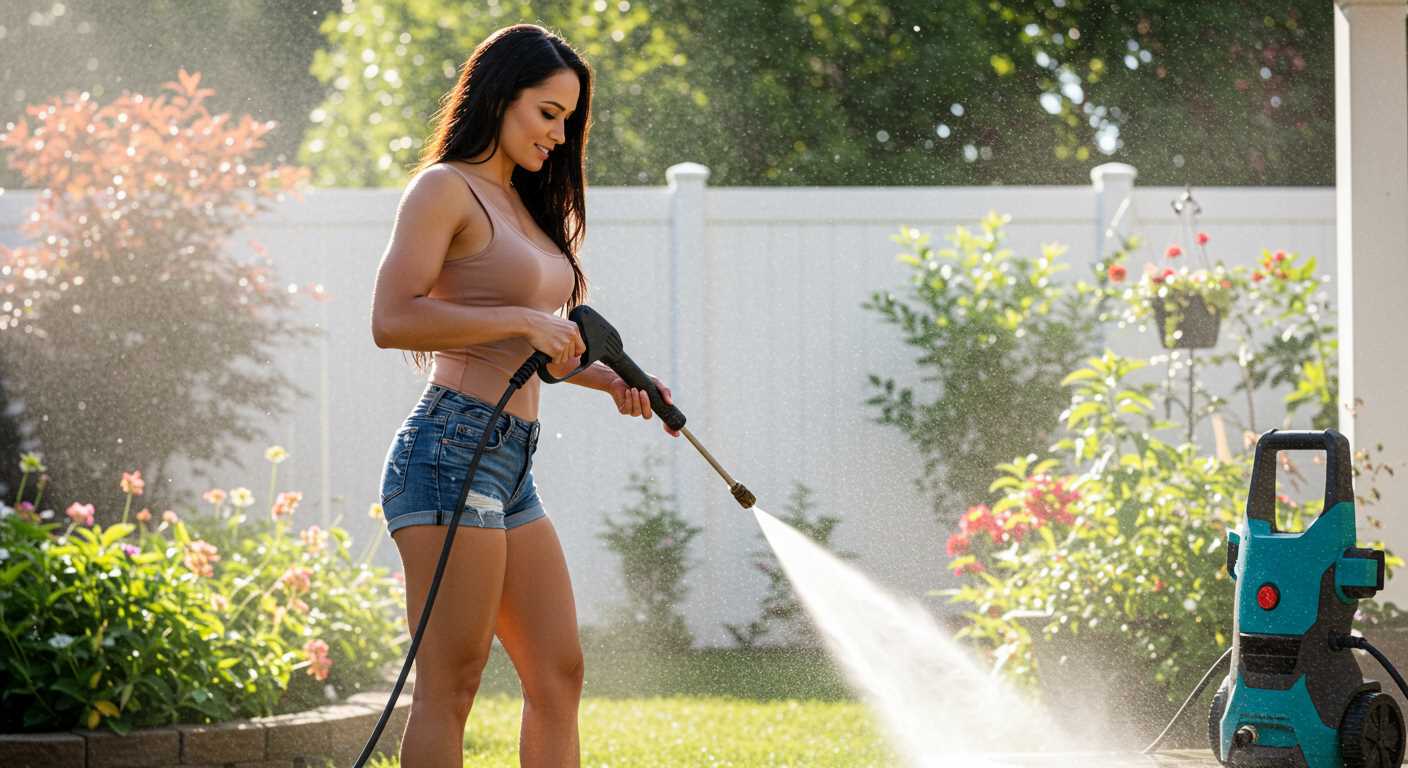
Evaluate cleaning effectiveness by using the equipment on a predetermined surface. If the results are satisfying with consistent water pressure, the repair is successful. Assess for any lingering issues, particularly with the retraction of the start mechanism, which should function smoothly without resistance.


