


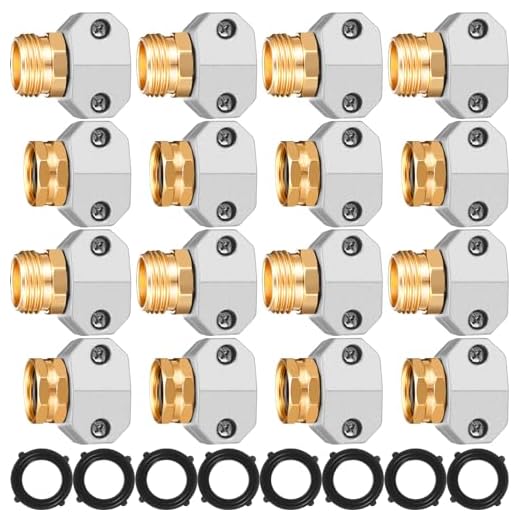
Begin by examining the water supply. Ensure that the hose is securely connected, with no leaks, and that the water source is turned on. Check for any kinks or blockages in the hose that may impede flow.
Inspect the inlet filter regularly. This small component can gather debris over time, leading to decreased performance. Disconnect the hose and remove the filter, cleaning it thoroughly under running water to restore optimal functionality.
Next, assess the nozzle. Different nozzles deliver varying spray patterns and pressures. If the output seems weak or inconsistent, the nozzle may be clogged. Detach it and run it under water, using a fine needle to clear any obstructions.
Monitor the power supply, particularly if operating on electric models. Check the extension cords and ensure they’re rated for your equipment. A malfunctioning electrical outlet can also impact performance; testing your device in another socket can rule this out.
Lastly, if none of these steps resolve the situation, consider consulting the manual for specific troubleshooting tips tailored to your model. Keeping an eye on these elements can enhance the longevity and effectiveness of your cleaning equipment.
Troubleshooting Common Cleaning Equipment Issues
If the equipment fails to start, check the power source first. Ensure the plug is securely connected and the outlet is functioning. A tripped circuit breaker may also cause issues. If there’s no power, consider examining the extension lead for damage.
Inconsistent water flow can be due to a clogged inlet filter. Remove the filter and rinse it thoroughly to eliminate debris. Check the hose for kinks or blockages as well; these can significantly reduce output pressure.
If the device vibrates excessively during operation, ensure that all components are securely fastened. Loose fittings can contribute to instability. Additionally, inspect the nozzles for wear and replace them if necessary.
Unusual noises during use often indicate a malfunction in the pump. Ensure the pump has sufficient fluid and check for any leaks around the fittings. Dismantling the pump for inspection might be needed if you suspect internal issues.
For low pressure, verify that the nozzle is appropriate for the task at hand. Using a nozzle with too wide an opening can lead to diminished force. Additionally, inspect the filters and hoses for any obstructions.
If the unit is leaking water, identify the source of the leak. Common areas include the connections or seals. Tightening connections or replacing worn seals can resolve the issue, stopping any unwanted dripping.
Unpleasant odours typically signal an overheating motor. Allow the machine to cool and avoid overusing it for extended periods. Cleaning the air intake may help improve airflow and prevent further overheating.
Maintaining a regular cleaning schedule and properly storing the equipment after use significantly reduces the likelihood of issues arising. Always follow the manufacturer’s guidelines to prolong the life of your device.
Identifying Electrical Problems in Your Cleaning Unit
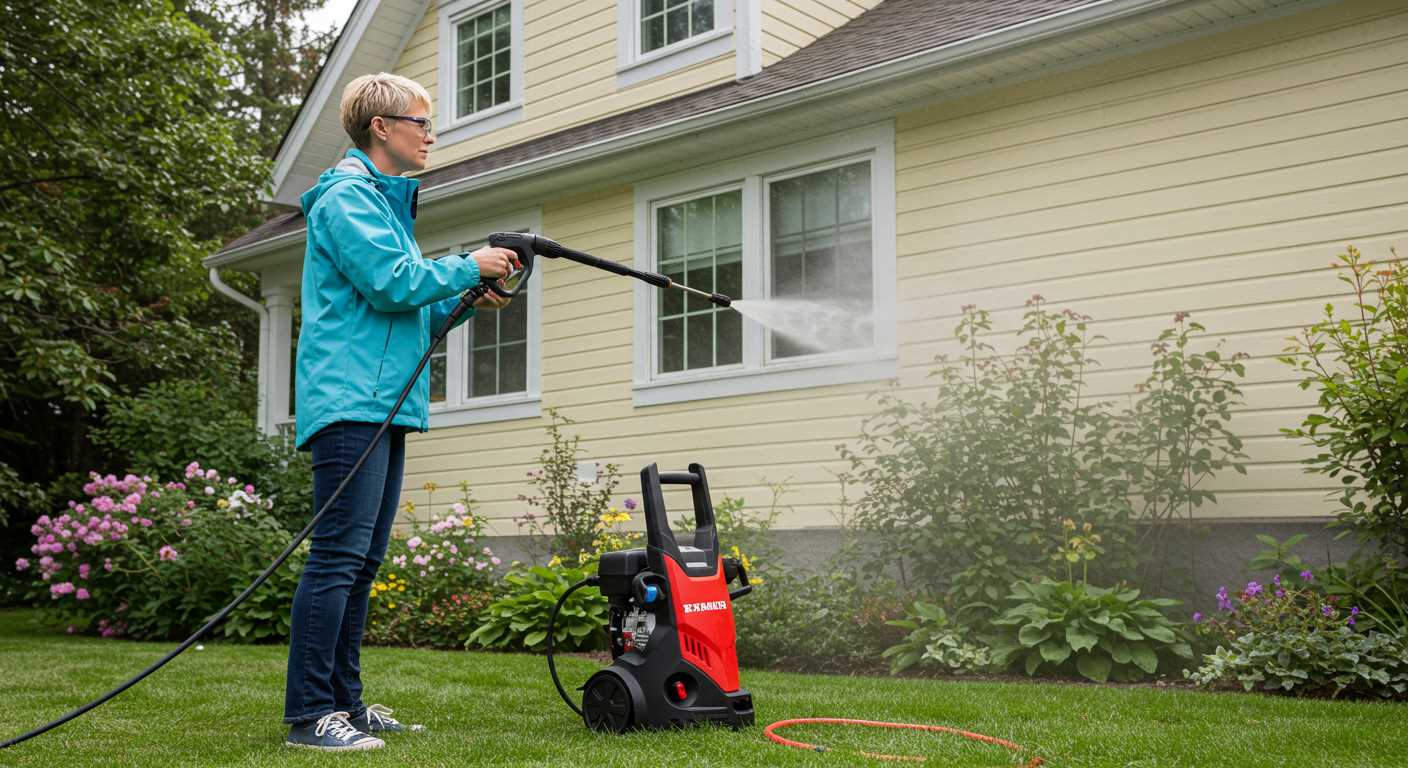
Begin with a quick inspection of the power supply. Ensure the socket is functioning properly by plugging in another device. If the socket is dead, it needs attention before exploring other issues. Next, inspect the power cord for any visible damage or fraying. If any wear is noted, replacing the cord is essential to restore functionality.
Battery and Switch Verification
If your model has a battery, check its voltage using a multimeter. A battery underperforming or completely drained requires recharging or replacement. For models with a power switch, test the continuity using a multimeter as well. A faulty switch may give the impression the unit is dead, while it might simply need replacement.
Internal Component Examination
Open the casing to access the internal components. Look for burnt fuses or damaged circuit boards – these are common culprits for electrical issues. If corroded connections are observed, cleaning or replacing them might resolve the problem. Make sure to reconnect all wires securely before reassembling the equipment.
After repairs, test the unit. If issues persist, considering consulting a qualified technician to avoid further damage. Regular maintenance can help prevent these issues from recurring.
Cleaning and Maintaining the Pump for Optimal Performance
Routinely inspect the pump for any debris or residue. Start by disconnecting the machine from its power source and water supply. Remove the inlet filter and inspect it for clogs; clean it using water and a soft brush if necessary.
Next, check the high-pressure hose for kinks or blockages. Clean any visible debris from the connections. Ensure that all seals and O-rings are intact; replacing worn parts can prevent leaks and enhance functionality.
Periodically, flush the pump with fresh water to remove detergents and contaminants. Run the unit without a nozzle and without detergent for a few minutes to ensure thorough cleaning. Ensure the unit is cooled down before carrying out this process.
Lubricate any accessible parts using suitable lubricants recommended by the manufacturer. Pay special attention to areas where metal rubs against metal or where moving parts exist; this helps reduce wear and friction.
Finally, store the unit in a dry place, ideally where temperature fluctuations are minimal. This prevents moisture from accumulating inside the pump, which could foster corrosion or damage components. Performing these steps consistently will keep the pump in optimal condition, ensuring longevity and reliability during use.
Fixing Leaks in Hoses and Connections
Identify the source of the leak before proceeding. Common areas include hose fittings, connections to the gun, or the pump inlet. Examine these areas closely for any visible signs of wear, cracks, or loose fittings.
- Tightening Connections: Start with checking all connection points. Use a fitting wrench to secure any loose connections. Ensure the hose ends are firmly attached to the spray gun and the machine.
- Inspecting Hoses: Look for abrasions or bulges. Small punctures can often be repaired with a hose repair kit. Cut out the damaged section and insert a hose connector.
- Sealing Leaks: For minor leaks around connections, consider using plumber’s tape. Wrap it around threaded connections to create a tighter seal.
- Replacing Damaged Parts: If the hose is severely damaged or cracked, replacement may be necessary. Use a compatible hose recommended by the manufacturer for optimal performance.
- Testing After Repairs: Once repairs are made, turn on the equipment to check for leaks. Monitor all connections and hoses during operation.
Regular maintenance of hoses can prevent leaks. Store hoses properly to avoid kinks and damage, and inspect them periodically for signs of wear.
Replacing Worn-Out Nozzles and Attachments
Begin with identifying the specific nozzle or attachment needing replacement. Inspect for cracks, blockages, or other visible damage. Once confirmed, removing the old component is straightforward:
- Turn off the machine and disconnect it from the power source.
- Detach the existing nozzle by twisting it counterclockwise or pressing any release tabs if applicable.
For attachments, ensure to follow the manufacturer guidelines for compatible products. Select nozzles based on your cleaning requirements:
Types of Nozzles
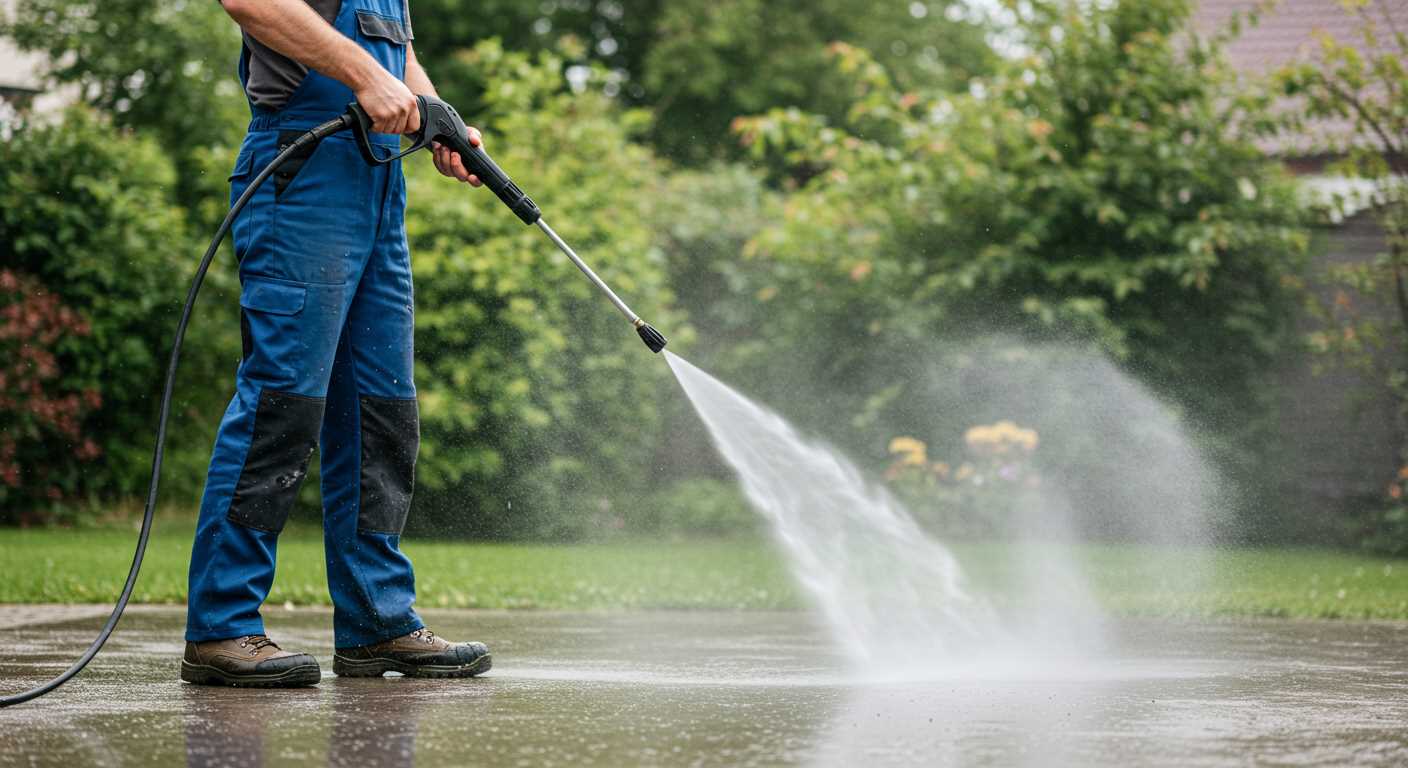
- 0-degree Nozzle: Provides a concentrated jet for tough stains.
- 15-degree Nozzle: Suitable for stripping paint or cleaning concrete.
- 25-degree Nozzle: A good all-purpose choice for general cleaning.
- 40-degree Nozzle: Ideal for more delicate surfaces.
- Soap Nozzle: Designed for applying detergent efficiently.
Once you select the appropriate replacement, attach it securely:
- Align the new nozzle or attachment with the connection point.
- Twist clockwise until it secures firmly in place.
Test functionality by reconnecting the unit to power and running a brief cycle to ensure proper operation. Monitor for leaks around the connections; if any appear, recheck the tightness of the fittings.
Maintenance Tips
- Regularly clean nozzles to prevent clogs. Use a small pin or needle to clear any blockages.
- Store nozzles and attachments in a dry location to prevent wear.
- Replace any damaged components immediately to maintain optimal performance.
With proper care, newly installed nozzles will enhance efficiency and prolong the life of your cleaning equipment.
Understanding and Resolving Starting Issues
For troubles starting the unit, the initial step is to check the fuel level. Ensure the tank is filled with fresh fuel, as stale or contaminated petrol can cause ignition problems. If the power source is electric, confirm that the outlet is operational and the circuit breaker hasn’t tripped.
Inspect the Starter Mechanism
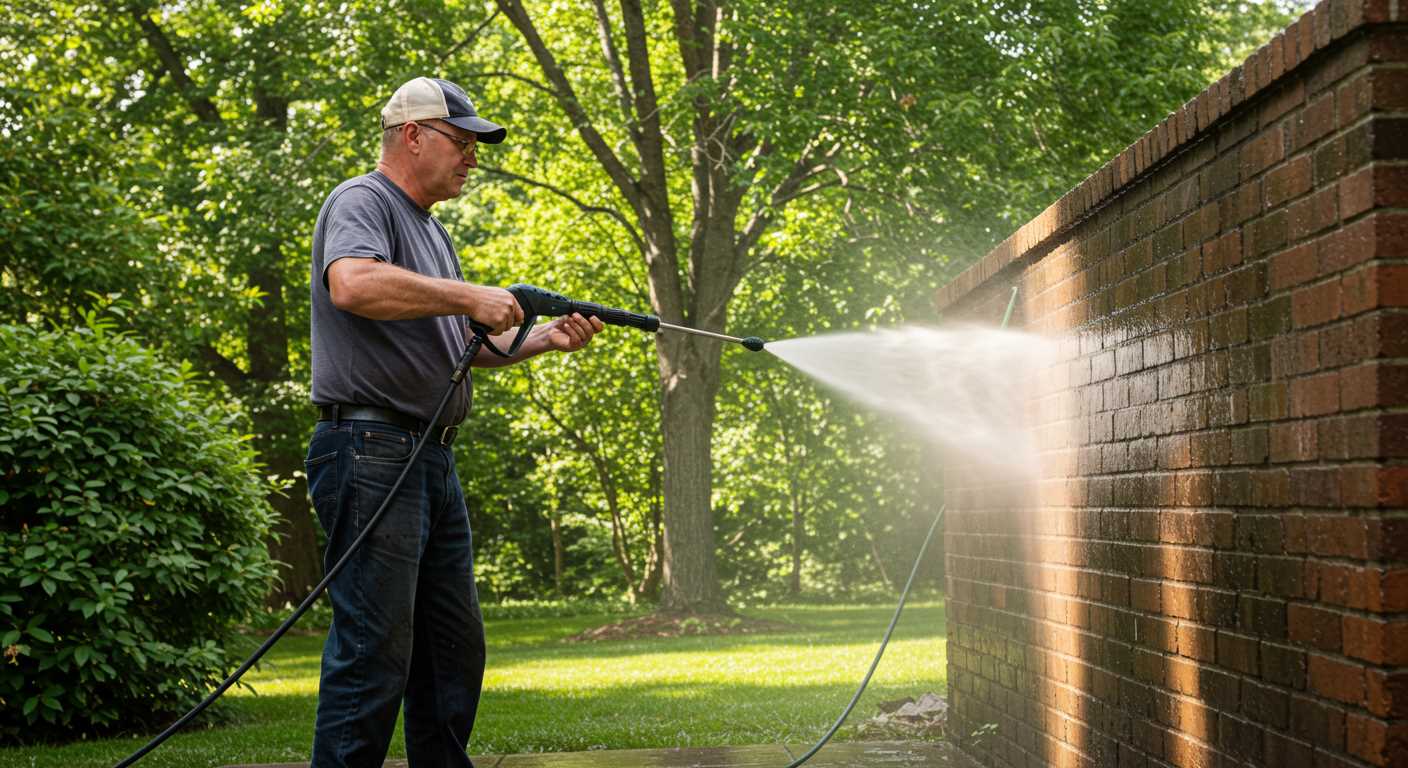
Examine the starter cord or electric switch. A frayed or damaged cord can hinder the starting process. If using an electric version, check the switch for any signs of wear or malfunction. Ensure the connections are clean and tight for a solid electrical flow.
Air Filter and Spark Plug Maintenance
Verify the air filter’s condition. A clogged filter restricts airflow, impairing combustion. Clean or replace it if necessary. Additionally, the spark plug should be examined for carbon buildup or damage. A faulty plug must be replaced to ensure a reliable start.
Performing Regular Maintenance to Prevent Future Problems
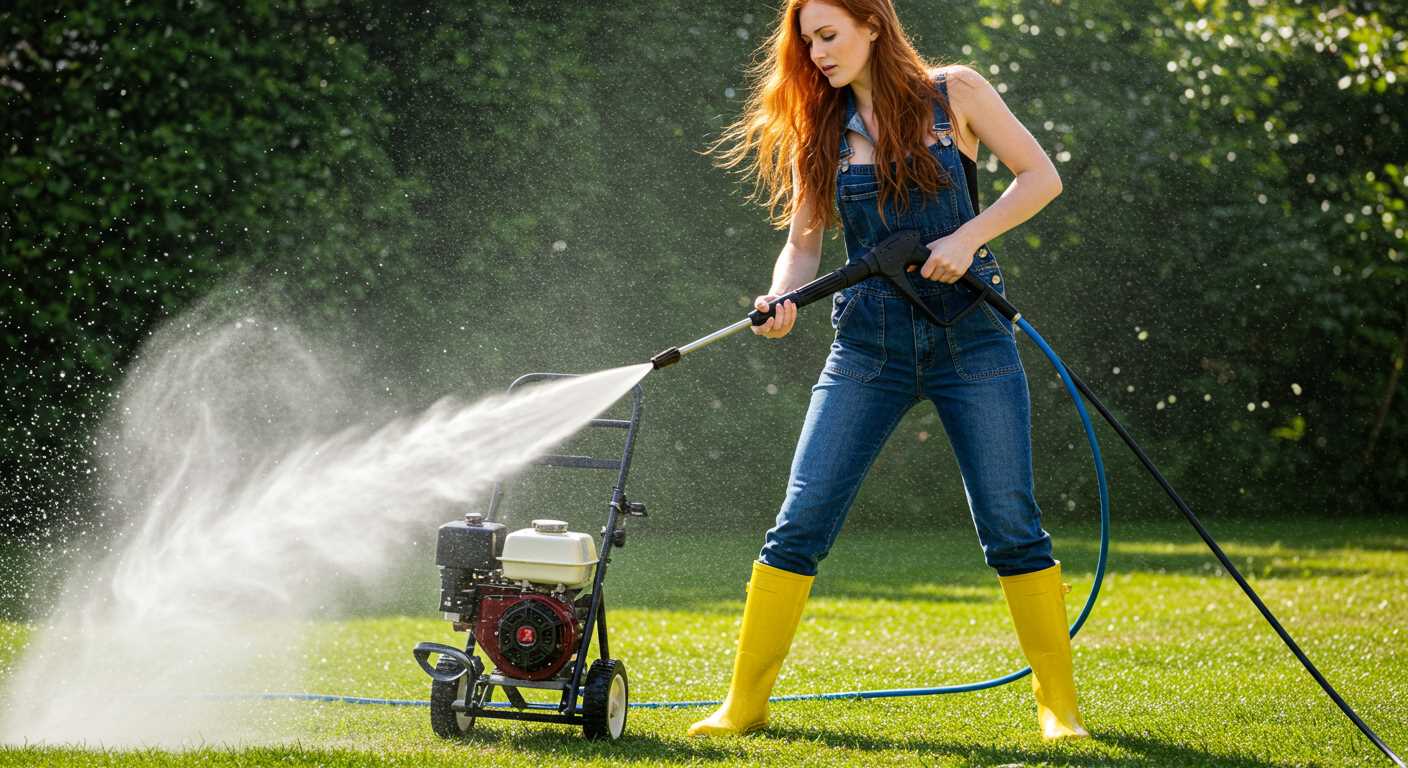
Schedule routine inspections every few months to ensure all components are in optimum condition. Pay particular attention to seals, hoses, and filters, as wear can lead to costly repairs later.
Always clean the water inlet filter. A clogged filter can restrict water flow, causing the motor to overheat. This simple step can drastically improve performance longevity. Check the filter regularly for debris accumulation.
Inspect the oil level if applicable. Proper lubrication ensures smooth operation and protects moving parts from unnecessary friction. Change the oil according to manufacturer guidelines to prevent engine wear.
Ensure that all fittings and hoses are securely connected to avoid leaks. Tightening them can prevent pressure loss and maintain efficiency during operation. Use tape designed for plumbing needs on threaded connections to provide an extra layer of security against leaks.
Store the equipment in a dry, sheltered environment to protect sensitive components from moisture and temperature extremes. Winterize the unit if necessary to prevent freezing and potential damage to internal parts.
| Maintenance Task | Frequency | Notes |
|---|---|---|
| Inspect and clean water inlet filter | Every month | Remove debris buildup |
| Check oil level | Every season | Change as per manual |
| Examine hoses and connections | Every month | Tighten and replace if needed |
| Store unit in a dry location | Year-round | Avoid extremes in temperature |
Follow these steps diligently to ensure that your equipment operates effectively, helping to avert future malfunctions. A little proactive care goes a long way in maintaining top performance.


