
Restoring timber compromised by excessive water force requires immediate action. Begin with a thorough inspection to identify the affected areas and assess the extent of the harm. Look for signs of splintering, fuzziness, or loss of texture, as these indicate that the surface needs attention.
Next, employ sandpaper to gently smooth out these imperfections. Start with a coarse grit to remove any raised fibres, then gradually move to finer grades for a polished finish. This step is crucial for preparing the surface for further treatment.
After sanding, cleansing the surface with a damp cloth is essential to remove any dust created during the process. Once dry, consider applying a protective stain or sealant specifically designed for exterior applications. This will not only enhance aesthetics but will also establish a barrier against future moisture damage.
Consistency is key. Regular maintenance will help prolong the life of your timber, ensuring it withstands the elements and remains a beautiful feature in your outdoor space.
Assessing the Extent of Pressure Washing Damage
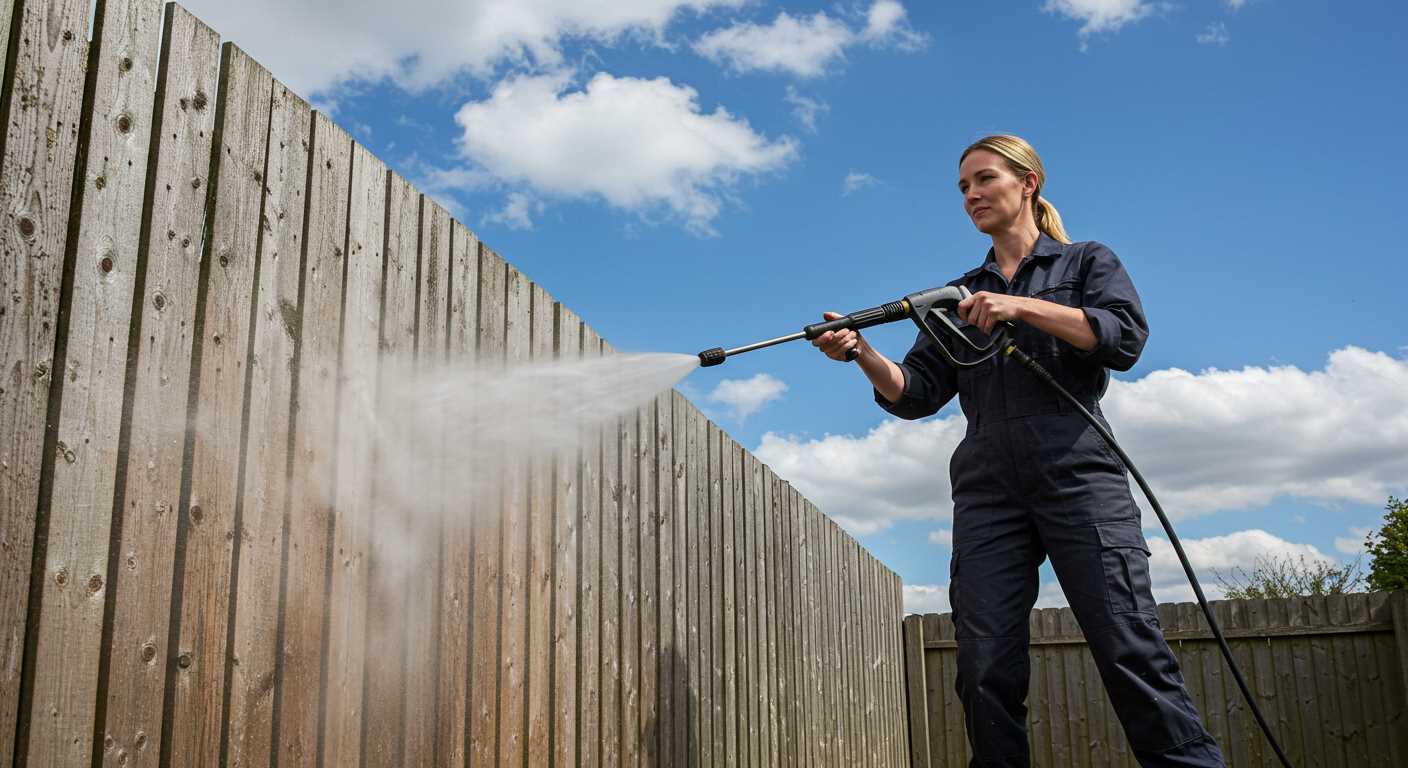
Begin by inspecting the surface thoroughly. Examine for signs of discolouration, uneven texture, or deep gouges. Visually assess the overall integrity; look for any areas where the grain appears crushed or stripped. An affected area often shows a lighter colour compared to the surrounding sections.
Identify Types of Damage
Two primary categories of deterioration typically arise: superficial and structural. Superficial impacts manifest as surface abrasions or changes in pigmentation. In contrast, structural impairment might reveal split fibres or compromised stability. It’s essential to differentiate between these to determine your course of action.
Utilising a Moisture Meter
Employing a moisture meter provides precise readings that indicate any underlying moisture retention, which could lead to mould growth or further deterioration. Aim for a reading below 15% for healthy timber. Should readings exceed this, allow for appropriate drying time before proceeding with repairs.
| Type of Damage | Symptoms | Recommended Action |
|---|---|---|
| Superficial | Fade, minor scratches | Sanding, refinishing |
| Structural | Cracks, loose joints | Reinforcement, replacement |
Once you classify the damage, compile a list of materials needed for restoration. Being methodical in your assessment saves time and facilitates a more effective repair process. Prioritise addressing structural issues first to ensure a solid foundation before focusing on aesthetic concerns.
Choosing the Right Repair Products
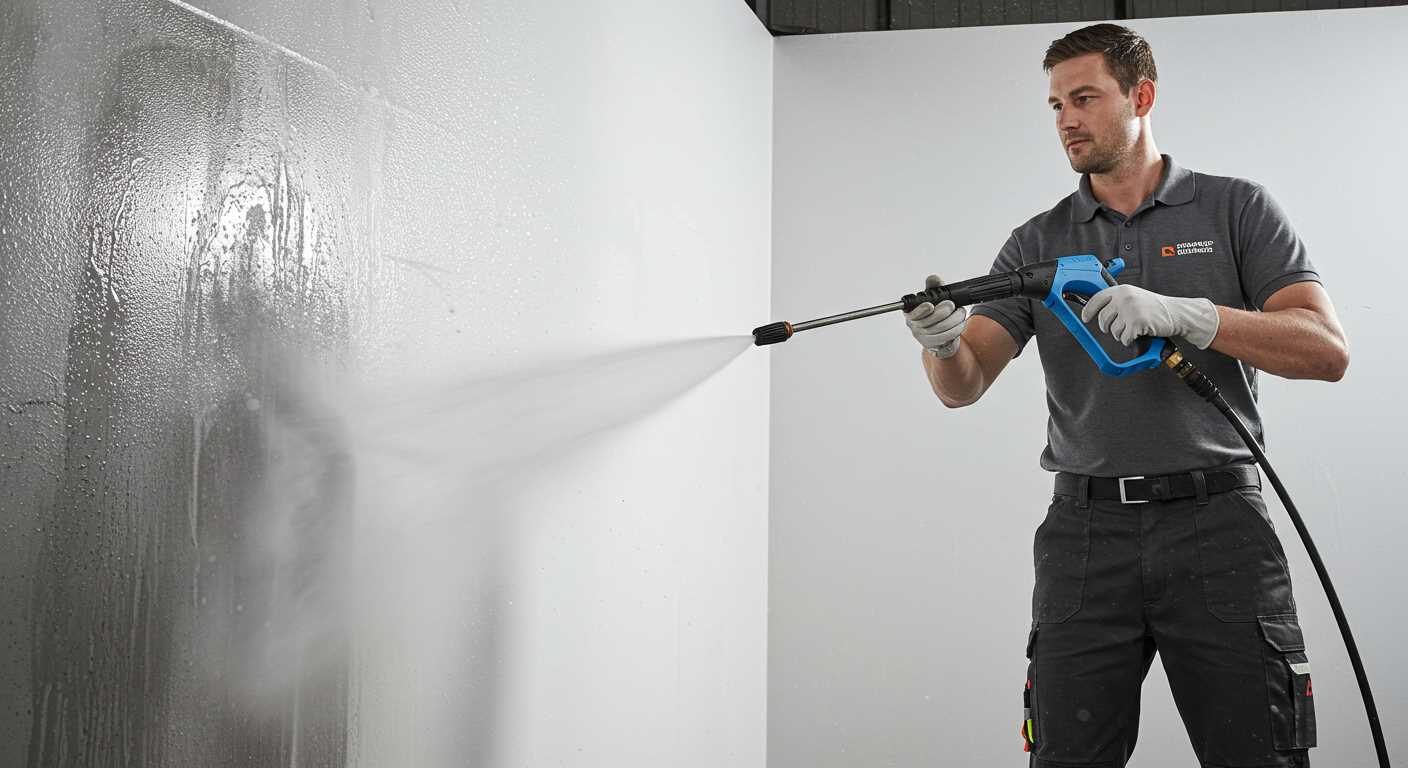
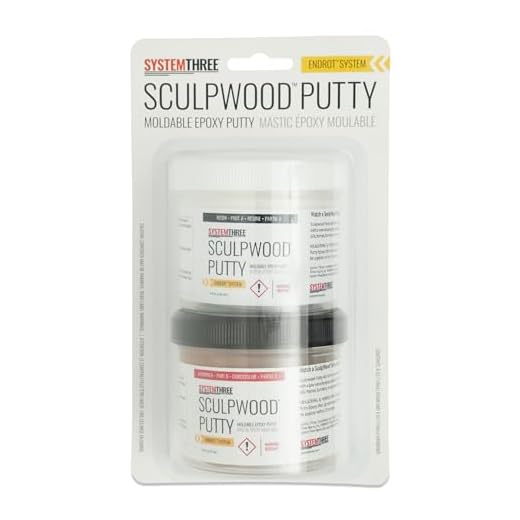
Opt for high-quality products tailored for restoration tasks. Epoxy fillers are excellent for holes and cracks, providing durability and excellent adhesion. Look for two-part systems that enable effective bonding, creating a strong repair.
When selecting wood stains, ensure they are compatible with your repair materials. Aim for shades that closely match the original finish to achieve a seamless look. Testing the stain on a small, inconspicuous area will help verify the correct match.
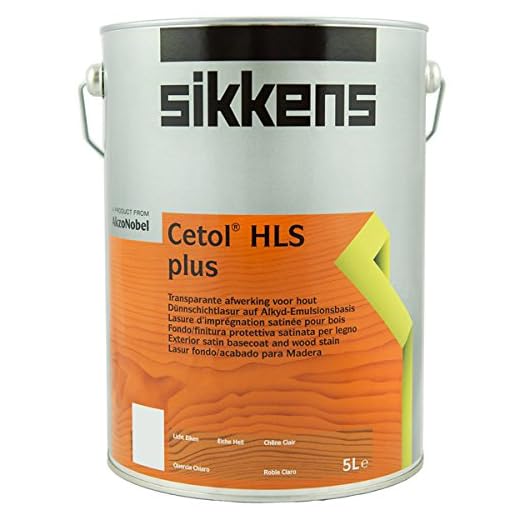
Varnishes or sealants designed for outdoor use are advisable. They guard against moisture infiltration and UV damage, extending the life of the repaired surface. Ensure that the product offers an appropriate finish, whether satin, semi-gloss, or gloss, depending on your desired aesthetics.
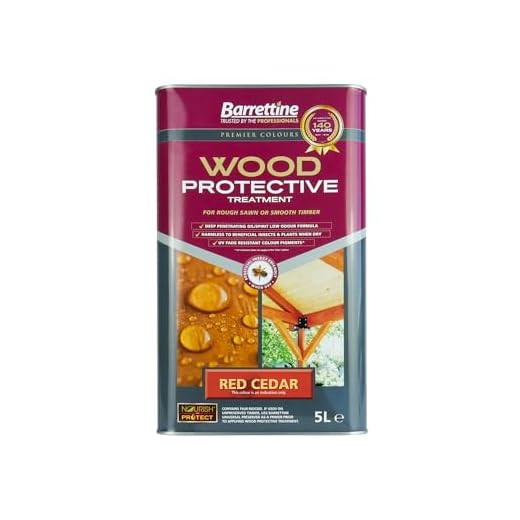
In some cases, preservative treatments are beneficial. These products can help inhibit fungal growth and protect against insects, further safeguarding the integrity of the timber. Look for those with long-lasting results and easy application.
Prioritise user-friendly application methods. Many top-tier products feature ready-to-use formats or easy mixing ratios, facilitating a smoother restoration process. Always read reviews and product specifications before purchasing to align with your specific requirements.
Finally, keep safety in mind. Select products that comply with health and safety regulations, ensuring proper ventilation during application. Using gloves and masks is also recommended to protect yourself from harmful vapours and substances.
Clean and prepare the damaged wood surface
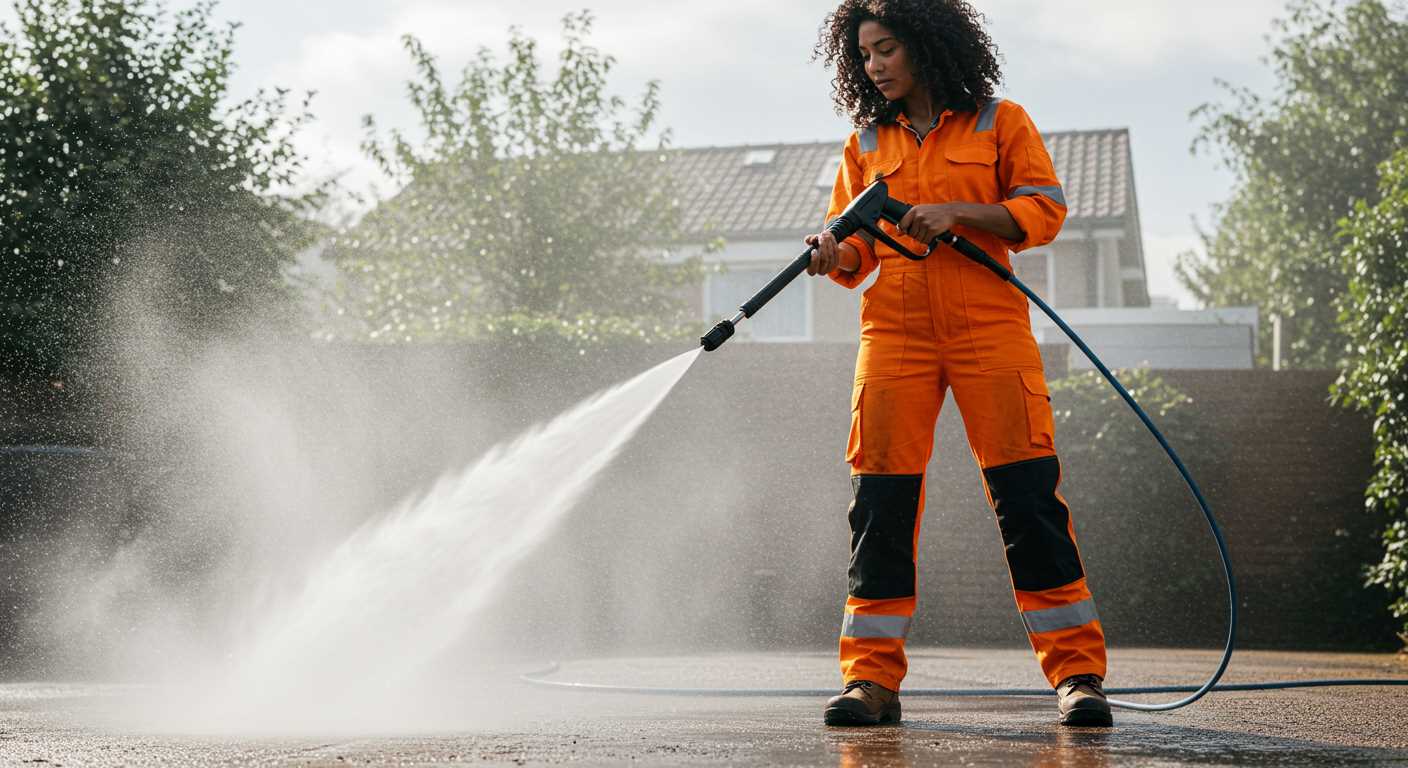
Ensure the surface is free from debris and dirt. Use a stiff brush or broom to sweep away any loose particles before proceeding. If residues persist, a mild detergent mixed with water can help lift stubborn grime. Employ a sponge or cloth to scrub the area gently.
After cleaning, rinse thoroughly with clean water to remove all soap residues and debris. Allow the surface to dry completely. This might take several hours depending on the weather conditions, so patience is key. Ensure there is no moisture left, as this can hinder the application of repair products.
Once dry, inspect for splintered areas. Use sandpaper or a sander to smooth down rough spots and splinters for an even finish. When sanding, start with a coarse grit and progressively move to a finer grit to achieve a smooth surface. Aim for a uniform texture to facilitate product adhesion later.
If the material is soft or excessively worn, gentle scraping can help remove damaged layers without compromising the integrity of the wood. Afterward, conduct a final wipe to eliminate dust created by sanding or scraping. A clean, smooth surface is critical for the proper bonding of subsequent repair solutions.
Applying wood filler or epoxy for repairs
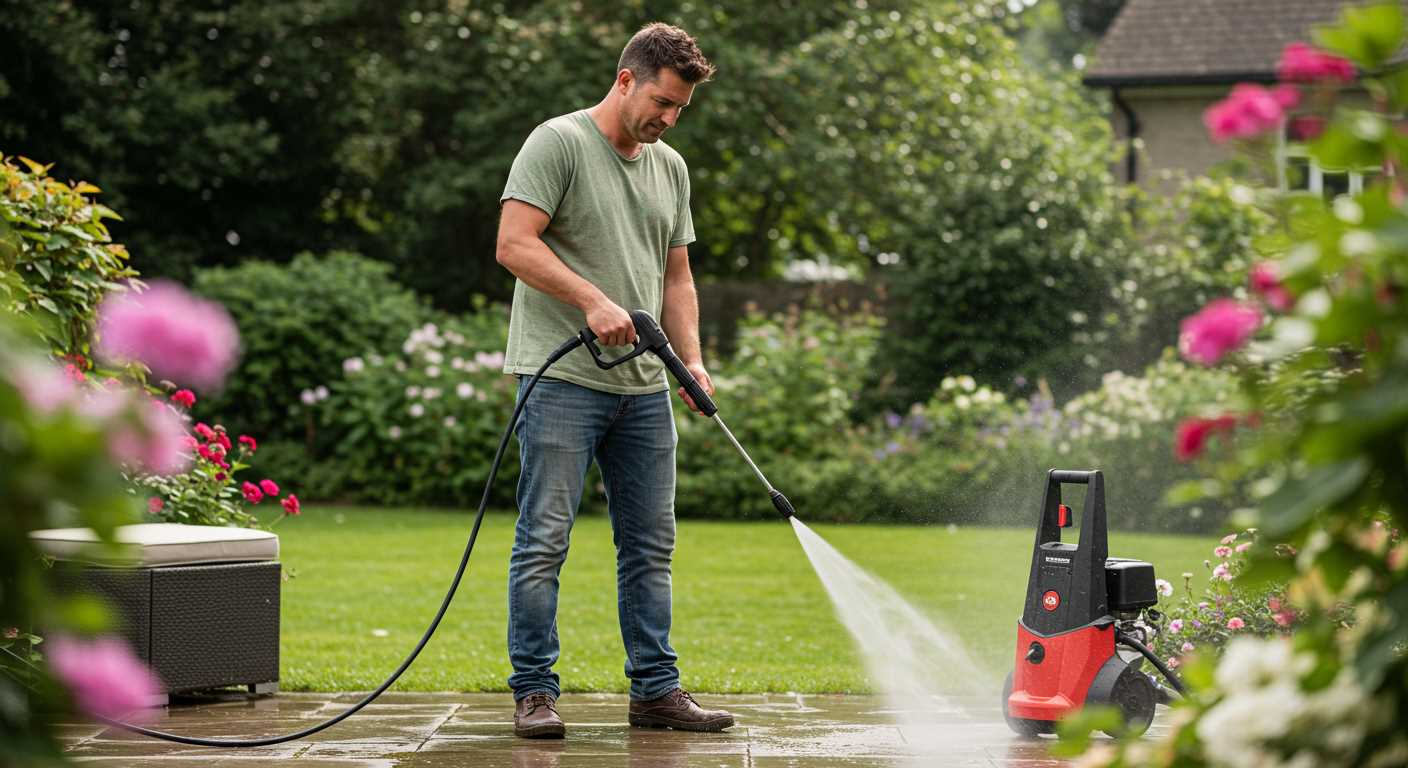
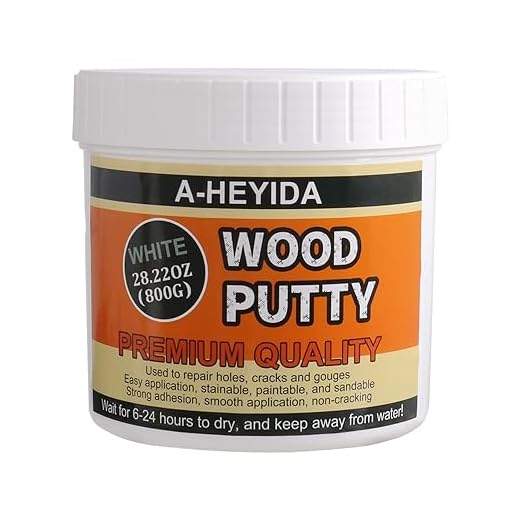
Select a high-quality wood filler or epoxy that matches your substrate’s type and colour. For minor cracks and holes, choose a wood filler that is easy to sand and paint over. For deeper depressions, epoxy offers superior adhesion and durability. Ensure adequate ventilation when working with these materials.
- Mix the filler or epoxy according to the manufacturer’s instructions. Achieving the correct consistency ensures proper application.
- Use a putty knife to apply the filler into the damaged areas. Press it firmly to eliminate air pockets and guarantee a tight seal.
- Leave the application to cure as per the instructions on the packaging. Avoid touching or manipulating the area until fully set to ensure strong adhesion.
- Once cured, use fine-grit sandpaper to smooth the surface. Aim for a flush finish with the surrounding area for a seamless look.
- If necessary, apply a second coat to fill any remaining imperfections. Repeat the curing and sanding process as needed.
After completing the repairs, sealing the area with an appropriate finish protects against future wear. Choose a stain or sealant that complements the rest of the structure while providing a barrier against moisture and UV damage.
- Always conduct a test patch before applying a new finish over repaired areas.
- Consider the environment where the material will be situated; indoor and outdoor finishes differ significantly.
Sanding and Refinishing the Repaired Area
After applying a suitable filler or epoxy, I recommend allowing sufficient time for it to cure fully. Once cured, begin the sanding process with medium-grit sandpaper (around 120 grit) to level the patched area with the surrounding surface. Move with the grain to maintain a smooth finish and avoid scratches. Gradually progress to finer sandpaper (up to 220 grit) to refine the surface further.
Achieving a Uniform Finish
It’s crucial to ensure a seamless transition between the repair and the original surface. Regularly check your progress by running your hand over the area to detect any unevenness. Incorporate a sanding block for larger surfaces. For corners and detailed spots, hand sanding can provide better control. Dust off the area with a damp cloth to prepare it for finishing.
Selecting the Right Finish
Choose a stain or sealant that matches the existing hue of the surrounding area. If unsure, test the finish on a scrap piece or a less visible section to gauge the colour match. Apply the selected product with a clean brush or cloth, following the manufacturer’s guidelines for drying times and application techniques. Aim for even coverage, reapplying if necessary to achieve the desired depth of colour.
Preventing future damage from pressure washers
Choosing the right settings on your equipment is paramount. Always start with the lowest pressure setting and increase gradually only if necessary. This approach significantly minimises the chance of harm to surfaces.
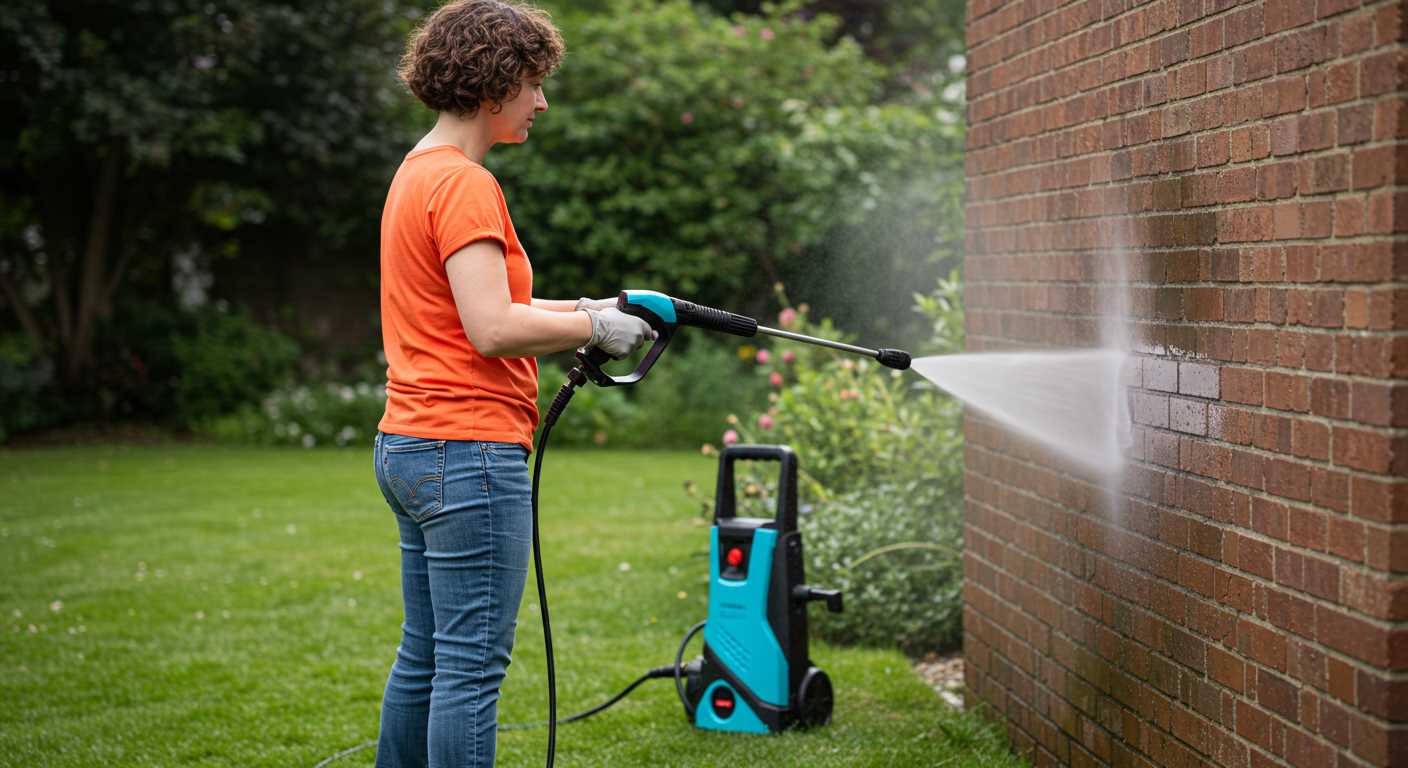
Always maintain a safe distance from the material being cleaned. Keeping a distance of at least 2 feet helps prevent excessive force from concentrating at one point, which could lead to splintering or gouging.
Using a wide spray nozzle disperses the water more evenly, reducing intensity on any single spot. Opt for 25° or 40° nozzles for delicate surfaces. These provide thorough cleaning without the risk of damage associated with more focused sprays.
Incorporate cleaning solutions designed for use with your equipment. These formulations can remove grime without requiring high pressure, protecting the integrity of your materials.
Regularly inspect the condition of the equipment. Ensure that hoses and nozzles are clear of blockages. Damaged equipment can produce uneven pressure, increasing the likelihood of unexpected harm.
Consider applying a weather-resistant finish after cleaning, as it forms a protective barrier that helps repulse water and contaminants. This reduces the need for frequent cleaning, thereby limiting exposure to high-pressure processes.
Lastly, educate others who may operate the machinery. Clear instructions and safety measures should be communicated to prevent accidental misuse, which can lead to significant issues over time.


