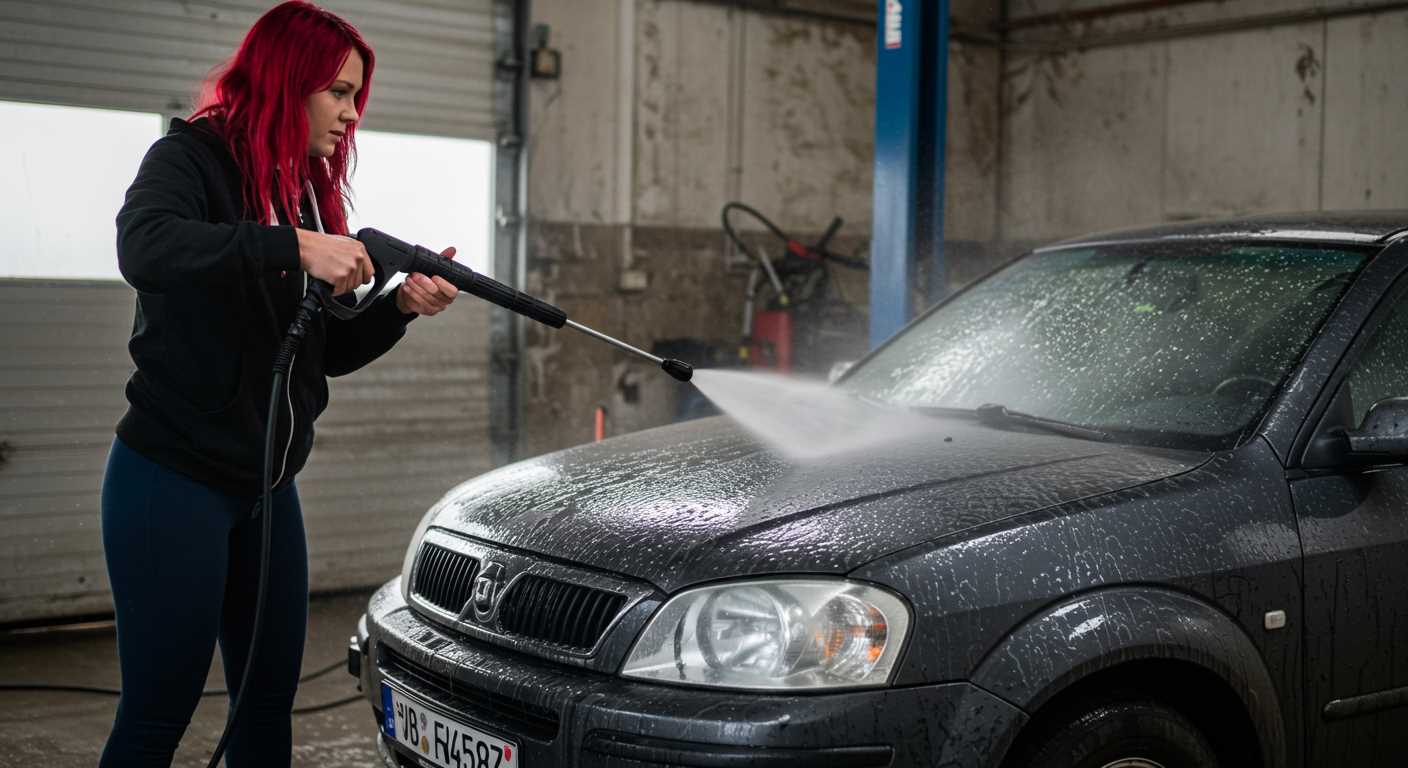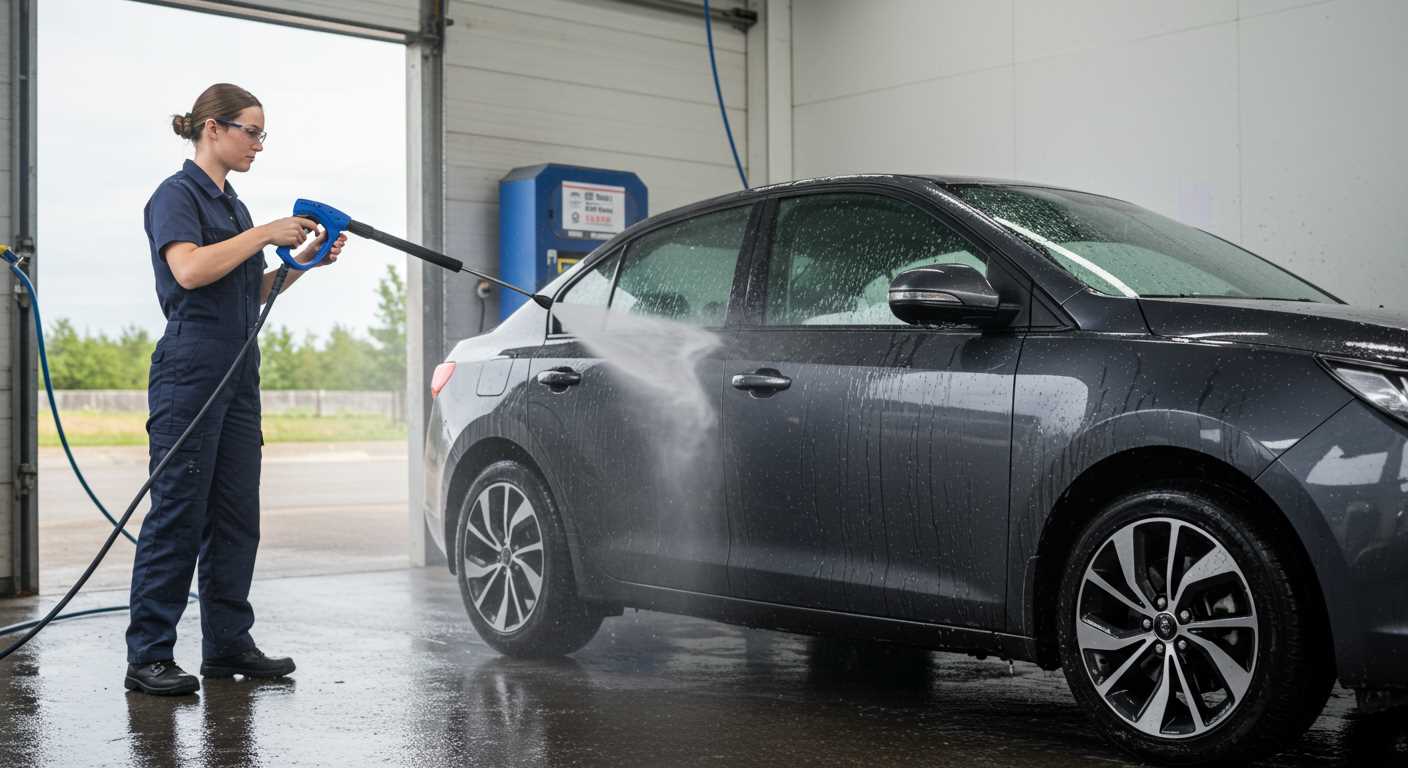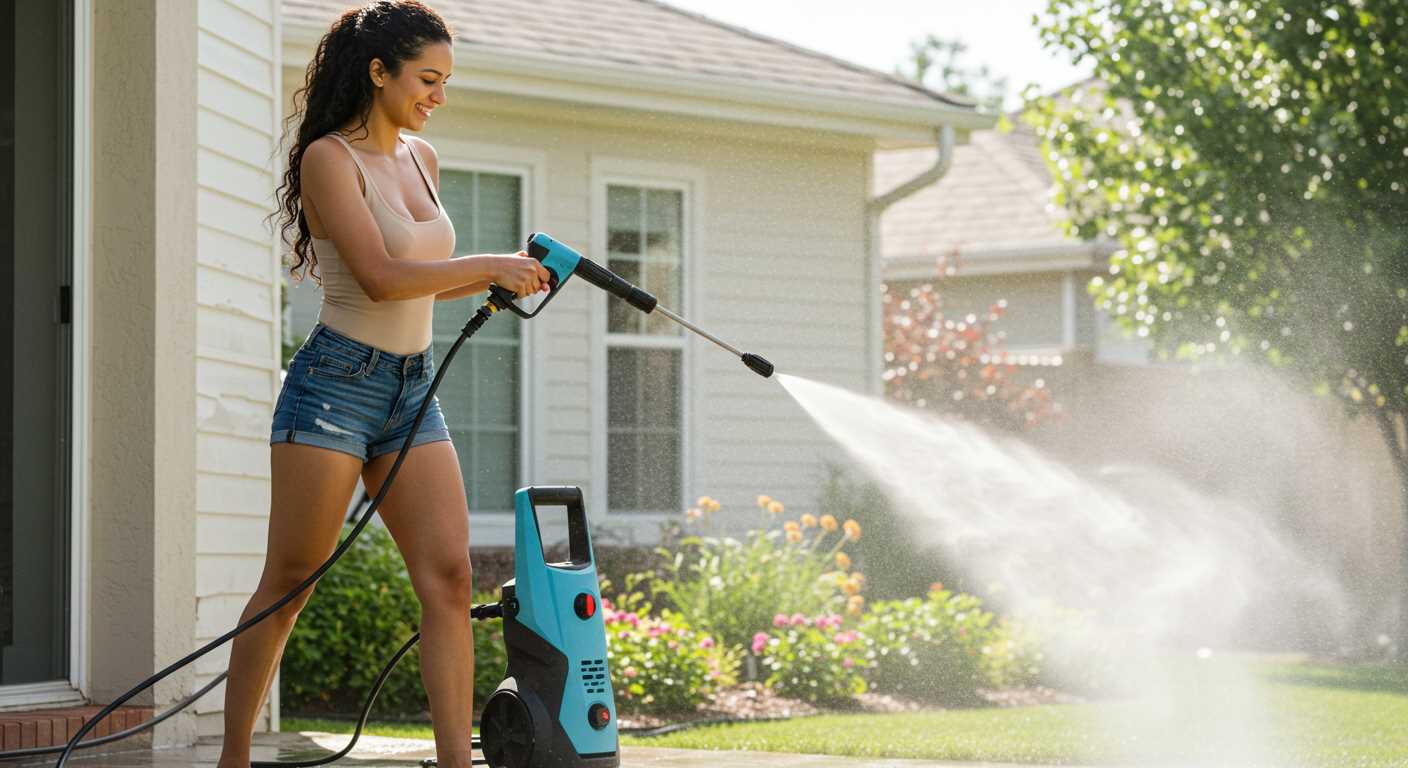


First, consider using an appropriate nozzle for your task. A narrower spray pattern, such as a 15° or 25° option, can concentrate the force of the water, making it ideal for stubborn stains or grime. However, be cautious with delicate surfaces; testing on a small area first is always wise.
Another key aspect involves adjusting the distance from the surface you’re cleaning. Keeping the nozzle too far away reduces impact, while getting too close could damage the material. A distance of around 30 cm often strikes the right balance for optimal efficiency.
Maintaining the machine regularly is paramount. Ensure that all filters are clean and free from blockages. Inspect hoses for any kinks or wear, as these can substantially hinder output. Additionally, using hot water, if the model permits, can enhance cleaning effectiveness on greasy surfaces.
Finally, experimenting with different detergents can yield impressive results. Make sure to select products designed specifically for your model, as the wrong type can cause damage or reduce performance. A good cleaner can drastically improve the outcome of any washing task.
Maximise Output from Your Cleaning Device
Optimising water flow is essential. Use a wider nozzle for tasks requiring higher water volume. This adjustment can significantly enhance the force output, especially on flat surfaces.
Utilise Proper Detergents
Select cleaning agents that complement your model. Use those specifically formulated for pressure applications. An effective detergent improves cleaning efficiency by breaking down grime, allowing the water jet to work harder without excessive effort.
Check Hose Quality and Length

A shorter and thicker hose restricts pressure loss. Inspect for kinks or blockages in hose connections. Regular maintenance of hoses extends their lifespan and ensures consistent performance.
Ensure the inlet filter is clean. Clogs here can reduce water intake, leading to diminished performance. Periodic inspection of the filter ensures optimal water supply, crucial for the power of the machine.
Lastly, adjust the machine’s settings according to the surface being cleaned. Soft surfaces may require lower settings, while tougher materials demand higher settings. Understanding your cleaning task allows for tailored application, achieving superior results.
Choosing the Right Nozzle for Higher Pressure

Selecting the correct nozzle is key for maximising output from your cleaning machine. Nozzles are designed with different spray patterns and sizes, which directly influence the force of the water stream. For tighter streams that deliver concentrated power, opt for a smaller nozzle size, like the 0-degree or 15-degree options. These create a focused jet that effectively lifts stubborn grime and dirt, particularly on hard surfaces.
Nozzle Types and Their Impact
Different nozzles serve distinct functions. The 0-degree nozzle produces a narrow, powerful jet ideal for tasks such as removing paint or heavy stains. The 15-degree nozzle provides a wider fan while still maintaining significant impact, suitable for tough surfaces like concrete. For rinsing or cleaning vehicles, the 25-degree nozzle disperses water more broadly, reducing effectiveness on difficult stains but covering larger areas more efficiently.
Material Considerations

Be mindful of the nozzle material. Brass nozzles are more durable compared to plastic, ensuring longevity and maintaining high performance over time. If you frequently tackle demanding jobs, investing in higher-quality materials pays off, as they can withstand wear and resist clogging, delivering consistent results.
Adjusting Your Pressure Washer’s Settings
Modifying your machine’s controls can significantly enhance its output capabilities. Start by ensuring the unit is operating at optimal settings. Here’s how:
- Check the inlet water supply. Ensure the flow rate meets the manufacturer’s specifications; low water supply can hinder performance.
- Inspect the pressure gauge. If available, target the maximum PSI rating indicated for your model. Adjust the pressure control knob, if present, to elevate the force generated.
- Verify the detergent injection settings. Some washers allow you to control the mix ratio of soap to water. A concentrated solution can improve cleaning efficiency.
- Examine the trigger wand settings. Use the adjustable lance to alter the spray pattern. A narrower jet can increase impact force, highly effective for stubborn grime.
- Evaluate the motor speed setting, if applicable. Some models feature variable speed options; increasing the RPM can result in enhanced cleaning power.
Regular maintenance plays a critical role. Inspect hoses and connections for leaks that may decrease output. Clean filters regularly to maintain a consistent flow. Pay attention to the nozzle; worn or clogged nozzles can significantly reduce effectiveness.
Lastly, consult the user manual for specific configuration options unique to your model. Each machine has its nuances that can be maximised for superior results.
Using a Shorter Hose for Increased Output
.jpg)
A shorter hose directly reduces friction loss, leading to an enhanced jet experience. Aim for a hose length of no more than 25 feet for optimal results. Longer hoses can create pressure drops, diminishing cleaning effectiveness. Swapping out a standard 50-foot hose for a 25-foot option significantly boosts water flow velocity.
Always check the diameter of the hose as well. A 1/4-inch hose typically performs better than a 5/16-inch counterpart in terms of flow rate. Additionally, ensure that the hose is free of kinks or blockages. Such impediments can further inhibit performance, counteracting any benefits from reducing hose length.
When using a shorter hose, make sure to position the cleaning unit closer to the work area. This not only maintains output intensity but also simplifies management of the equipment during operation. For tricky spots or higher areas, consider a portable solution to maintain effective reach without compromising hose integrity.
Lastly, check the connections at both ends of your hose. Proper fittings will minimise leaks and retain optimal performance levels. Regular maintenance and inspection can go a long way in ensuring that any equipment used remains in peak condition.
Cleaning and Maintaining the Pump Regularly
Ensure the pump stays in optimal working condition by regularly removing any debris or sediment that may accumulate. This helps maintain the flow of water and prevents clogs. Disconnect the unit, and using a soft brush, gently clean the inlet filter screens and any accessible areas of the pump.
Check the pump’s oil level frequently. If your machine requires lubrication, ensure it has the correct type and amount of oil. Change the oil as recommended by the manufacturer to avoid wear and tear on internal components.
Inspect for any signs of wear on seals, gaskets, and hoses. Replace worn or damaged parts immediately to maintain performance. I recommend keeping spare seals on hand to avoid downtime during cleaning sessions.
Additionally, flush the pump with fresh water after each use, especially if you’ve used detergents. This helps remove any chemicals that may cause corrosion or build-up inside the pump. Ensure no water is sitting in the pump when storing it for long periods to prevent freezing or damage.
Understanding Water Supply Impact on Pressure
Ensure the water source delivers at least 5-7 gallons per minute (GPM). Insufficient flow reduces efficiency. A standard household tap often suffices, but for optimal results, consider a dedicated hose connection. This practice guarantees a steady flow, preventing fluctuations during operation.
Pay attention to your hose length. The longer the distance from the source to the machine, the greater the drop in flow. Choose a robust, short hose to minimise this effect. A 3/4-inch diameter hose is ideal; it allows for maximum flow without constriction.
Inspect your water source for any kinks or obstructions in the line. Regular checks ensure unobstructed water delivery. If your area has low water pressure, investigate the possibility of installing a booster pump. Such devices can elevate flow rates and sustain performance across various tasks.
Monitor the temperature of the water as well. Extremely hot water can alter the dynamics of your cleaning setup. Ideally, cooler water works better, especially when targeting tough stains, as it prevents overheating the unit and promotes efficient cleaning.
Lastly, always check for sediment build-up or clogs within filters. This maintenance task is crucial in sustaining an adequate supply of clean water, directly contributing to optimal functioning of your cleaning equipment.
Utilising the Correct Soap and Cleaning Agents
Using the appropriate soap or cleaning agent can significantly enhance the efficiency of your cleaning device. Select a detergent specifically formulated for high-pressure applications. Avoid standard household cleaners as they may create excessive foam or residue that can hinder the cleaning process and potentially damage the unit.
Types of Cleaning Agents
For tough stains, consider a biodegradable pressure cleaner that breaks down grime without damaging the environment. Alkaline-based soaps effectively remove oil and grease, while acidic options tackle mineral deposits and rust. Always refer to the manufacturer’s guidelines to ensure compatibility with your equipment.
Application Techniques
Mix the detergent according to the manufacturer’s instructions to achieve the best results. Use a low-pressure setting to apply soap, allowing it to dwell for a few minutes before switching to a high-pressure setting to rinse. This method ensures the agent penetrates the dirt effectively, resulting in a cleaner surface with less effort.
Inspecting and Replacing Worn Hoses and Fittings
Regular inspections of hoses and fittings are crucial for maintaining optimum functionality. Look for signs of wear such as cracks, bulges, or leaks. Any visible damage can significantly reduce effectiveness.
- Check connections for tightness. Loose fittings lead to loss of water input, reducing output strength.
- Inspect for kinks or bends that could restrict flow. Straightening or replacing such sections is advisable.
- Ensure that all seals and O-rings are intact and replace if they show signs of wear.
Replacing damaged hoses is straightforward. Opt for hoses rated for high pressure and compatible with the machine’s specifications. Always use fittings that match the hose diameter and pressure rating to avoid failure.
- Disconnect the current hose carefully to prevent water spillage.
- Attach the new hose securely, ensuring all connections are watertight.
- Test the setup for any leaks before full use.
Frequent maintenance of hoses and fittings not only ensures enhanced performance but also contributes to the longevity of the entire system. Keep an eye on them and replace as necessary to support efficient cleaning operations.
Maximising Pressure with Proper Technique
Aiming the spray lance correctly can significantly enhance the force of the water. Hold the lance at a 45-degree angle to the surface for optimal impact. This position allows the jet to penetrate dirt effectively without causing damage to the underlying material.
Maintain a steady distance of approximately 12 to 18 inches from the surface when cleaning. This distance strikes the right balance between achieving thorough cleaning and minimising the risk of harm to surfaces that may be more delicate, such as wood or some plastics.
Employ a sweeping motion rather than a stationary one. Move the nozzle back and forth consistently to distribute the water across a larger area, which not only improves coverage but reduces the risk of streaking and uneven cleaning.
Adjust your speed while spraying. Slower movement can help with persistently stuck grime, allowing the water enough time to break down the dirt particles, while quick motions can help clear dust or light debris effectively.
In addition, incorporating a two-step approach can boost cleaning results. Apply detergent first for heavy grime, then switch to plain water at high intensity for rinsing. This technique ensures that cleaning agents work optimally before being washed away.
Always keep the nozzle clean and free of obstructions. A clogged nozzle restricts water flow, reducing the effectiveness of the cleaning process. Regularly check and clean the nozzle to maintain consistent output.
| Technique | Description |
|---|---|
| Aim at a 45-degree angle | Enhances water impact, effective dirt penetration. |
| Steady distance of 12-18 inches | Balances thorough cleaning with surface protection. |
| Sweeping motion | Improves coverage, reduces streaking. |
| Adjust speed | Allows time for grime to loosen, effective for different dirt types. |
| Two-step cleaning | Apply detergent, then rinse with high intensity. |
| Regular nozzle cleaning | Prevents clogs, ensures optimal performance. |


